

How to Grow Tomatoes: The Ultimate Start-to-Finish Guide

Craving fresh, juicy, vine-ripened tomatoes? Come learn everything you need to know to grow tomatoes at home – including in containers. This start-to-finish guide will explore popular varieties, planting tips, how to prune and support tomato plants, organic pest control, and the best ways to harvest, store, or preserve fresh tomatoes. After growing tomatoes for almost 20 years, I’ve included all my top tips!
For easy reading, I’ve organized the guide into 4 main sections: Getting Started, Planting and Pruning, Ongoing Care, and finally Harvesting and Storage.

Would you like to save this?
Disclosure: Homestead and Chill is reader-supported. When you purchase through links on our site, we may earn an affiliate commission.
Getting Started: Timing, Seedlings, Varieties and Soil
When to Plant Tomatoes
Tomatoes are warm-season crops that do not tolerate frost, and can be planted outside in early spring after the last risk of frost has passed. I always keep frost cloth on hand to protect young tomato seedlings in case of an unexpected late frost.
However, tomatoes thrive in warm soil and will grow very slowly if the soil is still too cool. In fact, studies show that planting tomatoes too early can make them more susceptible to nutrient deficiencies! For the best results, wait to plant tomatoes until the soil temperature is consistently over 60°F in the daytime if possible. Use a simple soil thermometer to monitor (down in the root zone) before planting.
For example, based on the frost dates in my area (Central Coast of CA, zone 9) I could technically plant tomatoes outside in late March. Yet we have very cool and foggy spring weather, so I find our tomatoes grow more vigorously if I wait to plant them once the soil warms up in late April to early May.

Starting from Seed or Seedlings
Since tomatoes require a long warm growing season, it’s best to plant established seedlings in your garden rather than planting seeds directly outdoors. This gives them a great head start, and means you’ll be harvesting fresh tomatoes sooner! You can plant tomato seedlings that you started indoors from seed, or pick up seedlings from a local nursery. I often do a little of both!
To grow tomatoes from seed, start seeds indoors approximately 6 to 8 weeks before your last frost date in spring. Plant seeds in clean containers full of seed-starting soil mix, provide ample light, warmth, and consistent moisture. See my guide on starting seeds indoors for more detailed tips – including ongoing seedling care such as thinning, fertilizing, potting up, and hardening off seedlings.
If you opt to buy started nursery seedlings instead, get tips on choosing the best nursery seedlings here. Look for varieties well-suited for your climate or space, and pick the healthiest and freshest looking seedlings. Bigger isn’t always better!

Choosing Tomato Varieties to Grow
Some common tomato varieties include Early Girl, Roma, Beefstake, Sungold, and Cherokee Purple (easy to find at the local nursery) but there are literally hundreds of other unique varieties to choose from!
Certain varieties are known for their excellent fresh-eating qualities, often called great “slicers” or salad tomatoes. Others are popular for canning and sauce such as paste tomatoes or Roma varieties. I like to grow a little of each.
To narrow down your selection, read plant descriptions carefully. Try to choose varieties that not only sound good to eat, but that are also well-suited for your climate or garden space.
For example, we live in a coastal climate with cool and foggy summer weather. The lack of heat makes it difficult to grow huge beefy heirloom tomatoes, so I often choose smaller or early-ripening varieties instead. I also look for varieties known to grow well in cooler conditions.
Some of my favorite varieties that do well in our climate include Sakura, Pink Boar, Mountain Merit, Granadero, Green Zebra, Plum Regal, Costoluto and Mai Tai. For more ideas, check out this Top 10 Heirloom Tomatoes Varieties article from Seed Savers Exchange, or this Top 20 List from Mother Earth News.
RELATED: See our top 12 favorite places to buy organic and heirloom seeds here.


Determinate vs Indeterminate Tomatoes
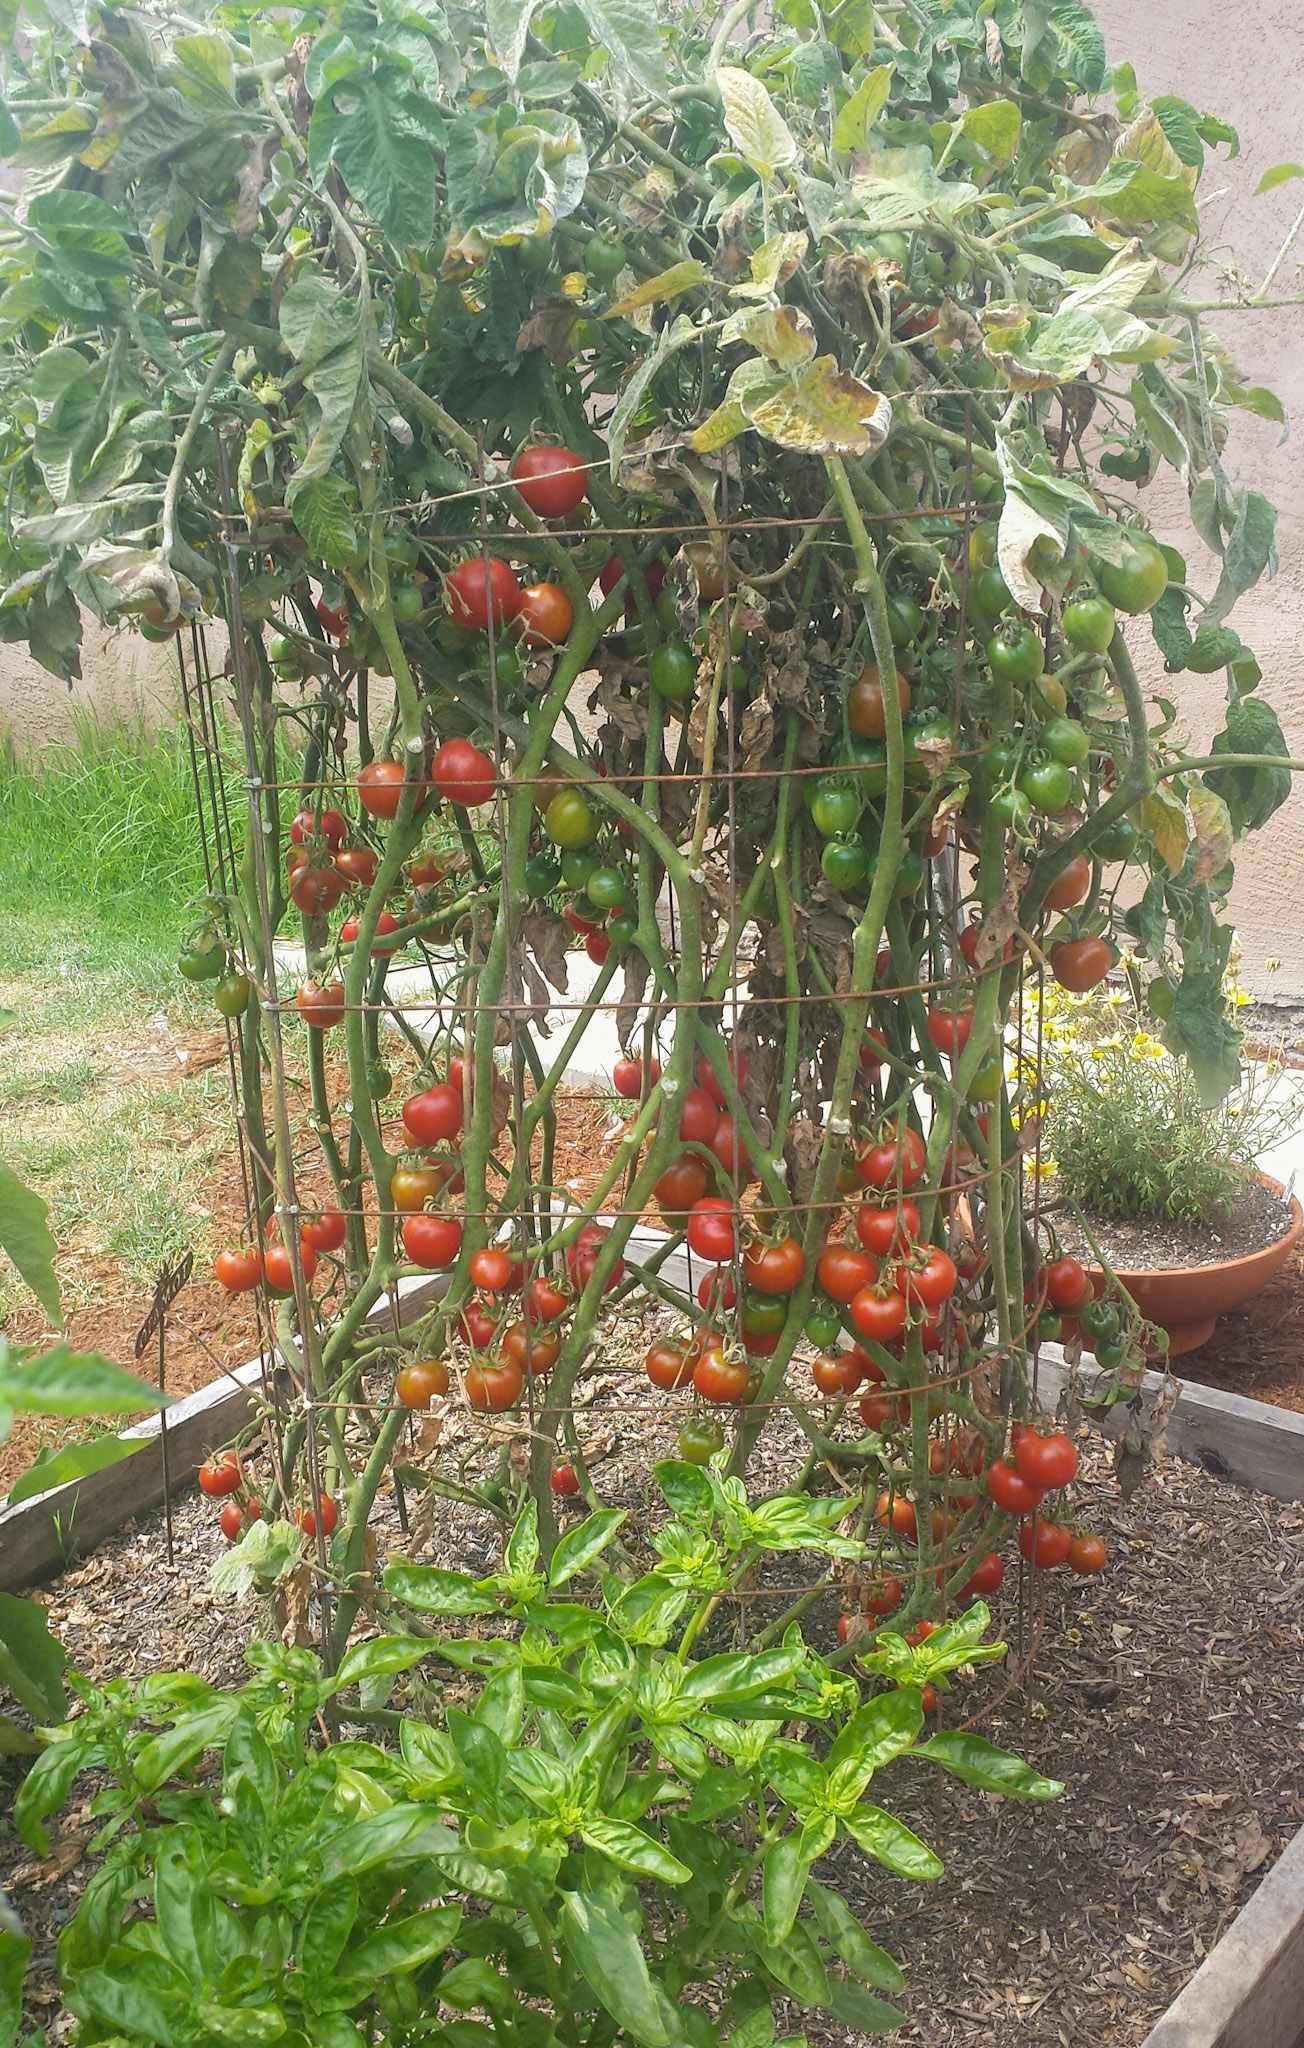
It’s important to know the difference between indeterminate and determinate tomatoes – which will influence how you support, prune, harvest, and even plant the tomato! Indeterminate tomatoes are most common, but I like to grow a few of both types.
Determinate Tomatoes
Determinate or “bush” tomato plants stay slightly shorter, usually around three to five feet in height. Their fruit matures all at once during a shorter period of time – over about a month or so on average. Since they “finish” more quickly, determinants can be a good choice for folks with a shorter growing season – either due to your climate, or if you want a quick harvest so you can plant something else in its place.
Due to their manageable and compact size, determinate tomatoes do very well in containers. They are generally lower-maintenance than indeterminate types. In fact, it is not recommended to prune determinate varieties at all, as it can significantly lessen the fruit yield. That also means they don’t need a lot of fancy training. A simple stake and tomato cage is perfect!
Indeterminate Tomatoes
On the other hand, indeterminate or “vining” tomatoes grow significantly larger – with the ability of reaching up to 12 feet tall! An average around 6 feet is more common though. Rather than busting out one main bumper crop, indeterminate tomatoes continually produce fruit over a longer period of time. If allowed, the plants will live on until frost or disease kills them.
Due to their vigorous vining nature, some gardeners choose to train indeterminate tomatoes up strings, tall stakes, or flat trellises rather than using traditional tomato cages. I’ve done all of the above! It’s also common for some gardeners to prune indeterminate tomatoes, depending on their training and support system of choice (discussed more below).

Soil Prep
Tomatoes aren’t too picky about soil type. They grow best in deep, moderately rich soil where their roots have plenty of room to grow. Good drainage is also important since the plants do not like overly wet conditions.
If you have clay soil, amend it with sand, potting soil, and/or compost improve drainage and texture before planting. If you’re filling a new bed or container, use good quality potting soil mixed with aged compost.
Before planting tomatoes, we amend our soil with a mild, slow-release organic fertilizer spread evenly over the surface and lightly scratched into the top couple inches of soil. Ideally, apply the fertilizer a week or two before planting and water it in. Or, you can sprinkle a bit of fertilizer around the top of the soil after planting.

Growing Tomatoes in Containers
Determinate tomatoes grow exceptionally well in containers, but you can grow indeterminate varieties in pots too. We grow a few in containers every summer – even in our driveway!
That said, the container size and soil quality really matter. A big indeterminate tomato plant won’t stay happy in a small pot for long – it’ll run out of space, use up all the nutrients in the soil, and dry out quickly as it grows.
To avoid that, use a container that holds at least 10 to 15 gallons of high-quality potting soil. I like to use 15-gallon fabric grow bags or half wine barrel planters, though any large container with good drainage will work.
Also make sure you have a support system that fits inside, like a tomato cage or a few stakes with twine. After that, all the other tips in this article apply to container tomatoes too.

How to Plant, Prune and Support Tomatoes
How to Plant Tomatoes
I have a complete step-by-step guide on how to plant tomatoes, but here are the cliff notes:
- Location: Tomatoes usually do best in full sun, though in very hot climates (consistently over 90-95°F), a little afternoon shade can help.
- Amendments: I like to add a sprinkle of worm castings, mycorrhizae, and crab or crustacean meal into the planting hole to give my tomatoes an extra boost of nutrients and beneficial microorganisms. However, I don’t recommend adding epsom salt or eggshells – it’s a myth that they help prevent blossom end rot!
- Spacing: Space indeterminate tomatoes about 24 to 36 inches apart if you don’t plant to prune them much, such as in cages. However, tomatoes can be spaced as close as 16 to 18 inches apart if they’re regularly pruned and trained along a trellis, string, Florida weave, or similar other support system. (We’ll talk more about training methods below.)
- Depth: Tomatoes like to be planted deep! Carefully remove the lowermost branches and bury the stem by at least 1/3 to 1/2. New roots will grow off the buried portion.
RELATED: Learn more about the best tomato companion plants here – including what NOT to plant with your tomatoes!


Choose a Support System
All tomato plants need support as they grow. Their tall and relatively flexible stems cannot stand upright on their own, especially once they’re heavy and laden with fruit! Without the support from a tomato cage, trellis, stakes, or other support system, plants will sprawl on the ground and branches will break.
If possible, it’s best to choose a support method before planting – since this will influence how far they’re spaced or where they’re planted
Please visit this guide on how to prune and support tomato plants for more information. In it, I explore the pros, cons, and tips for 7 different ways to train tomatoes, including in cages, the Florida weave, our DIY tomato trellis and more.


How to Prune Tomatoes
Pruning tomatoes is totally optional, and depends on the variety and what type of support or training system you’re using. For instance, determinate tomatoes don’t like to be pruned but indeterminate varieties are well-suited for it. It isn’t necessary to prune tomatoes growing in cages, while it can be helpful (or necessary) if you plant tomatoes closer together along a trellis.
- Pruning tomato plants involves removing excess side branches – also known as “suckers”. Suckers always grow out from the main stem just above a leaf branch, as shown in the diagram below. (Don’t confuse it with a flower bract, which grows slightly higher on the stem!)
- To remove tomato suckers, simply pinch and snap them off. Or, use a clean pair of pruning snips for larger suckers. It’s best to remove suckers when they’re still nice and small – before they start drawing energy from the rest of the plant. (They’re called suckers for a reason!)
- Do NOT top the plant or cut the main stem (the terminal growing tip), and avoid removing flower or fruit bracts.
- As the season goes on, I also like to cut off unproductive lower leaf branches as they begin to yellow and fade.
Diligently removing all the suckers will result in a single long tomato vine. Removing all but one sucker will leave you with two “leaders”. Or, you can remove just some of the suckers, resulting in several leaders but an overall more manageable plant.

Pros and Cons of Pruning Tomatoes
If you don’t prune tomatoes, each sucker will become a large secondary vine, producing more and more new branches, flower bracts, and suckers of their own. The result is a much bushier tomato plant, and yes, a greater number of fruit per plant! However, the plants quickly become unruly and the fruit may be smaller or inferior in quality compared to a tomato plant that was pruned.
On the other hand, pruned tomato plants can focus all their energy into growing fewer but higher-quality fruit instead. They may also ripen sooner! Pruning tomato plants takes more effort, yet the plants are generally more tidy, easy to manage, allows for closer plant spacing, and may reduce disease and pest pressure.
I prefer to do somewhere in between: I lightly prune by tomatoes but allow several suckers to grow too.
Ongoing Care: Fertilizer, Water, and Pest Control
Fertilizing Tomatoes
Plan to feed your tomato plants a few times throughout the growing season, especially if you’re growing long-lasting indeterminate varieties. If you recently amended your soil before planting, you shouldn’t need much fertilizer for the first month after transplanting.
For young plants, fertilizing with dilute seaweed extract is a gentle, low-risk way to give them a boost. I like it because it won’t burn them. Sometimes I’ll use blended aloe vera as a mild, natural fertilizer, especially for newly transplanted seedlings too.
Once the plants mature, you can feed them every few weeks with dilute liquid fish fertilizer. When our plants are producing a lot of fruit (late summer), I also add a light sprinkle of alfalfa meal around the base about once a month, spacing it out from other feedings. Instead, you could apply a balanced organic fertilizer mid-season – just follow the package directions but go a bit lighter than recommended.
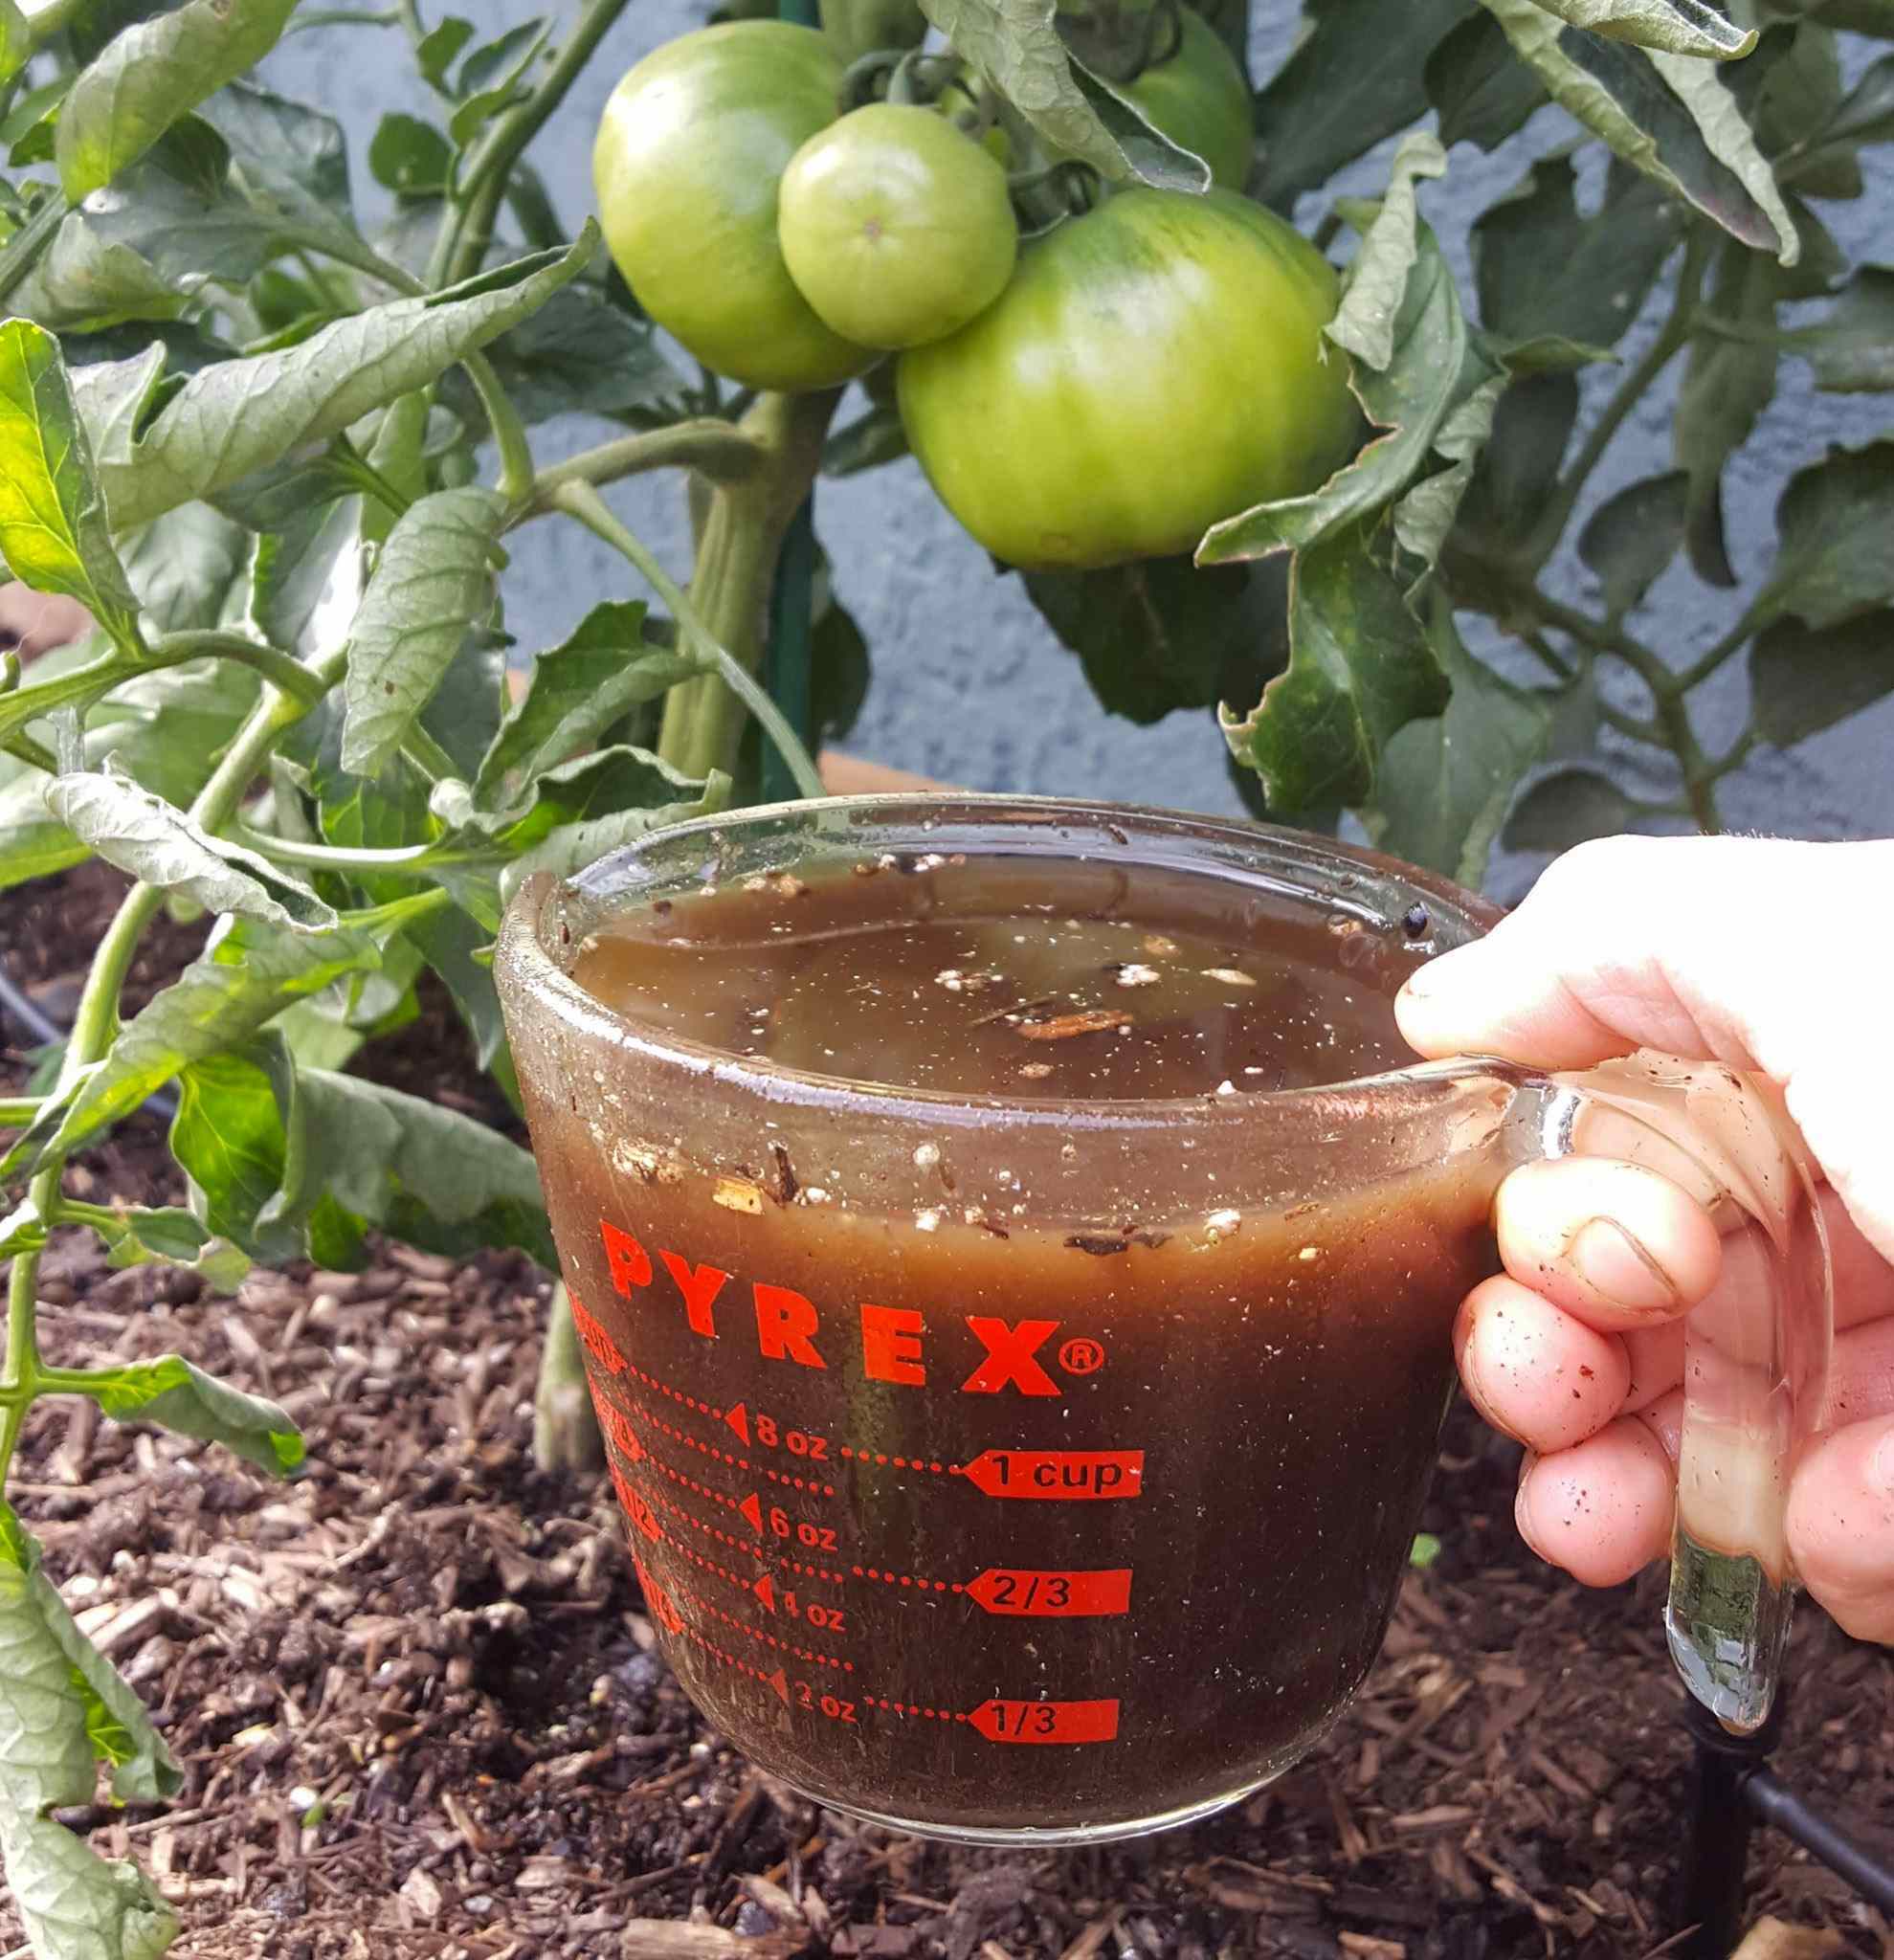
I also like to use homemade compost tea at least once during the season. It’s super gentle but packed with nutrients and beneficial microbes!
Watering Tips
- Tomatoes thrive with deep but infrequent water (vs watering a little bit every day) – soaking down into their expansive root zone and beyond, and then back off for a few days to let them breathe but not dry out completely in between.|
- If you only water shallowly, plant roots stay shallow too. Yet watering deeply encourages deeper roots, larger plants, and increased resistance to stress like drought, wind, and temperature swings.
- The exact frequency and amount of water your tomatoes need will vary depending on your climate, weather, soil type, plant size, bed depth, and more. Try to develop a consistent watering schedule, such as every 3 to 4 days.
- Add a couple inches of natural mulch (e.g. compost or straw) on top of your garden beds to prevent the top from drying out, reduce evaporation, and help the soil stay more consistently moist.
- Near the end of the season, I stop watering altogether. That usually pushes the plant to ripen the remaining fruit faster instead of growing more. I only do this when I’m completely done with the plant, especially if frost is coming or I want everything to finish up quickly.
I currently water my garden with automatic DIY drip irrigation. But before that, I used these drinking water grade soaker hoses in our beds so I could offer similar long, deep water without having to stand there with a hose.

Tomato Pest Control
Common tomato pests include aphids, whitefly, root knot nematodes, and the dreaded tobacco or tomato hornworms. I like to use tomato companion plants to help naturally deter many of these pests – such as French marigolds for nematodes.
If something is eating your tomatoes and leaves, it may be hornworms. Once I spot the black or green caterpillar poop balls (a dead giveaway), I carefully check the leaves nearby to find and remove them by hand. Our chickens love to eat hornworms! If you can’t spot them, try using a blacklight at night – they glow in the dark.
If bigger critters like squirrels, birds, rodents, or deer start going after your tomatoes, focus on blocking access. I often use fencing, chicken wire, crop cages, or insect netting to protect plants in my garden.
LEARN MORE: Check out this excellent article about tomato pest and disease control from Johnny’s Seeds. It includes photos to help ID issues too! You can also visit my guide on organic aphid control for more tips.

Common Tomato Plant Diseases
The most common diseases that inflict tomatoes include fungal diseases and mildews (e.g. powdery mildew and blight) as well as mosaic viruses, fusarium wilt, and bacterial wilt.
Mildews and blight are more common in crowded conditions with lack of good air circulation around plants. Therefore, follow good plant spacing practices. Pruning away excess branches can also increase airflow. Avoid wetting plant leaves when you’re watering. Learn more about how to prevent or treat powdery mildew here.
Many tomato varieties have natural resistance to particular diseases and pests. For example, some may have a strong resistance to early blight, powdery mildew, or root knot nematodes. Seek out resistant varieties to help combat common diseases in your garden.
Another way to prevent diseases is to support overall plant health by following the recommendations provided in this article – such as using organic compost and tea, mycorrhizae, aloe, and consistent watering. A healthy plant with a strong immune system will better fend off pests and diseases – naturally!
RELATED: Tomato blossom end rot is another condition that inflicts tomatoes, but it’s caused by nutrient deficiencies and watering issues – not a disease. Learn how to prevent and treat blossom end rot here.

Harvesting and Storage
Now for the best part. It’s time to reap the rewards of your hard work, and enjoy your bounty!
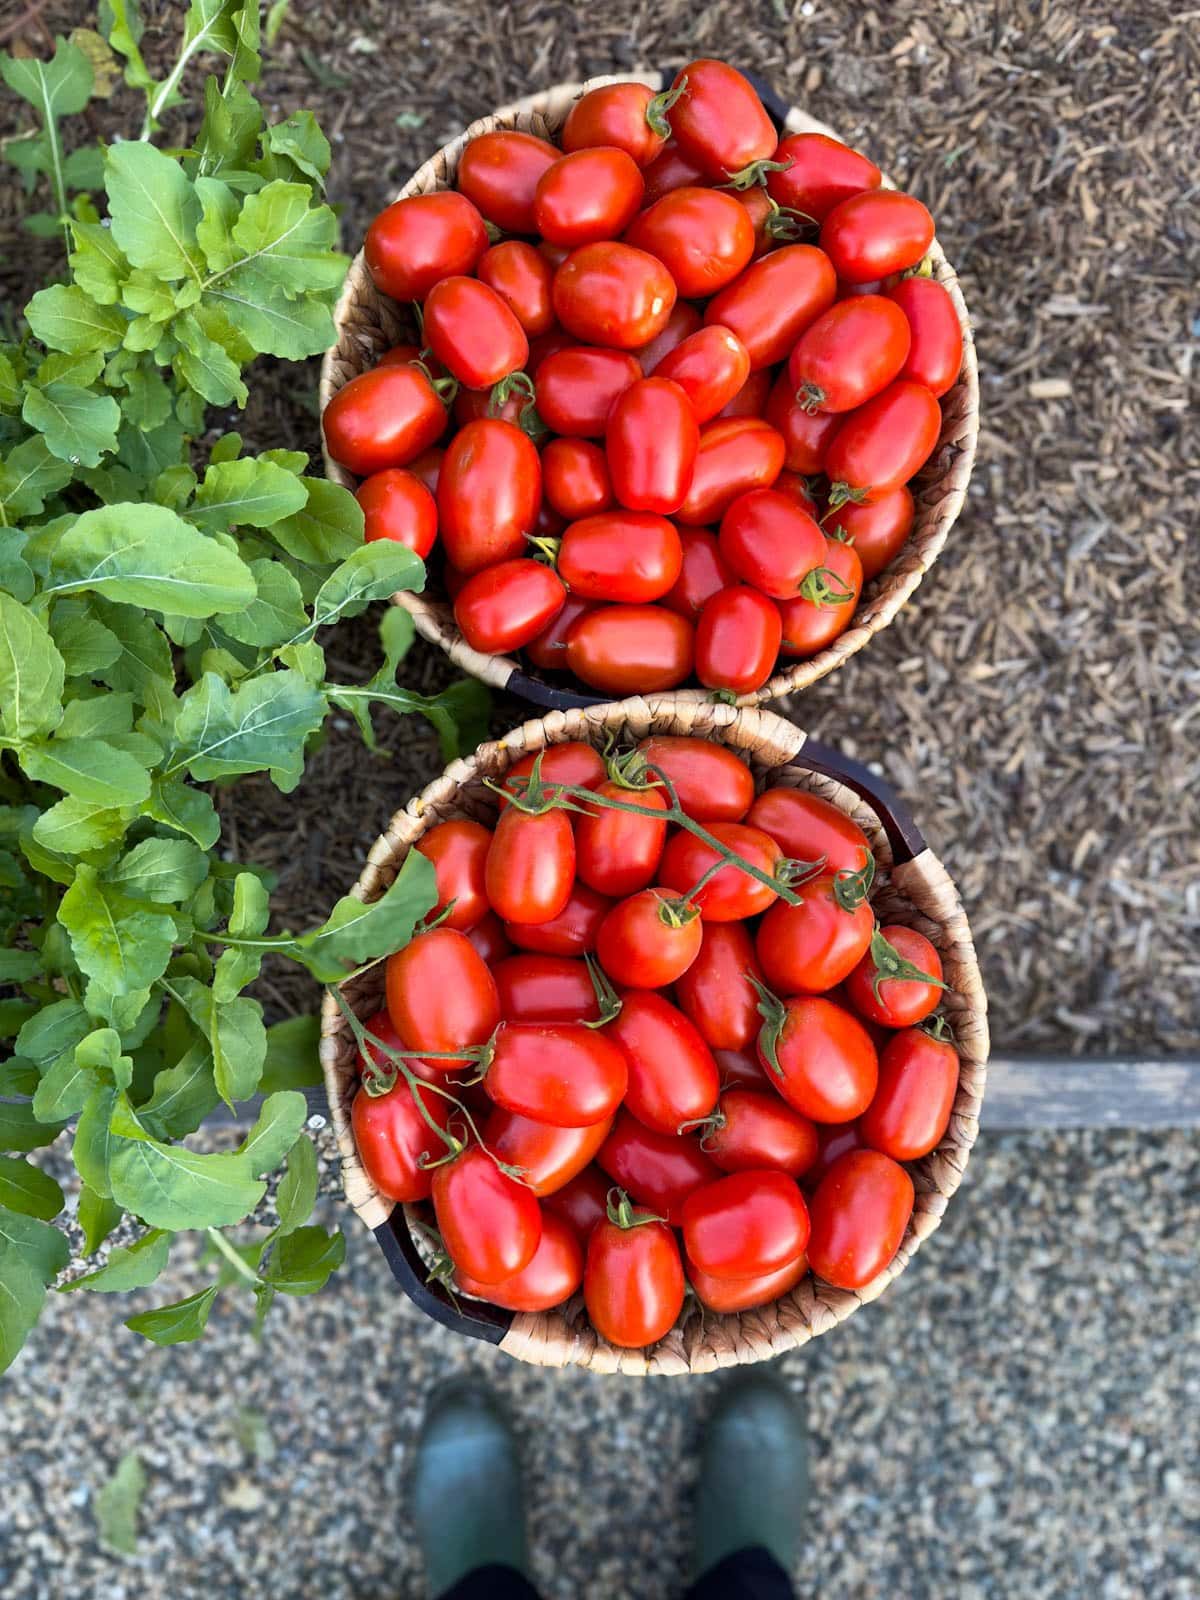
When and How to Harvest Tomatoes
- Harvest tomatoes when they’re slightly soft but still firm, and showing their ripe color (red, orange, or yellow are easiest to spot). For unique color varieties like green or purple, I usually just give the fruit a gentle squeeze to check.
- You can pick tomatoes early (when they’ve started to turn red but before they’re fully ripe) and leave them on the counter or in a brown paper bag to finish ripening. This can be helpful if pests are going after your ripe tomatoes! However, the flavor is best if they’re allowed to ripen on the vine.
- When picking, try to gently snap and keep the small stem attached to the top of the tomato. If it won’t come easily, I use snips instead. I’ve learned not to pull too hard – otherwise the tomato can crack or leave an open hole on top, which makes it spoil faster. If that happens, I eat those ones first.
- Too much water can cause ripe tomatoes to split, so if I see a lot ready at once, I harvest them before watering or ahead of heavy rain.
How to Store Fresh Tomatoes
It is best to store fresh tomatoes at room temperature, unless they’re cut or cracked (refrigerate once cut.) Did you know that fresh tomatoes lose a ton of flavor once they’re refrigerated? That is one (of the many) reasons that homegrown tomatoes are so much tastier than store-bought ones that have been picked early, ripened off the vine, and then surely refrigerated at some point in time.
Of course, if you harvest a large amount of tomatoes at once, they may begin to spoil on the counter if you don’t use or otherwise preserve them quickly enough! See my favorite ways to eat and preserve tomatoes below.

Eating Tomatoes Fresh
I imagine you probably already have plenty of ideas of how to consume your fresh tomatoes. But just in case you need nay ideas, here are some of my personal favorite ways to eat them!
- Sliced on salads, tacos, veggie burgers, or sandwiches – including on top of crusty homemade sourdough bread.
- I like to make caprese salad with fresh sliced garden tomatoes, basil, mozzarella, and drizzle of olive oil and balsamic vinegar. We also often whip up a Greek salad with chopped tomatoes, cucumber, onion, feta cheese, olive oil and red wine vinegar.
- Turn them into a simple salsa with peppers, onions, cilantro, and lime.
- Add fresh tomatoes on top of homemade pizza, quiche, frittata, pasta, pesto zoodles, and more!

Ways to Preserve Tomatoes
Growing tomatoes and preserving tomatoes goes hand-in-hand. Unless you only grow one small plant or two, or realllllly love eating fresh tomatoes with every meal, you’ll likely need to preserve some excess fruit!
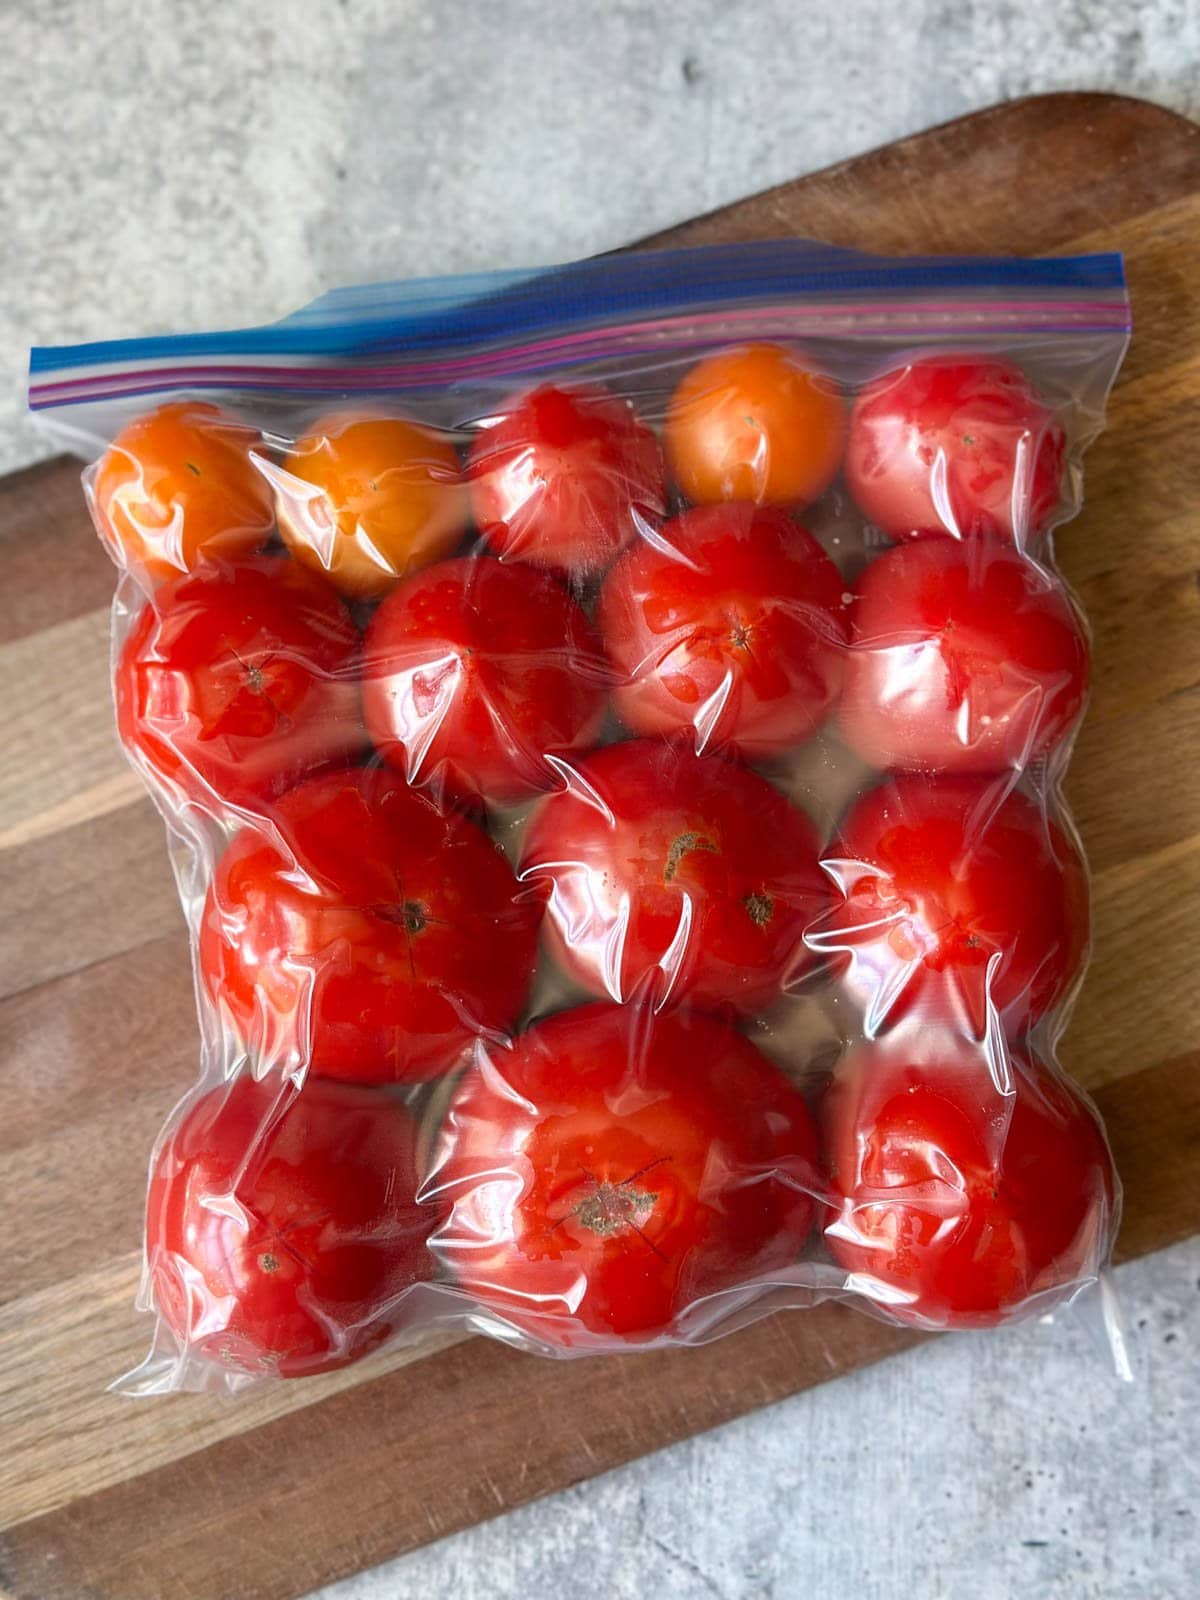
I like to preserve tomatoes a variety of ways, including making roasted tomato sauce (to freeze or can), creamy tomato basil soup (to freeze), or using our dehydrator to make sun-dried tomatoes or homemade tomato powder. We’ve also started making homemade ketchup the last few years… YUM. And if you don’t have time for anything fancy, you can simply freeze tomatoes whole and deal with them later!
See 13 Ways to Preserve Tomatoes here with step-by-step recipes for freezing, canning, drying and more.

And that concludes this guide on how to grow organic tomatoes!
Are you ready to go grow some stellar tomatoes this season? I hope you found this article to be useful and interesting. Please feel free to ask questions in the comments below. Thank you for tuning in!
You may also like:
- How to Build a DIY Raised Garden Bed: Step-by-Step Guide
- 7 Best Cucumber Trellis Ideas + Easy DIY Designs with Photos
- Garden Companion Planting Chart, Plans, and Benefits
- 7 Ways to Support and Prune Tomato Plants: Cages, Trellises, String and More


22 Comments
Denise
Hello! I too live on the Central Coast and we love growing tomatoes. We have raised beds. I was thinking of planting sweet peas in the winter as a cover crop Because I love the flowers. What are your thoughts on this? Any other suggestions for rotating crops where the tomato beds are? Thank you!
Aaron (Mr. DeannaCat)
Hi Denise, sweet peas would be a great cover crop for your tomato beds as their roots house nitrogen fixing bacteria from the atmosphere similar to the way fava beans do, just be sure to leave their roots in place when it comes time to cut out the plants. We like to use fava beans as a cover crop for tomatoes in between seasons but you could also grow winter peas, oats, barley, or even winter rye. You can cut down the cover crop before it goes to seed and use the plant material as a green manure or mulch for your tomato bed as well. Hope that helps and have fun growing!
MJ Blanchette
greetings! i recently moved from coastal Maine (where we grew an annual kick-ass, monster crop of heirloom tomatoes) to Puerto Rico … where i am struggling to bring even one, measly cherry tomato to the finish line.
my first thought is climate appropriate varieties, which admittedly, i paid little (or no 😬) attention to while salivating over my seed catalogs. that said, i have a multitude of varieties, drip line irrigation set up to make sure soil it not too dry; not too wet, pretty decent soil with plenty of compost, big, healthy green plants … and yet … few flowers, and almost no fruit developing. night time temps are about 77 on average (could be the problem?); day time temps around 85.
also trying to attract pollinators, but rarely see them on my plants. is this a losing battle? is growing a tomato crop in the tropics pure fantasy? is there a reason all the locals roll their eyes at me when i say i’m growing tomatoes? say it ain’t so!!
as always, you’re my first go-to. give it to me straight; i can handle it. i think. 😉
Aaron (Mr. DeannaCat)
Hi MJ, congratulations on your move to Puerto Rico! We obviously don’t have the much experience growing in tropical climates but I think your tomato variety selection is likely the first place to start, growing the big, beautiful heirloom tomatoes like you did in Maine, likely isn’t an option now. Not sure if you know what type of tomatoes if any that people grow in your area, maybe there are some varieties that are specific to Puerto Rico? As far as growing conditions, I would think that early to late afternoon shade would be a must for your tomatoes so they have some reprieve from the sun. Not sure of the fall through spring temperatures that you get there but growing tomatoes during the “off season” may be a better option if the heat and sun aren’t as intense.
Maybe this year, try varieties with smaller fruit along with some grape and or cherry tomatoes, search out varieties that can handle the higher temperatures and maybe even tropical/humid climates. Tomatillos while obviously not tomatoes, may be easier to grow for you as well so that may be another option to try. Hope that helps MJ and hopefully you have more success this summer in regards to growing tomatoes.