

Easy Sourdough Pizza Crust Recipe (Whole Wheat Option)
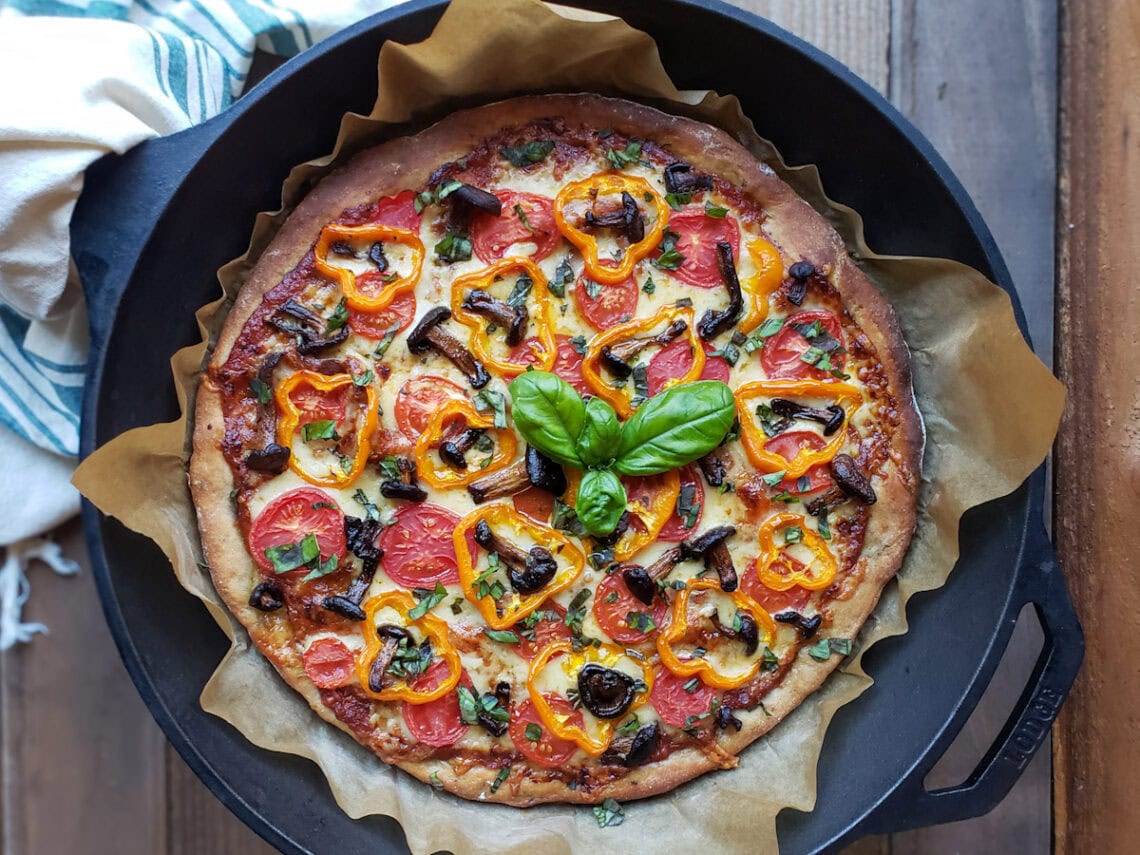
You’re going to love this recipe for soft, chewy, delicious homemade sourdough pizza crust! It’s gut-healthy, easy to make, doesn’t require kneading or folding, and can be baked the same day in a cast iron pan or pizza stone.
I love to top my sourdough pizza with homegrown roasted tomato sauce (or my favorite besto pesto recipe) along with plenty of fresh herbs and veggies from my garden. I also like to use half whole wheat flour to make it extra nutritious, but you can use all white flour too.
Need a starter? Follow our easy tutorial to make a sourdough starter from scratch, or pick up a fool-proof dehydrated organic sourdough starter from our shop! All it needs a little water, flour, and few days to get active.
This post was originally published in July 2019 but has been updated since.
Want to save this?
Making Sourdough Pizza in Cast Iron
I typically bake sourdough pizza crust in a cast iron pan (like this large 15″ Lodge cast iron skillet). It makes for a pretty presentation, but also provides an extra oomph of heat to get a nice bubbly, crispy crust! Lodge also makes an awesome cast iron pizza pan if you’re a serious pizza-maker.
I haven’t tried this recipe using a classic pizza stone yet (simply because we don’t have one) but I’ve heard many reviews that it works great as well! Just be sure to preheat it in the same manner as cast iron.
Fermentation Time
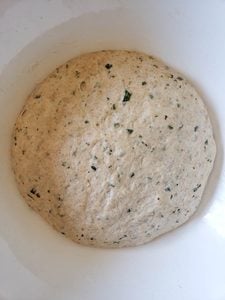
For the most fluffy and nutritious results, I recommend proofing sourdough pizza dough at room temperature for several hours (3 to 4 hours is ideal) after mixing the dough, before rolling out it out to bake. You can do a shorter proof if you’re in a hurry, but it may result in a less bubbly crust.

Ingredients
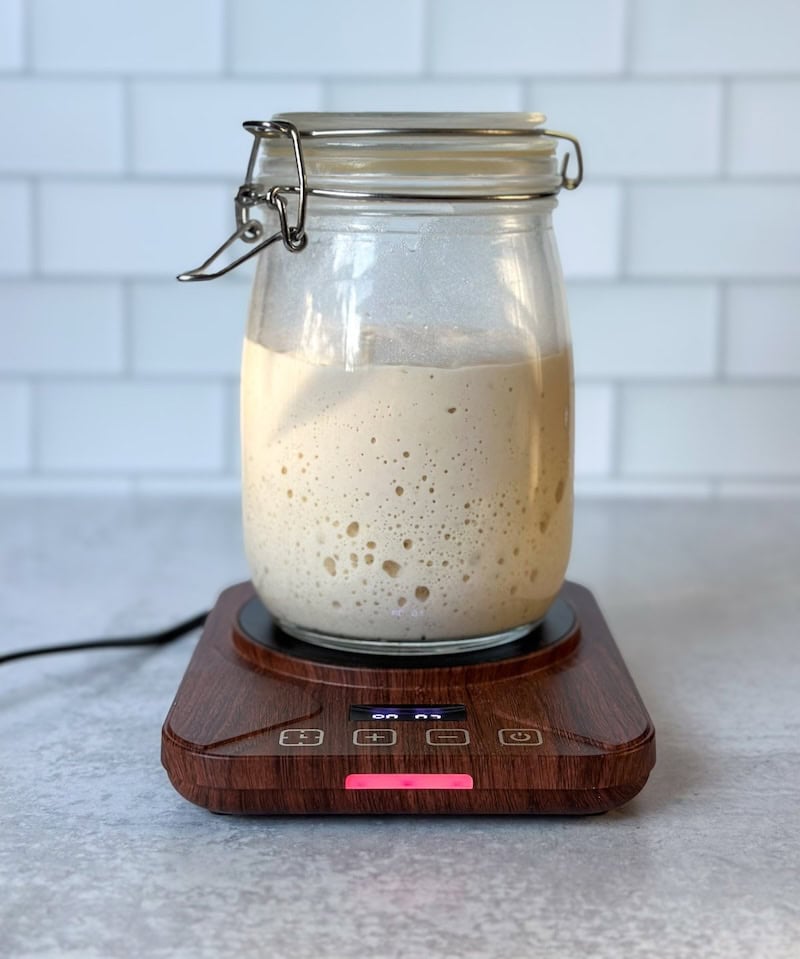
- 1.5 cups active sourdough starter – at peak activity (recently fed and at least doubled in size)
- 1.5 cups flour total – I often use 3/4 cup whole wheat and 3/4 cup bread flour (or white all purpose). I don’t suggest adding even more whole wheat; it will make it too dense. For an extra light and fluffy sourdough pizza crust, reduce the whole wheat and use more white flour.
- 2 Tbsp extra virgin olive oil
- 1 tsp salt
- 1 Tbsp honey – this isn’t absolutely essential, though it helps feed the yeast for a nicer rise, and also adds a welcome tiny touch of sweetness. (Did you know that most pizza shops add cane sugar to their dough?)
- Up to a 1/4 cup of warm water
- Optional seasonings and herbs: 1/2 tsp onion power and/or 1/2 tsp garlic powder, and 2 Tbsp of chopped fresh oregano. Substitute fresh oregano for 1 Tbsp dried.
- Your choice of sauce and toppings
YIELD: This recipe makes approximately one large 15″ pizza with medium-thick crust. If you’re using a smaller cast iron skillet or prefer extra-thin crust, you may want to scale down or split the dough into two smaller pies.

Instructions
1) Mix Dough
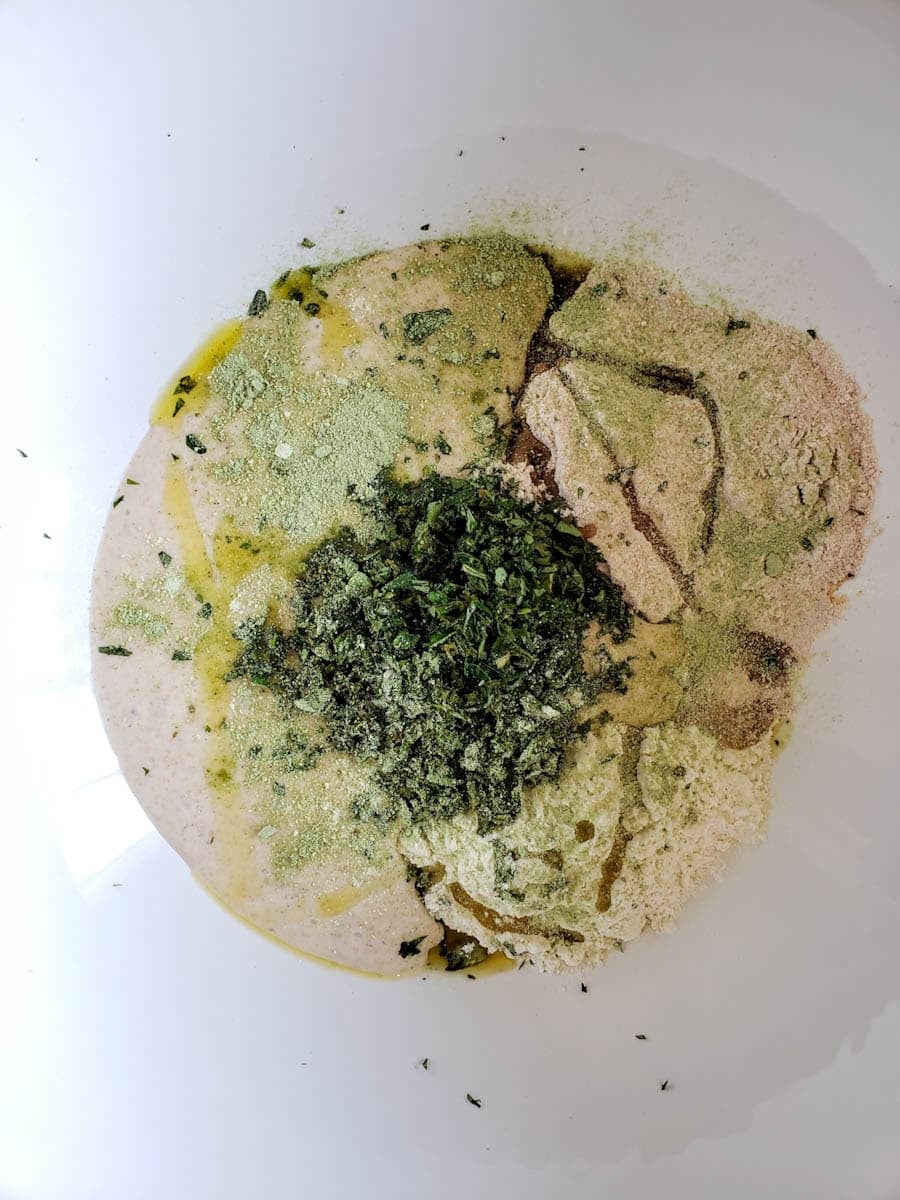
- In a large mixing bowl, combine the called-for flour, active sourdough starter, olive oil, honey, salt, plus optional herbs and seasonings. Mix well.
- Next, slowly add up to a quarter cup of warm water – but you may not need it all! Add small amounts of water at a time, mixing and assessing the consistency of the dough as you go. (See texture tips below.) I typically mix my sourdough with clean bare hands, but it doesn’t need to be heavily kneaded.
- After mixing the pizza dough, cover the bowl with a damp tea towel, beeswax wrap, or plastic wrap to prevent it from drying out.
DOUGH TEXTURE TIPS: Sourdough pizza dough is similar to bread dough, though it should feel a tad more loose and elastic (like sourdough focaccia) – which will allow the dough to eventually stretch out into a flat pizza shape rather than holding in a tight formed ball like bread. The amount of water needed will vary depending on the hydration and consistency of your sourdough starter.
2) Proof
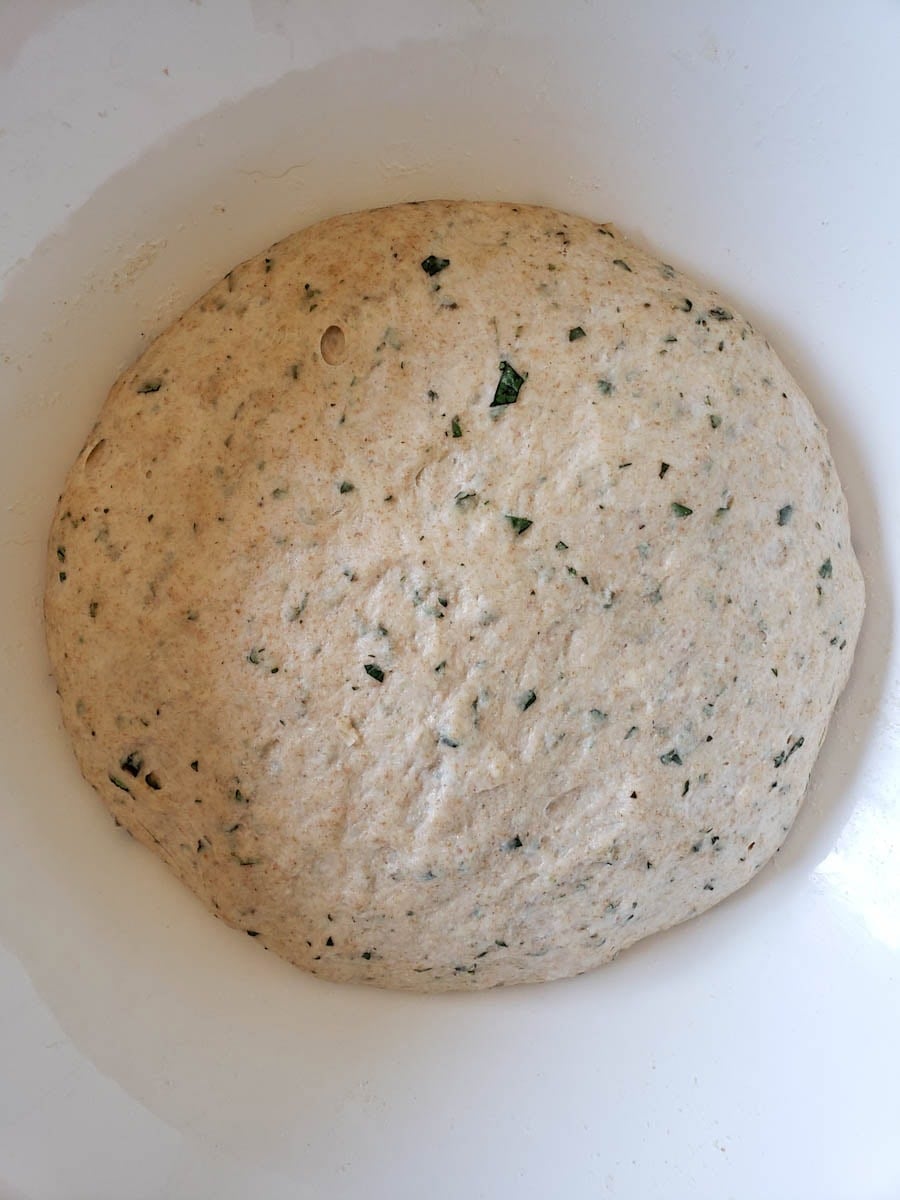
- Next, allow the pizza dough to proof at room temperature for at least an hour, up to several hours. We opt for a longer proof (about 3 to 4 hours) for a better rise. You can even let it ferment for up to 5 to 6 hours if desired, especially if your house is on the cold side. The more fermentation time, the healthier it is and easier to digest too.
- You don’t need to stretch and fold sourdough pizza dough. You can if you want to – but only in the first hour of proofing! Avoid stretching and folding just before forming the pizza itself, which can overly tighten the dough and make it more difficult to spread out.
3) Roll and Rest
- Once your dough is nearly finished proofing, preheat the oven to 450°F. Place your cast iron skillet or pizza stone inside the oven to preheat it as well.
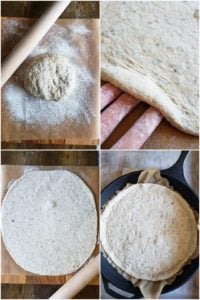
- Lightly flour a piece of parchment paper, cut to a size just a tad larger than the bottom of your pan. I like to do this on a cutting board for added mobility – making it easy to slide the pizza dough into the hot cast iron later. Lightly dust the top of the dough ball and rolling pin with flour as well.
- Next, use a rolling pin to gently and evenly roll out the pizza dough into a circle to your desired size and thickness. Avoid over-rolling or pressing down too hard though! You can also gently stretch the dough to form the pizza with your hands.
- Using a fork, lightly poke the top of the pizza dough evenly across the surface in about a dozen places. This technique is called “docking” and prevents large uneven air bubbles.
- Next, let the pizza crust rest at room temperature for a final 15 to 20 minutes (don’t put it on the hot pan/stone yet). This will allow it to fluff back up after rolling. Mine usually form nice air bubbles during this time!

4) Par-Bake
- After the pizza dough has its final period of rest, carefully slide the parchment paper and pizza crust into the hot pre-heated cast iron pan or pizza stone.
- Bake the naked pizza crust for 8 minutes with no toppings.
PRO TIP: To prevent the bottom of the pizza from burning, I like to place a spare (empty) baking sheet on the empty oven rack below the pizza pan. This helps absorb and deflect some of the heat.
5) Add Toppings and Bake
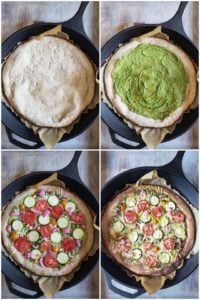
- Remove the crust from the oven, and add a layer of your favorite pizza sauce! I personally love making sourdough pizza with our homemade “besto pesto” or roasted tomato sauce. In lieu of sauce, you could brush on a very light coating of olive oil instead.
- Next, add your toppings and cheese of choice. I often use whatever is growing in the garden – thinly sliced zucchini, tomatoes, peppers, basil, onions, garlic… even Swiss chard stems as shown below!
- Finally, bake the dressed pizza for another 12 to 15 minutes, until the cheese melts and the crust turns golden brown. I’ve found my pizza bakes best if I rotate the pan halfway through to promote even browning.


Enjoy!
Now pat yourself on the back, slice up your pie, and enjoy your delicious homemade sourdough pizza! I hope you and your family enjoy this easy recipe as much as we do. Please leave a review below, and feel free to ask any questions in the comments.
Don’t miss these related recipes:
- Easy No-Knead Sourdough Bread Recipe (Beginner Friendly)
- Sourdough Supplies List: 12 Must-Have and Useful Items
- Easy Sourdough Discard Crackers Recipe
- Sourdough Ginger Molasses Cookies (Soft and Chewy)
- Easy Sourdough Focaccia Bread Recipe

Cast Iron Whole Wheat & Herb Sourdough Pizza Crust
Want to save this?
Equipment
- Large cast iron skillet (14-15") or Pizza Stone. If you're using a smaller cast iron skillet or prefer extra-thin crust, you may want to scale down or split the dough into two smaller pies.
- Rolling pin
Ingredients
- 1.5 cups Sourdough starter – at peak activity (recently fed and at least doubled in size)
- 1.5 cups Flour of choice, total. I often use 3/4 cup bread flour (or white all purpose) and 3/4 cup whole wheat. Feel free to use more white flour, but I don't recommend using more whole wheat as it tends to get dense.
- 2 tbsp extra virgin olive oil
- 1 tsp sea salt
- 1 tbsp honey
- 1/4 cup warm water (up to)
- 1/2 tsp onion powder (optional)
- 1/2 tsp garlic powder (optional)
- 2 tbsp chopped fresh oregano, or 1 tbsp dry (optional)
- choice of sauce, cheese, and toppings
Instructions
- First combine and mix the flour, active sourdough starter, olive oil, honey, salt, and optional chopped herbs and seasonings
- Next, mix in up to ¼ cup warm water. Start with half the water, mix, and slowly add more as needed to get a soft, pliable dough ball. It should be similar to a loose bread dough, but not too gooey or wet. (The amount of water can vary based on how wet your sourdough starter is.)
- Once combined, allow the dough to proof at room temperature for at least 1 hour, up to 3 to 4 hours (or longer). Keep the dough in a mixing bowl covered with a tea towel. The longer the proof time, the more light and airy the crust will be!

- When the dough is almost done proofing, place your cast iron skillet or pizza stone in the oven and preheat both to 450 degrees.
- Cut a piece of parchment paper just larger than your pan, then lightly flour the parchment, top of the dough ball, and rolling pin. (I put my parchment paper on a cutting board, which makes it easy to carefully slid the pizza into the hot pan later)
- Gently roll out the dough to your desired size and thickness. Avoid pressing down too hard. You can also gently shape the dough by hand. Then use a fork to poke the surface of the pizza evenly in about a dozen places.
- Allow the dough to rest at room temperature for another 15 to 20 minutes before baking. This allows it to fluff back up after rolling.
- Once the dough has finished resting, carefully transfer it to your hot skillet or pizza stone and par bake the naked crust for 8 minutes (without toppings)

- Remove the crust from the oven and dress your pizza with sauce and toppings of choice, then put it back into the oven to bake for another 12 to 15 minutes – until the cheese melts and the crust turns golden brown.
- Once finished baking, slice your sourdough pizza and enjoy!



57 Comments
Mae
I’ve been following this recipe for a few years, every time I try a different recipe it doesn’t taste as good as this does! This evening I rolled out the dough pretty thin and cooked it on a pizza stone and it still came out perfectly. It’s nice that it’s versatile.
Aaron (Mr. DeannaCat)
That is so great to hear Mae, have fun baking and enjoy!