

Best Bread and Butter Pickles Recipe (Canning or Refrigerator)
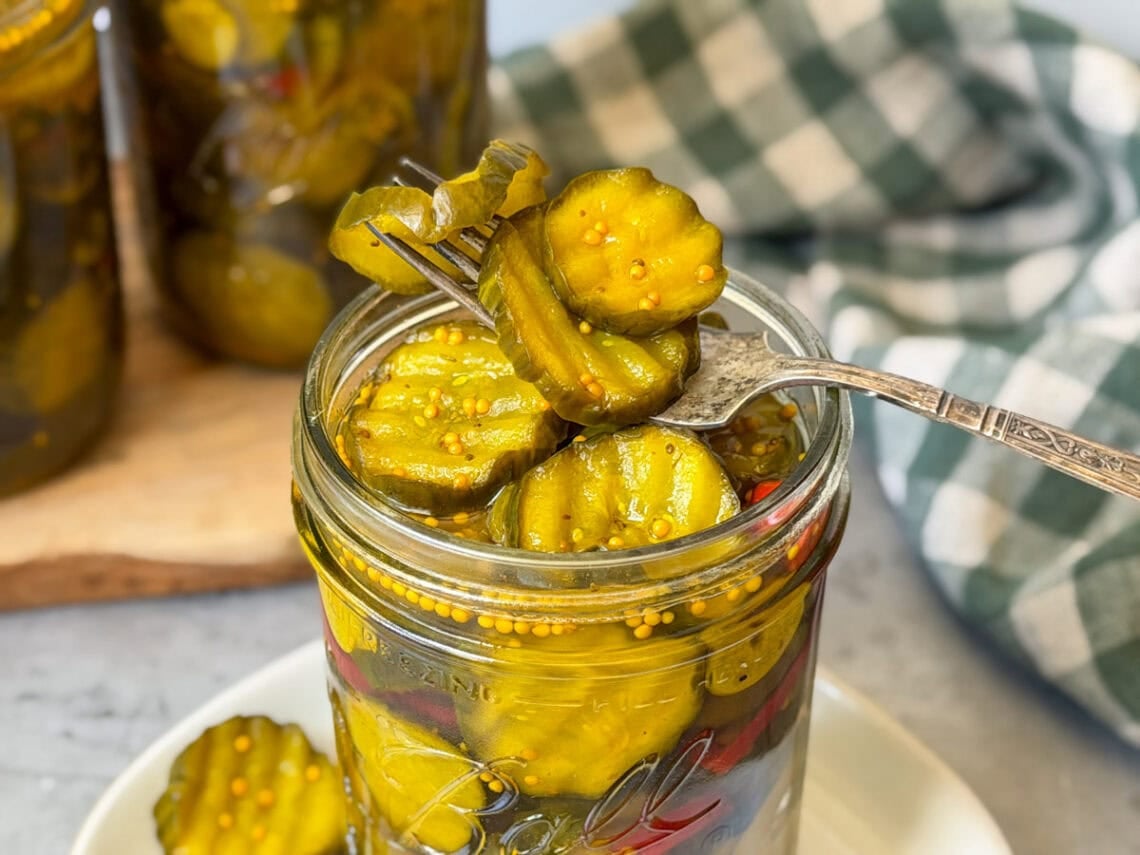
Say hello to my favorite pickle recipe! These bread and butter pickles are easy to make, deliciously crisp, and the perfect balance of tangy, sweet, and a little bit spicy (if you use the optional hot peppers). I love them with veggie sandwiches, burgers, egg salad, fish tacos and more.
Homemade bread and butter pickles stay good in the refrigerator for several months so I don’t usually can mine, but this recipe is safe for canning so I’ve included those instructions too. This is the perfect way to preserve fresh cucumbers from the summer garden!
Want to save this?
Inspired by my Dad’s love of bread and butter pickles, I created this recipe by combining the best parts of my favorite refrigerator pickles, zesty zucchini relish, and our ever-popular cowboy candy recipe – and it turned out phenomenal!
What are Bread and Butter Pickles?
Unlike classic sour pickles that rely mostly on vinegar, dill, and garlic for flavor, or sweet pickles that are fairly plain and strictly sweet, bread and butter pickles are made with a more complex combination of vinegar, sugar, and spices like mustard seed, turmeric, celery seed, and clove. They’re sweet, sour, savory, sometimes spicy and usually include onions too.
Apparently the “bread ‘n butter” name dates back to the early 1920’s. Historical sources report that a couple of Illinois farmers, Cora and Omar Fanning, were struggling to make ends meet so they worked out a deal with their local grocer to trade jars of their coveted homemade sweet and sour pickle chips for bread, butter, and other staples. They filed a trademark soon after (now expired) and the name grew in popularity ever since.

The Best Cucumbers to Use
To make the most crunchy bread and butter pickles possible, it’s best to use small cucumber varieties such as Persian or pickling cucumbers. However, I usually just pick my homegrown English cucumbers while they’re still on the small side and they work perfectly too.
It’s also best to use cucumbers that are as fresh and firm as possible. If you grow your own, try to use them within a day or two after harvest (and store them in the refrigerator in the meantime).
If you buy cucumbers, select ones that are still plenty firm and crisp. Cucumbers from the local farmer’s market will always be more fresh than those from larger grocery stores.
Supplies
- mixing bowl
- large colander or strainer
- 4 to 6 quart cooking pot
- knife or crinkle cutter
- optional: canning supplies including jars, lids, a canning pot, rack, jar lifter, etc.
Ingredients
YIELD: This recipe will make about 4 pints of bread and butter pickles
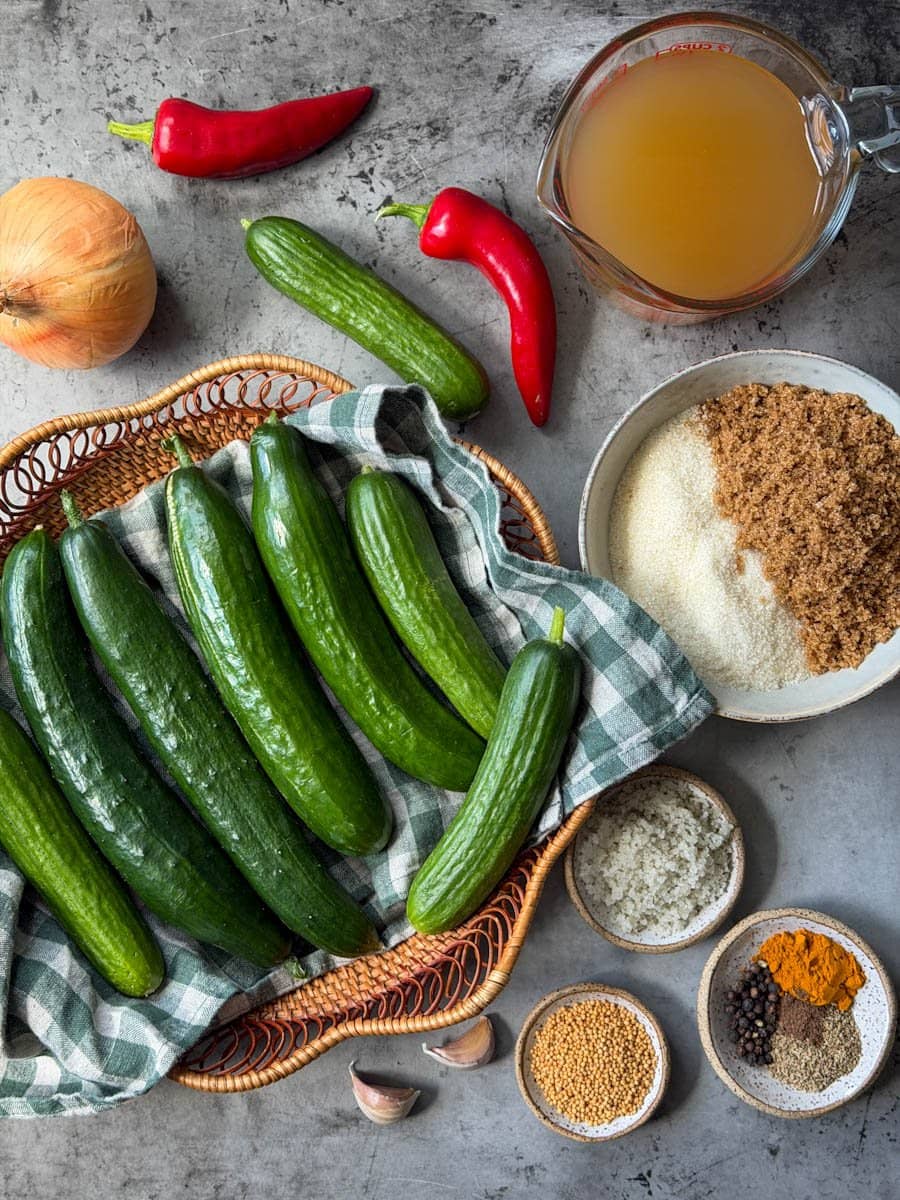
- 3 pounds of small, fresh cucumbers (pickling or Persian preferred)
- 1 medium white or yellow onion, thinly sliced
- 2.5 Tbsp sea salt, kosher, canning or pickling salt – not regular table salt (used during pickle prep only, don’t add to brine!)
- Optional: 2 fresh hot chili peppers, sliced into rings (I recommend using red jalapeños or Fresno chiles) or sub with 1 tsp red chili flakes
Pickling Brine
- 3 cups vinegar (5% acidity). I personally like to use half apple cider vinegar and half distilled white vinegar (1.5 cups of each) for the perfect balance of sweet and tangy flavors.
- 1 to 1.5 cups white sugar (sliding scale for personal preference – my recipe already uses far less than most!)
- 1/2 cup brown sugar
- 2 cloves of fresh garlic, peeled and thinly sliced (or 1/2 tsp garlic powder)
- 1 Tbsp yellow mustard seed
- 1 tsp celery seed
- 1 tsp turmeric powder
- 1/2 tsp whole peppercorns
- 1/8 tsp ground cloves or allspice
Optional: If canning, you can also add pickle crisp (food grade calcium chloride) to each jar for maximum crunch. I don’t usually use it and the pickles still have a good little crunch to them, though not quite as crisp as when we make them as refrigerator pickles.
Instructions
1) Prep and Salt Cucumbers
Don’t skip this step! Salting the cucumbers helps draw out extra water, which will make your finished bread and butter pickles even more flavorful and crunchy.
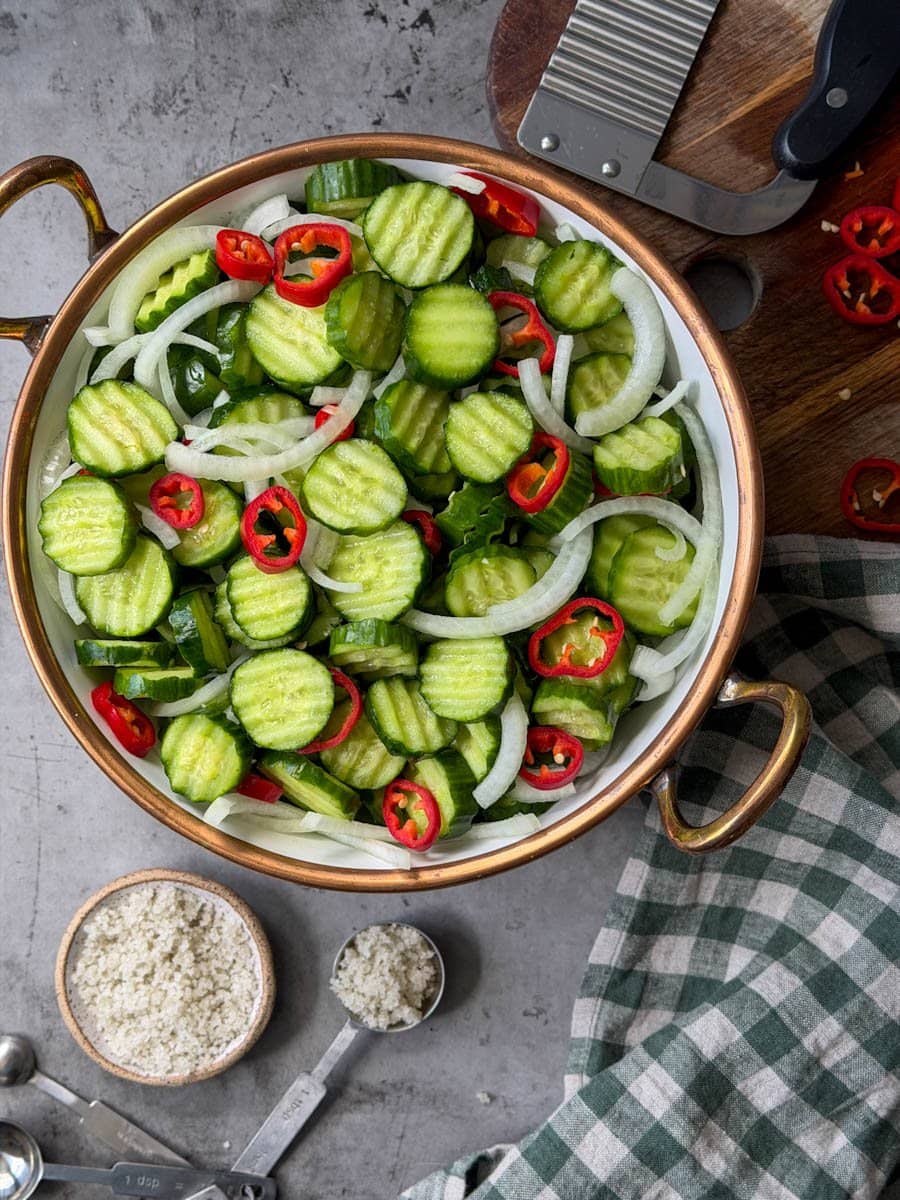
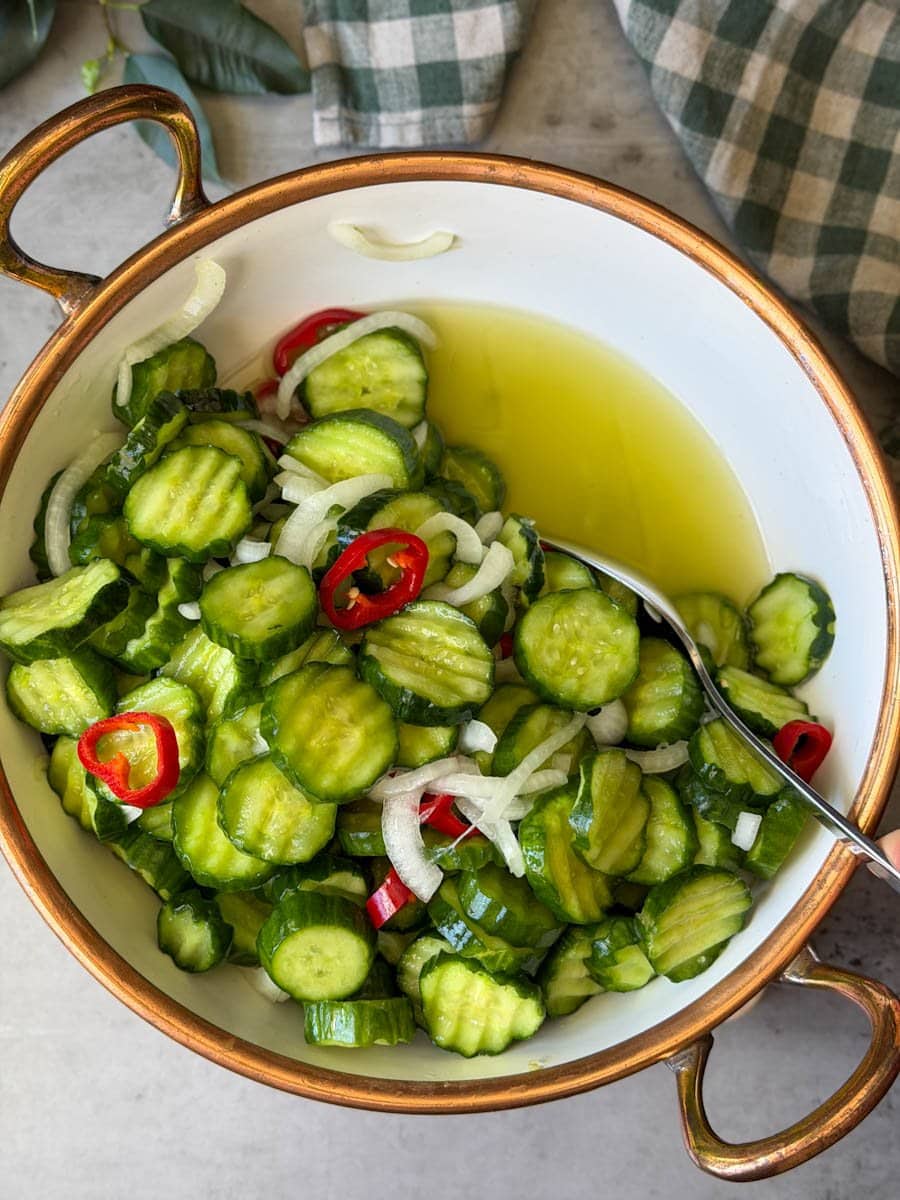
- Wash the cucumbers well and trim off (discard) both ends. Then cut the cucumbers into approximately 1/4-inch thick slices. I love to use a crinkle cutter to make my bread and butter pickles extra fun and wavy. (Thinner slices will yield softer, more pliable pickles while thicker slices will stay more crisp.)
- Peel and thinly slice the onions, along with the optional peppers.
- Combine the sliced cucumbers, onions, and peppers in a large mixing bowl, and sprinkle with sea salt or canning salt. Gently toss and mix to evenly distribute the salt. (I like to add half the salt first, stir well, add the other half, then mix again.)
- Cover the bowl and let it rest in the refrigerator for 2 to 4 hours, stirring occasionally. You should see a lot of water collect in the bottom of the bowl by the end.
TIP: If you want to can your bread and butter pickles, get your canning supplies ready (including pre-heating your water bath canner) while they rest in the fridge. Since pickles are processed for over 10 minutes, it’s NOT necessary to pre-sterilize the jars.
2) Strain and Rinse
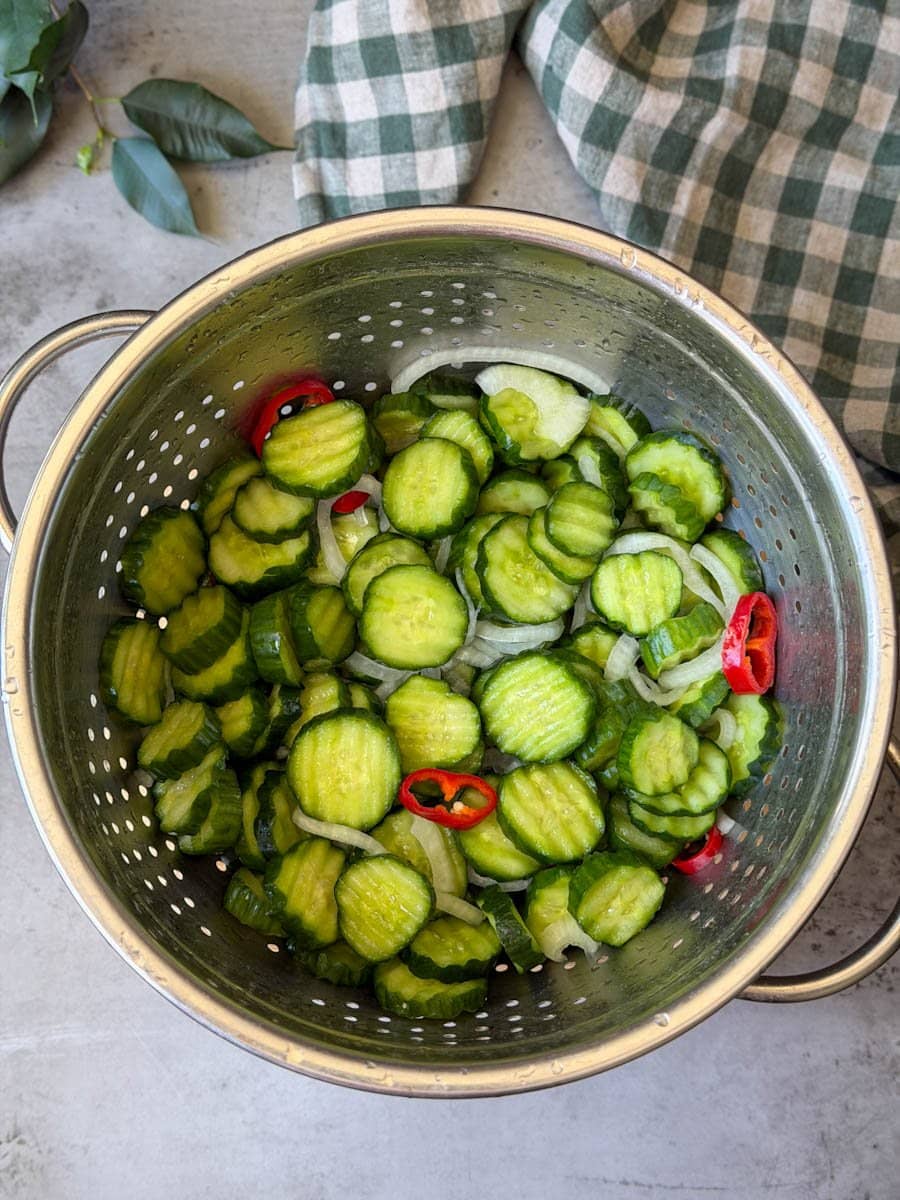
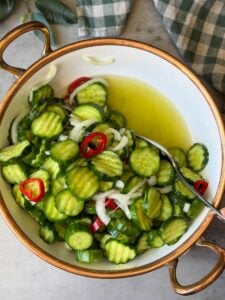
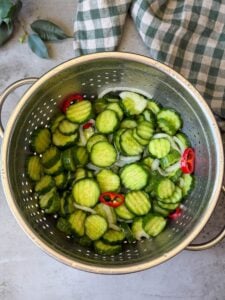
- When the time is up, transfer the cucumber mixture to a strainer or colander.
- In the sink, rinse the cucumber mixture very well under cool running water for a couple minutes to wash away the salt, gently stirring and tossing to ensure they’re thoroughly rinsed.
- Allow the rinsed cucumbers to drip and drain for several minutes, gently shaking the strainer. While they’re draining, start heating the brine on the stovetop.
3) Make Brine and Pickles
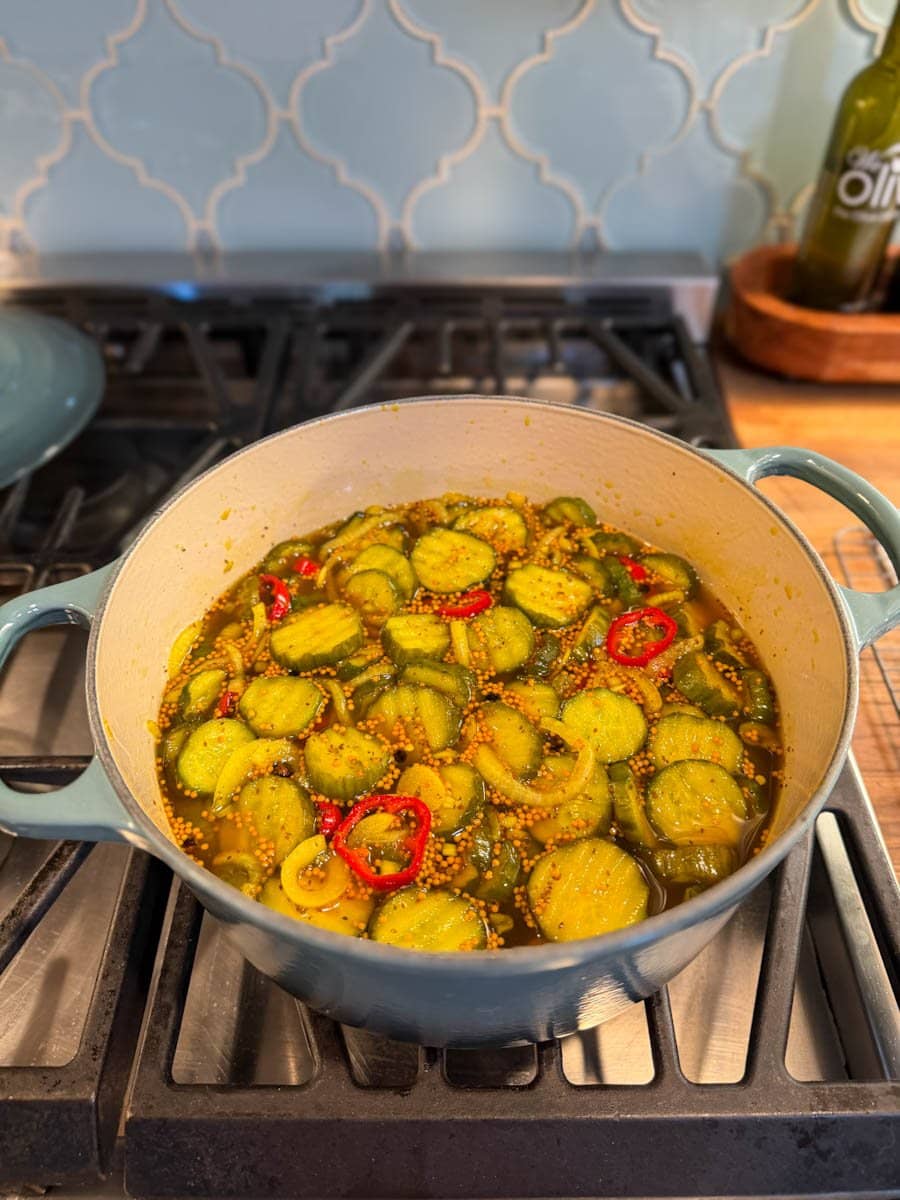
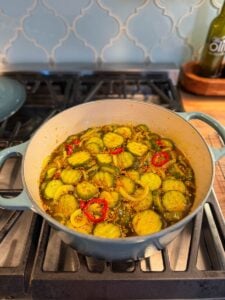
- In a large pot, combine the vinegar, sugar, sliced garlic, and pickling spices: mustard seed, celery seed, turmeric, peppercorns, and allspice or cloves. (Do not add salt.) Bring to a boil and simmer for 3 to 5 minutes.
- Add the sliced cucumber mixture and heat again, but only until the brine comes back to quick and gentle boil – then remove from heat. Stir gently a few times while heating. Overcooking the cucumbers will make your finished bread and butter pickles less crisp.
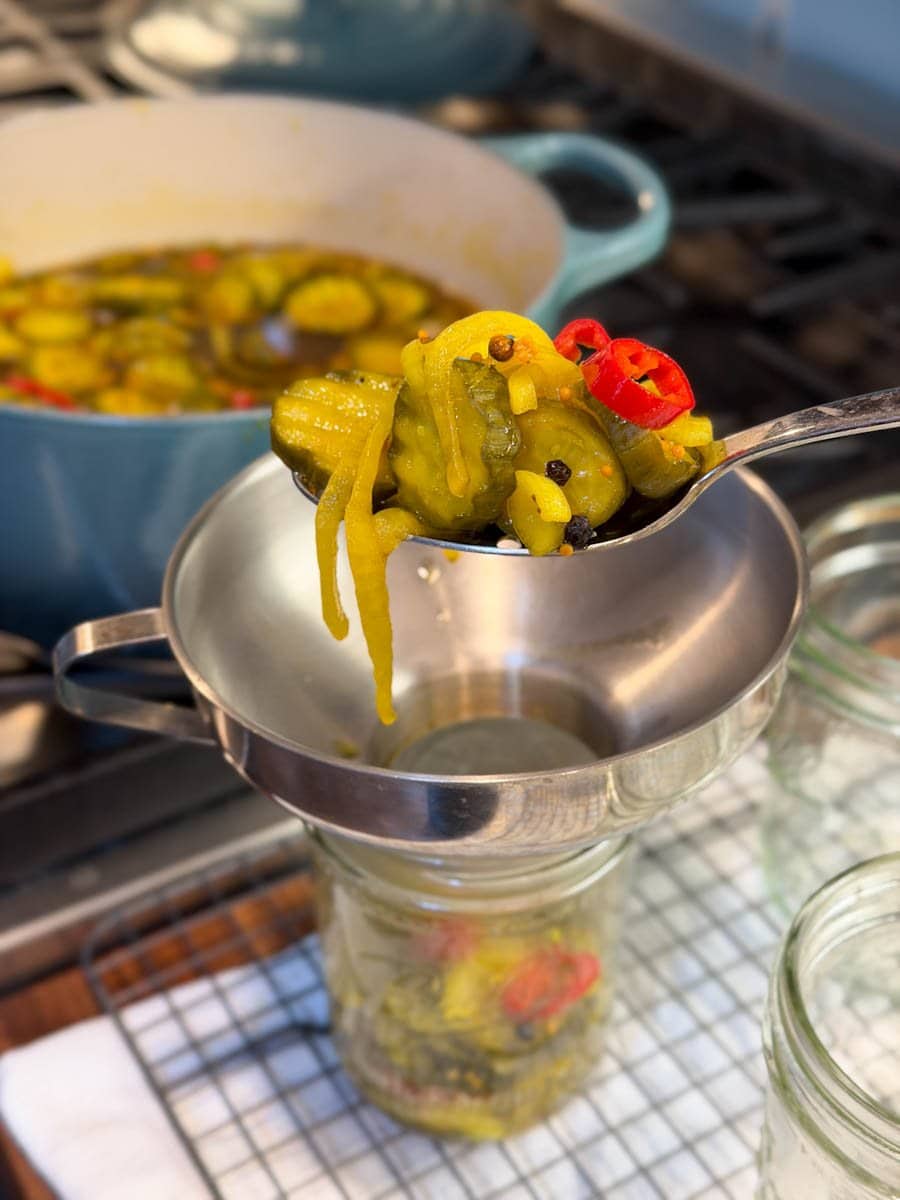
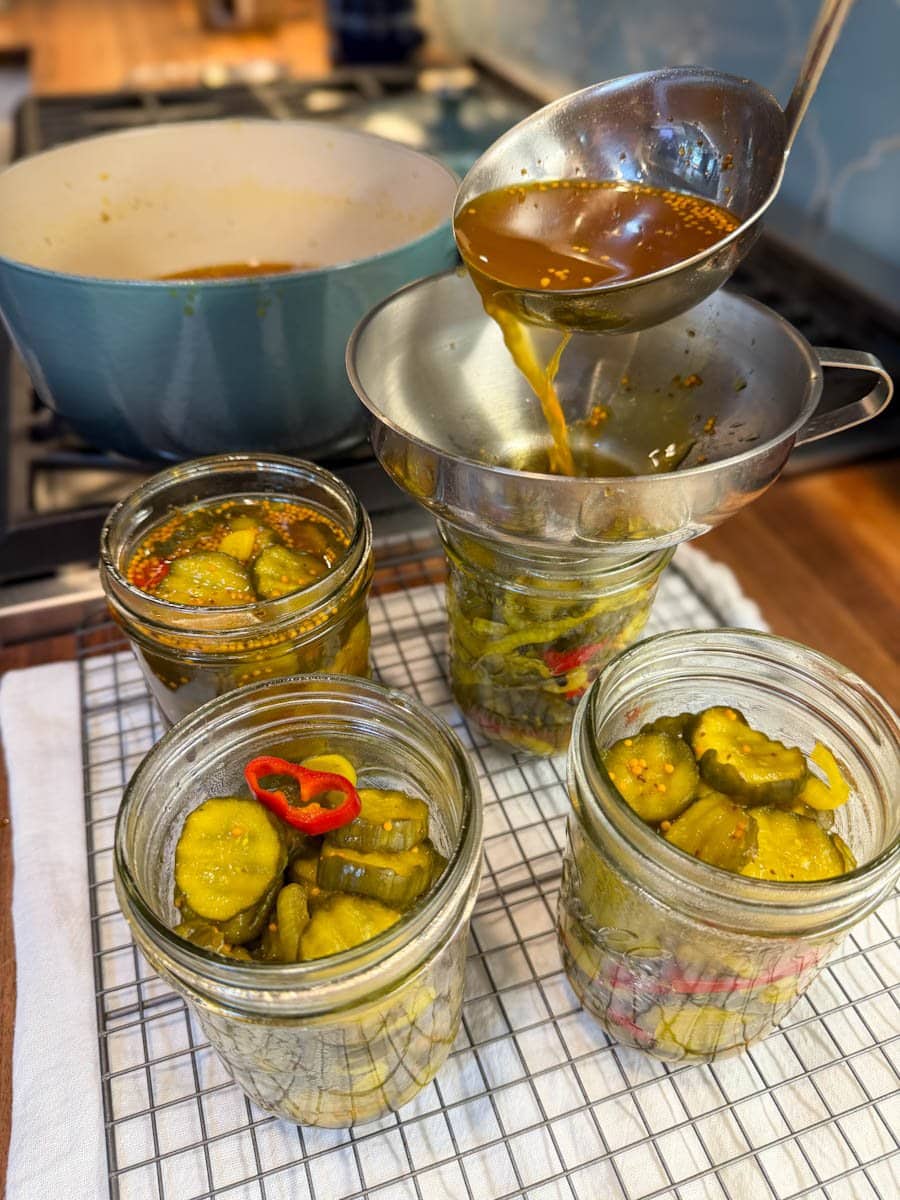
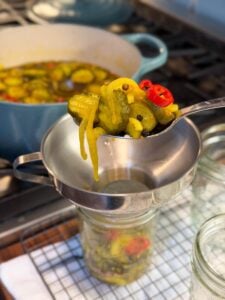
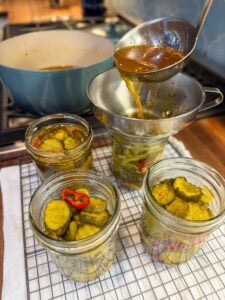
- While they’re still warm, use a slotted spoon or tongs to completely pack hot jars with sliced cucumbers, onions, and peppers first (without the brine) – filling the jars up to 1″ of the rim.
- Then ladle the hot brine or pickling syrup into the jars over the pickles. Leave 1/2″ head space if canning.
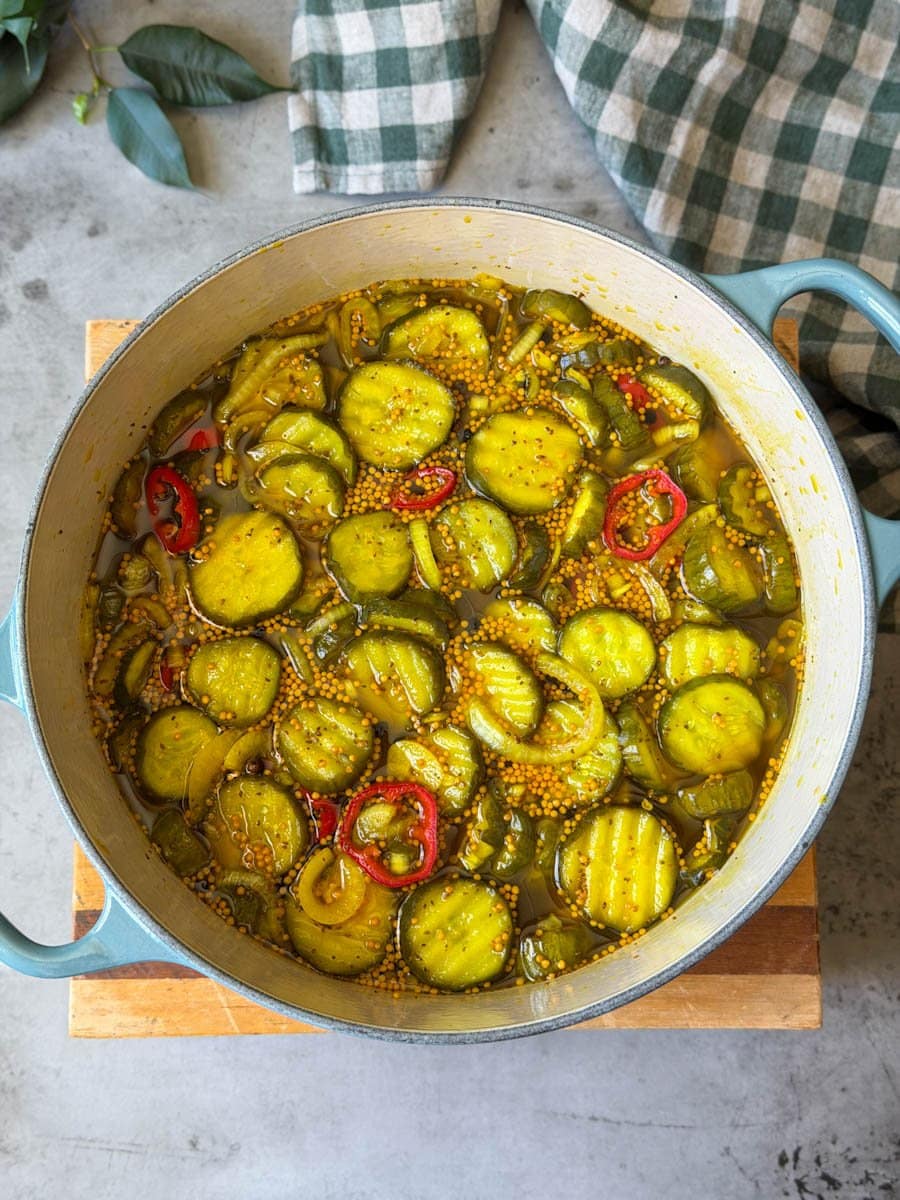
- See canning instructions below. Or to make refrigerator pickles, simply allow the jars to cool slightly before adding a lid and storing them in the refrigerator. The flavor will continue to develop and improve in the days after they’re first made!
TIP: If you have any leftover brine or pickling syrup, add it to a jar with some sliced peppers, green zucchini, green beans, or other veggies to make some quick refrigerator pickles!
Canning Bread and Butter Pickles
- After filling the jars with bread and butter pickles (with ½ inch head space), then remove air bubbles from the packed jars with a canning bubble tool, chopstick, or clean butter knife.
- Optional: If you choose to use pickle crisp, add a rounded 1/8 tsp to each pint jar.
- Wipe the rim of the jars with a damp paper towel or clean cloth. A clean rim is essential for a good seal!
- Place fresh canning lids centered on the jars, and then add jar rings. Lightly tighten the jar rings to finger-tight only.
- Using a jar lifter or canning tongs, carefully transfer the jars of bread and butter pickles into a ready and boiling hot bath canner. The jars should be covered by at least 1 to 2 inches of water, and be resting on a canning rack (not directly on the bottom of the pot)
- Return to a boil and then process the pickles for 10 minutes at sea level, adjusting for elevation. See chart below.
- When the time is up, remove the lid and turn off the heat, but let the jars sit in the canner for another 5 minutes before carefully transferring them to a cooling rack. Leave jars undisturbed for at least 12 hours before checking seals. (Do not stack or press on the top of the lids.)
| Recommended process time for Bread and Butter Pickles in a boiling water canner. | Process Time at Altitudes of | ||
| Style and Jar Size | 0 – 1,000 ft | 1,001 – 6,000 ft | Above 6,000 ft |
| Hot Pack: half-pints, pints or quarts | 10 mins | 15 | 20 |
Storage and Shelf Life
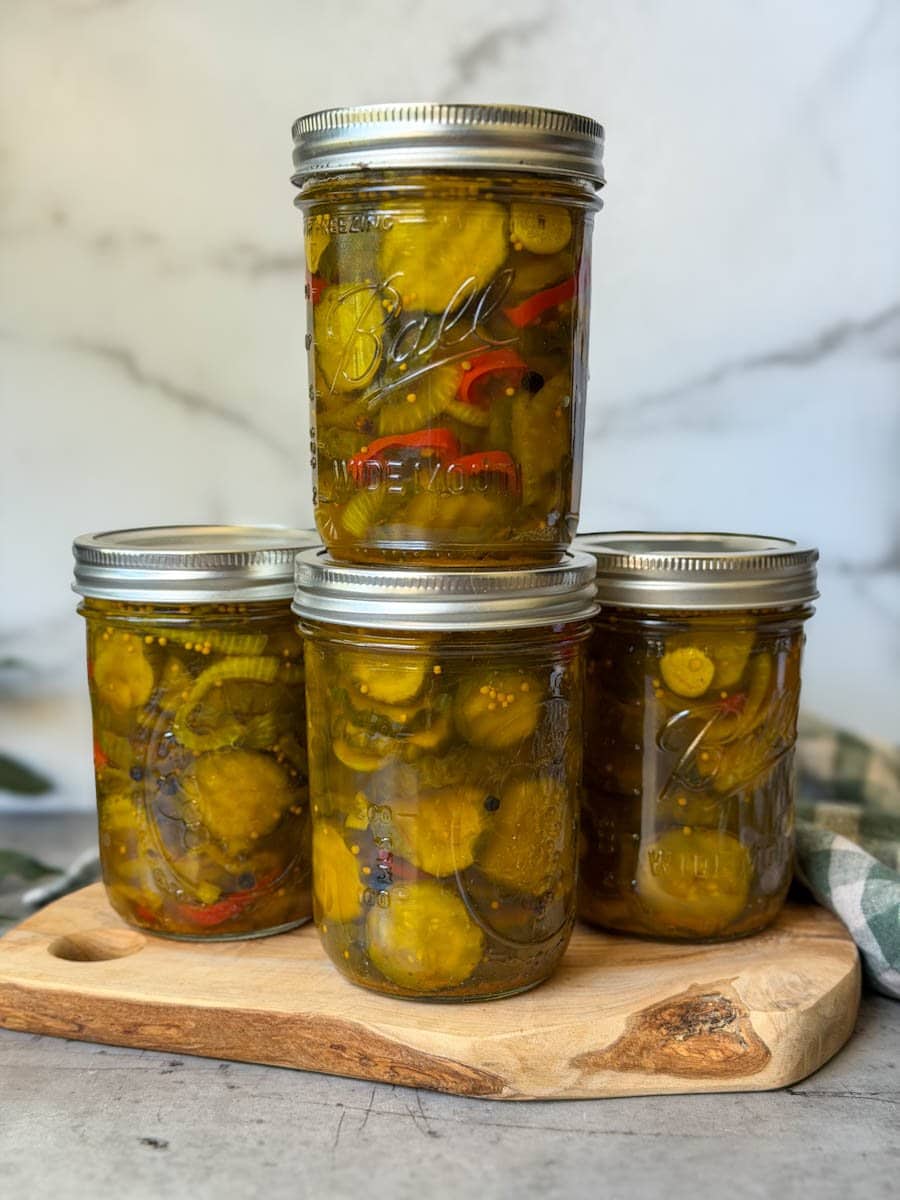
Canned bread and butter pickles will stay good for one year or longer when sealed and stored at room temperature – and are best stored in a cool dark location such as a pantry, cupboard, basement or root cellar. Refrigerate after opening and use within 3 months.
Refrigerator bread and butter pickles (not canned) can also last for up to a year, though the quality and texture is best if consumed within 2 to 3 months. Refrigerate at all times. Discard if mold or off odors develop.
You can also freeze bread and butter pickles for up to a year in airtight freezer containers. Defrost in the refrigerator.
Ways to Use Bread and Butter Pickles
Compared to classic dills, I think the sweet-n-spicy, relish-like flavor of bread and butter pickles compliments an even wider variety of meals.
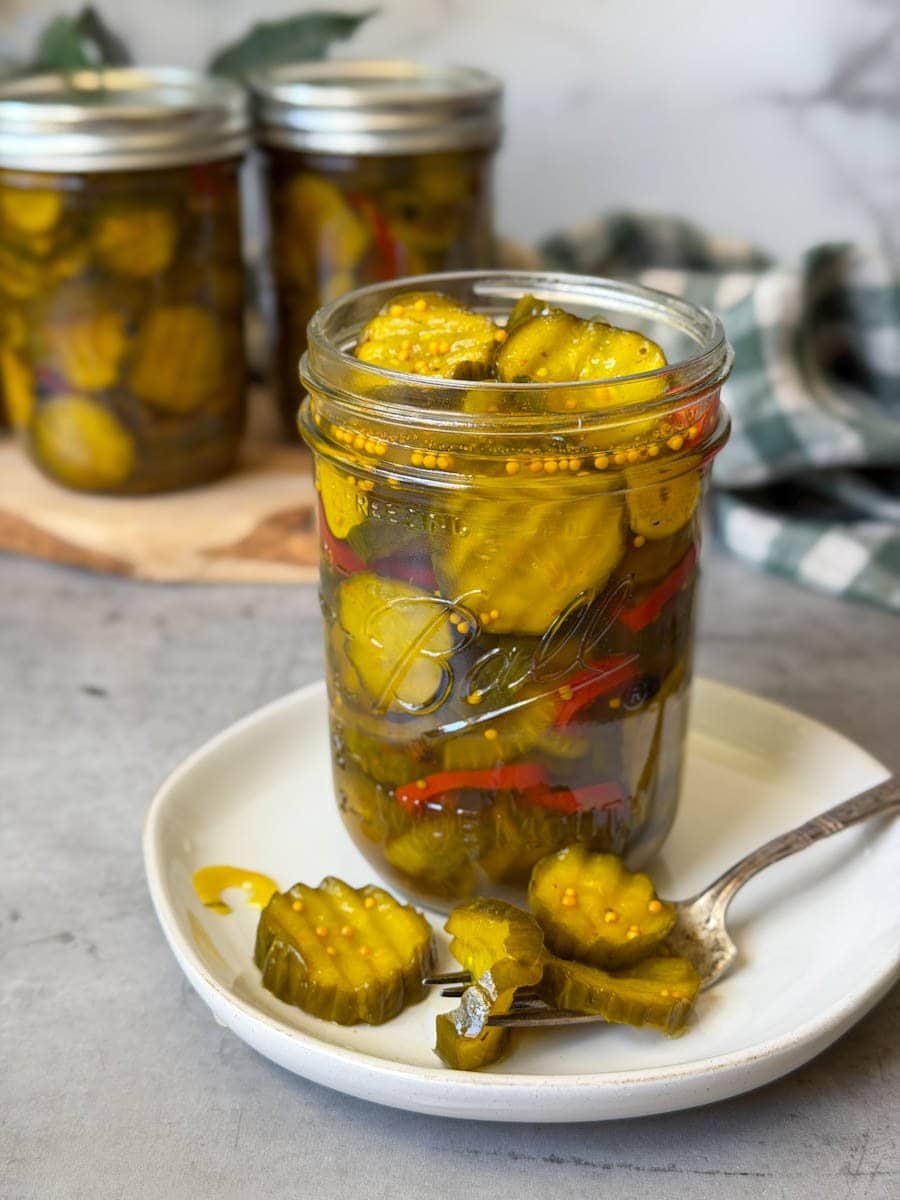
They’re delicious with burgers, sandwiches, tacos, and salads – including leafy greens, pasta, potato, or tuna salad. They’re also fantastic with egg dishes like scrambled eggs, frittata, egg salad or quiche. I especially love bread and butter pickles with quinoa or salmon bowls, crackers and cheese (or cream cheese), or simply straight out of the jar.
Don’t sleep on eating those pickled onions too!
All in all, I hope you love this recipe as much as we do. Please leave a review below once you give it a try, and feel free to ask any questions in the comments.
You may also like:
- Easy Sweet ‘n Spicy Pepper Jelly Recipe
- Best Refrigerator Pickles: Quick, Easy, Crunchy Dill Pickles
- Easy Roasted Tomato Sauce Recipe (Freeze or Can)
- Cowboy Candy Recipe aka Candied Jalapeños
- Quick Pickled Dilly Green Beans Recipe
- Best Spiced Tomato Jam Recipe (Can or Freeze)
Best Bread and Butter Pickles (Canning or Refrigerator)
Want to save this?
Equipment
- Large mixing bowl
- large cooking pot
- strainer or colander
- knife or crinkle cutter
- canning supplies and jars
Ingredients
- 3 pounds small fresh cucumbers (Persian or pickling cucumbers preferred), cut into 1/4" rounds
- 1 medium yellow or white onion, thinly sliced
- 2.5 tbsp sea salt, canning, kosher, or pickling salt (not table salt) – only used during prep, not in the brine
- 2 whole fresh hot chili peppers, sliced into rings (I like red jalapeños) or sub with 1 tsp chili flakes (optional)
Pickling Brine
- 3 cups vinegar, 5% acidity if canning (I like to use a mix of 1.5 cups apple cider vinegar and 1.5 cups white vinegar)
- 1-1.5 cups white sugar (sliding scale for personal preference)
- 1/2 cup light brown sugar
- 2 cloves fresh garlic, thinly sliced (sub with 1/2 tsp garlic powder)
- 1 Tbsp yellow mustard seed
- 1 tsp celery seed
- 1 tsp turmeric powder
- 1/2 tsp whole peppercorns
- 1/8 tsp ground cloves or allspice
- pickle crisp (optional, if canning)
Instructions
Prep, Salt, and Rinse Cucumbers
- Wash the cucumbers well, trim off (discard) both ends, and cut into 1/4-inch thick slices.
- Peel and thinly slice the onions, along with the optional peppers.
- Combine the sliced cucumbers, onions, and peppers in a large mixing bowl, and sprinkle with sea salt or canning salt. Gently toss and mix to evenly distribute the salt. Cover the bowl and let it rest in the refrigerator for 2 to 4 hours, stirring occasionally. (You'll see water collect in the bottom of the bowl, which will be discarded)

- Transfer the cucumber mixture to a strainer and rinse very well under cool running water for a couple minutes to wash away the salt. Toss gently to ensure they’re thoroughly rinsed. Allow to drip dry for a few minutes after.
Make Brine and Pickles
- In a large pot, combine the vinegar, sugar, sliced garlic, and pickling spices: mustard seed, celery seed, turmeric, peppercorns, and allspice or cloves. (Do not add salt.) Bring to a boil and simmer for 3 to 5 minutes.
- Add the sliced cucumbers and heat again, but only until the brine comes back to a quick and gentle boil – then remove from heat. Stir gently a few times while heating.
- While they’re still warm, use a slotted spoon or tongs to completely pack hot jars with sliced cucumbers, onions, and peppers first, filling the jars up to 1″ of the rim.
- Then ladle the hot brine (pickling syrup) into the jars over the pickles. Leave 1/2″ head space if canning.
- See canning instructions below. Or to make refrigerator pickles, simply allow the jars to cool slightly before adding a lid and storing them in the refrigerator.
Canning Instructions
- Optional: you may want to add a rounded 1/8 tsp of pickle crisp (food-grade calcium chloride) to each pint jar to maintain maximum crunch.
- After filling the jars (with ½ inch head space), remove air bubbles from the packed jars with a canning bubble tool, chopstick, or clean butter knife and wipe the rim of the jars with a damp paper towel or clean cloth.
- Place fresh canning lids centered on the jars, and then add jar rings. Lightly tighten the jar rings to finger-tight only.
- Using a jar lifter or canning tongs, carefully transfer the jars into a boiling hot bath canner. The jars should be covered by at least 1 to 2 inches of water, and be resting on a canning rack (not directly on the bottom of the pot)
- Once the canner returns to a rolling boil, process for 10 minutes. (To adjust for altitude, process 15 minutes at 1000-6000 feet above sea level, and 20 minutes at 6000+ feet.)
- When the time is up, remove the lid and turn off the heat, but let the jars sit in the canner for another 5 minutes before carefully transferring them to a cooling rack. Leave jars undisturbed for at least 12 hours before checking seals. (Do not stack or press on the top of the lids.)




24 Comments
Dina
This is such a simple and easy to follow recipe. I made one batch of pickles and canned most of it. Left a little for the fridge and we already ate it! Wonderful flavor, love the turmeric – it comes through beautifully. I didn’t have the pickle crisp but the bread and butter slices came out super crispy. I will be making a double batch soon. Never buying store bought b & b pickles ever again! Love that you can control the ingredients, like using organic cane sugar instead of the high fructose corn syrup.
Thanks for all the instructions and love the gorgeous pics. Highly recommend this recipe even if you are new to canning!
Aaron (Mr. DeannaCat)
Amazing to hear Dina and thank you so much for sharing!
Jeff W
Did this with cucumbers. So easy! So yummy! I’m doing this next with Gravenstein apples from my tree.
Amy Seropian
I’m obsessed with these. They’re very easy and so good, I can’t stop eating them!
Amy
I’m obsessed with these! They’re very easy to make and so good, I can’t stop eating them!
Deanna Talerico
Thanks for the review Amy, we’re so glad you love them too!
Jan Vollmar
What do l have at home that l could use other than Pickle Crip? (Crisp)
Deanna Talerico
Hi Jan, You don’t HAVE to use pickle crisp if you’re canning them – it’s just a suggestion if you prefer them extra crunchy. (We didn’t have any on hand for the last batch we canned, and while they’re not quite as crunchy as the ones we make as refrigerator pickles, they still have a decent texture – far from mushy) If you happen to have access to fresh grape leaves, blackberry or raspberry leaves, horseradish, or oak leaves – you could add one to the bottom of each jar for some natural tannins to help with crunch. Wash it really well with warm water first though! I hope that helps!
Joann Moller
When using the chili flakes do I add them to the cucumbers and onions or should I add them with the brine ingredients?
Aaron (Mr. DeannaCat)
Hi Joann, add the chili flakes with the other seasonings into the brine itself, hope that helps and have fun!
Carolyn Collins
I haven’t made these yet. Can the cucumbers rest overnight?
Deanna Talerico
Hi Carolyn, You could give it a try, though I haven’t personally tried that myself for this recipe. In regards to texture, I think the salt *should* help them stay crisp overnight (though no guarantees, the texture may change some) and I also worry the salt may soak in even more and result in overly salty pickles… but if you do it and it works well, please report back – that’s a valuable tip to know!
Kristi Duchscherer
I did this because I ended up being away from the house much, much longer than anticipated. I’d gotten as far as the salting and resting in the fridge but then had to leave them overnight. Upon rinsing and getting ready for the last steps, I tasted a cucumber and the texture and taste didn’t seem any different from previous batch, where I’d only let them rest for 4 hours. I’ll test out in a few days (canning them right now!) and let you know if the texture or taste are anything less than awesome! ;0)
Aaron (Mr. DeannaCat)
Thank you so much Kristi and it’s good to know you didn’t notice a difference in texture or taste, hope the batch turned out well!
Toni Wellhausen
Going to try the refrigerator way for a change (and to save time!)…..are plastic jars acceptable? I didn’t see anything about them in the post. Thanks!! You know I love your recipes!
Deanna Talerico
Hi Toni! I think that’s a bit of a personal decision… If you use food-grade, BPA-free containers it’s technically “safe” but I don’t love using plastic with highly acidic ingredients like vinegar, especially since you’ll be pouring the brine in when it’s still hot. It will definitely stain your containers (both the smell and the turmeric color) too, so keep that in mind. Thanks for being here, I can’t wait to hear how you like them!
Sam
I made these as soon as you posted them and ooooeee they’re SO delicious! I used the hot peppers and love the little kick it adds. I’d never pre-salted my cukes before and it totally made them more crunchy and flavorful. Thanks for the tip and for this tasty recipe!
Deanna Talerico
Hey Sam – awesome, so happy to hear it! We’re glad you love the recipe as much as we do, and are super grateful for the review!
Kara
These look delish! Can I sub honey, coconut sugar or maple syrup for the cane sugars?😊
Deanna Talerico
Hi Kara, you can use sugar substitutes only if you make these as refrigerator pickles since those changes wouldn’t be safe for canning. It may alter the final flavor/texture, but have fun experimenting! I recommend looking up suggested replacement ratios too, since those aren’t all 1:1. Have fun and let us know how it goes!
Erin Drake
Can the brine be made ahead of time in preparation for when I am able to accumulate 3 lbs? I only have one plant
Deanna Talerico
Hi Erin – I don’t think it’s necessary to make the brine is advance – that part is pretty quick and easy once you have your cucumbers together and ready. If you don’t have enough cukes, you could simply halve the recipe (or supplement with a few from the farmer’s market or grocery store too). Otherwise I don’t recommend slowing “saving up” 3 pounds of cucumbers unless you can do so within a week or so (keeping them in the fridge) since it’s best to preserve just-picked cucumbers before they start to go soft. Enjoy!
Denny Doyle
I want to make these…they look wonderful.
Checking to see if the 3lbs of cukes fill 4 pint jars? I’m just looking at your pics and wondering.
Aaron (Mr. DeannaCat)
Hi Denny, yes, 3 pounds of cucumbers will fill the four pint jars. We hope you enjoy the pickles!