

Easy Sourdough Discard Crackers Recipe (Optional Cheese or Herbs)

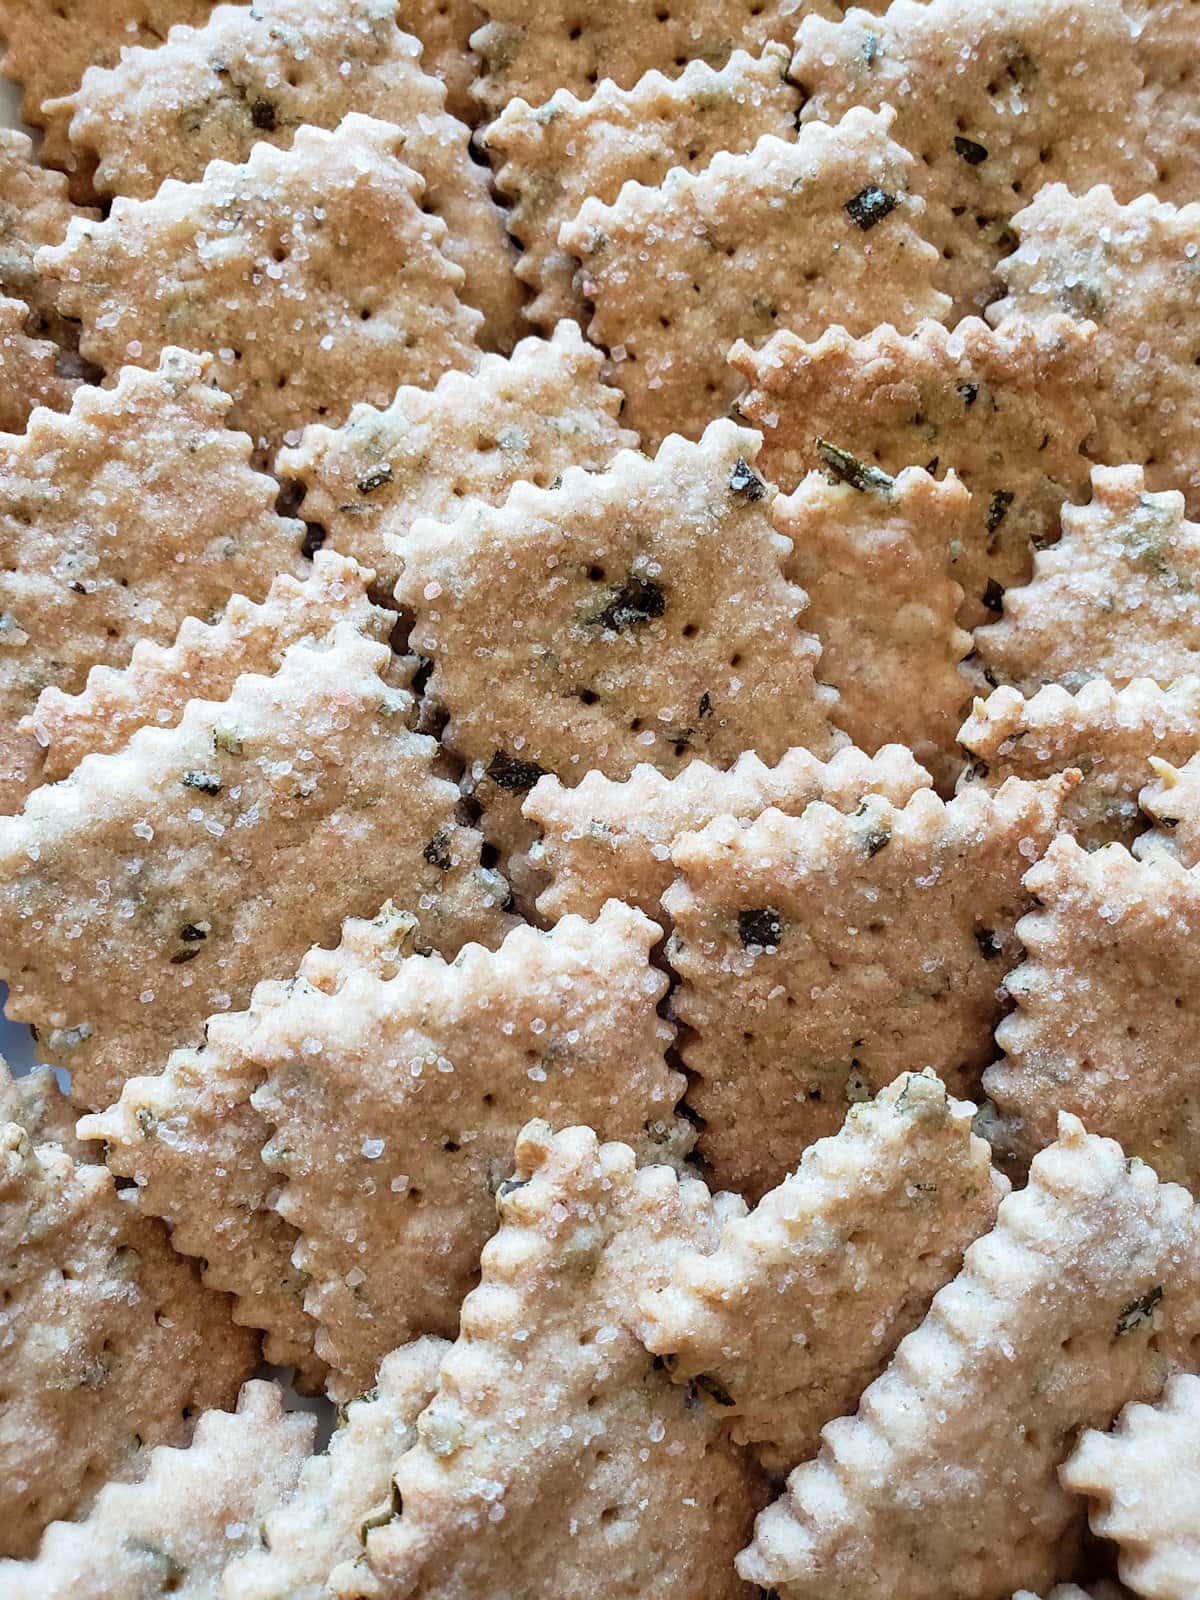
Looking for ways to use sourdough starter discard? Come learn how to make delectable, crispy, savory crackers with our easy sourdough discard crackers recipe, including step-by-step photos. You can bake the crackers the same day, let the dough sit overnight, or use active starter if you wish.
This sourdough discard crackers recipe is very flexible so you can easily customize them to your liking. Keep the crackers plain, or add in optional herbs, cheese or other seasonings. I’ve included a list of some of my favorite add-ins, as well as tips on how to make your sourdough discard crackers extra crispy. Have fun experimenting, and happy snacking!
Note: This post was originally published in June 2019.

Want to save this?
Disclosure: Homestead and Chill is reader-supported. When you purchase through links on our site, we may earn an affiliate commission.
RELATED: Looking for more sourdough discard recipes? Don’t miss our delicious chunky sourdough granola! We also have a recipe for gluten-free sourdough discard crackers.
Supplies
- Mixing bowl
- Two cookie sheets (or bake the sourdough discard crackers in two batches)
- Parchment paper and/or silicone baking sheet liner
- Rolling pin
- Pastry roller, pizza cutter, or knife. We love to use this pastry/pasta cutter to get fun wavy edges!
- Basting brush, to lightly brush the top of the crackers with olive oil before baking
Ingredients
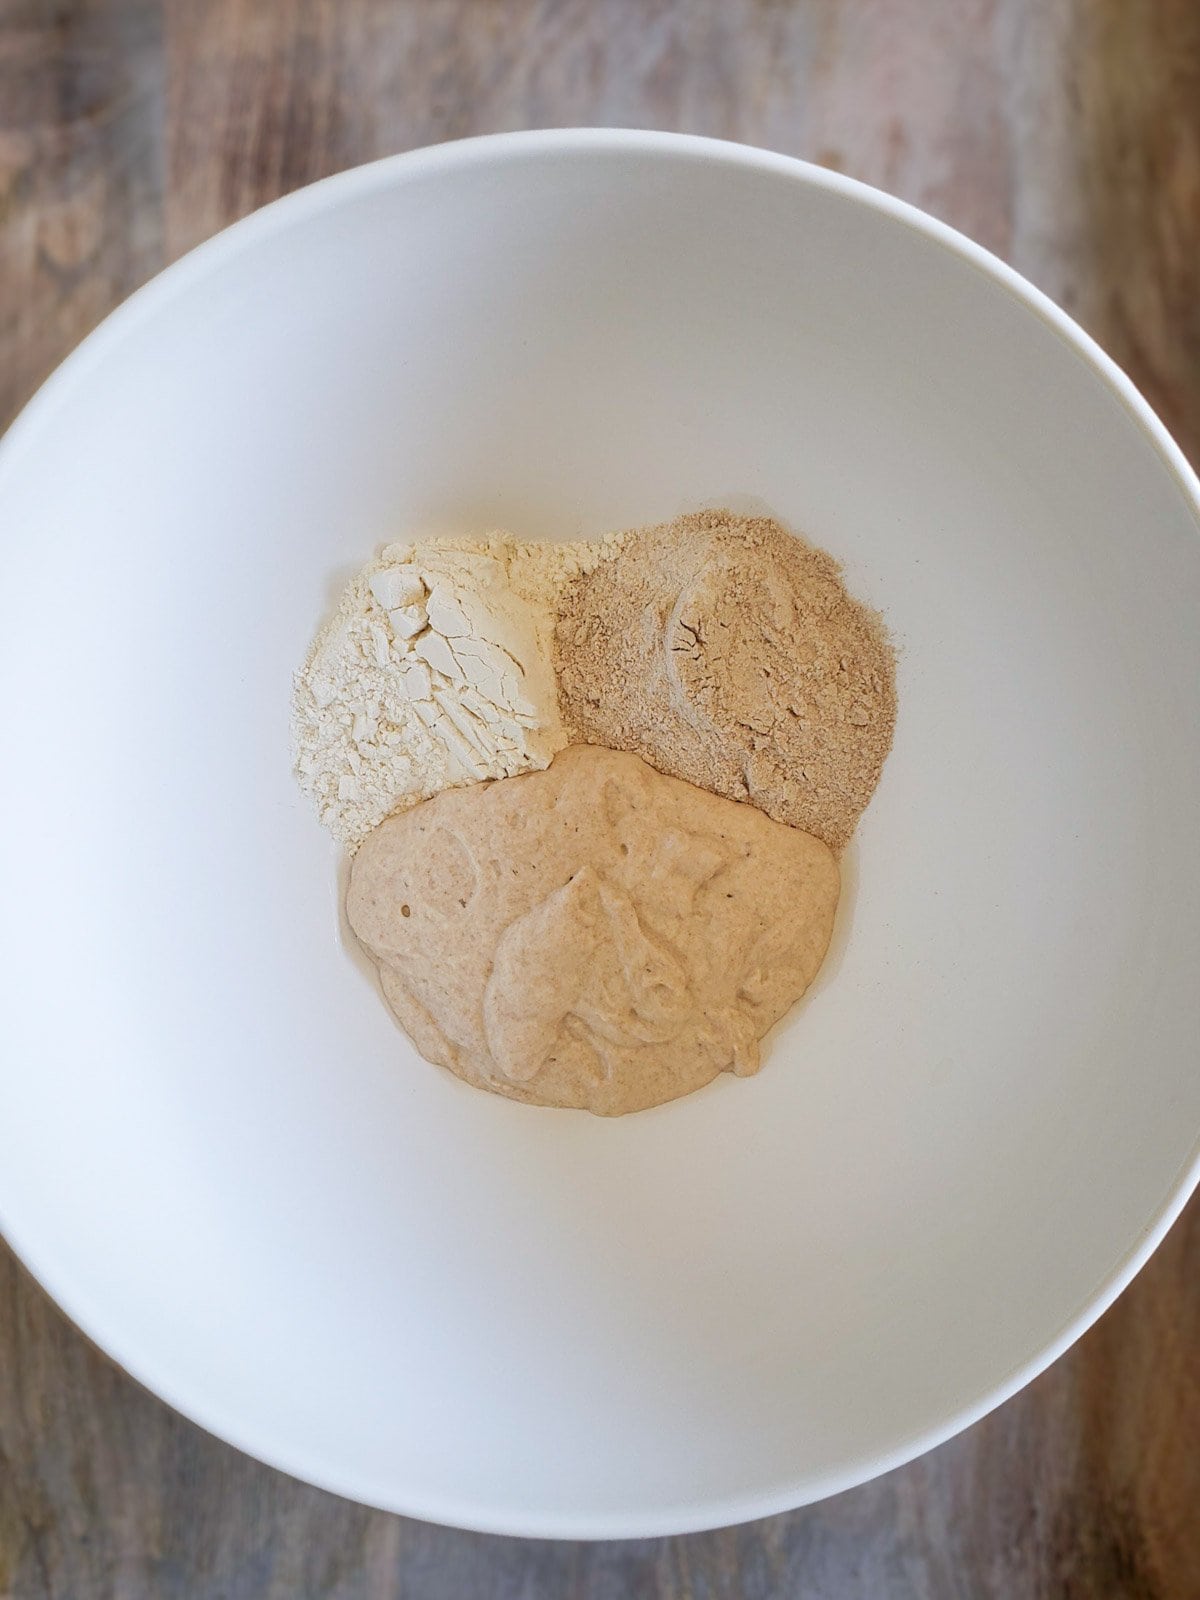
- 1 cup of flour. For added nutrition and depth, I personally like to use 1/2 cup unbleached bread flour along with 1/2 cup whole wheat flour, though all purpose flour works as well.
- 1 cup of sourdough starter, discard or active. If using discard, it’s best if it was fed within the last week or two. Using extra old, neglected discard will make your sourdough crackers very sour-tasting.
- ¼ cup (4 tablespoons) of coconut oil, butter, or olive oil. I find that coconut oil helps to make the sourdough discard crackers extra crisp!
- Olive oil, for brushing on top
- Coarse sea salt, for sprinkling on top
Optional Additions
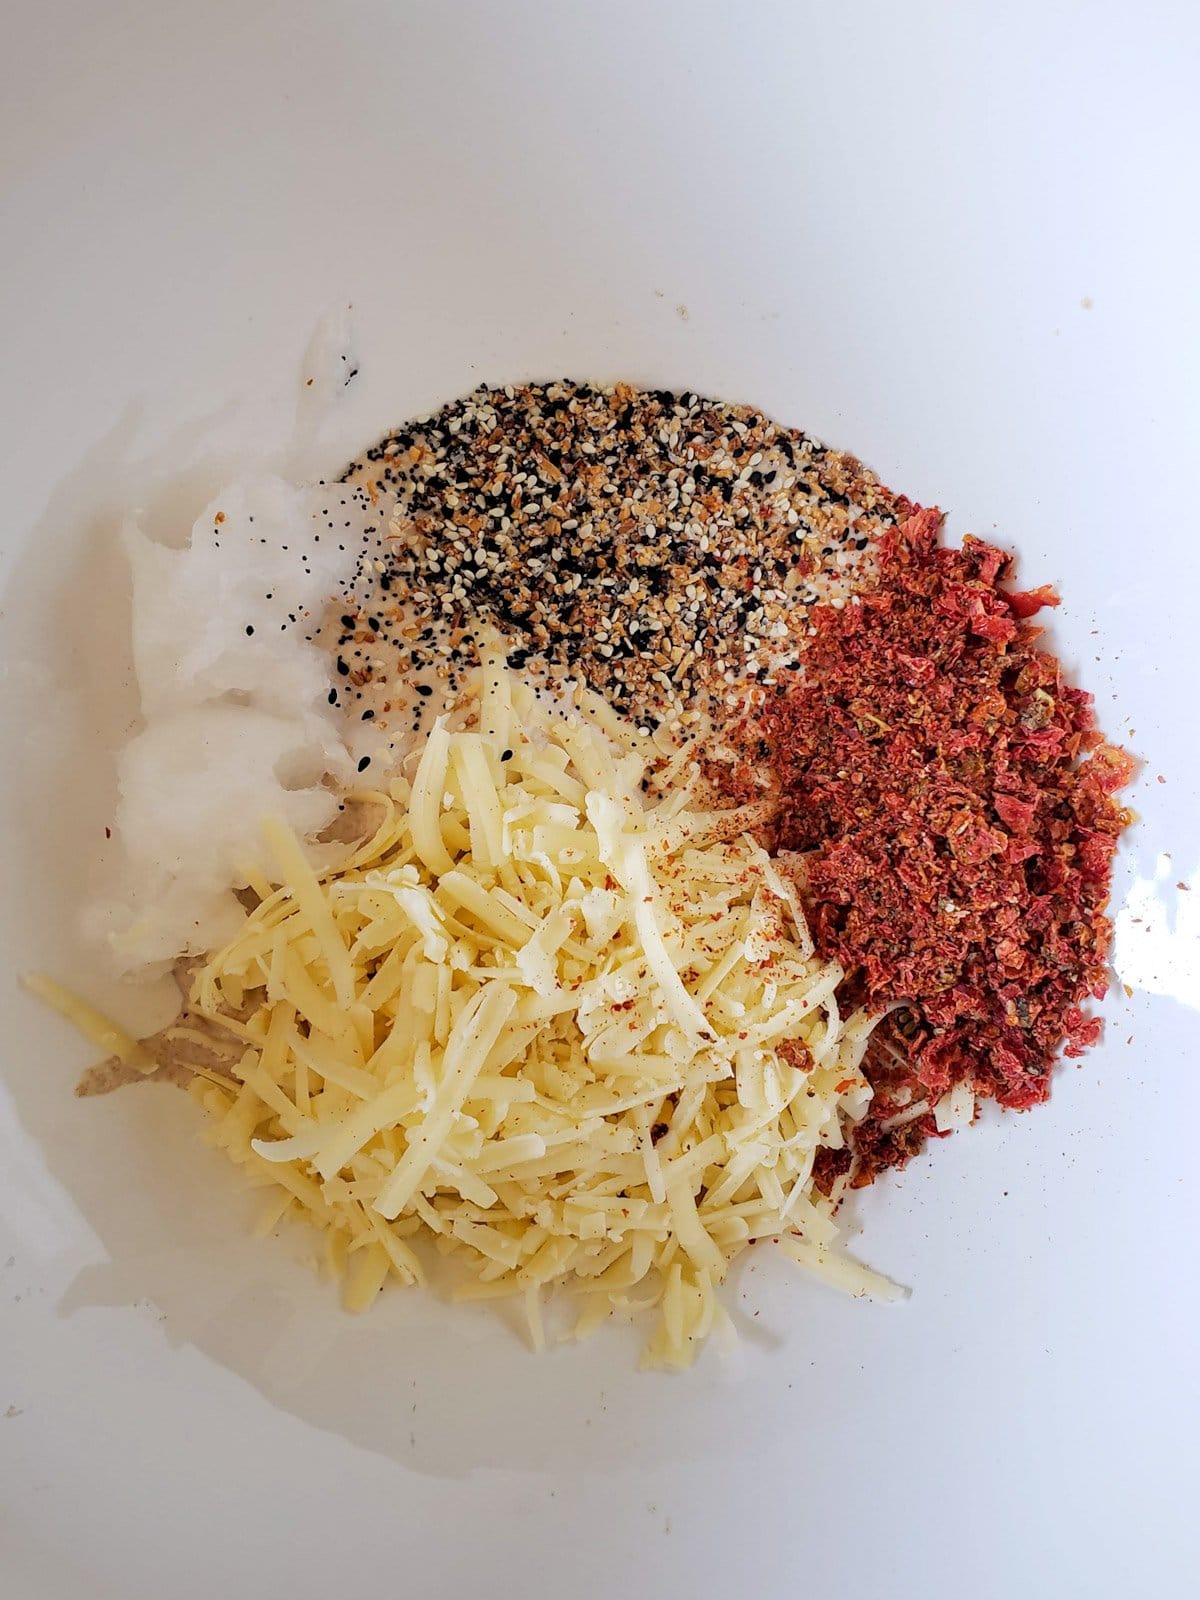
Here are a few tasty additions we often add to our sourdough discard cracker recipe. Try just one, or combine a couple. I personally love to add fresh herbs from the garden, everything bagel seasoning, and/or sharp cheddar cheese.
- 2 Tbsp dried herbs, or ¼ cup fresh chopped herbs. I love a mix of rosemary, sage, oregano, and thyme from the garden.
- 1/4 to 1/2 cup of finely grated firm cheese, such as cheddar or parmesan
- 2 Tbsp everything bagel seasoning
- 1/4 cup sun-dried tomatoes, finely chopped
- 1/4 cup sunflower seeds or pumpkin seeds
- 1 to 2 Tbsp of nutritional yeast
- 1/2 tsp onion powder or garlic powder (not garlic salt)
- A sprinkle of paprika over the top, but wait to add until after baking (or near the end)
Instructions
1) Mix Dough
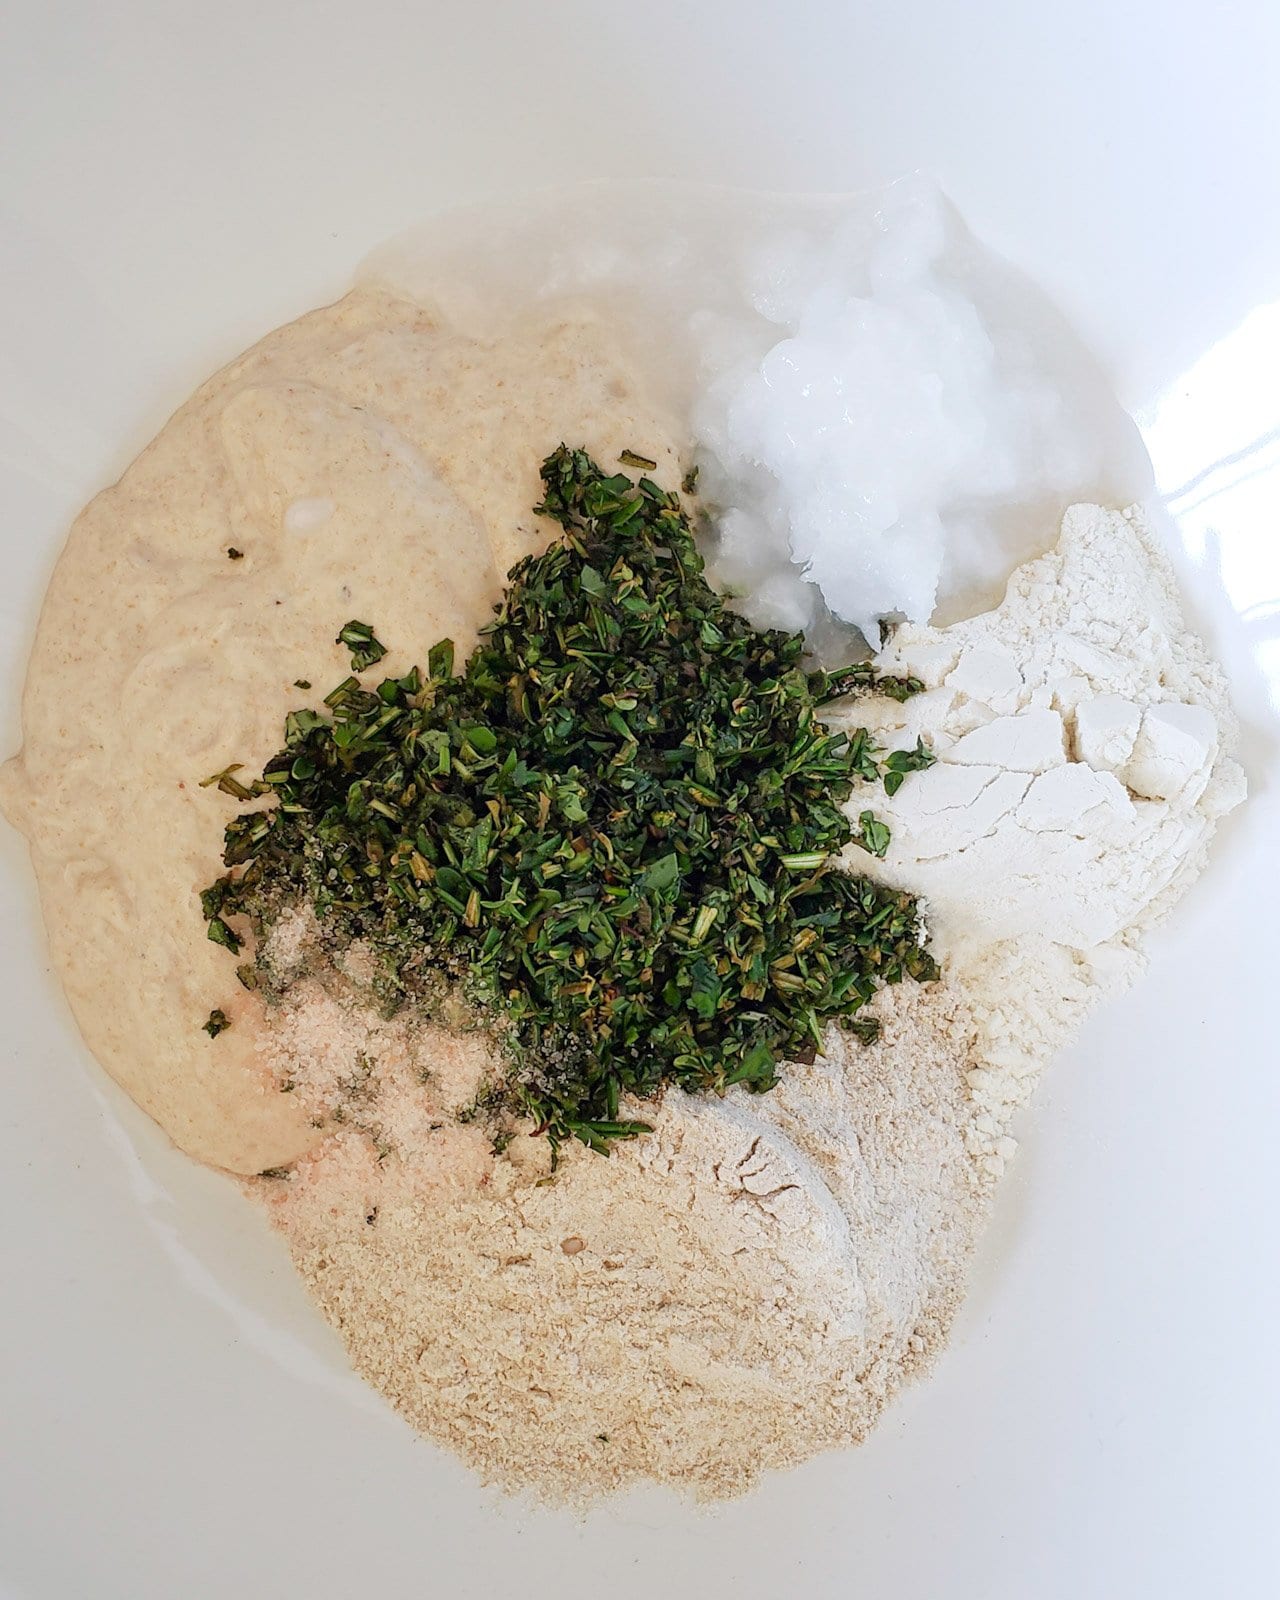
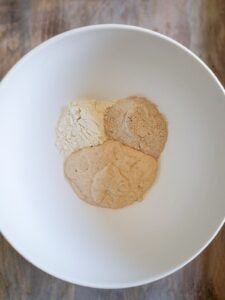
- In a large mixing bowl, combine flour, sourdough starter, salt, and coconut oil or butter. Also add any optional herbs, cheese, or other seasonings at this time.
- The coconut oil or butter should be slightly softened so it can easily mix into the dough. Lightly heat it first as needed, just until it barely starts to melt.
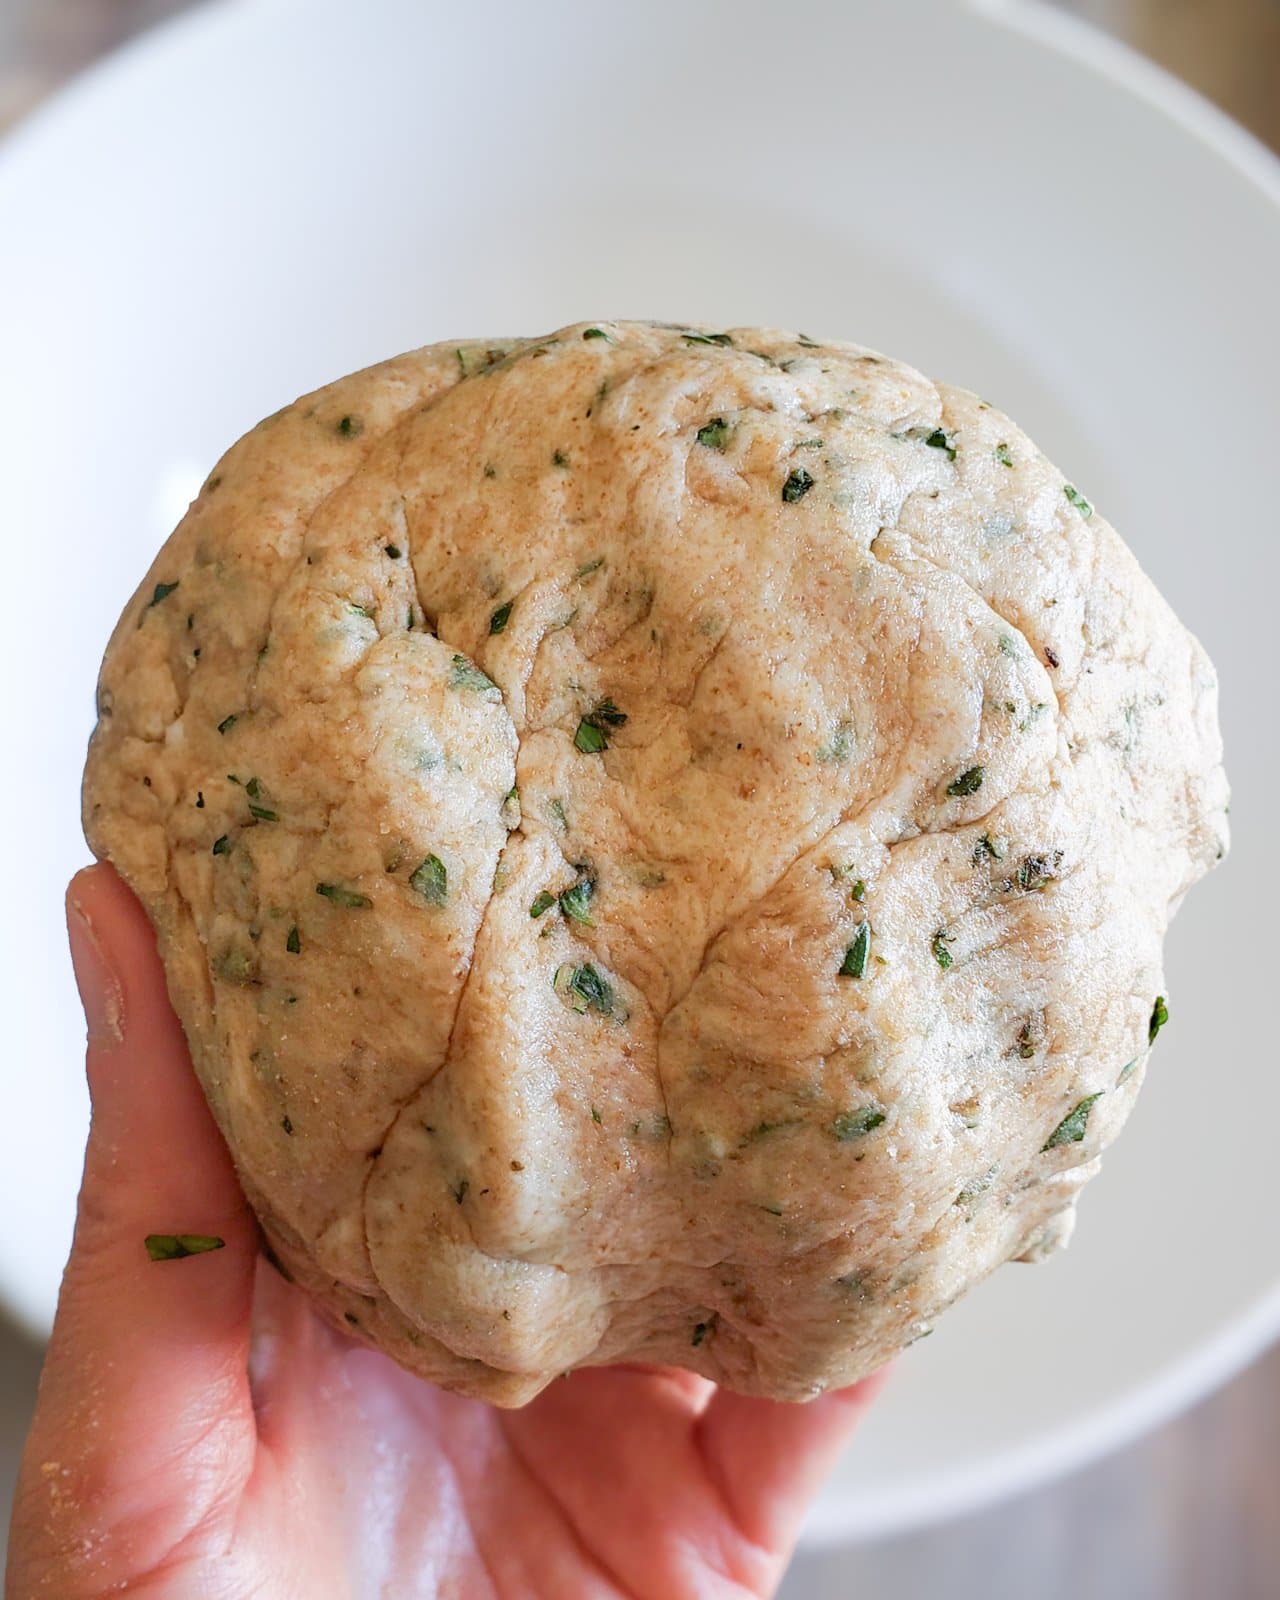
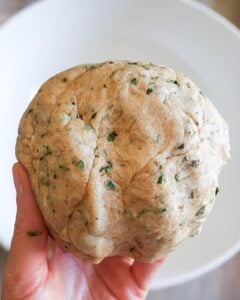
- Thoroughly mix the dough until it forms a uniform ball. I usually start mixing with a fork or spoon, but then finish mixing with my hands. It should not be sticky, especially with the coconut oil.
2) Split, Form, and Cover
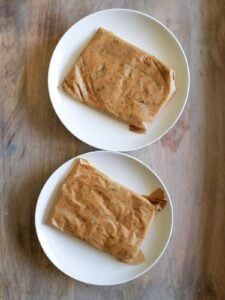
- Next, divide the large dough ball into two roughly equal-size smaller balls.
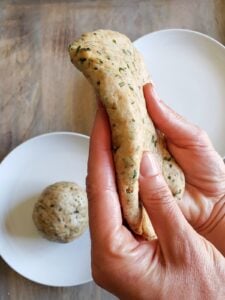
- Using your hands, form each ball into a flattened rectangle. (We’ve been vegetarian for a loooong time, but this reminds me of forming hamburger patties, lol…) Mine generally end up a little larger than my flattened hand, and about half an inch thick. Repeat for the second ball.
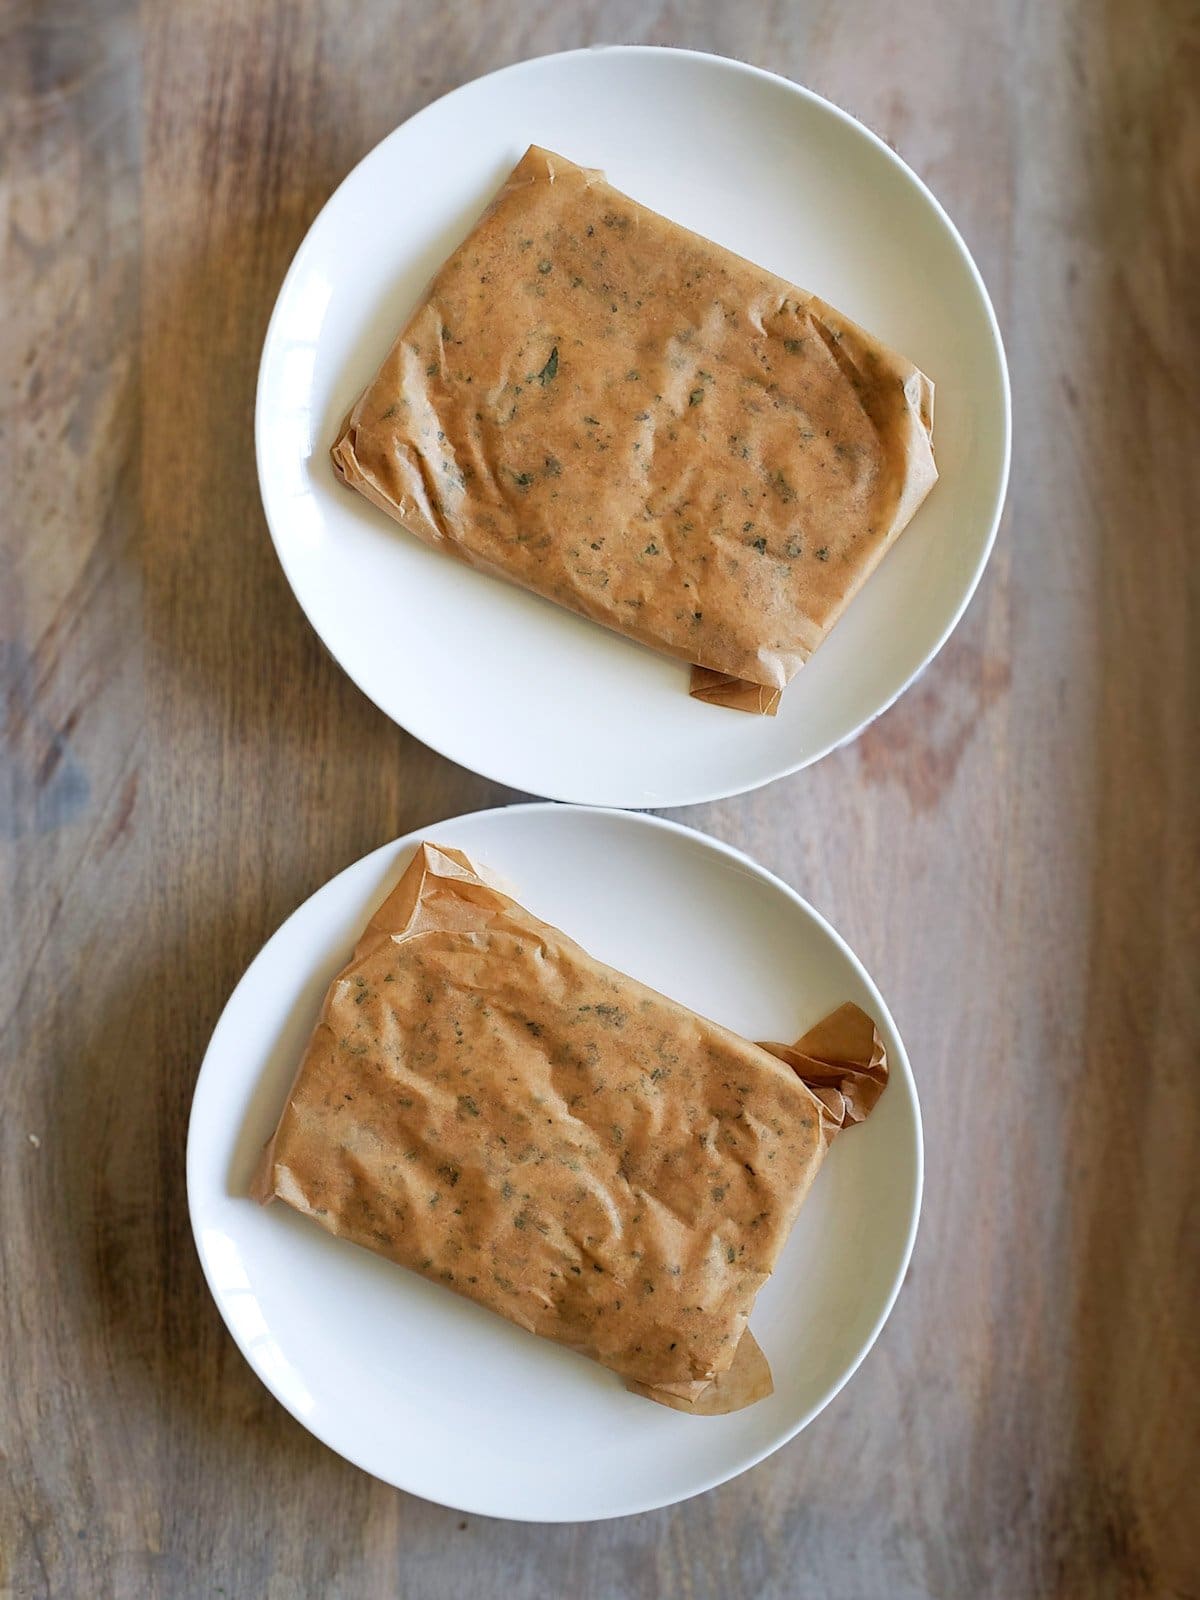
- Now cover or wrap each rectangle of sourdough cracker dough to prevent it from drying out. You can use compostable parchment paper, reusable beeswax wrap, plastic wrap or a ziplock bag. If you plan to bake your crackers within the next hour or two, you could simply set the dough on a plate with a lightly dampened towel draped over the top.
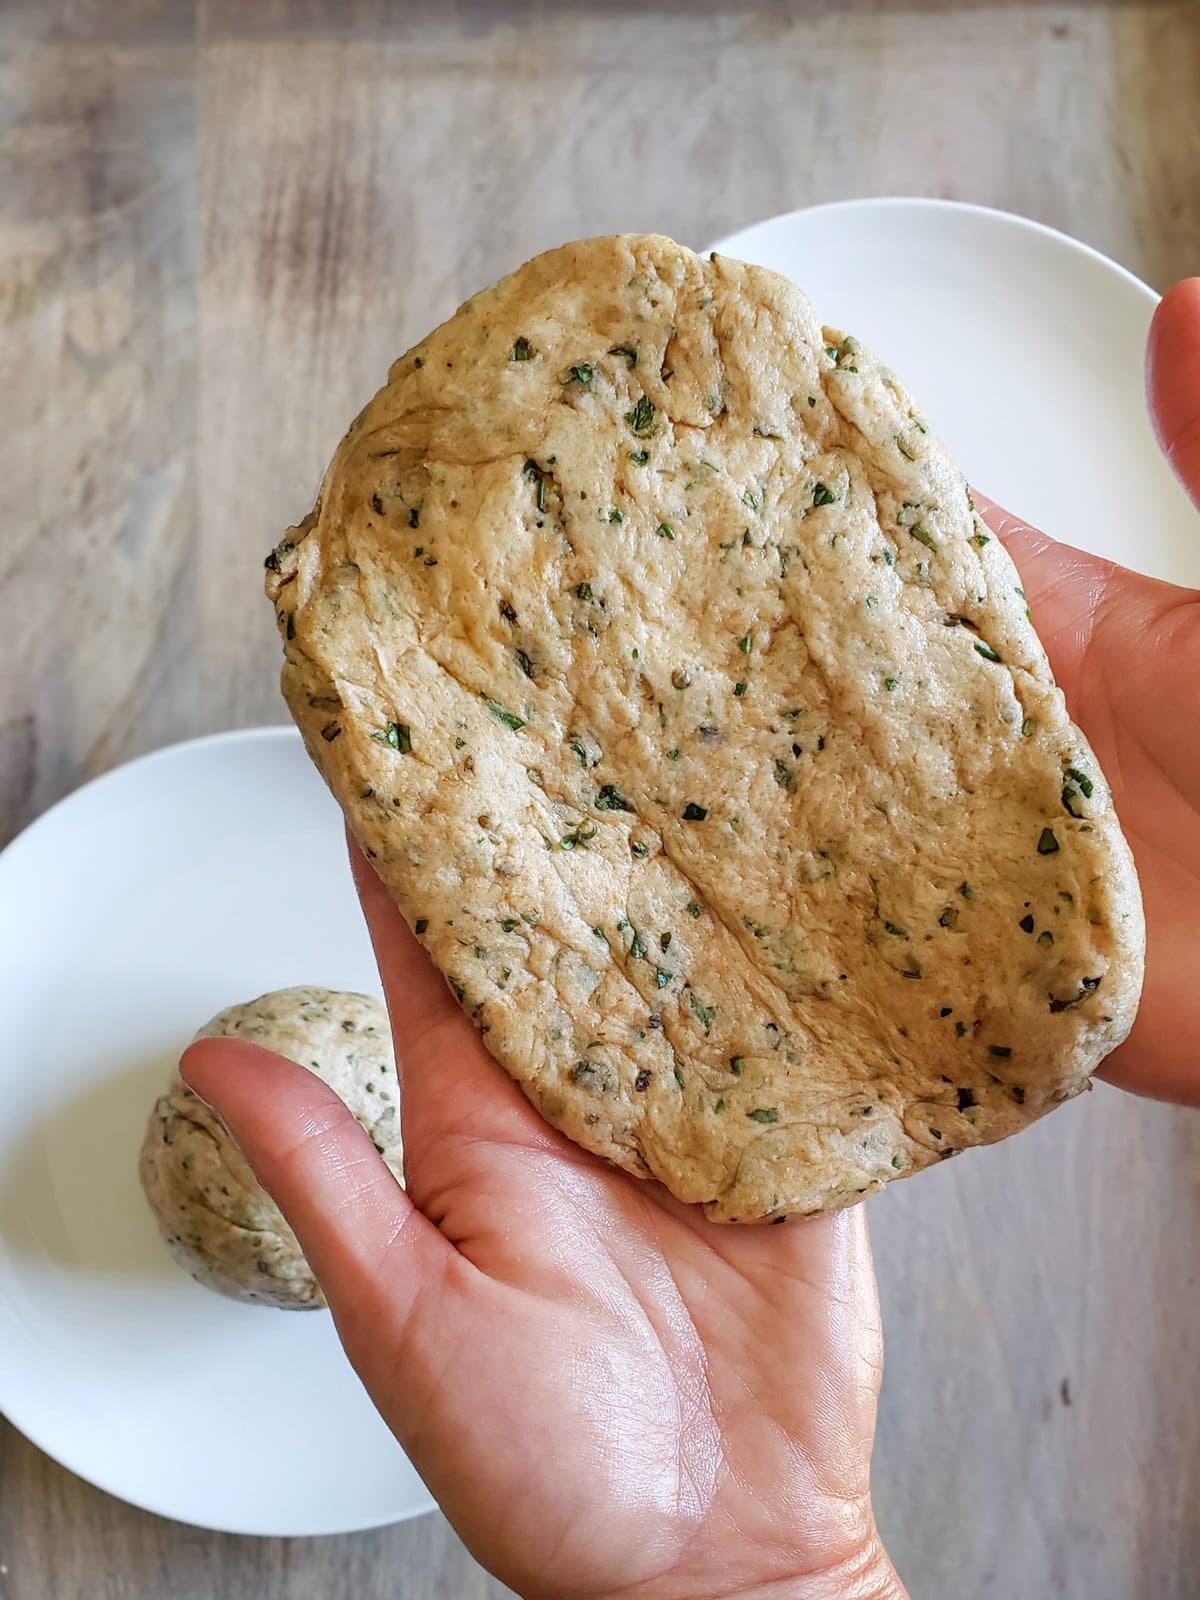
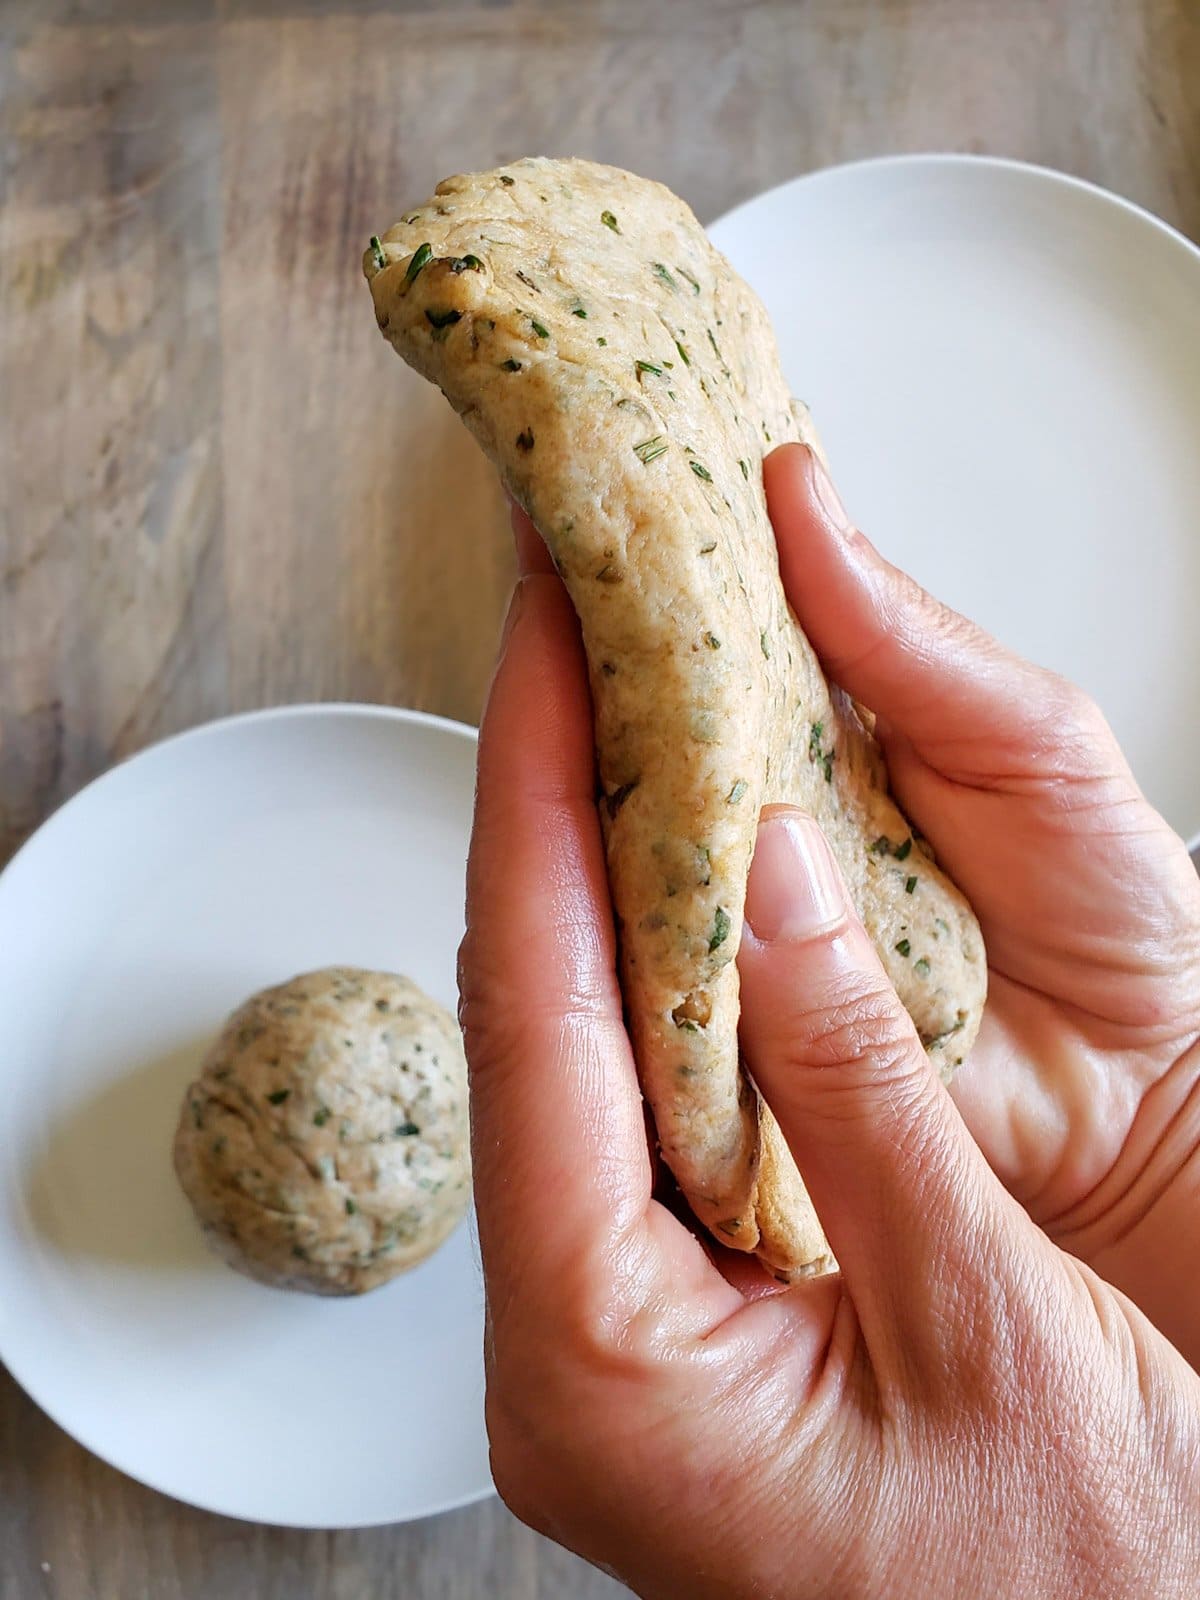
3) Cool Dough
Refrigerate the covered cracker dough for at least 30 minutes, up to a couple hours. You can also let the dough sit in the fridge overnight, but be sure it is well-wrapped or even tucked inside an airtight container to prevent it from drying out.
TIP: The longer the dough sits in the fridge, the more it will ferment (and become more gut-healthy!) yet it will also become increasingly cold and firm – and more challenging to roll out thin. Therefore, if the dough is refrigerated for more than a couple of hours, I suggest allowing it to warm up at room temperature for 15 to 30 minutes before rolling it out.
4) Roll Thin
- Preheat the oven to 350°F.
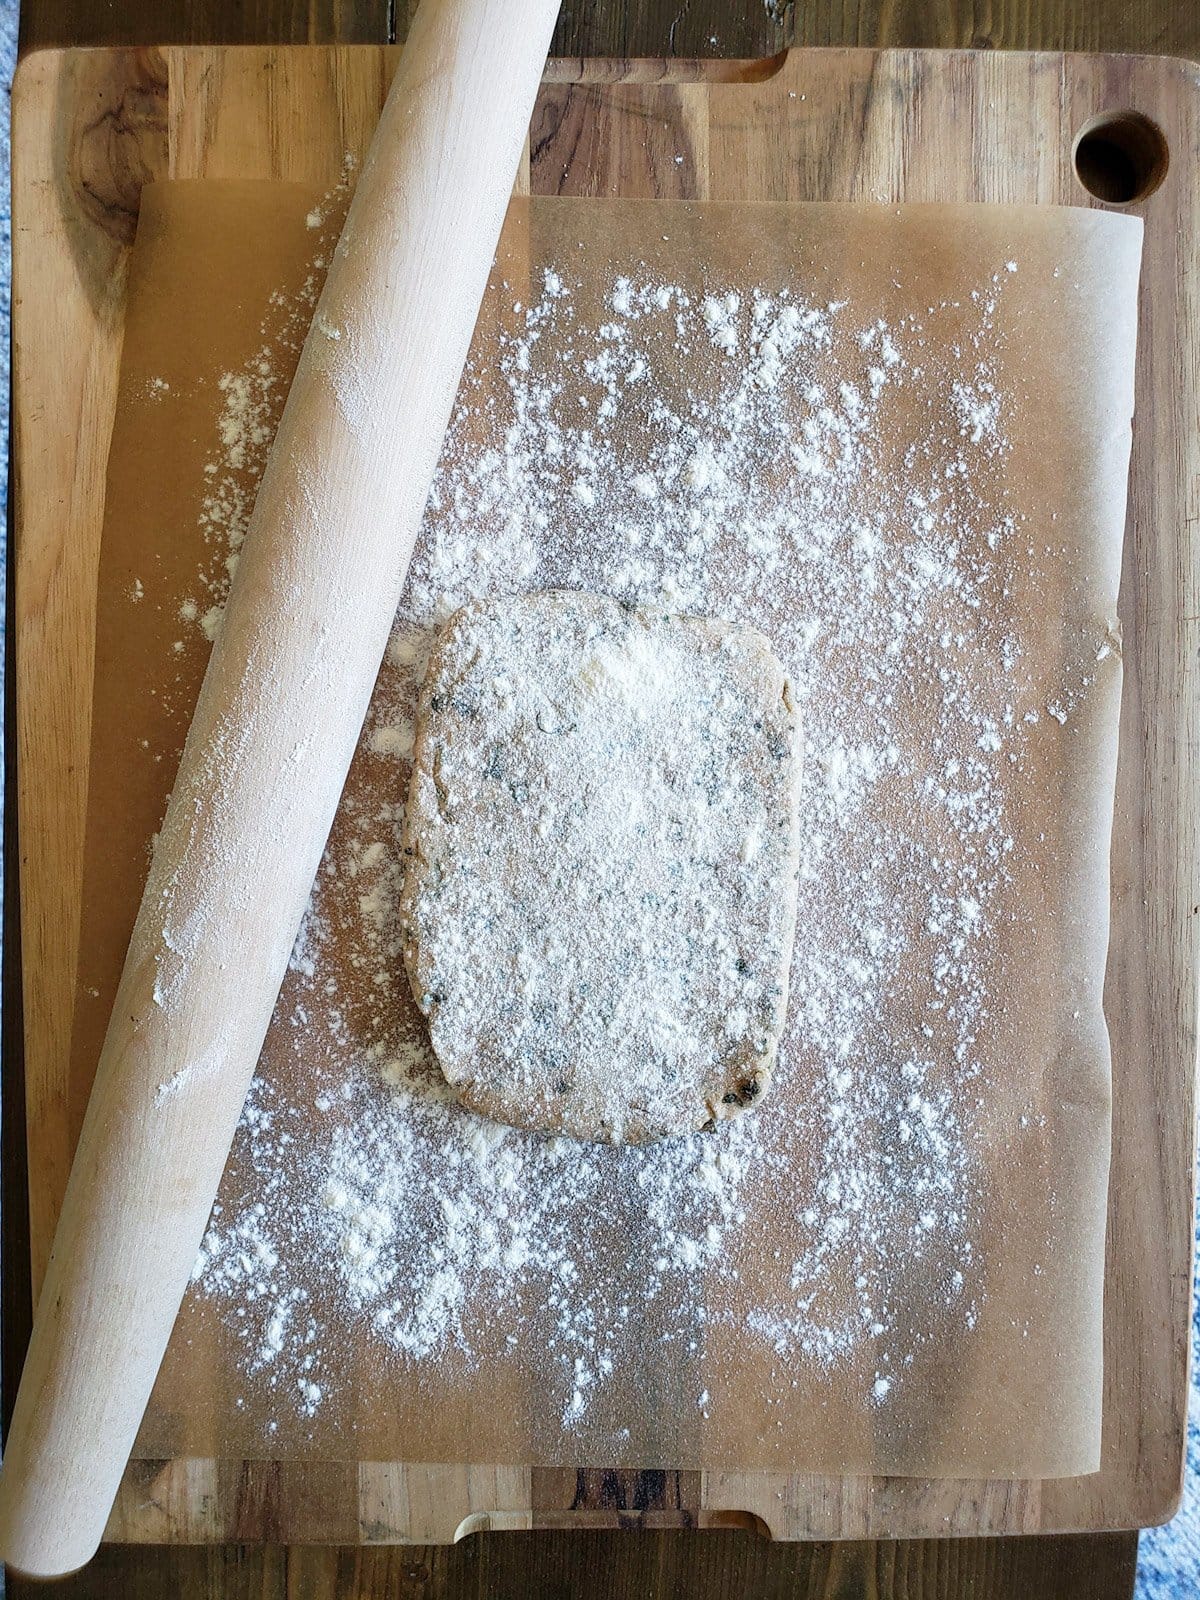
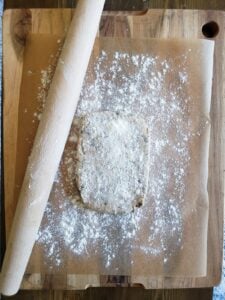
- Cut a piece of parchment paper to the size of a cookie sheet, or use a silicone baking sheet liner. Lightly dust the parchment paper or liner with flour.
- Unwrap one piece of the sourdough cracker dough, place it in the center of the floured parchment paper, and lightly flour the top of the dough too. (I like to do this on a large cutting board, which makes it easy to transfer onto a cookie sheet.)
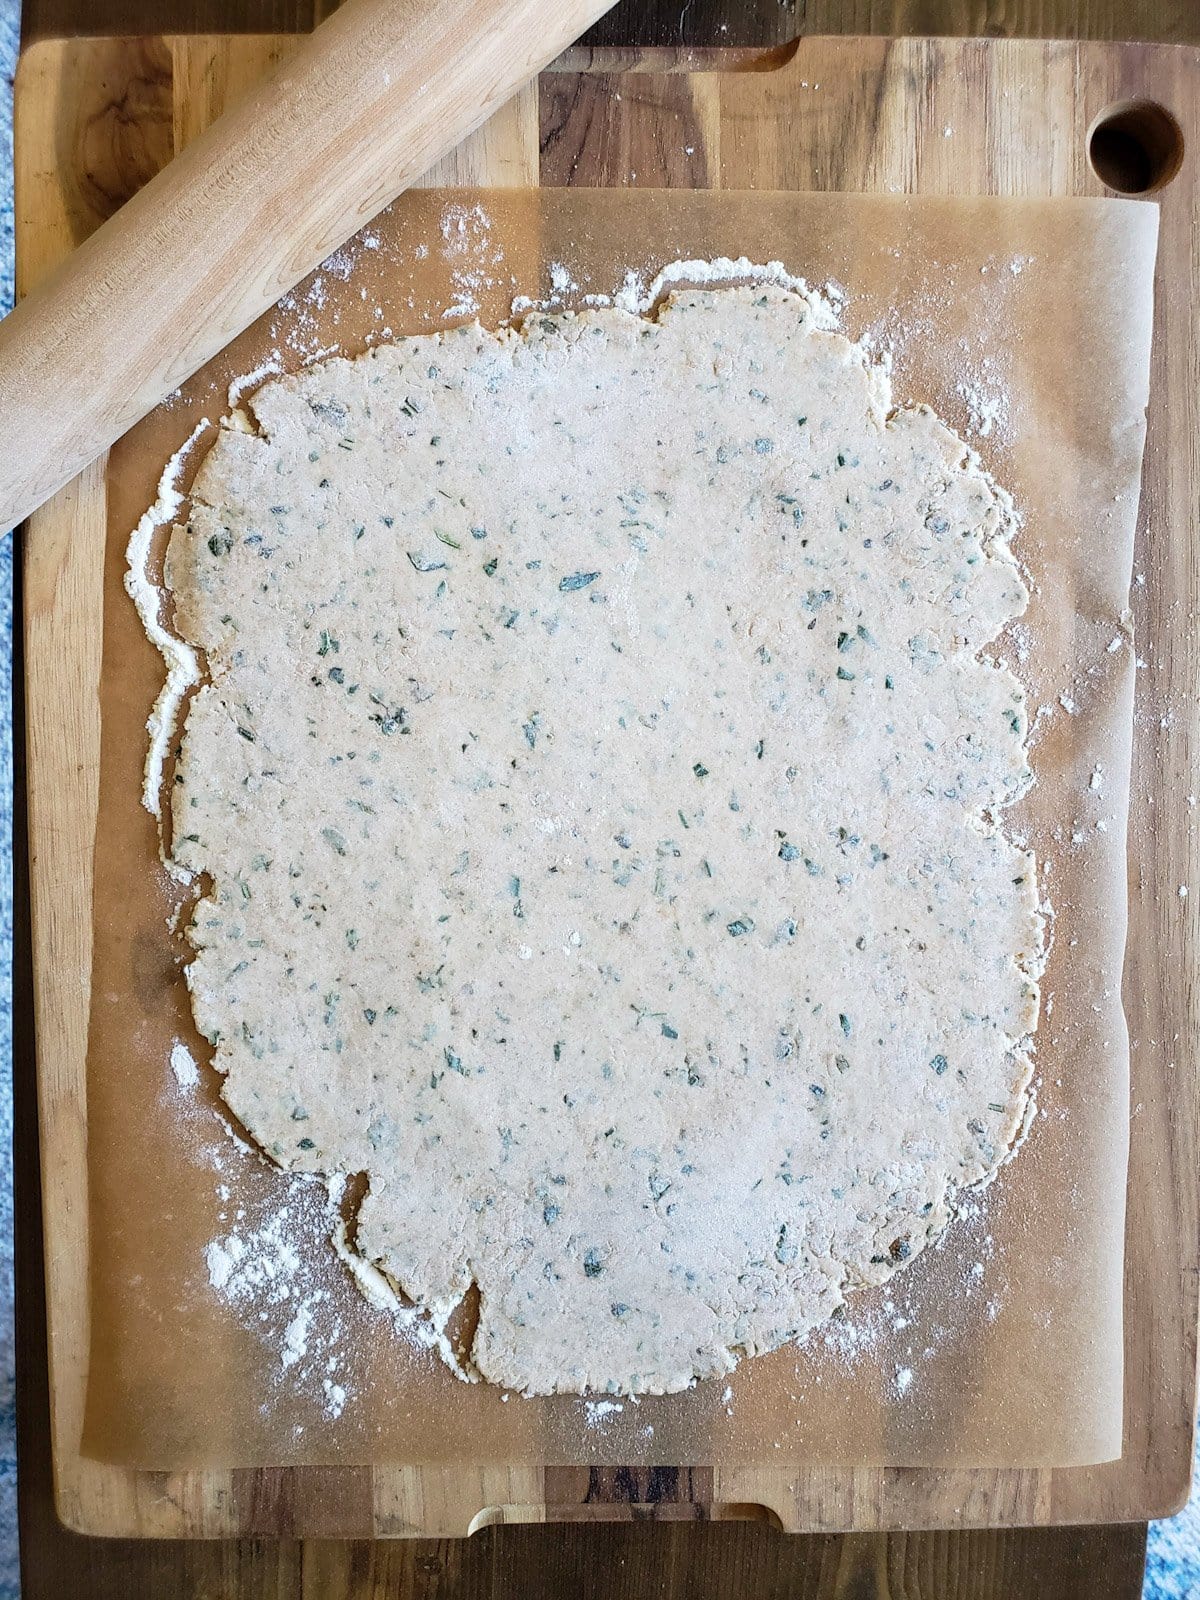
- Using a floured rolling pin, roll out the dough until it is nice and thin. The goal is about 1/16th of an inch thick, or as thin as you can make it. It’s okay if the edges are a bit ragged. Work the rolling pin back and forth and side to side, helping the dough spread as evenly as possible while still maintaining a relatively rectangular shape.
TIP: The thinner you can roll the dough, the more crisp your finished sourdough discard crackers will be!
5) Oil, Slice and Poke
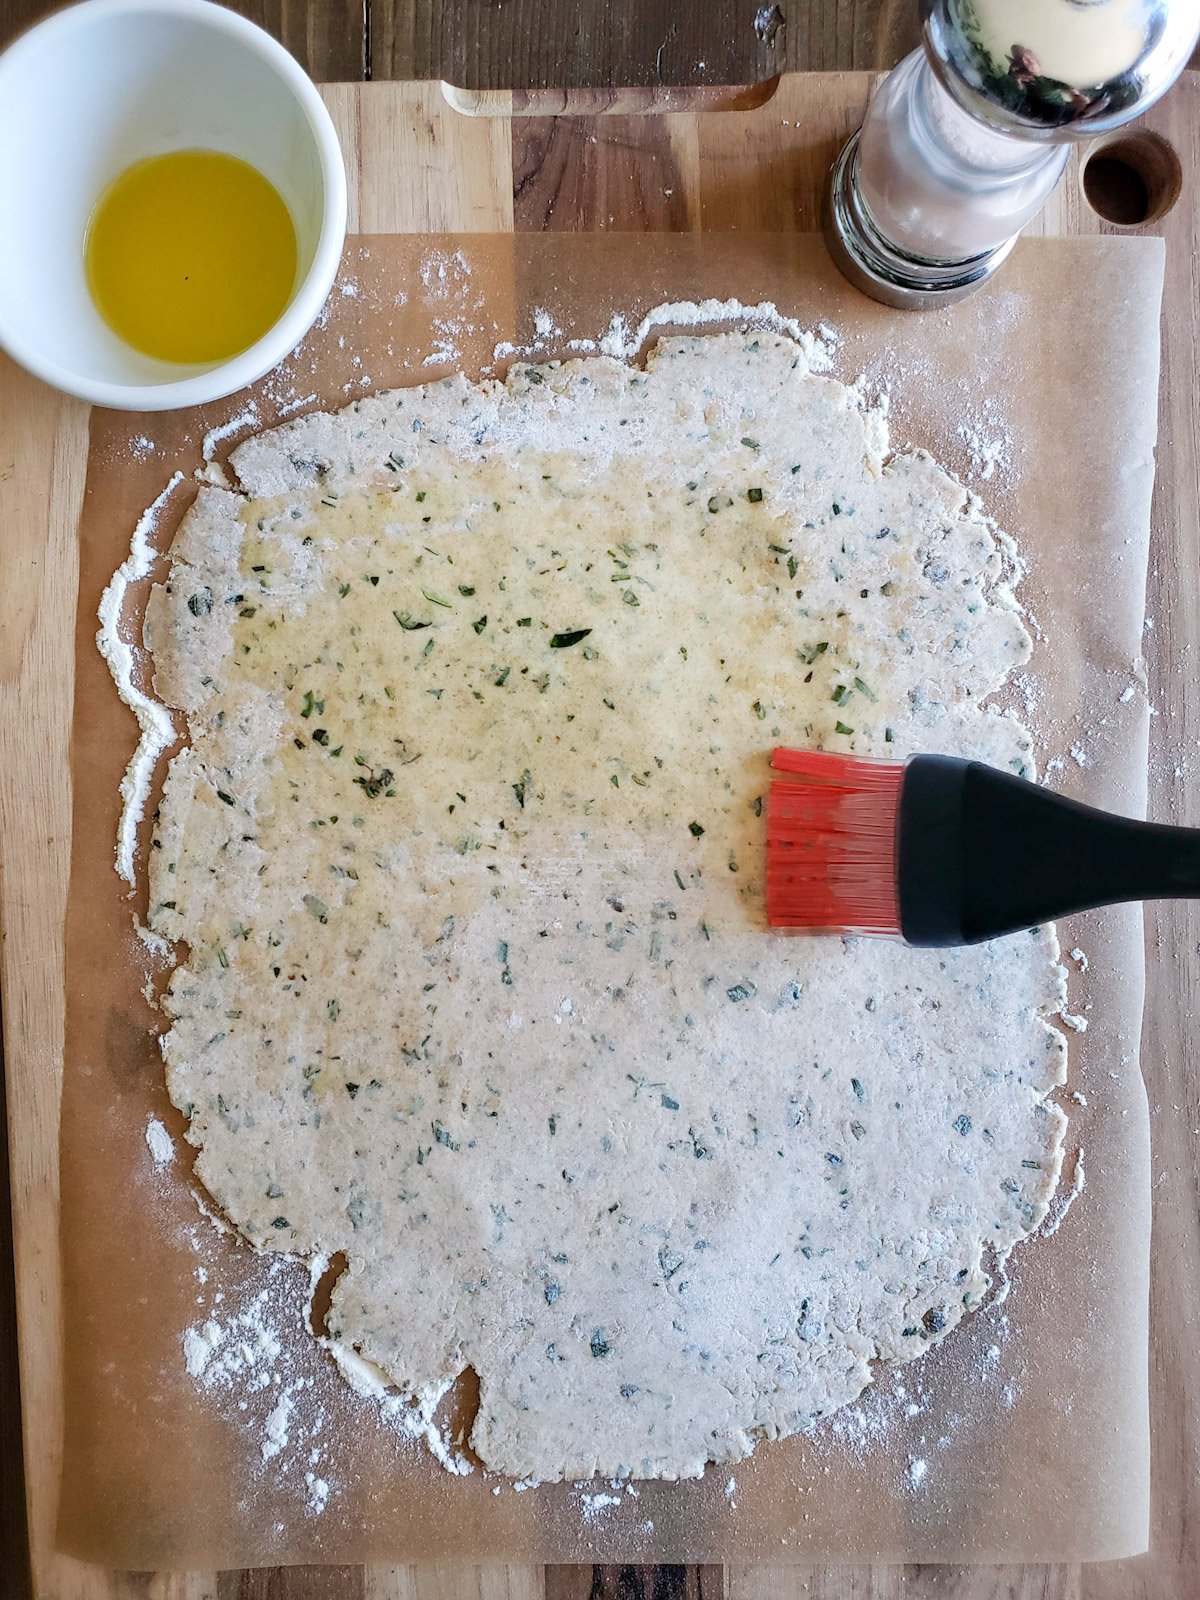
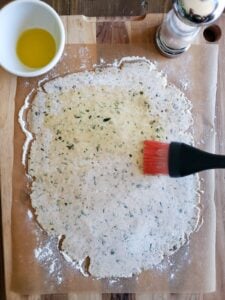
- Once the dough is rolled out, lightly brush the surface with olive oil with a basting brush. Don’t drench it! Just enough for a light coating. Then sprinkle some coarse salt over it as well.
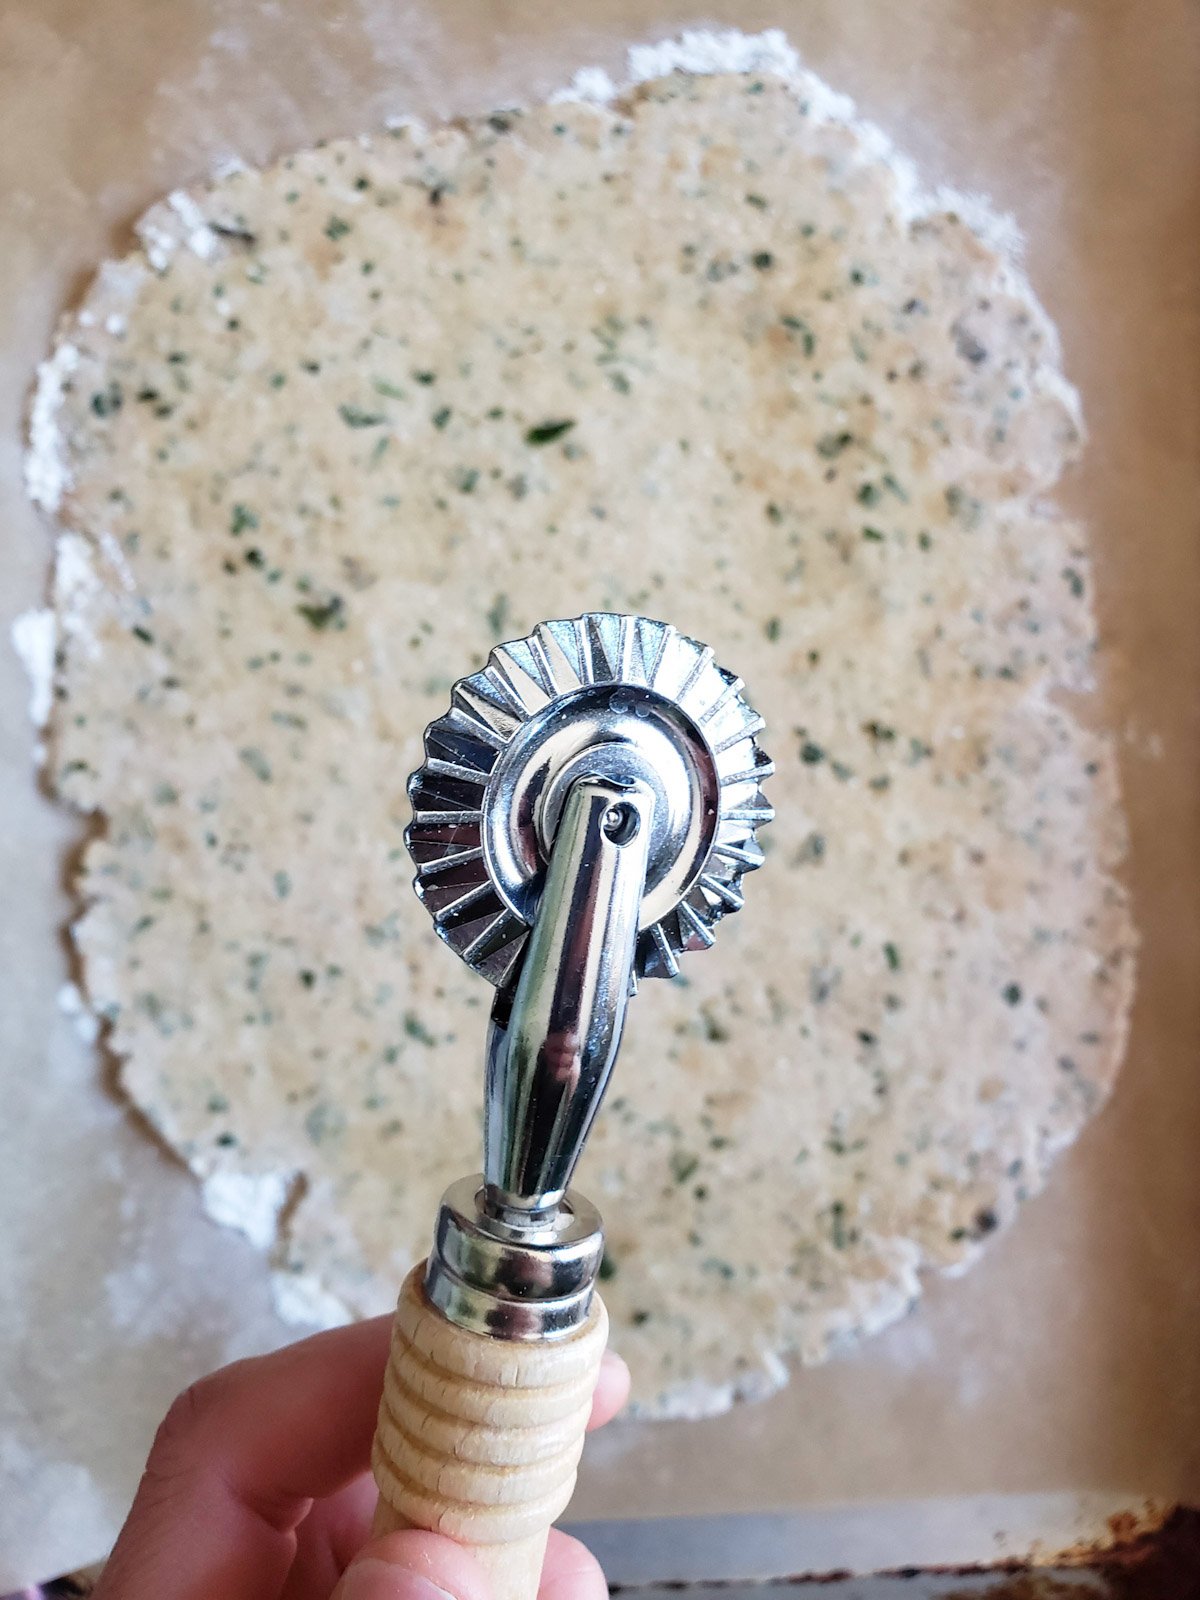
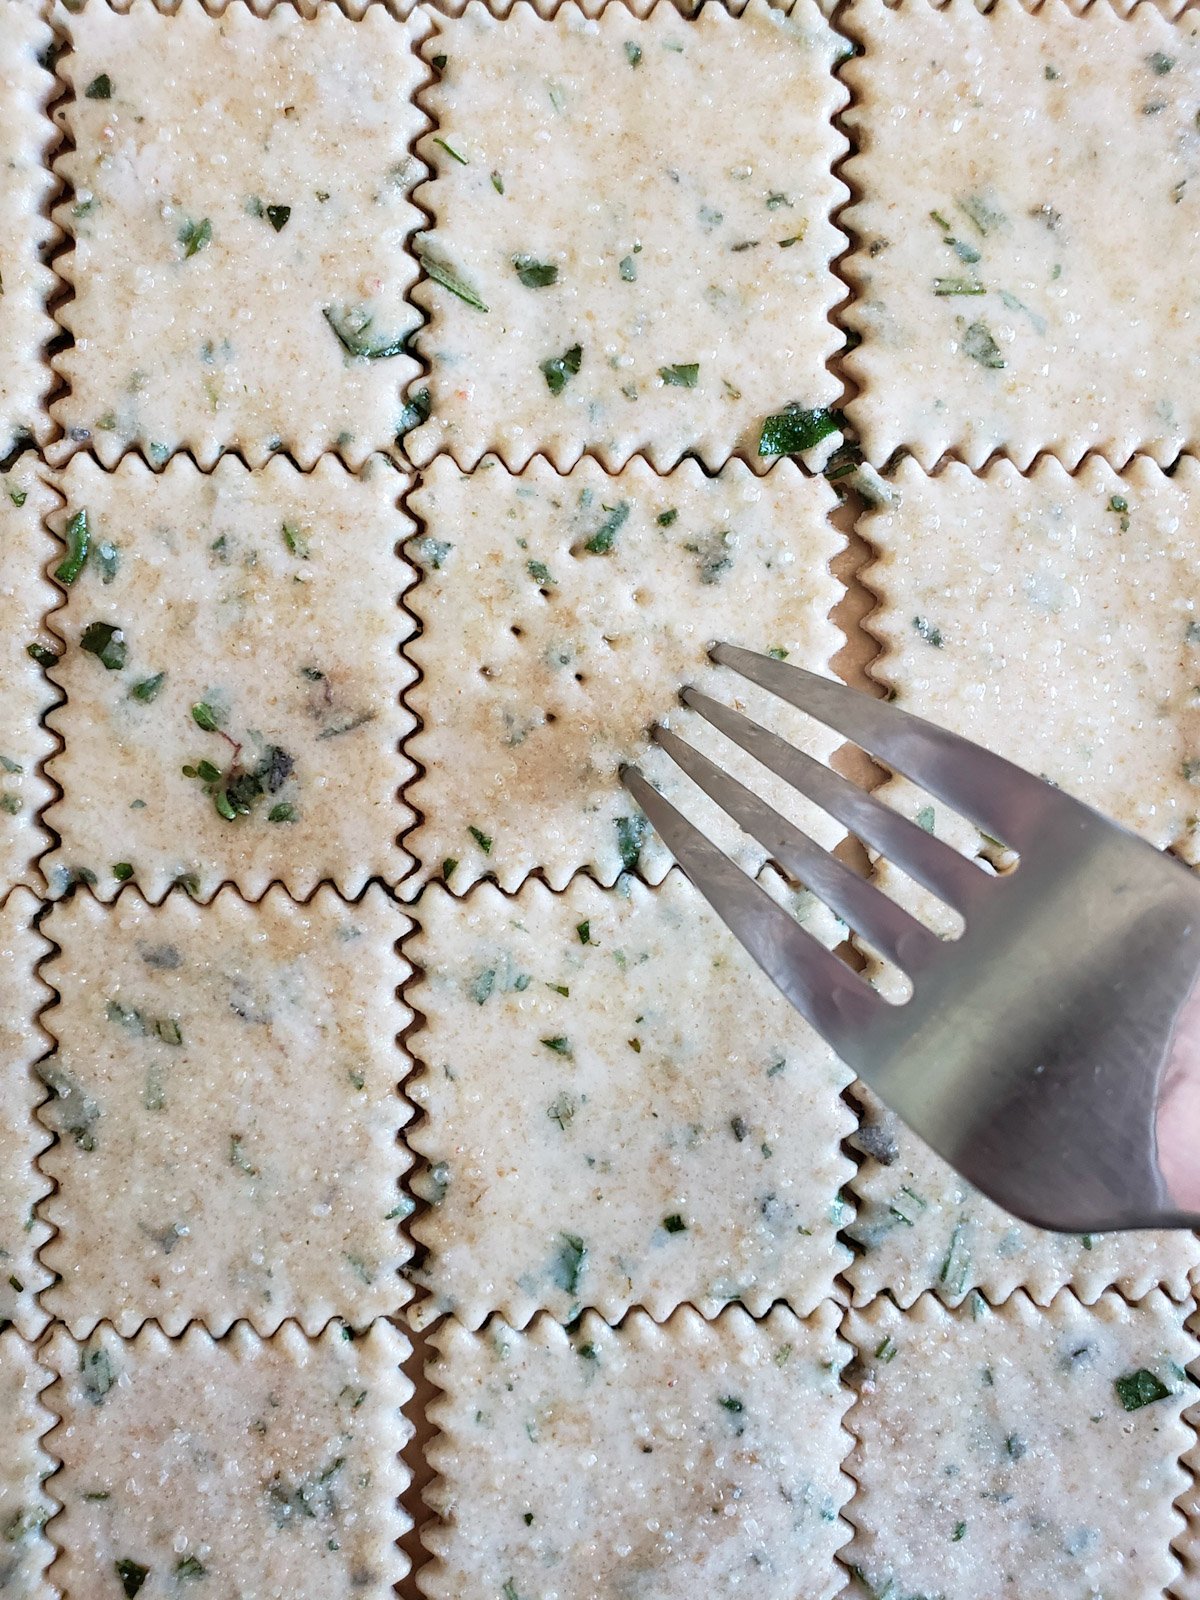
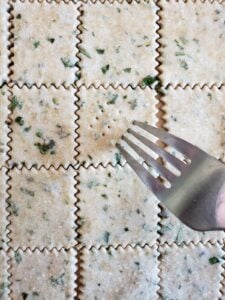
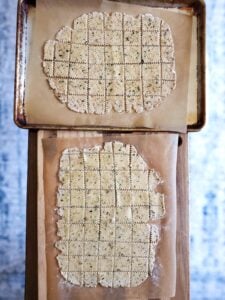
- Next, use a pastry wheel or pizza cutter to cut the dough into rows of square or rectangular crackers. The smaller you cut them, the more sourdough discard crackers you’ll get from this recipe. I usually like mine in about 1.5 to 2 inch squares.
- Finally, poke the top of each cracker section with a fork a couple of times.
- Repeat Steps 4 and 5 for the second piece of dough.
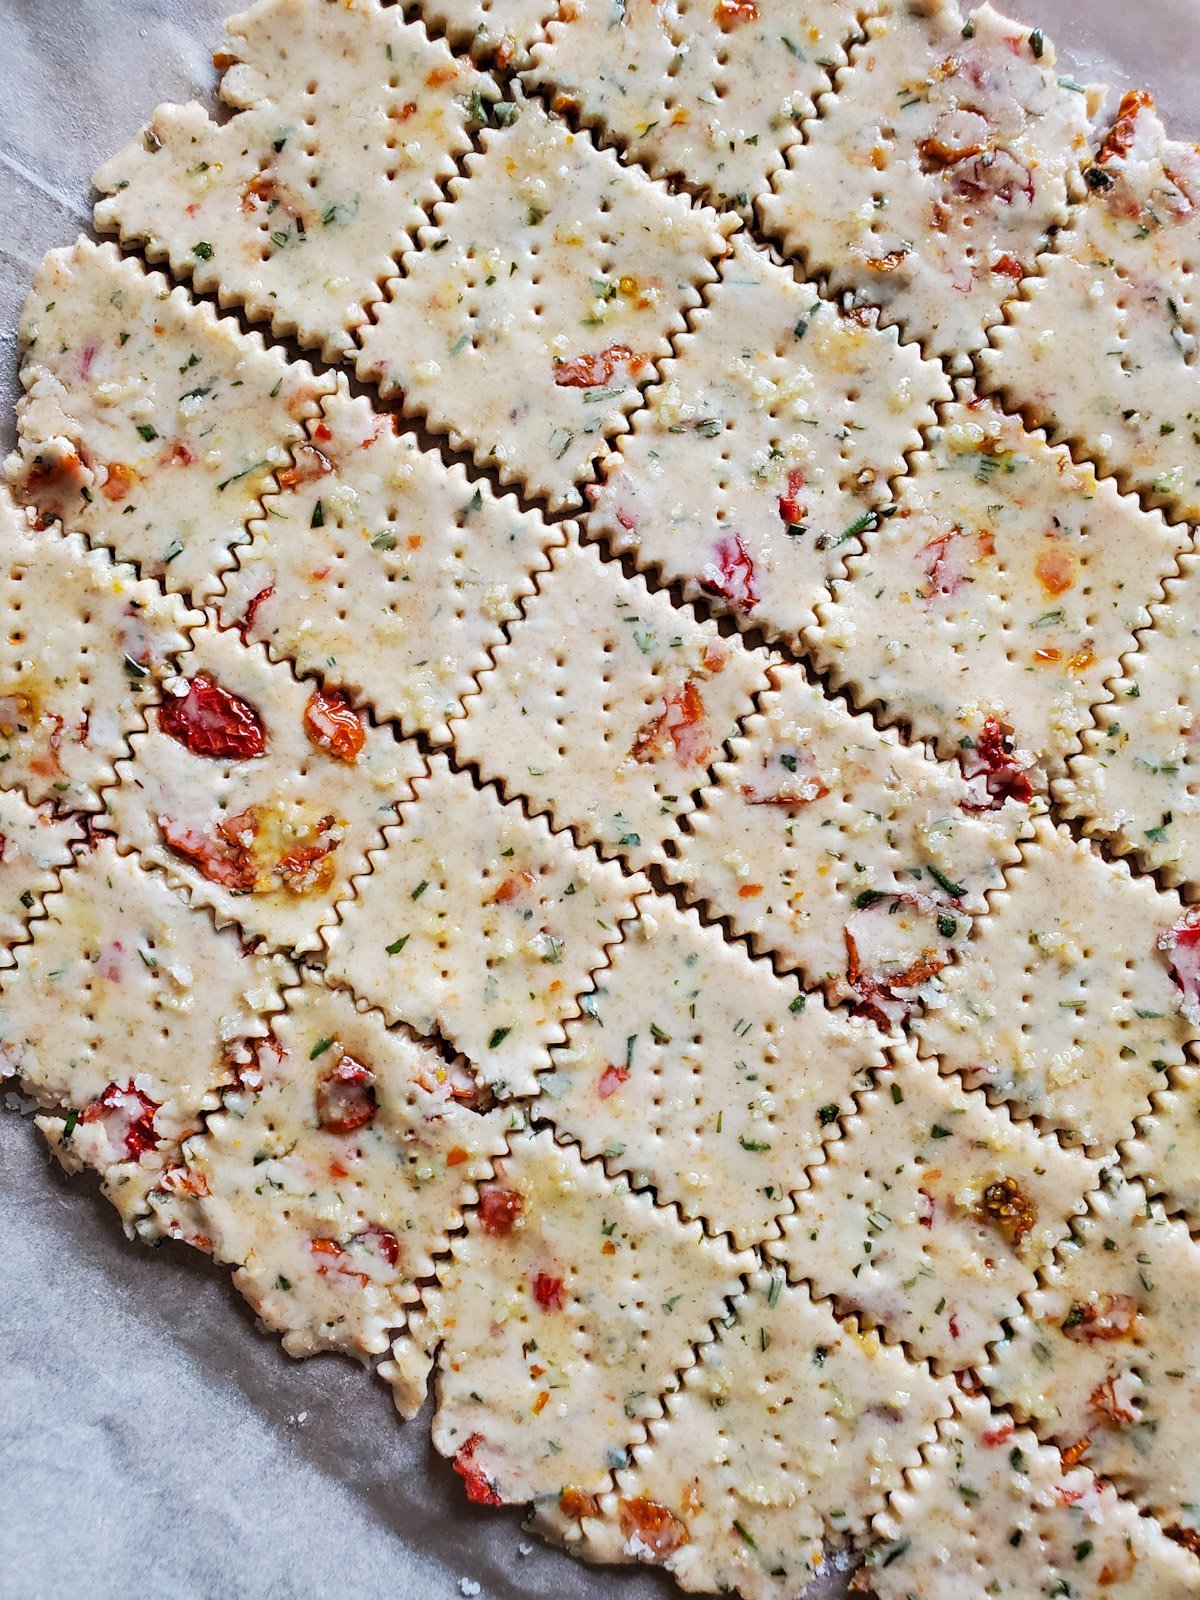
6) Bake
- Slide the parchment paper and cracker dough onto a baking sheet. Each section will need its own baking sheet. We bake two trays at one time, but if you only have one cookie sheet, bake them in batches.
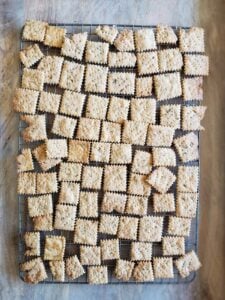
- Bake on 350°F for 20 to 25 minutes, until the crackers turn light golden brown. Rotate the baking sheets halfway through.
- Once they’re done baking, immediately transfer the finished sourdough discard crackers on to a cooling rack.
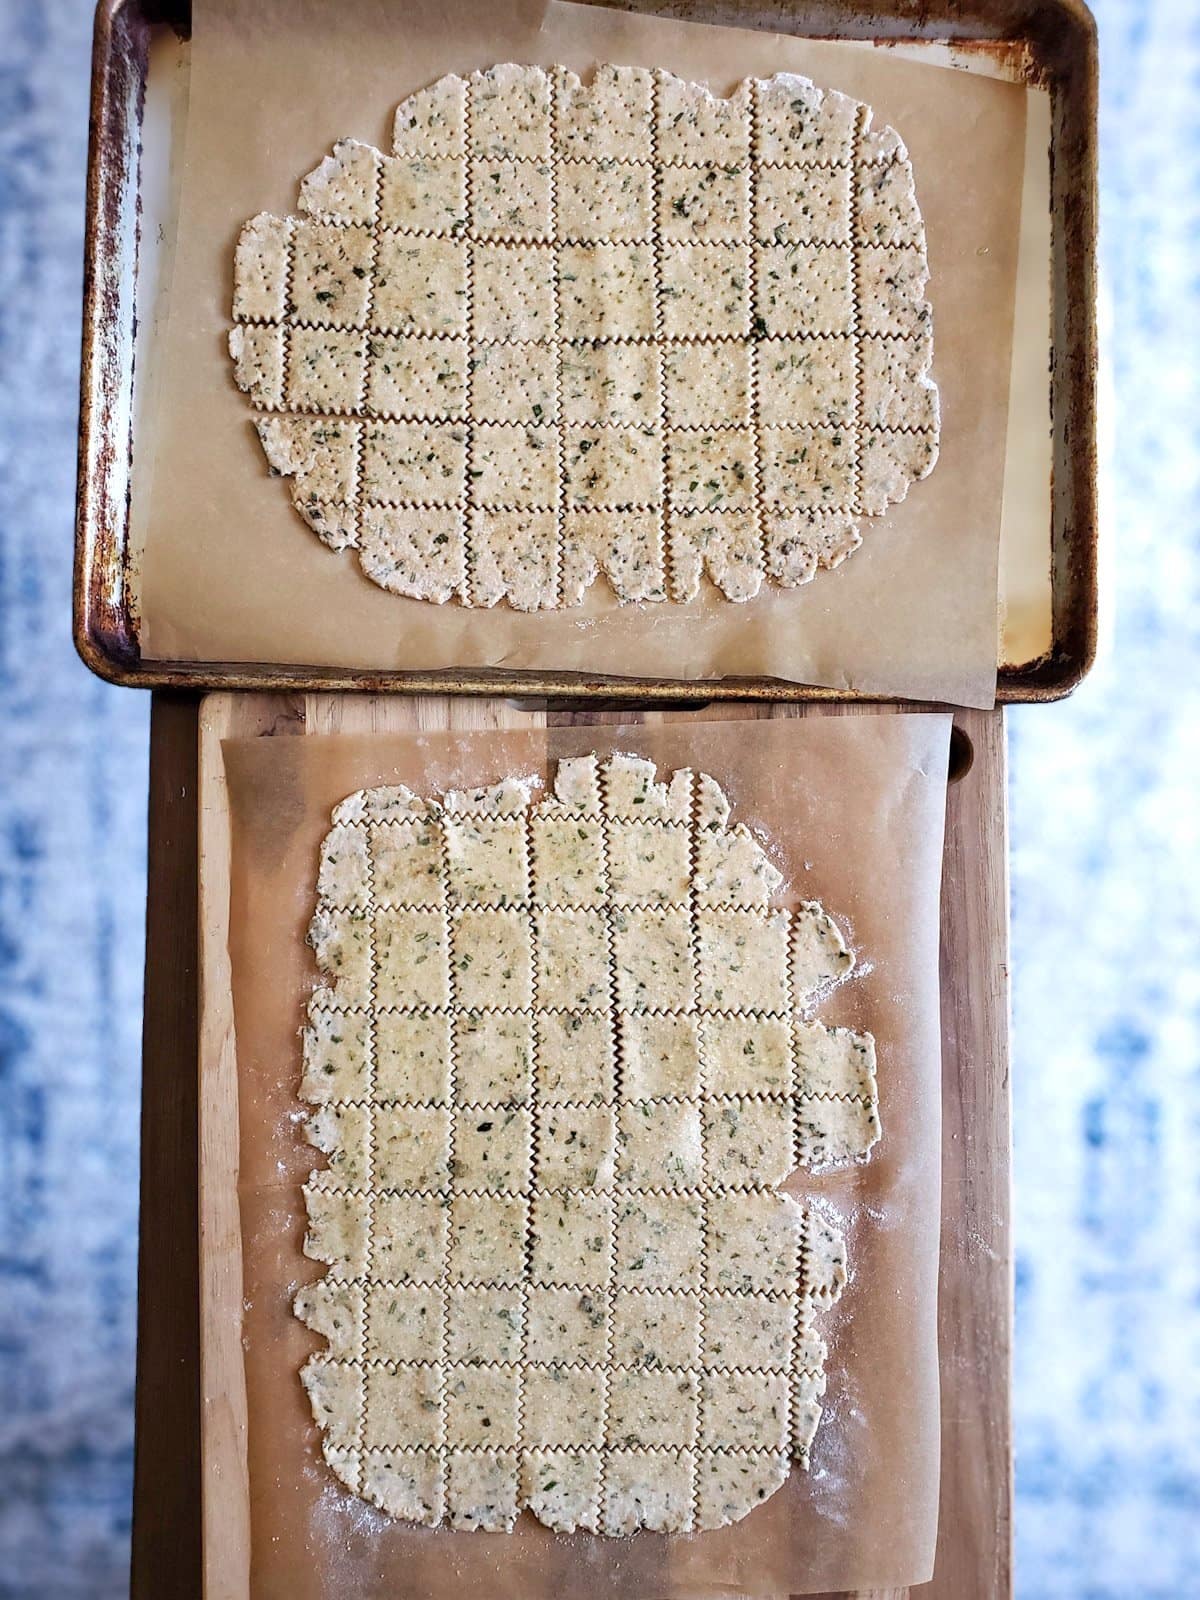
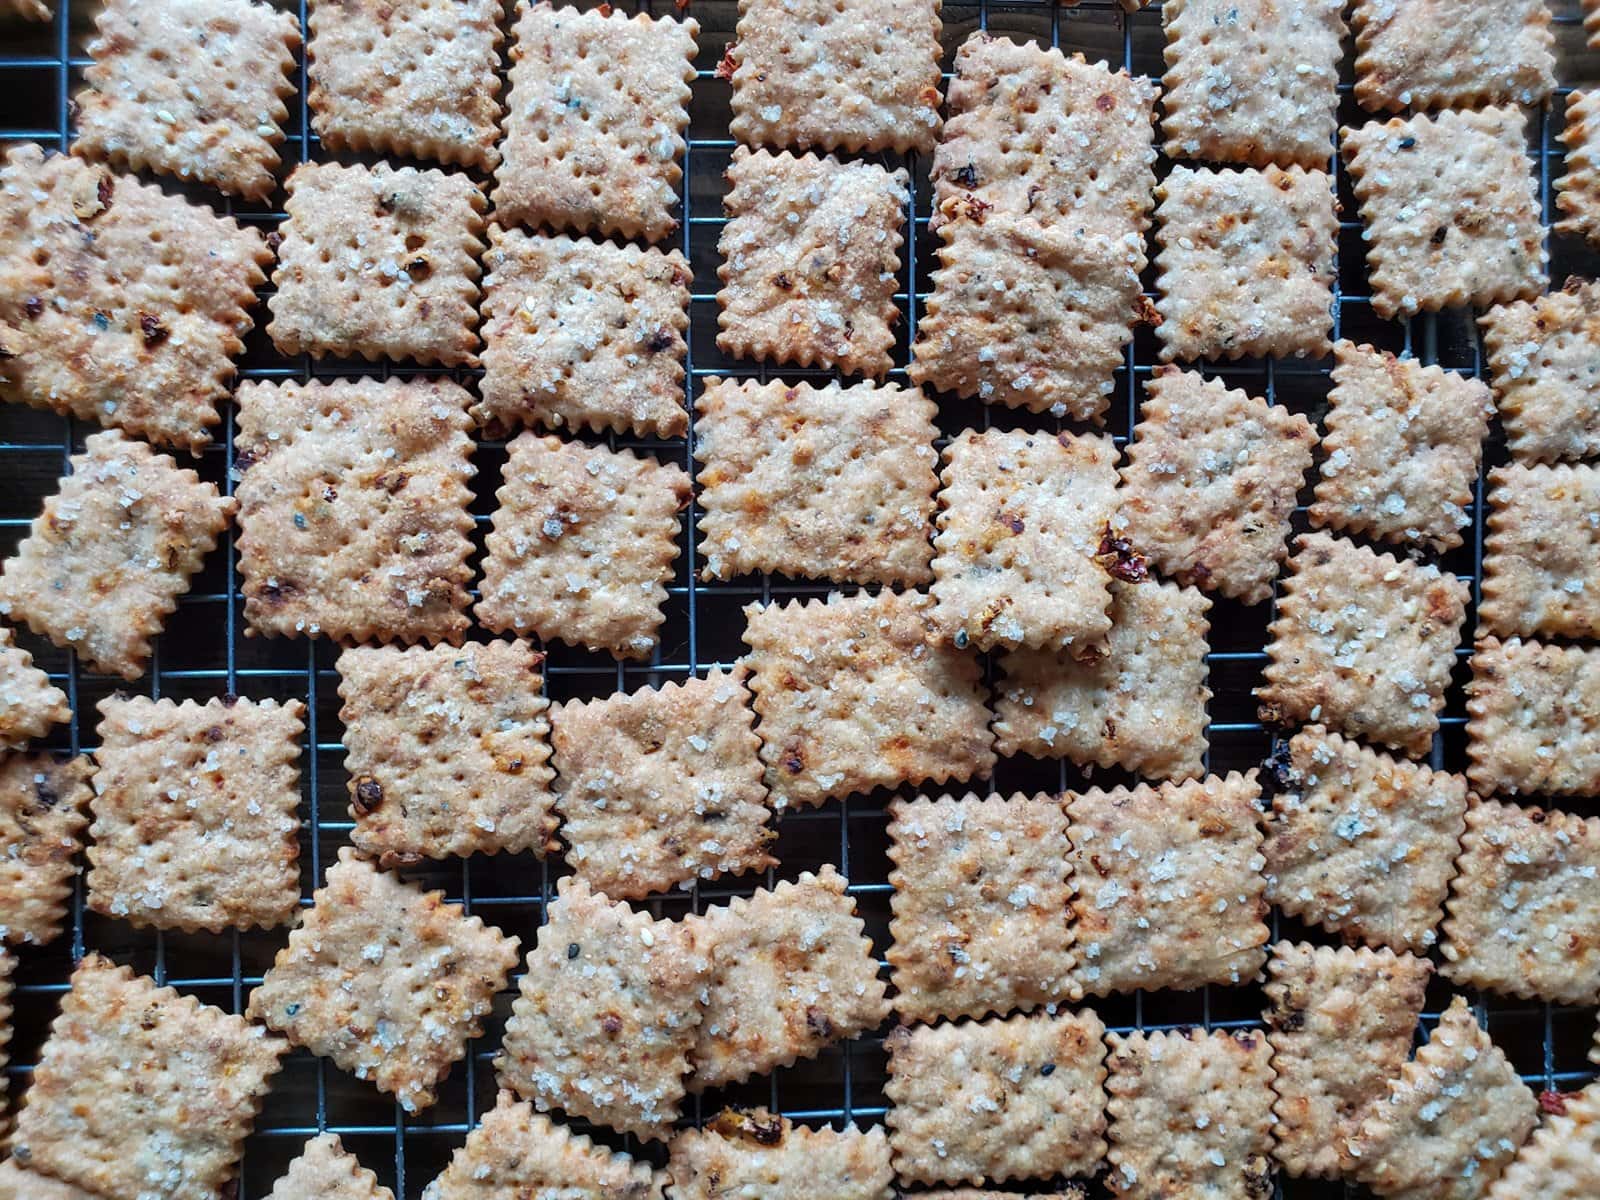
Enjoy!
These sourdough discard crackers are dang good on their own, as a healthier alternative to most other types of crackers or chips. I love eating them with cheese and olives, cream cheese and cowboy candy, dunked in hummus and other dips, or alongside homemade soup.
Sourdough discard crackers have also become one of our go-to’s for holiday or party platters, charcuterie boards, or even as a little edible DIY gift idea. They are a huge hit, and people are always impressed to learn they’re homemade!
RELATED: Looking for more easy, crowd-pleasing healthy snack ideas? Don’t miss this goat cheese stuffed dates recipe or our popular sweet and salty rosemary roasted mixed nuts.
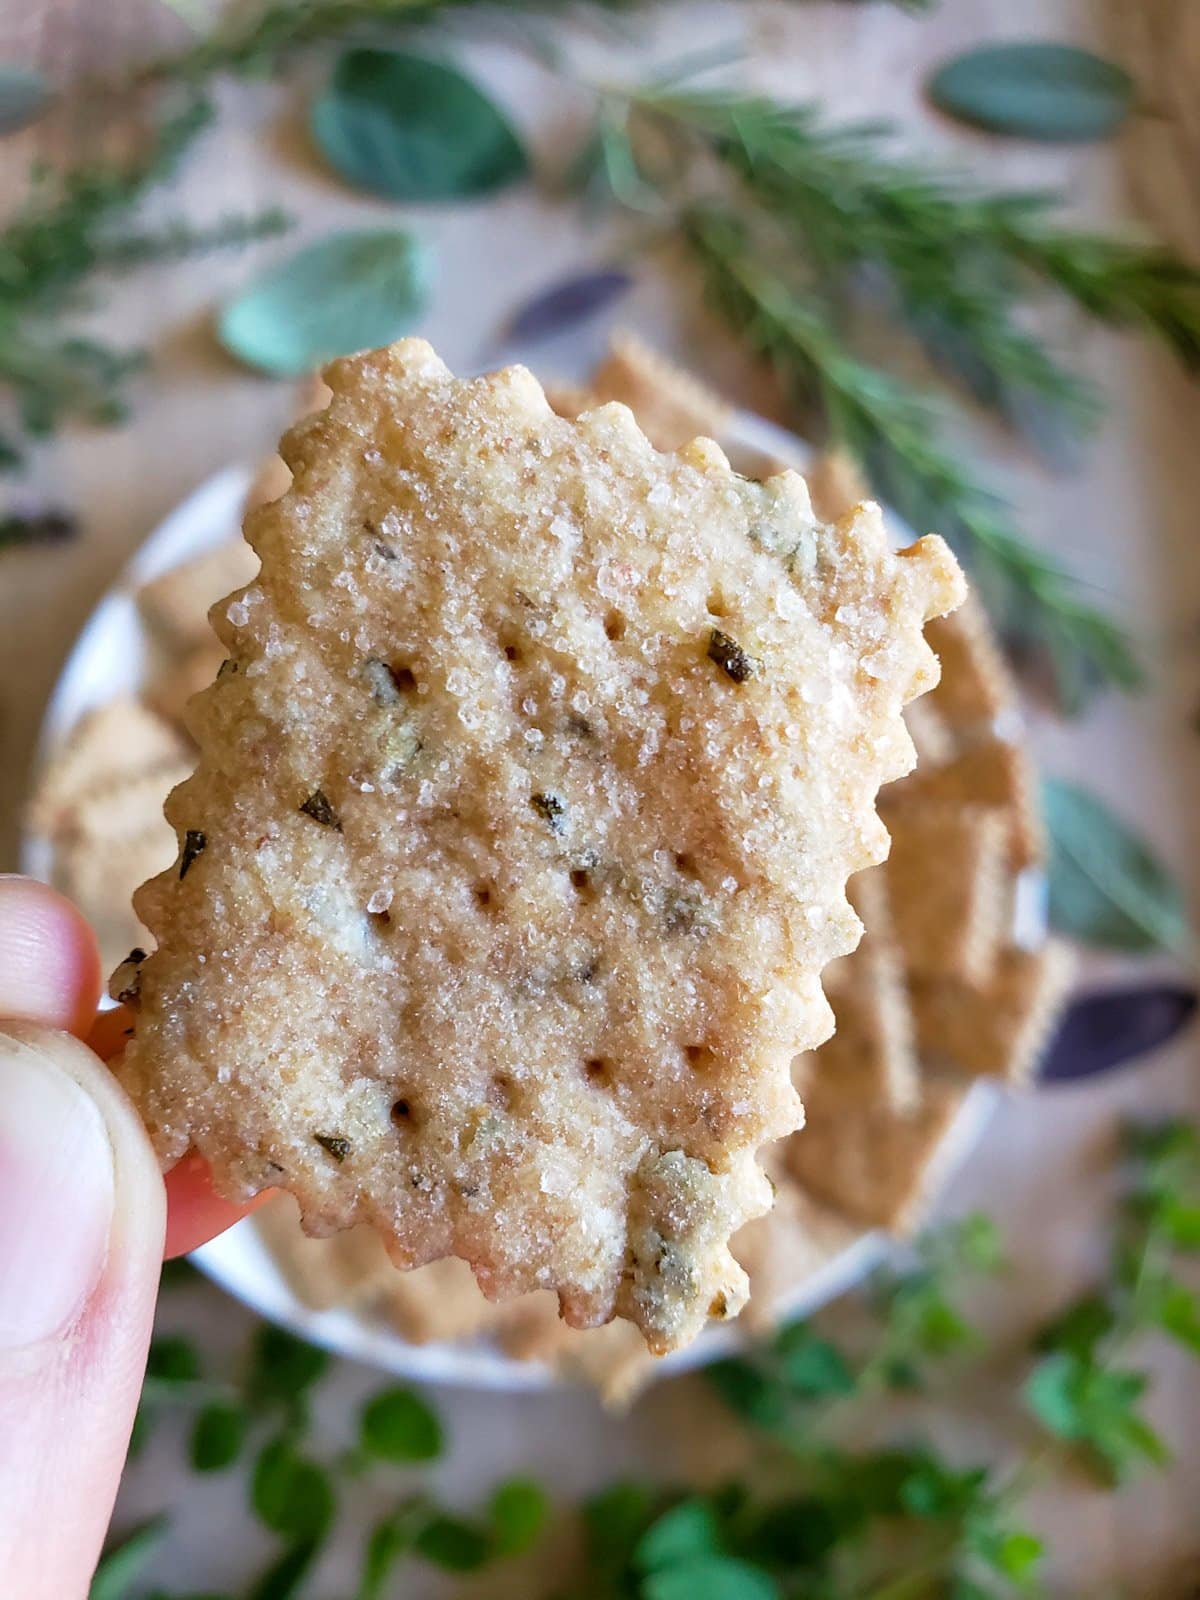
Storage and Shelf Life
Once fully cooled, store sourdough discard crackers in an air-tight container with a lid at room temperature to maintain maximum freshness and crunch. Ours get a tad stale by day 5 or so, but they usually don’t last in the house that long!
Absolutely! After mixing the dough, tightly wrap the formed rectangles of sourdough discard crackers in plastic wrap or other freezer-safe airtight containers and freeze for up to 3 months. Defrost in the refrigerator overnight or at room temperature for a few hours, until soft enough to roll out.
Don’t miss our simple no-knead sourdough bread recipe or easy sourdough focaccia. And if you’re looking for other ways to use discard, see the 15 Best Sourdough Discard Recipes here.
I hope you love these sourdough crackers just as much as we do. Let me know if you have any questions, and please spread the love by sharing this article and leaving a review!
You may also like:
- 20 Best Sourdough Add-Ins and Topping Ideas
- Best Sourdough Starter Names: 60 Punny Ideas
- Is My Sourdough Starter Bad? How to Revive Old Inactive Starter
- 9 Ways to Make Sourdough Starter More Active (Strengthen Starter)
- Delicious Sourdough Zucchini Bread Recipe (Optional Walnuts or Chocolate)

Sourdough Discard Crackers Recipe (Optional Cheese or Herbs)
Want to save this?
Equipment
- Mixing bowl
- Baking sheets
- Parchment Paper
- Rolling pin
- Pastry Wheel or Pizza Cutter
- Basting Brush
Ingredients
- 1 cup flour (I like 1/2 cup whole wheat + 1/2 cup unbleached bread flour)
- 1 cup sourdough starter, active or discard* (see notes below)
- 1/4 cup softened coconut oil, butter or olive oil
- 1/2 tsp sea salt
- olive oil for brushing
Optional additions (use one or two)
- 1/4 cup Fresh herbs of choice, e.g. rosemary, sage, thyme, oregano (Or 2 Tbsp dried)
- 1/2 cup finely grated firm cheese, such as cheddar or parmesan
- 2 Tbsp everything bagel seasoning
- 1/4 cup sun-dried tomatoes, finely chopped
- 1/4 cup sunflower seeds or pumpkin seeds
- 1 to 2 Tbsp nutritional yeast
- 1/2 tsp onion powder or garlic powder
- a sprinkle of paprika over the top, but wait to add until after baking (or near the end)
Instructions
- In a mixing bowl, thoroughly combine sourdough starter, flour, salt, and softened coconut oil or butter. Also add optional additions like herbs, cheese or other seasonings at this time. Form into a solid ball.

- Divide the large dough ball into two equal sized balls.

- Next shape and squish each dough ball into a flattened rectangular shape, about the size of your hand and about a half inch.
- Cover or wrap each piece of dough, and place in the refrigerator to chill for at least 30 minutes (up to overnight*).
- Preheat the oven to 350 degrees Fahrenheit.
- If it was refrigerated for more than a couple hours, allow the dough to warm up slightly (15-30 minutes) before attempting to roll out.
- Cut a piece of parchment paper to the size of a cookie sheet, or use a silicone baking sheet liner. Lightly dust the parchment paper or liner with flour.
- Place one piece of dough on the floured parchment paper, lightly dust flour on top of the dough, then use a floured rolling pin to carefully roll it out nice and thin, about 1/16th of an inch thick.
- Use a basting brush to lightly brush the rolled dough with extra virgin olive oil, and sprinkle coarse salt over the top.
- Cut the dough using a pasta/pastry cutter (or pizza wheel) into 1 to 2 inch squares or other desired size. Next, use a fork to poke each cracker square several times.
- Transfer the parchment paper and the cracker squares to a baking sheet and bake in the oven for 20 to 25 minutes.
- Rotate the baking sheets halfway through to help the crackers bake evenly.
- Once finished baking, quickly remove the crackers to a cooling rack.
- Once cool, enjoy the crackers immediately or store them in an airtight container to enjoy later.
Notes


168 Comments
Beverly
I’m not sure I understand about the discarded sourdough starter. Are you saying that I should not use the first discard but use the second for this recipe? Thanks.
DeannaCat
We prefer to use the starter when it is active. Our first discard (straight from the fridge) is usually a bit old, since we only bake bread every other weekend. So we typically use the discard from the second feed out of the fridge. If your starter is more active and fed more often than ours, feel free to use whatever portion you’d like!
Lorrie Nesbitt
I just made my first batch of these crackers and they are fantastic! I wanted them a little more crisp than they were coming out of the oven, but I didn’t want them browner—so—I placed them in the dehydrator for awhile and they came out fabulous! OMG! With hummus or goat cheese/garlic/olive oil dip—they are to die for.
Beth T
These are wonderful! Just made my first batch with dill (with the dill that the black swallowtail caterpillars actually left for me) and rosemary (also from my garden). I have never made crackers before and cannot believe how easy these were. Thanks so much for your wonderful website and Instagram page. I feel right at home here 🙂
DeannaCat
Oh good! The addition of dill sounds amazing! Funny about the caterpillars too! 🙂 Thank you for the kind words. “Feeling right at home…” that is a huge compliment!
Tamara Gunn
Loved these! Made a batch with fresh garden herbs and another with Aleppo pepper. The first batch went a smidge too long, the second I adjusted and were perfect. Lovely with goat cheese & garden cherry tomatoes 🙂
DeannaCat
Yum!! That sounds uber tasty!!
Amber
Deanna! We just made these and they were soooo good! Used fresh sage, thyme, and rosemary from my garden. Thanks so much for sharing this recipe. Quick question: Do you think that if one wanted to make several batches ahead of time they would freeze well? We are taking a big road trip next month and I thought it would be nice to stockpile these for the road!
As always, everything you post is gold 🙂
Amber
DeannaCat
Honestly, I am not sure! Sorry. Maybe try with just a few from your next batch, freeze them for a few days to a week, defrost, and see how they are? And be sure to report back! I am so happy you enjoyed them though 🙂
Megan McNamara
Hey Deanna!
Long-time listener, first time caller 😂
Is the 30 min. – 2 hour chill time enough for the dough to get thoroughly fermented? Just thinking about how long bread dough ferments and this seems waaay shorter…but of course the proportion of starter to dough is also a lot higher so maybe it all goes a lot faster. I do great digestively with well- fermented bread but not so great with underfermented. Could these go a little longer with a damp tea towel laid over them maybe?
Thanks for your dedication to your amazing blog – I love it!
❤️ Megan
admin
Hey! Good question! I was actually pondering that very thing when I was writing how we usually go on the shorter end. I usually don’t do well with wheat either, and handle these crackers fine. Like you said, there is a higher amount of starter, and also very fermented starter (not just-fed). To be safe, sure, let them sit a little longer! I think a damp lint-free cloth would work perfect. Maybe I will try the same next round, and update this article with feedback if so!
Carol W
What an awesome, easy recipe! Can’t wait to try it out!
Kendi Vrska-Weygand
These sound and look so delicious! Great way to use excess herbs from the garden as well. We are hosting family soon and these will make great additions to a grazing board! Thanks as always!
Kim
These look so easy to make, I will definitely try them. I’m always looking for ways to use our discard.
DeannaCat
Super easy! And I love that you can graze on them for a few days, instead of making something big and filling like sourdough pancakes… when you already have fresh bread to enjoy!
Molly
I have made the king aurthur version, going to try your rendition now! I came here just to find out what tou used for the super awesome edges though!! Ordering one for sure! I am excited to try the coconut oil, makes it legal for me to sell at the farmers market that way! 🙌🏻
DeannaCat
Awesome! I hope you and your customers love them!
Katie
This recipe was perfect timing for me, as I had my starter out and active for baking tomorrow. Made the crackers today and they are so amazing! I used rosemary, oregano, and thyme from the garden, and I loved the additional flavor from the coconut oil. Perfect texture too! Thanks Deanna 😊
DeannaCat
Right on! I am so glad to hear it! Sounds like you have the perfect herbs for it too 🙂