

How to Make a Gluten-Free Sourdough Starter from Scratch

Do you dream fresh homemade sourdough bread, but can’t eat gluten? I’m here to tell you that dreams can come true! Come learn how to make your own gluten-free sourdough starter from scratch with this easy step-by-step guide, using only three ingredients.
The process takes about a week, but requires minimal time or effort each day. By the end you’ll have an active homemade gluten-free sourdough starter – ready to use recipes like our gluten free sourdough bread, delicious gluten free sourdough crackers, or any others you desire.
Note: This post was originally published in March 2020 but has been significantly updated since.

Want to save this?
Before we dive in, I’ll share a few tips, facts, and gluten-free flour options. I’ve also included a handy demonstration video at the end (where I make a wheat starter from scratch, but it’s basically the same process).
Quick Sourdough Facts
- Rather than using instant dry yeast, sourdough relies on fermentation via a starter – a living culture of beneficial bacteria and natural yeasts – to make the bread rise.
- The natural fermentation process and added probiotics makes sourdough bread more gut-healthy, nutrient-dense and easier to digest.
- Once established, a starter must be nurtured with routine feedings to keep it alive. But don’t worry, it’s easier to do than most folks imagine. I store my starter in the fridge and only feed it (add fresh flour and water) once every few weeks… or sometimes as little as once every few months!
- Contrary to popular belief, most homemade sourdough doesn’t taste super sour at all (it’s only called “sour” since it’s made with fermentation). Rather, commercially-made sourdough often includes additives to boost sour notes.

RELATED: Browse my favorite sourdough baking supplies and learn how to store, maintain and feed sourdough starter here.
Gluten-Free Sourdough Flour Options
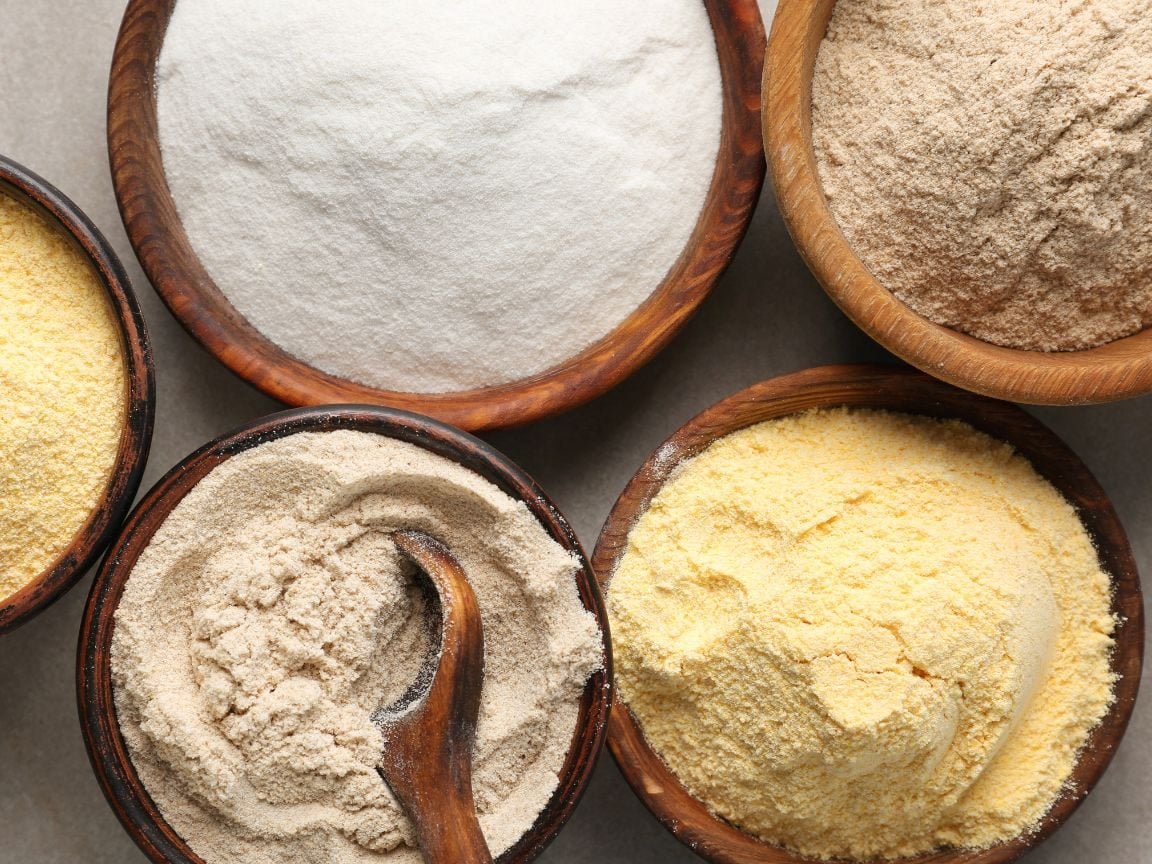
When it comes to baking gluten-free sourdough bread, there are dozens of GF flour types to choose from! Millet, potato, rice, buckwheat, tapioca, sorghum… the list goes on.
- Most gluten-free sourdough bread recipes call for a combination of several types of GF flours, along with the addition of psyllium husk and/or xanthan gum to help everything bind well in the absence of gluten.
- To make a gluten-free sourdough starter, I’ve found it’s best to simply use brown rice flour or buckwheat flour (or half and half.) I used brown rice for this tutorial, which has a more mild, subtle flavored compared to buckwheat. You can also use white rice flour, albeit less nutritious than brown rice or buckwheat.
- Once your starter is established, you can experiment with feeding (maintaining) it a variety of these flours, or even sweet rice flour. Sweet rice flour is less gritty and more sticky than other rice flours, which I’ve found can be helpful as a binding agent.
- Finally, I do not recommend using an all-purpose 1:1 GF flour for this recipe due to the extra additives and gums it contains. I tried to make a gluten-free sourdough starter with a 1-1 GF flour once – it technically worked (rose and got active) but smelled absolutely disgusting.
Supplies Needed
- A large air-tight glass container. I like to use this 2-liter flip-top container (about a half-gallon). A smaller container container will limit the space your starter has to rise. The container should be large enough to allow for the flour/water mixture inside to at least double in size.
- A digital kitchen scale. For the most consistent results, it’s best to weigh sourdough ingredients since various flours have different densities and weights. For example, this recipe calls for 500 grams of flour to start. 500 grams of Arrowhead Mills brown rice flour equates to 3.25 cups, yet 500 grams of their buckwheat is 4 full cups.
- Mixing bowl
- Box cheese grater (to shred the apple)
- Liquid measuring cup
- A moderately warm location
- Recommended: an ambient thermometer or sticky strip thermometer
Ingredients
- Brown rice flour or buckwheat flour (or a mix of both). You’ll use about 750 grams of flour (or 1.7 pounds) total for the entire process. I like to use this organic brown rice flour.
- One organic apple. The apple is what inoculates the starter with natural yeast and beneficial lactobacillus, so I highly recommend going organic for the best results. Non-organic produce may lack the good bacteria needed, and contain chemicals that interfere with healthy fermentation. I prefer use a Fuji, Pink Lady, or Gala apple.
- Un-chlorinated or filtered water. Avoiding chlorine is important when it comes to any fermentation process, including making sourdough. A basic carbon filter is enough to remove most of the chlorine from city tap water. You can use bottled water in a pinch, but don’t use distilled water! It’s too sterile and “stripped down” to support a healthy sourdough culture.

Instructions
Day 1: Mix Flour, Water and Apple
- Start by washing the apple well under hot running water, but don’t use soap or another vegetable wash. Then use a clean cheese grater to shred the apple, including the skin.
- In a large clean mixing bowl, combine 500 grams of brown rice or buckwheat flour, one grated organic apple, and 360 mL of lukewarm filtered water (about 1.5 cups). Mix thoroughly. The texture should be like thick sloppy dough – not dry and crumbly, but not soupy wet*.
- Transfer the mixture into a large, clean glass container with a lid. Mash down the wet dough to remove any air pockets. If possible, try to avoid getting gunk all over the sides of your container (which is more likely to grow mold). Use a silicone spatula to clean up the sides if needed.
- Mark the level of the mixture on the side of the container using a glass pen or rubber band so you can easily monitor the starters’ growth.
*PRO TIP: Throughout this process, if your starter ever seems too dry or far too wet, feel free to add a splash more water or flour until the desired consistency is reached as described. The amounts I’m providing are a general guide since different flour types and brands will have slightly varying weights.

Days 2-3: Rest and Wait
- Now tuck the container in a moderately warm location and let it sit for 72 hours.
- The ideal fermentation temperature for starter is around 70-75°F (23°C). Cooler temperatures will slow the activation process and increase the chances of mold, so if your home in the cold side, see tips on how to keep sourdough starter warm below. Use a simple stick-on thermometer to easily monitor the temperature.
- Over the next three days, your starter should start to get active, bubbly, and rise. It may even rise and then fall back down again, which is a sign that it needs to be fed soon (step 3). The starter will also start to smell a little funky, malty, and semi-sweet – reminiscent of apple cider vinegar.
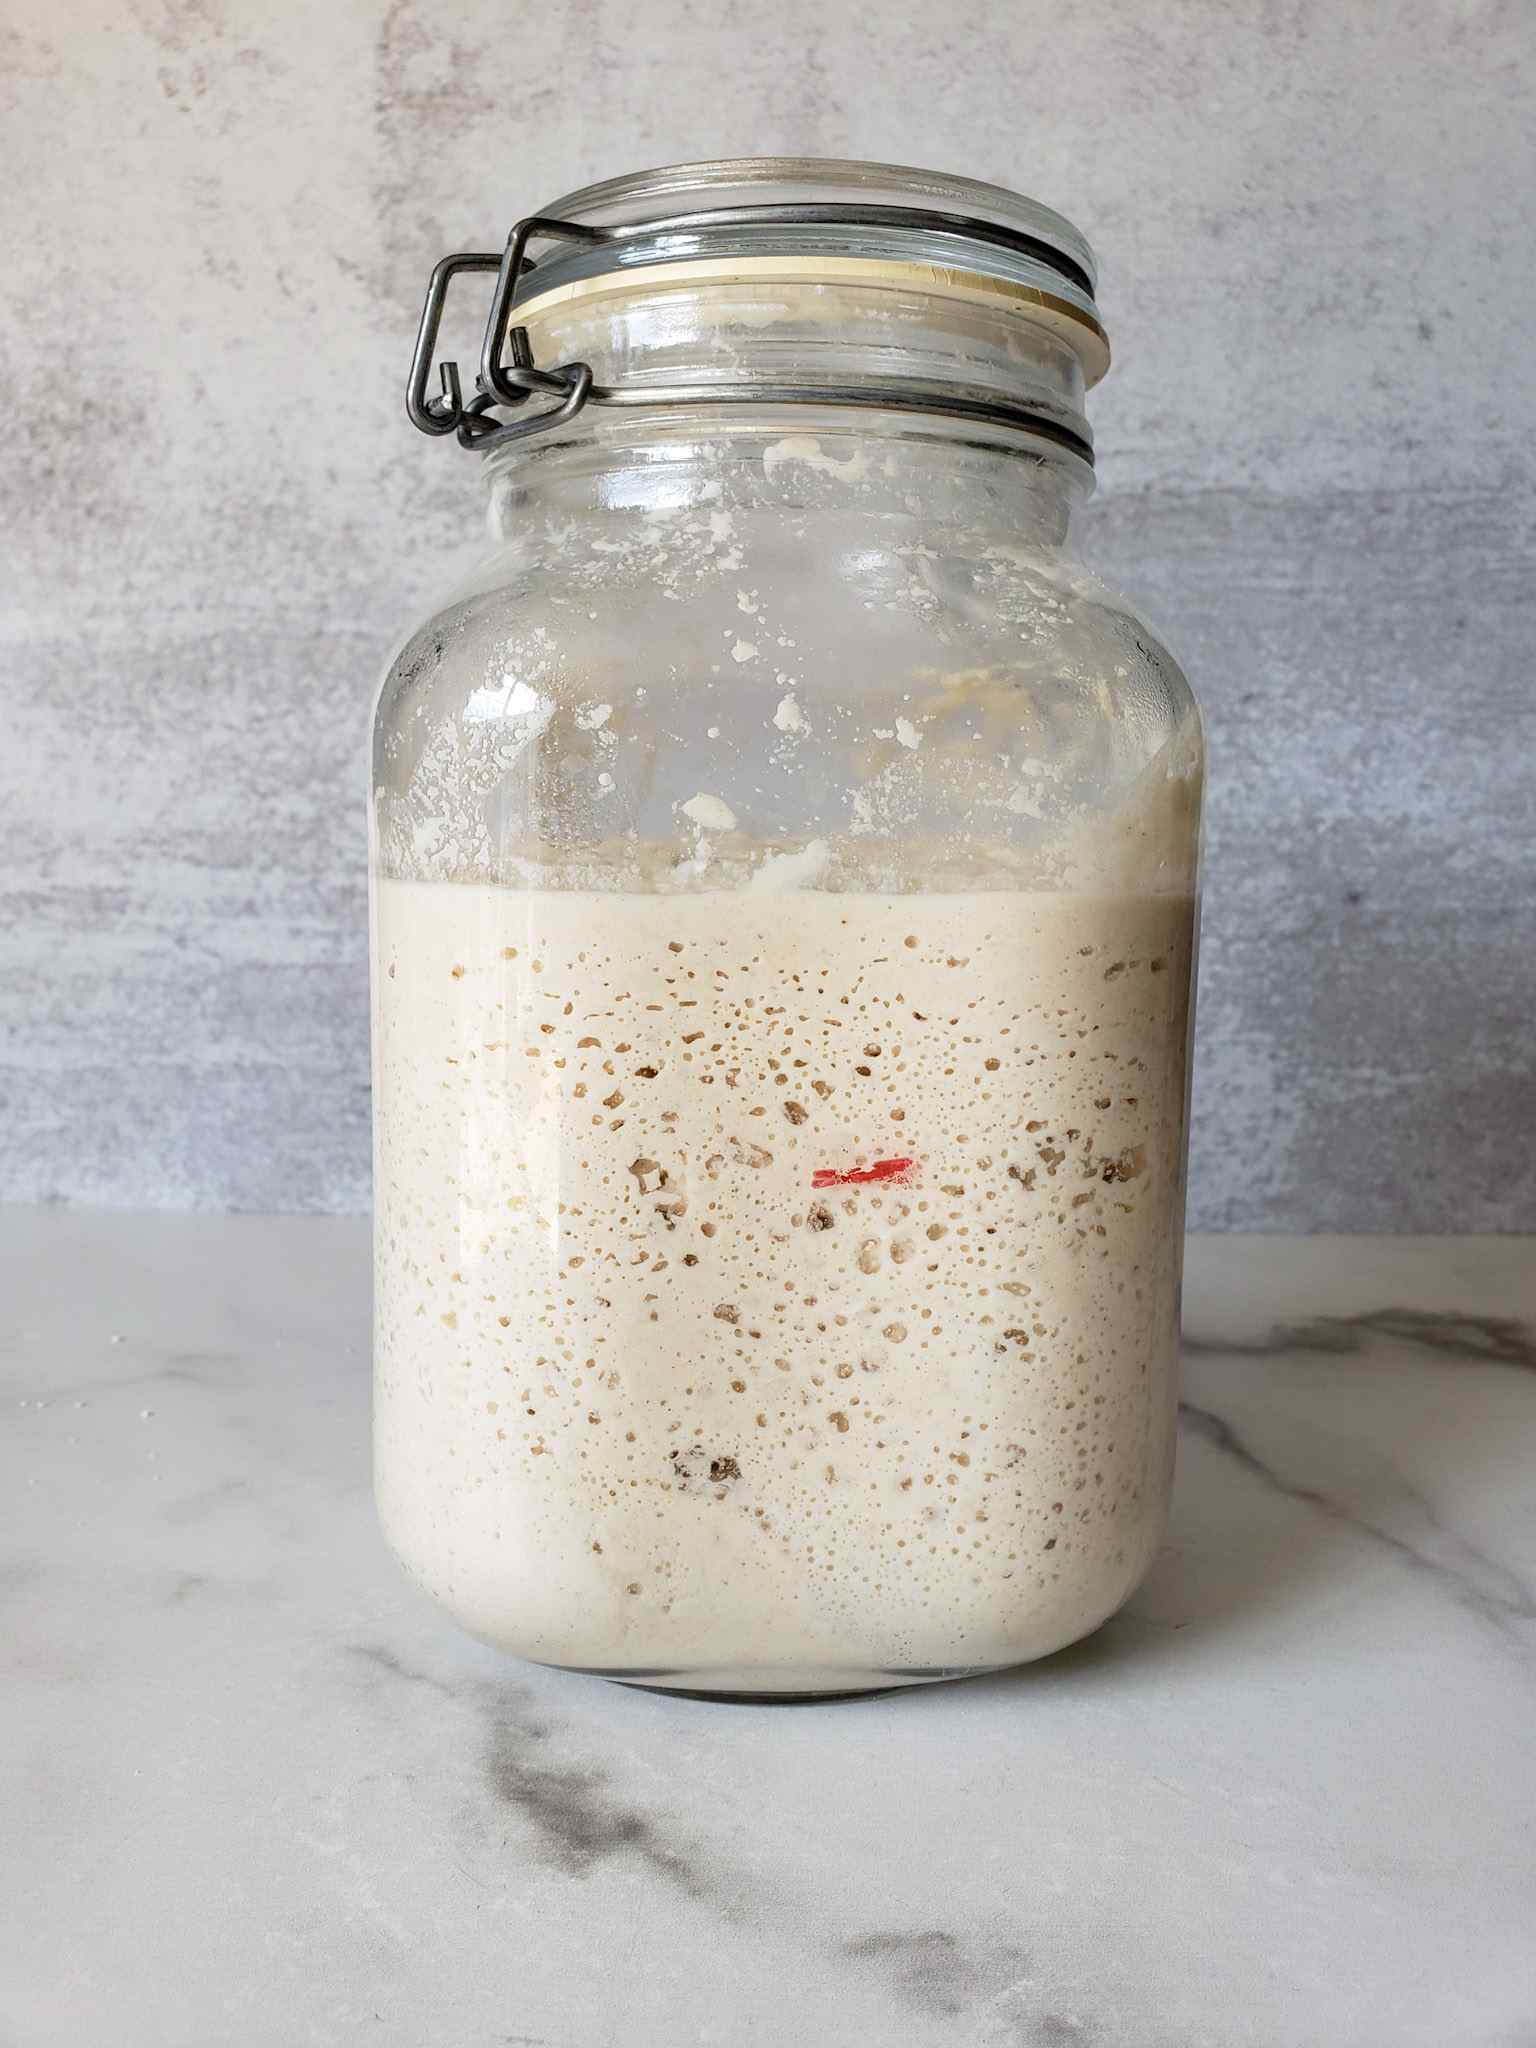
Ways to keep sourdough starter warm:
- Find a warm spot in your house, such as next to or on top of a warm appliance. For example, my kitchen has under-cabinet lights that put off heat when they’re on, making the cabinets above quite warm and cozy.
- Use a starter heating pad. I love and use this handy warming plate to keep my starter warm AND under the bowl of proofing dough later. I’ve also found that using warm water in the starter and dough will help boost activity.
- Oven light trick. Most oven light bulbs emit warmth, so turning on the oven light (but keeping the oven itself OFF) can create a nice warm spot in the back of the oven for your starter or proofing dough. However, I’ve heard horror stories when folks accidentally pre-heat or bake their starter! So if you try this, be sure to make a reminder that it’s in there – including for other members of the household.
- Proofing box. If you’re a regular baker with a chronically cool home, it may be worth investing in a proofing box – which can keep both your sourdough starter and proofing bread dough at the perfect temperature!

Day 4: First Feeding
After 72 hours (or about three days, it doesn’t need to be exact) it’s time to feed your starter for the first time. The process of feeding a sourdough starter usually involves discarding a portion of it before adding fresh flour and water.
- First, open the lid and stir the starter with a clean utensil to knock out the air and bring it back down to its original volume.
- Next, remove and discard about half of the volume of starter in the container. I usually just eyeball it, using the mark or rubber band line on the container as a guide. Discarded sourdough starter can be composted, fed to chickens, or used to make other sourdough goodies like gluten-free sourdough discard crackers.
- Now add an additional 250 grams of fresh brown rice or buckwheat flour and about 180 mL (about 3/4 cup) of lukewarm water to the mix. Stir thoroughly to combine. I usually mix it right in the starter container, though you can also mix everything in separate bowl and transfer it back in. It should be a slightly thinner consistency than the original mix.
- Clean up the sides of the container as needed so you can monitor the rise again (and possible fall).
- Now, put the container back into a warm location and let it sit for 48 hours this time.

Troubleshooting notes
If your starter didn’t rise at all during these 48 hours, allow it to sit for another day before moving on to the next step. Yet if it rose and fell back down (look for smears on the container) then it is time to feed again. If it’s acting particularly lethargic, try feeding with half brown rice flour and half buckwheat.
Note that it’s common for the first bout of activity to be more vigorous and obvious than after the first feeding. That’s because different short-lived bacteria quickly ferment the starter at first. Yet these are not the same type of bacteria and yeast we desire long-term in our starter, who are slower to develop.
Day 6: Feed Again
This step is easy! Simply repeat the same discard and feed process that you did previously. Stir it first, discard half, and add more fresh flour and water like we did in the previous step. Yet this time you want to make it a splash more wet than before – like a wet, sloppy dough. Use 250 grams of flour and about 220 mL (just under a cup) of lukewarm water this time.
Now, let your almost-ready gluten-free sourdough starter sit for 24 hours If all goes well, it should rise and fall within this time period. The apples should be pretty much be disintegrated by now too.
Day 7: It’s Ready!
If it’s bubbly and active within 24 hours of the last feeding – congratulations – you just made a new gluten-free sourdough starter from scratch! It’s now ready to bake with. Try our rustic gluten-free sourdough boule loaf recipe here.
But first, be sure to name your starter. It’s tradition among the sourdough community and considered bad baking luck if you don’t! Check out our round-up of the best 60 Punny Sourdough Starter Names for plenty of fun ideas.
If you’re not ready to bake yet, simply store your starter in the refrigerator and see the tips below to learn how to take care of it.

Storage and Ongoing Care
Now what? If you aren’t ready to bake yet, simply store your starter in the refrigerator and then head over to our guide on how to maintain and feed sourdough starter. It covers the pros and cons of storing it at room temperature vs the refrigerator, when and how to feed it, and how to ready a starter for baking.
TIP: it’s best to use sourdough starter for baking several hours after feeding, once it’s reached “peak activity” – which is when it’s at least doubled in size, is no longer actively rising, but before it deflates again. And remember, never use ALL your starter in a recipe! Always save at least a half cup to feed and keep going.
FAQ: What’s that dark liquid on the top of my sourdough starter?
When a sourdough starter goes unfed for a while, it will form a layer of dark liquid on top called “hooch”. The yeast in starter produces hooch (an alcohol) as a natural byproduct of the fermentation process. Hooch is not harmful, but is an indication that your starter is hungry and needs to be fed.
When you see hooch, you can either pour it off the top or simply mix it back in, and then discard and feed as usual. However, mixing hooch into the starter will make it extra sour-tasting. Since we store our starter in the fridge and often go many weeks between baking/feeding, it almost always has a layer of hooch on top.

And that’s how to make a gluten-free sourdough starter!
So, how’d it go? I hope this article got you one step closer to making all your sourdough dreams come true. Please feel free to ask questions and leave a review below. Thanks for tuning in, and happy baking!
For all you visual learners, here is a quick video showing the process of making a classic wheat sourdough starter. The flour is different and the water amount varies slightly, but otherwise it is essentially the same process! My gluten-free sourdough starter never gets quite as bubbly as my wheat one.
Gluten-Free Sourdough Starter Recipe
Want to save this?
Equipment
- Large air-tight glass container (2 liter or half-gallon)
- Kitchen scale
- Mixing bowl
Ingredients
- 750 grams organic brown rice flour (and/or buckwheat flour)
- 360 mL filtered water, room-temperature
- 1 large organic apple
Instructions
Day 1
- Wash your apple, but avoid using soaps or produce wash. Using a cheese grater, grate the organic apple into semi-fine shreds. Use the skins, but discard the core.
- Add 500 grams of brown rice or buckwheat flour, the grated apple, and 360 mL of lukewarm un-chlorinated water (about 1.5 cups) to a mixing bowl and thoroughly combine.
- Transfer the mixture into a large glass airtight container that has enough room for it to at least double in size, minimum. (Ours usually quadruples while fermenting) Pack the mixture down into the bottom of the container. Close the lid.
- To monitor growth, mark the side of your container with a washable marker or rubber band at the top level of the mixture.

Days 2-3
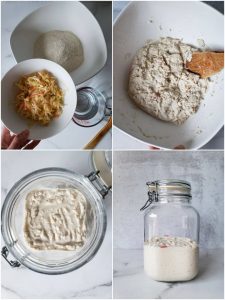
- Let the mixture sit for 3 days (72 hours) at a temperature of 70-75 degrees F. It should bubble and rise during this time.
Day 4
- After approximately 72 hours, thoroughly stir the mixture and then discard half of the amount. Then, thoroughly mix in another 250 grams of flour and 180 mL of tepid filtered water (about 3/4 cup) to the remaining starter mixture. This is called "feeding" the sourdough starter. You can do this either in a separate bowl, and put it back into a now-clean ferment vessel, or like we do, mix it in place.
- Re-mark the container to note the height of the mixture. Let sit at 70-75 degrees, for 2 days or 48 hours this time.
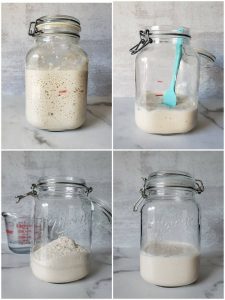
Day 6
- After 48 hours, repeat the same discard and feed process as done previously. Discard half, feed, mix, mark the level, and cover again. This time, make it slightly more wet – using 250 grams of flour and about 220 mL of water.
- Allow the sourdough starter mixture to sit for a final 24 hours.
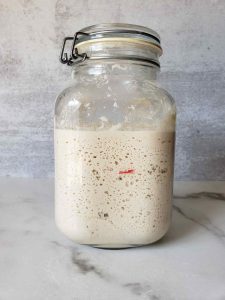
Day 7
- If it rises and falls after the last feeding, you now have a happy and active gluten-free sourdough starter! Store it in the refrigerator when not in use, taking it out to warm up and be fed weekly. See more feeding and maintenance tips here.
Notes
- If there is no activity, let it sit another day or two.
- If your starter has risen and fallen, or, if seems to not rise after the first discard and feed, and instead it has a dark liquid formed on top (called hooch), it may actually be overly active and hungry! Stir in a little more flour (and warm water as needed, if it becomes too thick and dry) and let it sit again. Wait a day or two to see if it perks up and begins to rise and bubble.
- If your home is cold, try to find a warmer spot if possible! Use a starter heating mat, or place it inside the oven with the oven OFF but oven light ON to create a nice warm environment.
- If the starter doesn’t rise at all after the first discard and feed, try opening the lid of your jar. Cover it with a coffee filter or something else that will prevent fruit flies or other debris from getting inside inside.
- Ensure that you use an organic apple.
- Throughout this process, if your starter ever seems too dry or far too wet, feel free to add a splash more water or flour until the desired consistency is reached as described. The amounts I am providing are a general guide. Different flour types and brands will have slightly varying weights.




209 Comments
Meghan
My son opened our jar yesterday on day 2z Now it’s not as bubbly and fell and I’m wondering if I need to start over?? It also looks watery
Aaron (Mr. DeannaCat)
Hi Meghan, you could start over but you could also just wait until the full 72 hours and move onto the next step. Even if the starter fell, hopefully it is still building healthy populations of bacteria which will be fed in the next step. If you don’t see any mold and the mixture was active, there may still be a chance for success. Good luck!
Viktoria Schneider
Hi, I started your starter recipe 3 days ago and today woke up to pink and white mold on it, so I guess I have to start over again. What I struggled with at the beginning though was your proportions of water and flour. I used exactly 500g brown rice flour and 360ml water, but it was very very dry so that I wasn’t even able to proper stir it. I was just keep adding water to it until I thought it had the right consistency. Any idea why it didn’t work for me based on your recipe? I probably ended up adding another cup or more to it. Would love to hear from you 🙂 thanks, Vik
Aaron (Mr. DeannaCat)
Hi Vik, you can always add a little more water to get it to be less dry, as you can see in our pictures, the mixture was fairly thick and not runny at all but it’s more of a consistency thing there. As far as the mold goes, we haven see some people have a hard time getting a starter going as it will mold within the first few days and I am not entirely sure why. There are a lot of things that can contribute to the mold growth but you could try and omit the apple from the original recipe which may have been the culprit of the mold growth? Essentially, even just water and flour can eventually get you an active and healthy sourdough starter, we just use an apple to help “inoculate” the ingredients with lactobacillus and whatever other yeasts may be present. Hope that helps and good luck!
Anita Elsbree
Hi Deanna (Cat),
I have been reading everything I can about GF sourdough bread!
Great recipies!!
Can you suggest about how to add egg(s) in?
Do I need to remove the xanthum gum/psyllium/other binders?
Or can one just add 1 to 3 eggs in addition?
Any suggestions would be greatfully appreciated!
Best wishes and thank you!
Nita
PS I scoured for hours looking for such a recipie GF Sourdough + Egg and found nothing!!
Aaron (Mr. DeannaCat)
Hi Anita, we use psyllium husk in our gluten free sourdough bread recipe and while eggs and psyllium husk, or even xanthan gum all act as binding agents, we like that psyllium husk can offer some structure that is typically found in gluten. If you try our recipe, I would maybe cut the psyllium husk amount in half and use an egg or two and go from there. We have found when it comes to gluten free baking, there is a lot of trial and error as well as experimentation in find what ratios work best for you. Hope that helps and have fun baking!
Norma Tumberg
I started my starter…will be feeding it tomorrow evening. However, it is growing Kahn yeast. Toss it and start over? Or wait and see and discard and feed tomorrow.
Thank you.
Love your site.
Aaron (Mr. DeannaCat)
Hi Norma, we are glad you enjoy our site and are in the process of making your own GF starter. Kahm yeast is not harmful and can be fairly common amongst starters, I would just proceed with the steps and hopefully you have success and end up with an active starter. Hope that helps and feel free to reach out with any other questions, good luck and have fun baking!
Liz
I started my starter today, so excited to eat some GF sourdough bread! I used my canning funnel to get the starter in the jar without making a mess, I’m prone to be a messy cook 😁
I love it that your recipe is so thorough. I didn’t have any buckwheat flour. I used Teff and Brown rice. I’ll pick up some buckwheat tomorrow. I hope the Teff does the job.
Aaron (Mr. DeannaCat)
Hi Liz, using teff flour should work out just fine, good luck!
Zane Tamane
Hey, my starter got mouldy on top on day 4 (i should have checked ot yesterday night but ot was too late). Itook the mold off but i am not sure if a can proceed with it..
Aaron (Mr. DeannaCat)
Hi Zane, I would likely start the process over as there may still be mold spores inside which could still contaminate your batch. Hope that helps and good luck!
Laurie Stolmaker
I am thinking of trying this with sweet potato flower, either in the starter or for the bread ingredient. Any thoughts appreciated.
Aaron (Mr. DeannaCat)
Hi Laurie, using sweet potato flour in the bread is a great idea and I would start there before feeding your starter with it. We have never baked with sweet potato flour so we can’t offer any advice besides experiment with different ratios or types of flours to see what makes the best loaf for you. In gluten free baking we have fount that trial and error or experimentation is really needed to find what works best. Hope that helps and let us know how your bread turns out, have fun baking!
Martha Johnson
I’m on day four with gf sourdough starter. I sed 100% freshly ground buckwheat. It’s very active but OMG smells rancid. Like compost. Should I keep calm and carry on? Or toss it in the compost?
Martha
Aaron (Mr. DeannaCat)
Hi Martha, it sounds like you are doing everything correctly and are right on track! We have found gluten free starter to have a fairly unpleasant smell at times but it doesn’t mean the starter is bad or rancid and as the starter matures, the smell should subside. Hope that helps and good luck!
Louise
Is there an acceptable substitute for payroll him husk? Allergic to it and to gluten.
Aaron (Mr. DeannaCat)
Hi Louise, you can use xanthan gum at a 1:1 ratio replacement for psyllium husk. Hope that helps and have fun baking!
Kristin
This is so helpful. Going to be converting someone’s already made starter to GF. I am so excited!
Josie
Hi Kristin, did you try converting a normal Sourdough stater to GF? Was it successful? Did you just swap out the feeds with GF flours (ie. rice and buckwheat). Until you felt the Gluten aspect was gone?
Andrea
I used all buckwheat flour. It grew nicely the first 72 hrs, then I fed it, and now it’s time to feed again but it hasn’t risen. Also, I’m noticing small white dots on surface. What do you think?
Aaron (Mr. DeannaCat)
Hi Andrea, as long as the white dots aren’t fuzzy, I wouldn’t think it would be mold specifically but you have to use your best judgement on that. As far as your starter not rising compared to the initial feed, that can be a common occurrence, leave your starter for one more day before you move on to the next step and hopefully after your next discard and feed, you will see more activity. Hope that helps and good luck!
Gabriela
I’m also trying it, I put a buckwheat flour. The firs days were very good, it grow but when I started to feed it.. Oh God, that smell and there is a thin pink layer on top, it also stopped the growing process. Do you think is because of temperature or its something else?
Aaron (Mr. DeannaCat)
Hi Gabriela, GF starters can have pink hue to them before they become fully active so I would stick with the process of discarding and feeding and see if it becomes active and grows out of the pink hue color as well. We have found the GF starters can have quite the aroma to them as well but as long as you don’t see mold or it doesn’t smell completely rancid, all is not lost. Hope that helps and good luck!