

Easy Homemade Applesauce Recipe for Canning or the Freezer
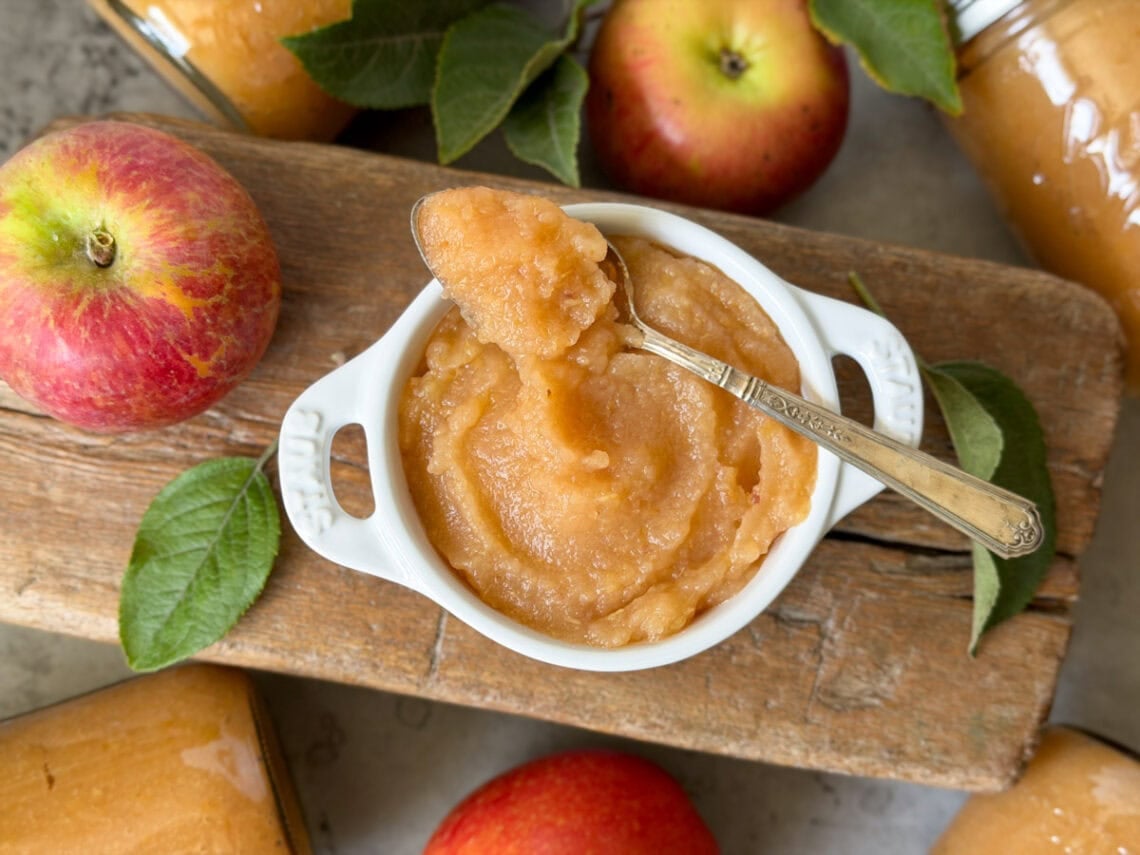
You’re going to love this homemade applesauce recipe! It’s easy to make, naturally sweet, and far more fresh and flavorful than store-bought. It’s also really flexible! You can choose whether or not to peel the apples (I don’t peel mine), add sugar or not, or make it as chunky or smooth as you prefer.
This recipe is adapted from the Ball book of home preserving so it’s safe for canning, and I’ve found it freezes very nicely too. It’s fantastic with yogurt, oatmeal, baked goods, cottage cheese and more!
Whether you grow your own or go apple picking in the fall, this is a great way to preserve fresh apples. I also love to make homemade apple butter with our homegrown harvest.
Best Apples to Make Applesauce
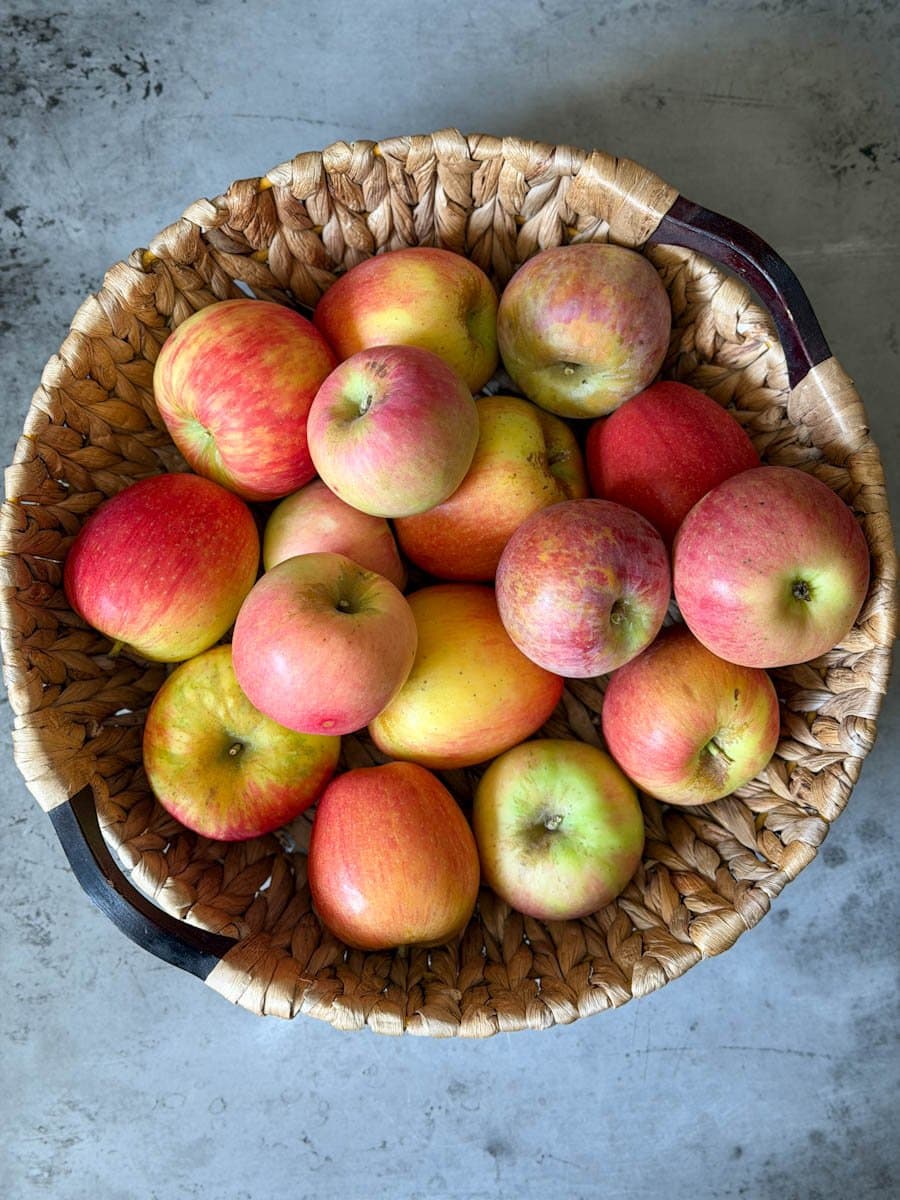
You can use any kind of apples to make homemade applesauce, though I recommend using a mix of both sweet and tart apples to get the best balance of flavor, such as Fuji (sweet) and Granny Smith (tart) or Golden Delicious (sweet) and Braeburn (tart). Or, use varieties that are naturally both sweet-and-tart like Pink Lady, Honeycrisp, McIntosh, or Cortland.
Sweet, tender apples like Golden Delicious, McIntosh and Gala will break down easily and turn into a smooth, creamy applesauce. Firm, crisp apples like Fuji, Honeycrisp, Pink Lady and Granny Smith will retain more texture if you prefer your applesauce chunky. I like a little of both!
Avoid using Red Delicious apples for homemade applesauce though; the mealy flesh and thick skins yields a watery, mushy sauce.
Want to save this?
Disclosure: Homestead and Chill is reader-supported. When you purchase through links on our site, we may earn an affiliate commission.
Peeling vs Not Peeling Apples
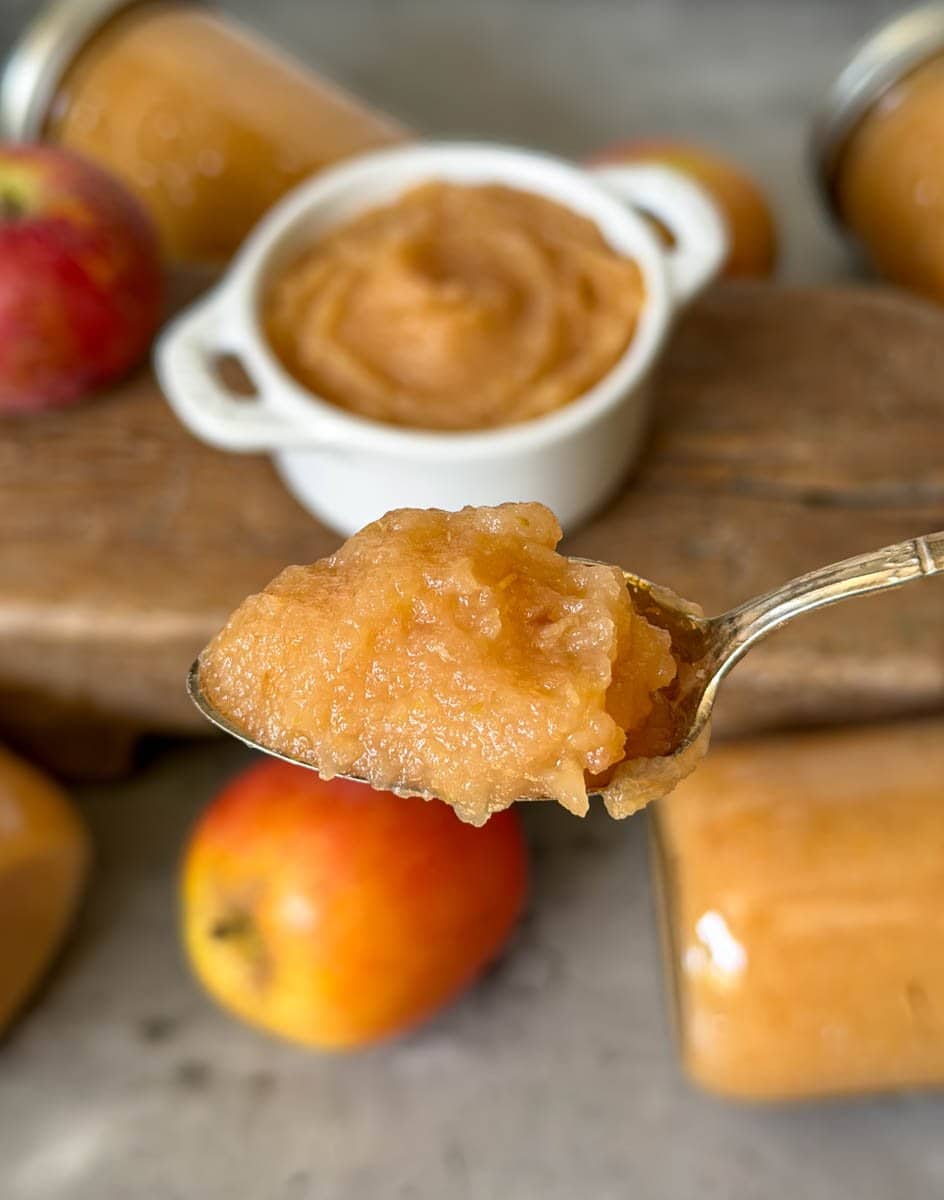
You don’t have to peel apples to make applesauce. In fact, I prefer not to – which saves a lot of time and energy! Plus apple skins contain healthy fiber, vitamins, antioxidants, and flavor that create a wonderfully nutritious, rustic (more textured) applesauce.
However, some folks prefer to peel their apples to help create an extra smooth, creamy applesauce (or run it through a food mill to remove them afterwards). Peeling store-bought apples will also remove the waxy coating, which is especially helpful if you’re using non-organic apples.
The skins can also influence the final color of the sauce. Since I use some apples with red skin, my homemade applesauce usually has light rosy pink hue – but I don’t mind!
RELATED: Looking for more ways to use or preserve apples? Try making dehydrated apple chips, homemade fruit leather, spiced apple butter or homemade apple cider vinegar!
Supplies
- Large non-reactive stock pot (at least 8 quarts) – this is the one I love and use.
- Food processor, immersion blender (my preference) or a good standard blender
- Canning supplies including jars, lids, a canning pot, etc OR freezer-safe containers
- Optional: sieve or food mill, for an extra-smooth sauce
Ingredients
YIELD: This recipe makes approximately 4 pints of homemade applesauce (or just over)
- 6 pounds of ripe apples, cored and roughly chopped into large chunks (a mix of sweet/tart and tender/crisp varieties if possible)
- 1/2 to 1 cup water, apple juice, or apple cider (not vinegar)
- 3 Tbsp bottled lemon juice
- optional: up to 1 cup sugar, to taste (I usually only add about 1/4 cup, if any)
- optional: up to 2 tsp cinnamon and/or up to 1/2 tsp allspice
Instructions
1) Prep Apples
Since applesauce doesn’t cook for very long, I recommend getting your canning supplies ready before you begin, including starting to pre-heat your water bath canner.
- First thoroughly wash the apples, especially if they’re store-bought.
- Core the apples, and then peel them if you desire.
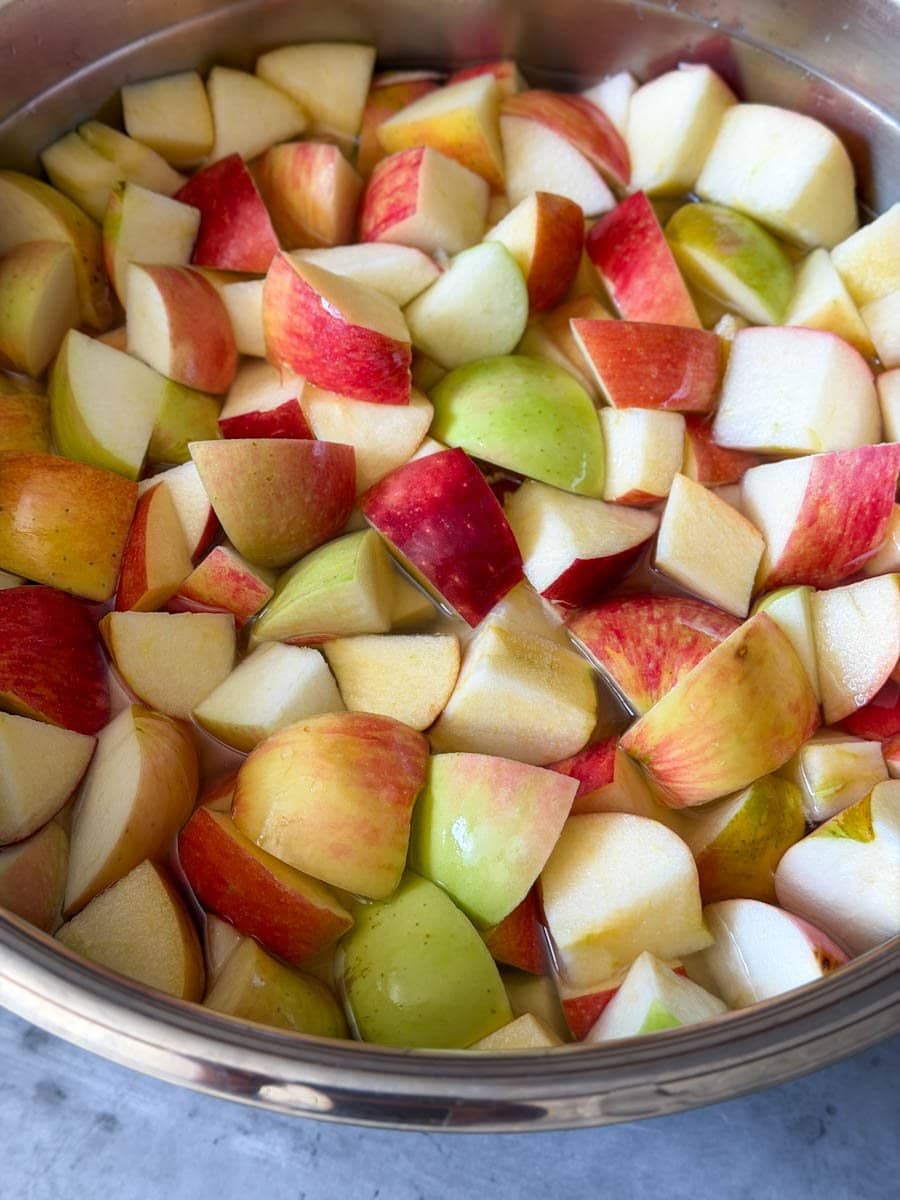
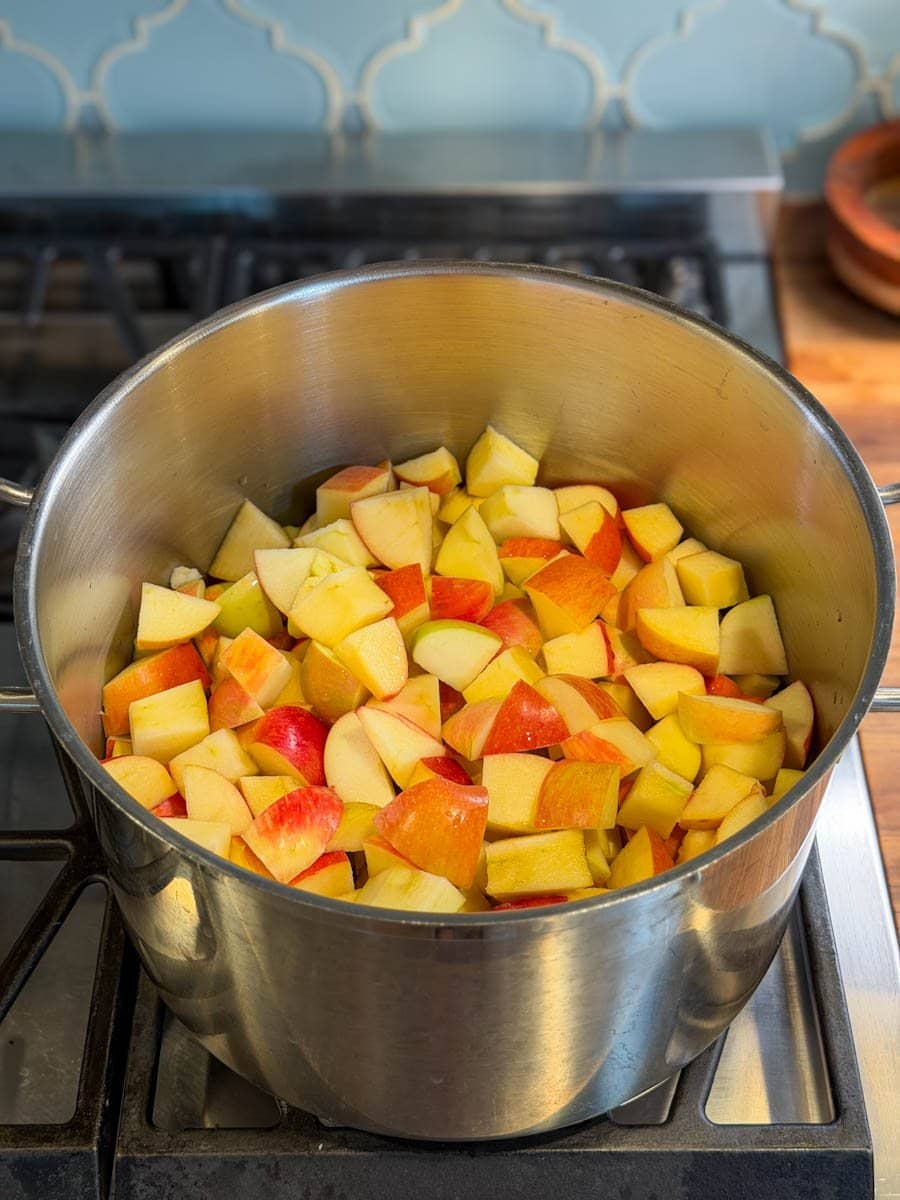
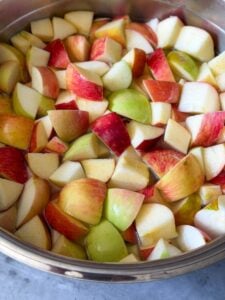
- Roughly chop the apples into large chunks, about 1 to 2 inch pieces. You can leave them in larger slices too (e.g. sixths) though I’ve found they cook much faster and are easier to blend when cut smaller.
PRO TIP: I like to toss my cut apple pieces into a bowl of lemon water to prevent browning as I prepare them (about 1 tbsp of lemon juice per cup of water is the common recommendation). However, it’s not required and doesn’t impact the flavor of the finished applesauce either way.
2) Cook
- Place apples in a large stainless steel stock pot with just enough water (or apple juice/cider) to prevent sticking – about 1/2 cup to 1 cup. Don’t add any sugar or lemon juice yet.
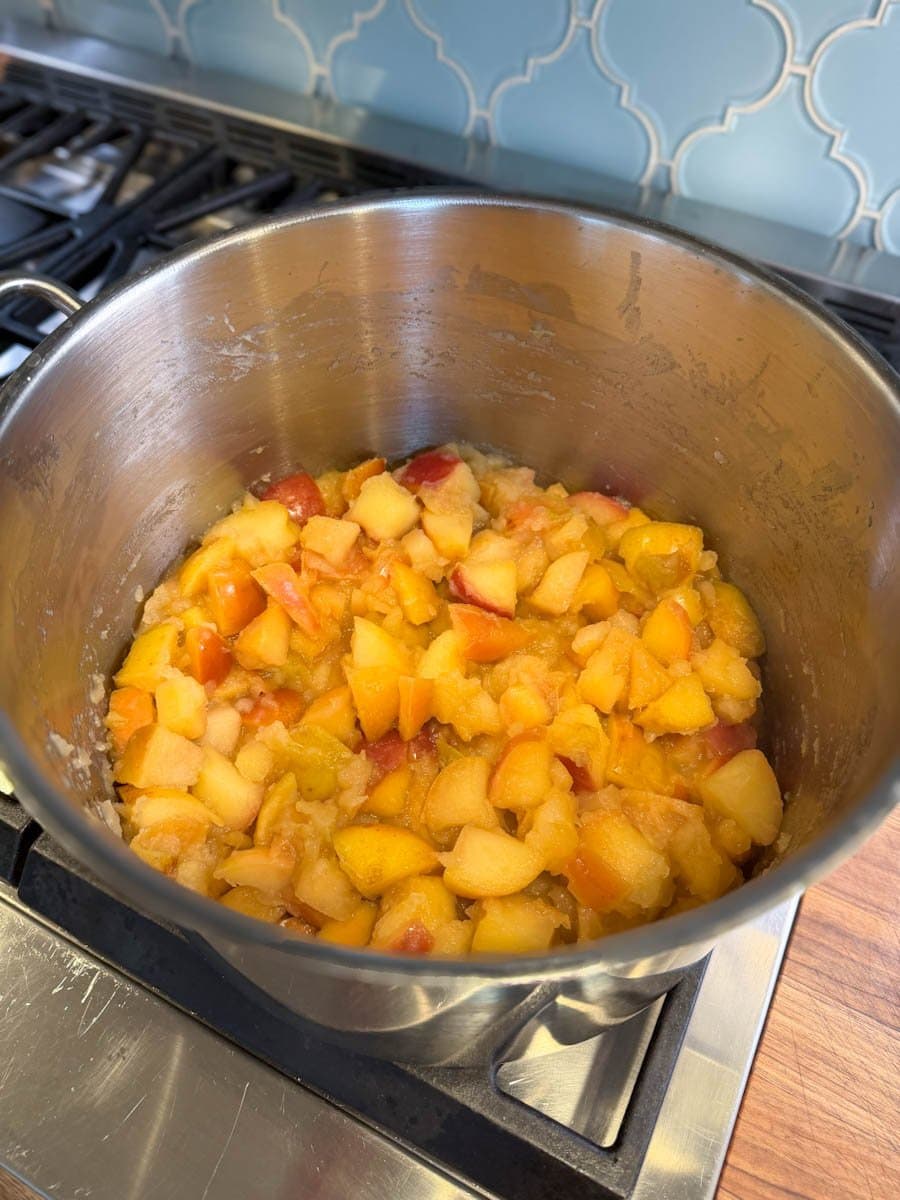
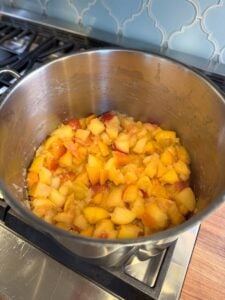
- Cover the pot and cook over medium-high heat until the apples are soft, tender, and falling apart – until they’ll be easy to puree. This should take about 20 to 30 minutes (or longer) depending on the variety and maturity of your apples.
- Stir regularly. It may seem not see like enough liquid at first, but the apples should release juices as they start to break down. If not, add another splash of liquid (water or juice) as needed to prevent scorching as they cook.
- Once tender and easily mashable, remove from heat and let cool slightly, about 5 minutes.
3) Puree
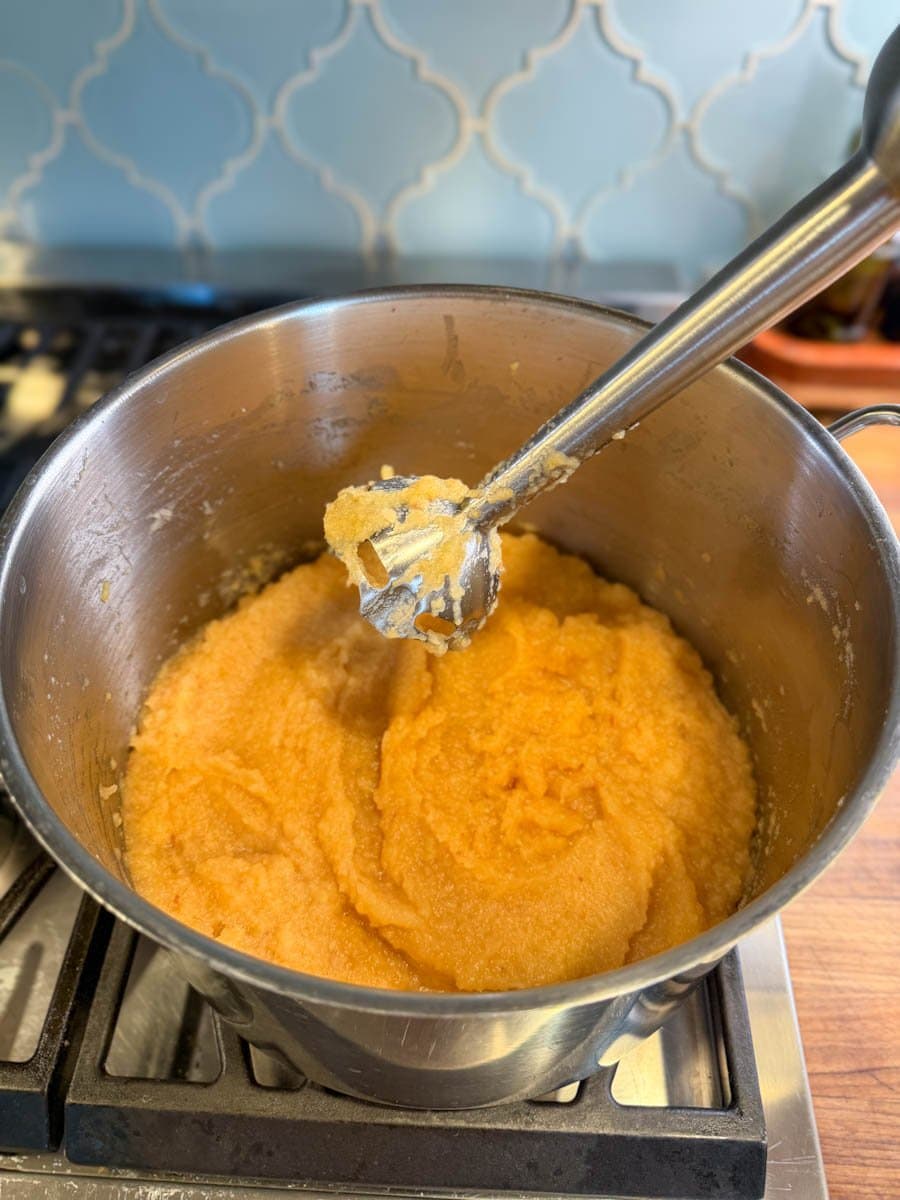
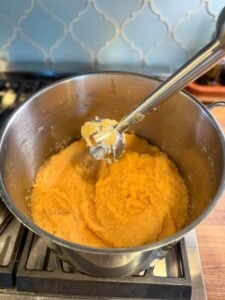
- Next use a food processor, blender, or immersion blender to puree until the applesauce is to your desired consistency, working in batches as needed. I like my homemade applesauce a little chunky, but maybe you prefer it extra smooth!
- I like to use my trusty immersion blender to puree it right in the pot. However, I’ve found that I need to carefully tip my pot to the side to create a deeper “pool” of applesauce to keep the immersion blender head safely submerged. Be careful for hot splatters!
- Optional: for an even smoother texture, press through a sieve or food mill.
4) Add Lemon Juice (and Optional Sugar)
While most traditional varieties of apples are acidic enough to can on their own, not all modern varieties are. Therefore, it’s now recommended (out of an abundance of caution) to add bottled lemon juice to apples to lower the pH for safe canning.
- Return the blended apples to a pot. Add the called-for lemon juice along with up to 1 cup of sugar (optional, adjust to taste). Mix well.
- If canning: bring the mixture to a boil to dissolve the sugar, and then proceed to filling canning jars while the applesauce is still hot.
- If you’re NOT canning or adding additional sugar, you don’t need to return it to a boil. Simply let the pureed applesauce cool and then fill freezer containers for storage (tips below). Lemon juice isn’t required for freezing applesauce either, though it can help preserve the color and prevent browning.
Canning Applesauce
If you’re new to canning, please read up on the basics here. Since applesauce is processed for 15 minutes or longer, you don’t need to pre-sterilize your canning jars.
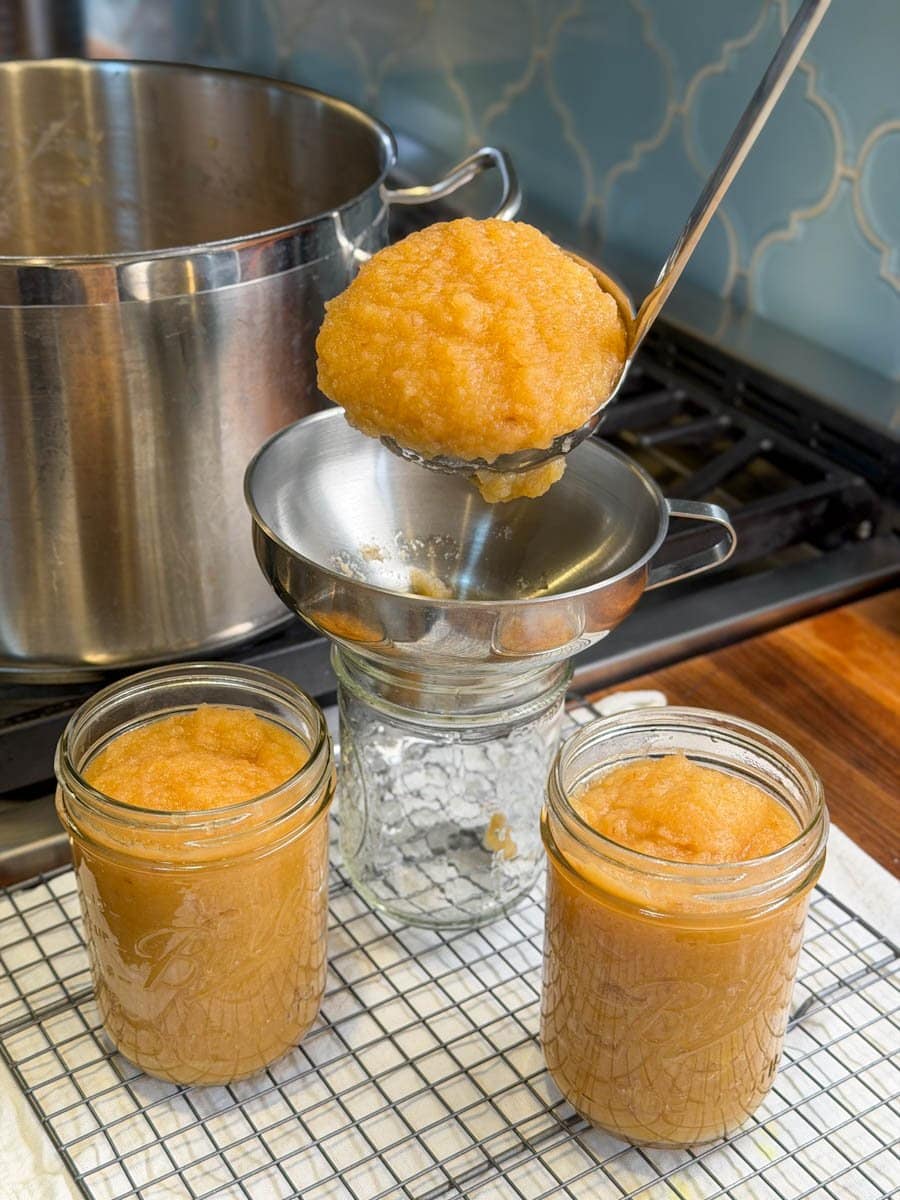
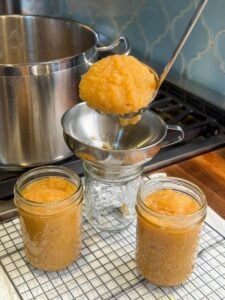
- Remove from heat, and transfer the hot applesauce into warm, clean canning jars with the assistance of a clean canning funnel.
- Leave 1/2-inch head space. This handy tool makes it easy to measure headroom and carefully remove air bubbles from the jar.
- Use a damp paper towel to wipe the rims of the jars clean before adding canning lids and rings. Screw on the rings to fingertip-tight.
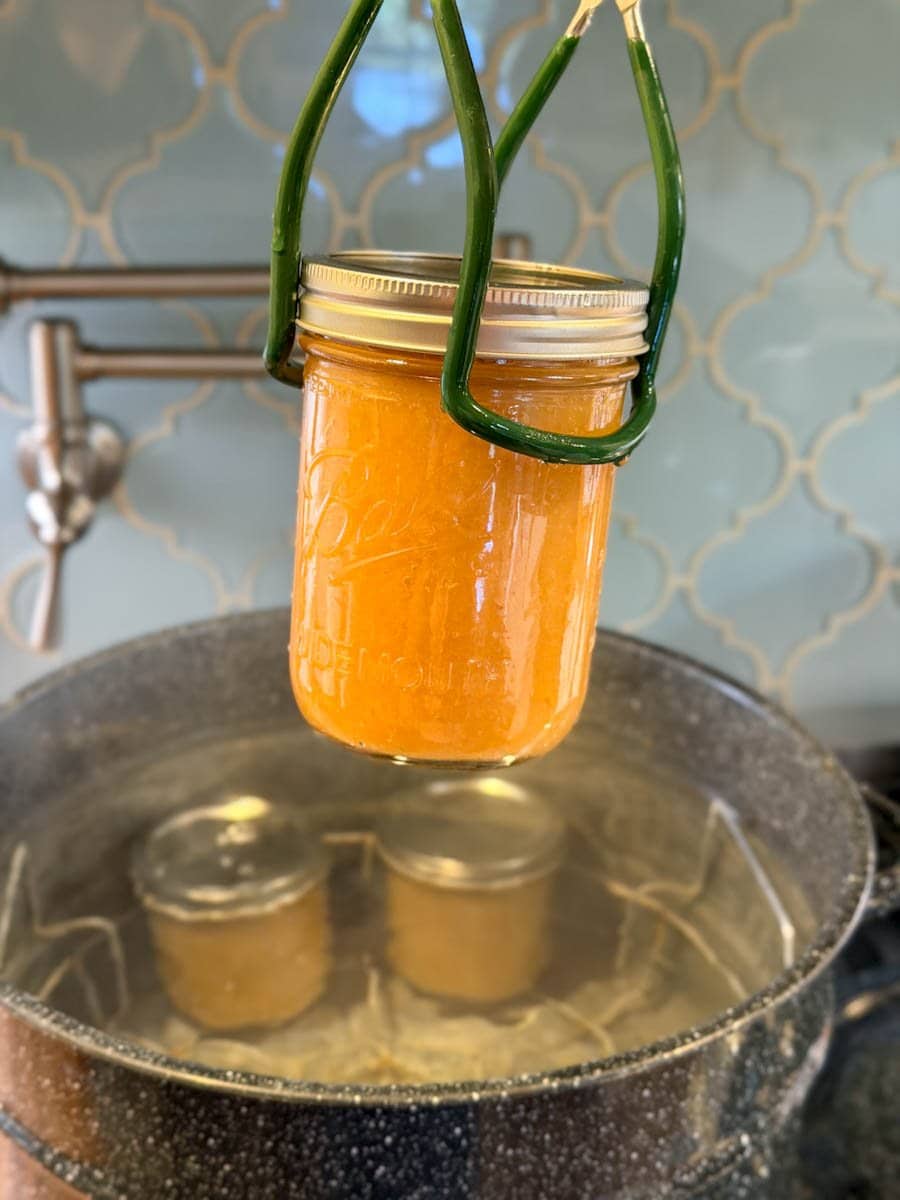
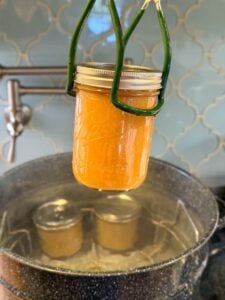
- Use a jar lifter to carefully transfer the jars to a pre-heated canning pot, cover with a lid, and vigorously boil. The jars should be covered by 2 inches of water. Add more boiling water if needed.
- Once the canner returns to a rolling boil, process half-pints or pints for 15 minutes at sea level, and quart jars for 20 minutes (see chart below to adjust for altitude.)
- Turn off heat, remove the canner lid, then wait 5 minutes before removing the jars from the canner. Transfer the jars to a cooling rack and leave undisturbed for at least 12 hours before checking seals. (Do not stack or press on the top of the lids.)
| Recommended process time for Applesauce in a boiling-water canner. | |||||
| Process Time at Altitudes of | |||||
| Style of Pack | Jar Size | 0 – 1,000 ft | 1,001 – 3,000 ft | 3,001 – 6,000 ft | Above 6,000 ft |
| Hot | Pints or 1/2 Pints | 15 min | 20 | 20 | 25 |
| Quarts | 20 | 25 | 30 | 35 | |
Table from National Center for Home Food Preservation
Freezing Applesauce
- To freeze homemade applesauce, allow it to cool to lukewarm in the pot before transferring it into your freezer-safe containers of choice. Leave at least a half-inch of head space to allow for expansion.
- I love these durable, reusable BPA-free freezer containers that come in a variety of sizes. You can also freeze applesauce in wide mouth pint or half-pint glass jars (not regular mouth or quarts, as jars with “shoulders” are prone to cracking in the freezer).
- Defrost in the fridge overnight or at room temperature for a few hours before use.
Storage and Shelf Life
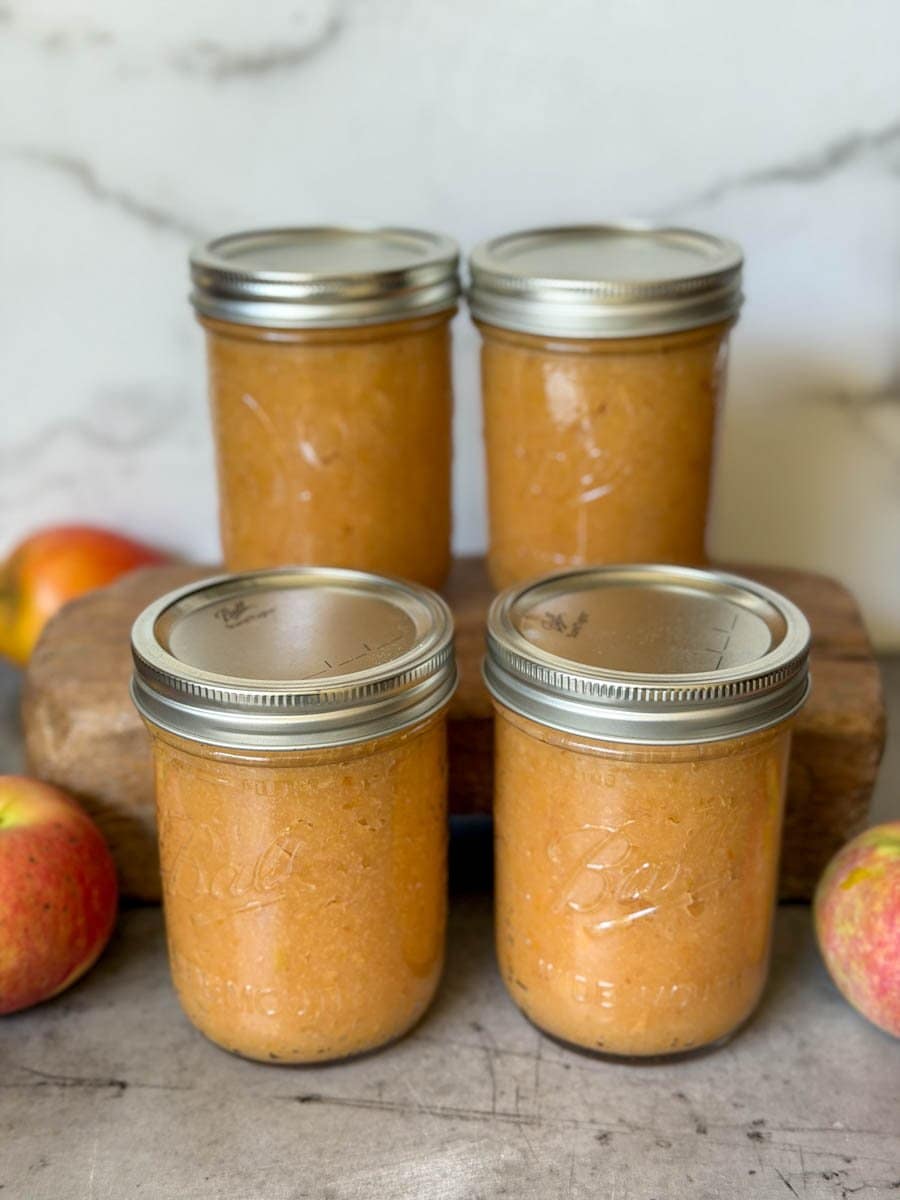
- Store canned, sealed jars of applesauce in a cool dark location – such as a pantry, cellar, or kitchen cabinet. For the best quality, use within one year. Storing jars without canning rings reduces the risk of false seals.
- Frozen applesauce will also stay good in the freezer for a year or longer, though the quality will start to degrade with time. I recommend using it within 6 to 9 months.
- Once open, homemade applesauce lasts in the refrigerator for about 1 to 2 weeks since it does not contain any preservatives.
- Signs of spoilage include mold growth, off odors or taste. Discard immediately if you suspect it has gone bad.
Ways to Use Applesauce
- My current obsession is eating a scoop of homemade applesauce on top of cottage cheese. It may sound strange but it’s a super delicious, healthy, high-protein snack!
- I also love to add applesauce to plain yogurt for breakfast along with sourdough granola, hemp hearts, nuts and seeds. It’s also amazing in oatmeal.
- Try it on top of vanilla or coconut ice cream.
- Applesauce is often used to add natural sweetness and moisture to baked goods. You can even use applesauce as a 1:1 substitute for butter, oil, or eggs in muffin, quick bread, and cake recipes – where it acts as a natural binder while reducing fat.
- Mix it into the batter or serve on top of waffles, pancakes or sourdough pancakes.
- Applesauce is commonly served alongside savory meat dishes including pork, turkey, lamb or chicken.
- It also pairs really with savory flavors like cheese or peanut butter. Try dipping a grilled cheese sandwich into applesauce, or use it instead of jelly on a PB&J.
Enjoy!
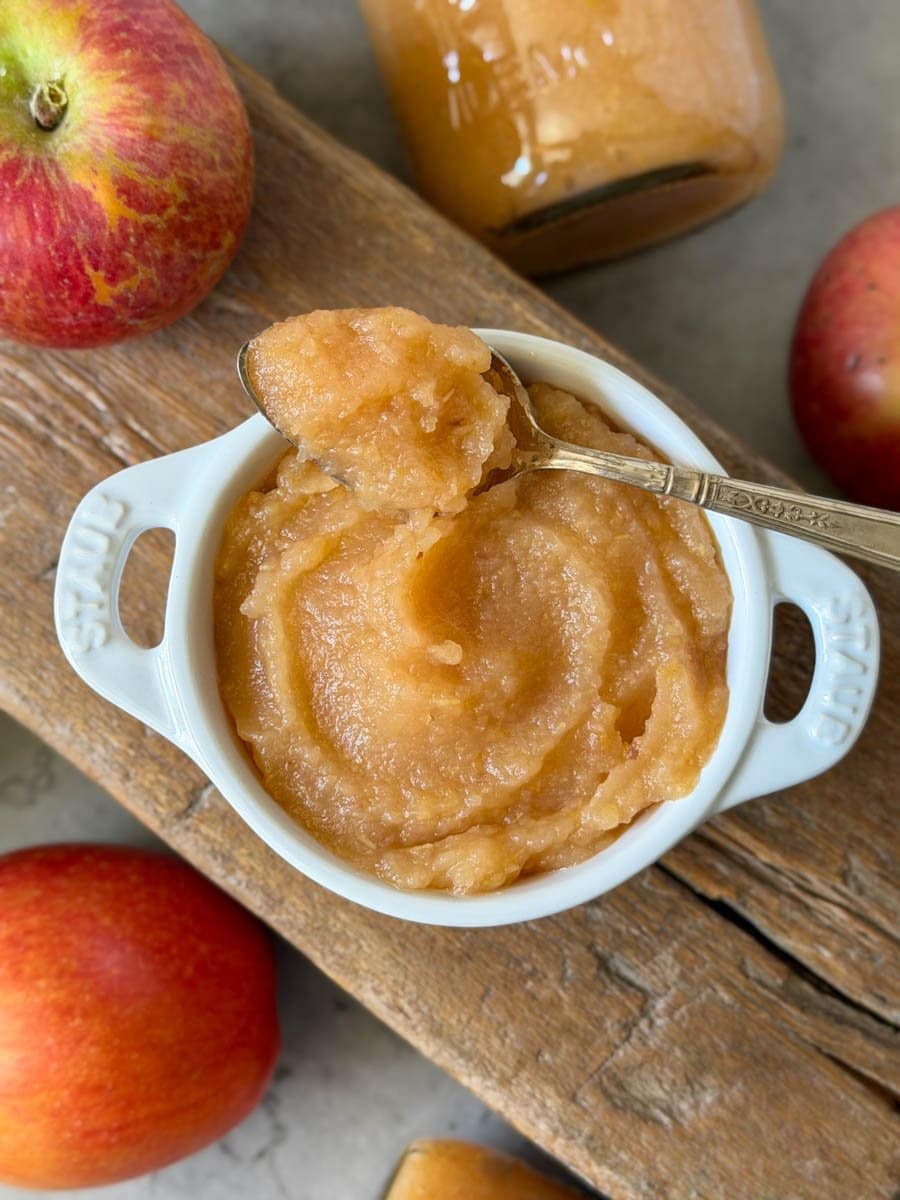
I hope you enjoy this easy homemade applesauce recipe as much as we do. Let me know if you have any questions below – and if you give it a try, please leave a review!
You may also enjoy:
- The Best Peach Butter Recipe
- Easy Sweet ‘n Spicy Pepper Jelly Recipe
- Simple Low Sugar Apricot Jam
- Easy Fruit Shrub Recipe: How to Make Delicious Drinking Vinegar
- Sweet Potato (Yam) Apple & Fresh Cranberry Bake with Walnuts
Easy Homemade Applesauce for Canning or Freezing
Want to save this?
Equipment
- Large non-reactive pot (we use a 12 quart stainless steel pot though 8-10 is sufficient)
- Blender, or food processor (immersion blender preferred)
- Canning supplies including jars, lids, a canning pot, rack, jar lifter, etc. (or freezer-safe containers)
- Cutting board, knife and measuring cups
- Food mill or sieve (optional, for extra-smooth sauce)
Ingredients
- 6 pounds ripe apples, cored and chopped into 1" to 2" pieces (use a mix of sweet/soft and tart/crisp varieties if possible)
- 1/2 cup water, apple juice or cider (approximate, up to 1 cup or so as needed to prevent sticking)
- 3 Tbsp bottled lemon juice (not fresh if canning)
- optional: up to 1 cup of sugar, to taste
- optional: up to 2 tsp of cinnamon, and/or up to 1/2 tsp allspice
Instructions
Prep
- I suggest getting your canning supplies ready first, including starting to pre-heat the water bath canner.
- You do not need to peel the apples unless you want to, which will create an extra-smooth, creamy applesauce. Leaving the skins on adds more texture, color, fiber and nutrients.
- Wash, core, and roughly chop apples into 1 to 2-inch pieces.
- Optional: I like to toss cut apples into a bowl of lemon water to prevent browning as I prepare them (about 1 tbsp of lemon juice per cup of water) but it's not required and doesn't impact the flavor either way.

Cook
- Place apples in a large stainless steel stock pot with just enough water (or apple juice/cider) to prevent sticking – about 1/2 cup to 1 cup. Don’t add sugar or lemon juice yet.
- Cover the pot and cook over medium-high heat until the apples are soft, tender, and falling apart – about 20 to 30 minutes or longer depending on the variety and maturity of the apples.
- Stir regularly. It may seem not see like enough liquid at first, but the apples should release juices as they break down. If not, add another splash of liquid (water or juice) as needed to prevent scorching as they cook.
- Once tender and easily mashable, remove from heat and let cool slightly, about 5 minutes.
Puree
- Next use a food processor, blender, or immersion blender to puree until the applesauce to your desired consistency, working in batches as needed.
- I like to use an immersion blender to puree right in the pot, but keep the blender head safely submerged and be careful for hot splatters!
- Optional: For an even smoother texture, press through a sieve or food mill.
Add Lemon Juice (Optional Sugar)
- Return the blended apples to a pot. Add the called-for lemon juice along with up to 1 cup of sugar (optional, adjust to taste). Mix well.
- If canning: bring the mixture to a boil to dissolve the sugar, and then proceed to filling canning jars while the applesauce is still hot.
- If you’re NOT canning or adding additional sugar, you don’t need to return it to a boil. Simply let the pureed applesauce cool and then fill freezer containers for storage (tips below). Lemon juice isn’t required for freezing applesauce, though it can help preserve the color and prevent browning.
Canning Instructions
- Remove from heat, and transfer hot applesauce into warm clean canning jars with the assistance of a clean canning funnel. Leave 1/2-inch of head space.
- Remove air bubbles as needed using a bubble remover or small knife. Use a clean damp paper towel to wipe the rims of the jars clean before adding lids
- Add sterilized canning lids and rings. Screw on the rings to fingertip tight.
- Use a jar lifter to carefully transfer the jars to your pre-heated water bath canning pot, cover with a lid. The jars should be covered by 2 inches of water. Add more boiling water if needed.
- Once the canner returns to a rolling boil, process half pints or pint jars for 15 minutes. To adjust for altitude, process 20 minutes at 1000-6000 feet above sea level, and 25 minutes at 6000+ feet.) See chart in body of post above for quart jar times.
- When the time is up, remove the lid and turn off the heat, but let the jars sit in the canner for another 5 minutes before carefully transferring them to a cooling rack. Leave jars undisturbed for at least 12 hours before checking seals. (Do not stack or press on the top of the lids.)
Freezing Tips
- Allow the applesauce to cool to lukewarm in the pot before transferring it into freezer-safe containers of choice.
- Leave at least a half-inch to an inch of head space to allow for expansion as it freezes.
- Frozen applesauce will stay good in the freezer for about a year, though it’s best if used within 6 to 9 months.
- Defrost in the refrigerator overnight or for a few hours at room temperature.
Storage and Shelf Life
- Store canned, sealed jars in a cool dark location for 1 to 2 years – such as a pantry, cellar, or kitchen cabinets. For the best quality, use within one year.
- Once open, homemade applesauce will stay good in the refrigerator for 1 to 2 weeks, possibly longer.
- Signs of spoilage include mold growth, off odors or taste. Discard immediately if you suspect it has spoiled.




2 Comments
Lisa
I made a batch this weekend with the first fall apples from my tree, and it did not disappoint! I grew up eating cottage cheese and applesauce and hadn’t had it in years. This inspired me to try it again and I’m so glad I did – YUM. Thank you for sharing this easy and delicious recipe!
Deanna Talerico
Hi Lisa, Lol – that’s awesome! I grew up eating cottage cheese with mandarin oranges but hadn’t tried it with applesauce until recently (that I remember, anyways). I’m so glad you like it too, and the recipe! Thank you very much for leaving a rewiew