

How to Grow, Harvest, Dry and Use Calendula Flowers (With Photos)
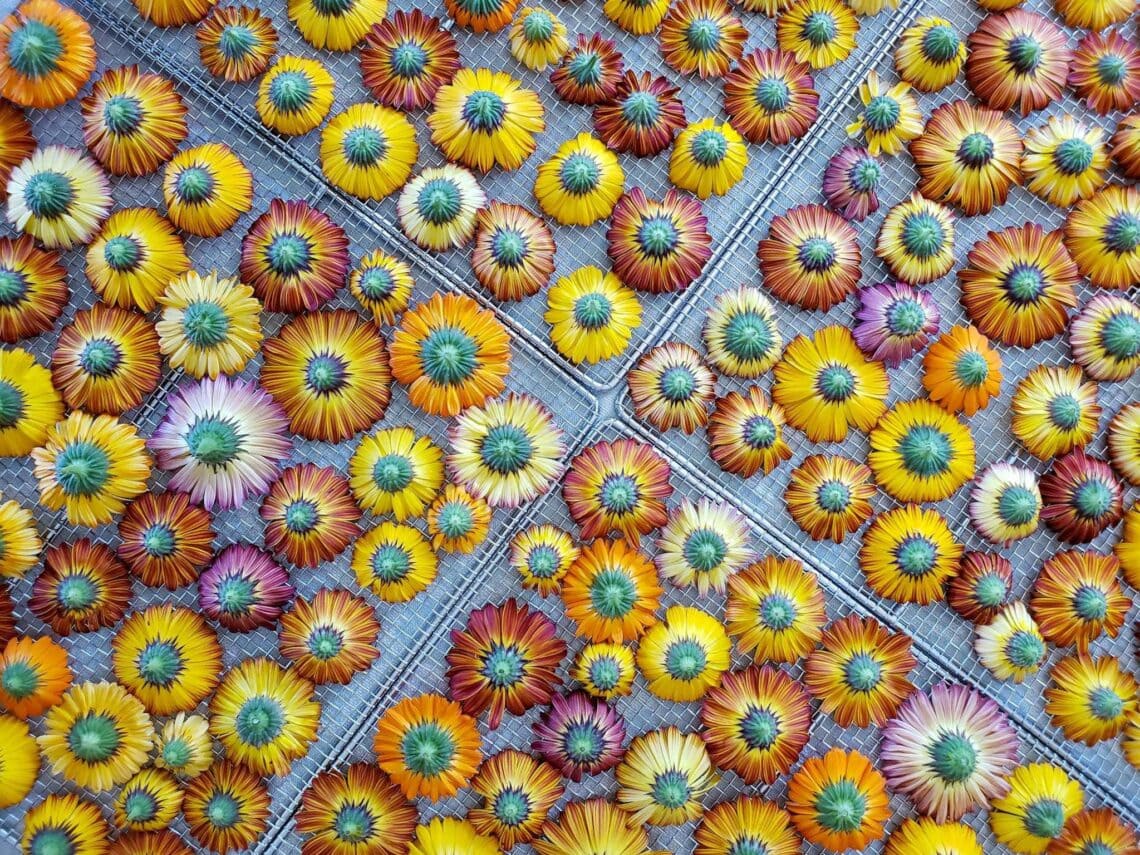
Come learn all about calendula: my favorite edible and medicinal herb! This guide will explore how to grow calendula, along with how to harvest and dry calendula flowers to use for natural skin care, infused oil, salves and more. In addition to providing a burst of sunshine in the garden, you may be surprised to learn what amazing therapeutic properties it offers!
We’ve been growing calendula for over 10 years so this guide is full of pro tips, recipes, photos, and our favorite varieties to grow. We even have a designated “calendula farm” garden area now, where we grow flowers exclusively for our organic skincare line.
NOTE: This post was originally published in June 2019 but has been significantly updated since.
Would you like to save this?
Disclosure: Homestead and Chill is reader-supported. When you purchase through links on our site, we may earn an affiliate commission.
About Calendula
Calendula officinalis is a cheerful, daisy-like flowering herb that is highly prized by gardeners and herbalist alike. It’s gorgeous, easy to grow, has a long blooming season, attracts pollinators to the garden (bees love it!), and is easy to save seeds from. It’s one of my favorite easy annual flowers to grow, hands-down.
Calendula is highly medicinal and edible, with many wonderful uses beyond the garden – including in the kitchen, natural medicine, and skin care products. Calendula is especially renown for its ability to soothe skin issues.
Note that calendula is sometimes referred to as “pot marigold” but don’t confuse it with true marigolds, such as french marigolds. They’re distinctly different, and not nearly as medicinal in nature.
Benefits of Calendula
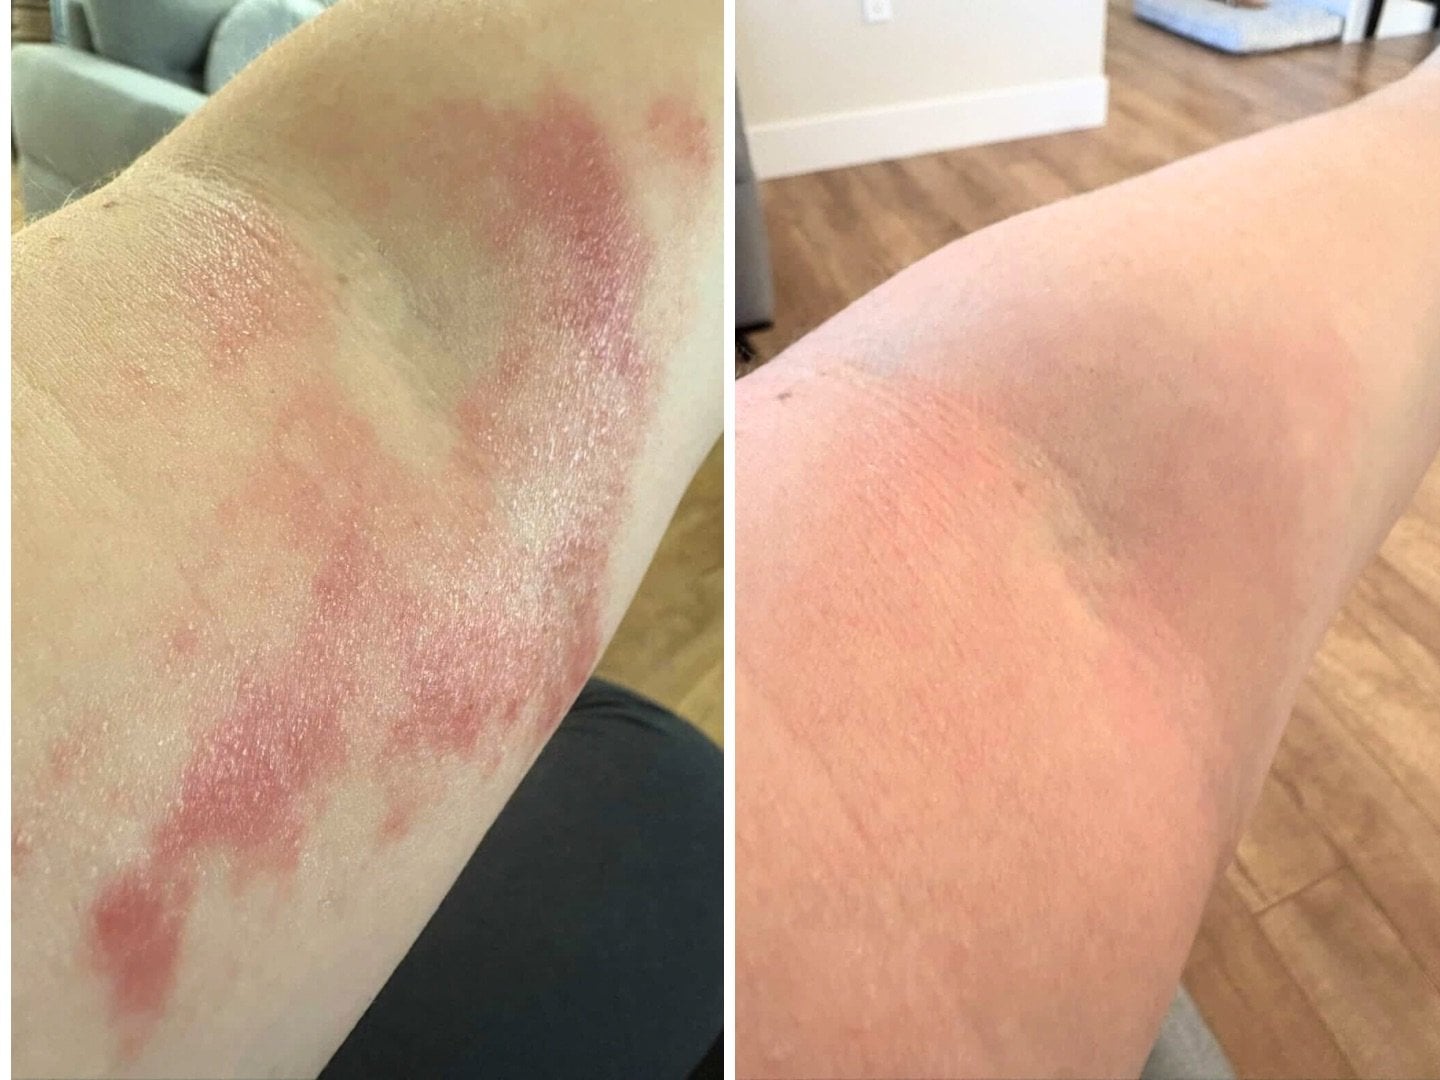
If you read labels, you’ll probably notice calendula as a key ingredient in many natural skin care products, and for a good reason! When used topically, studies consistently show that calendula can ease, heal, or otherwise treat a huge array of skin conditions including rashes, swelling, eczema, burns, sunburn, acne, stings, wounds, scrapes, scars, and more.
Calendula works its magic by promoting cellular repair and growth, coupled with its natural antibacterial and anti-inflammatory properties. It’s most commonly applied to skin as calendula-infused oil, a healing salve, or lotion.
Above all, calendula is gentle in its work. According to expert herbalist Rosemary Gladstar, “calendula is a wonderful herb for babies – popular for treating cradle cap, diaper rash, thrush, and other skin irritations.”
When used internally (via tea or tincture) it can help boost the immune and lymphatic systems, fight fungal infections, reduce inflammation, menstrual cramps, and gastrointestinal upset, as well as keep fevers at bay. It’s also an anti-viral.
Our Favorite Calendula Varieties
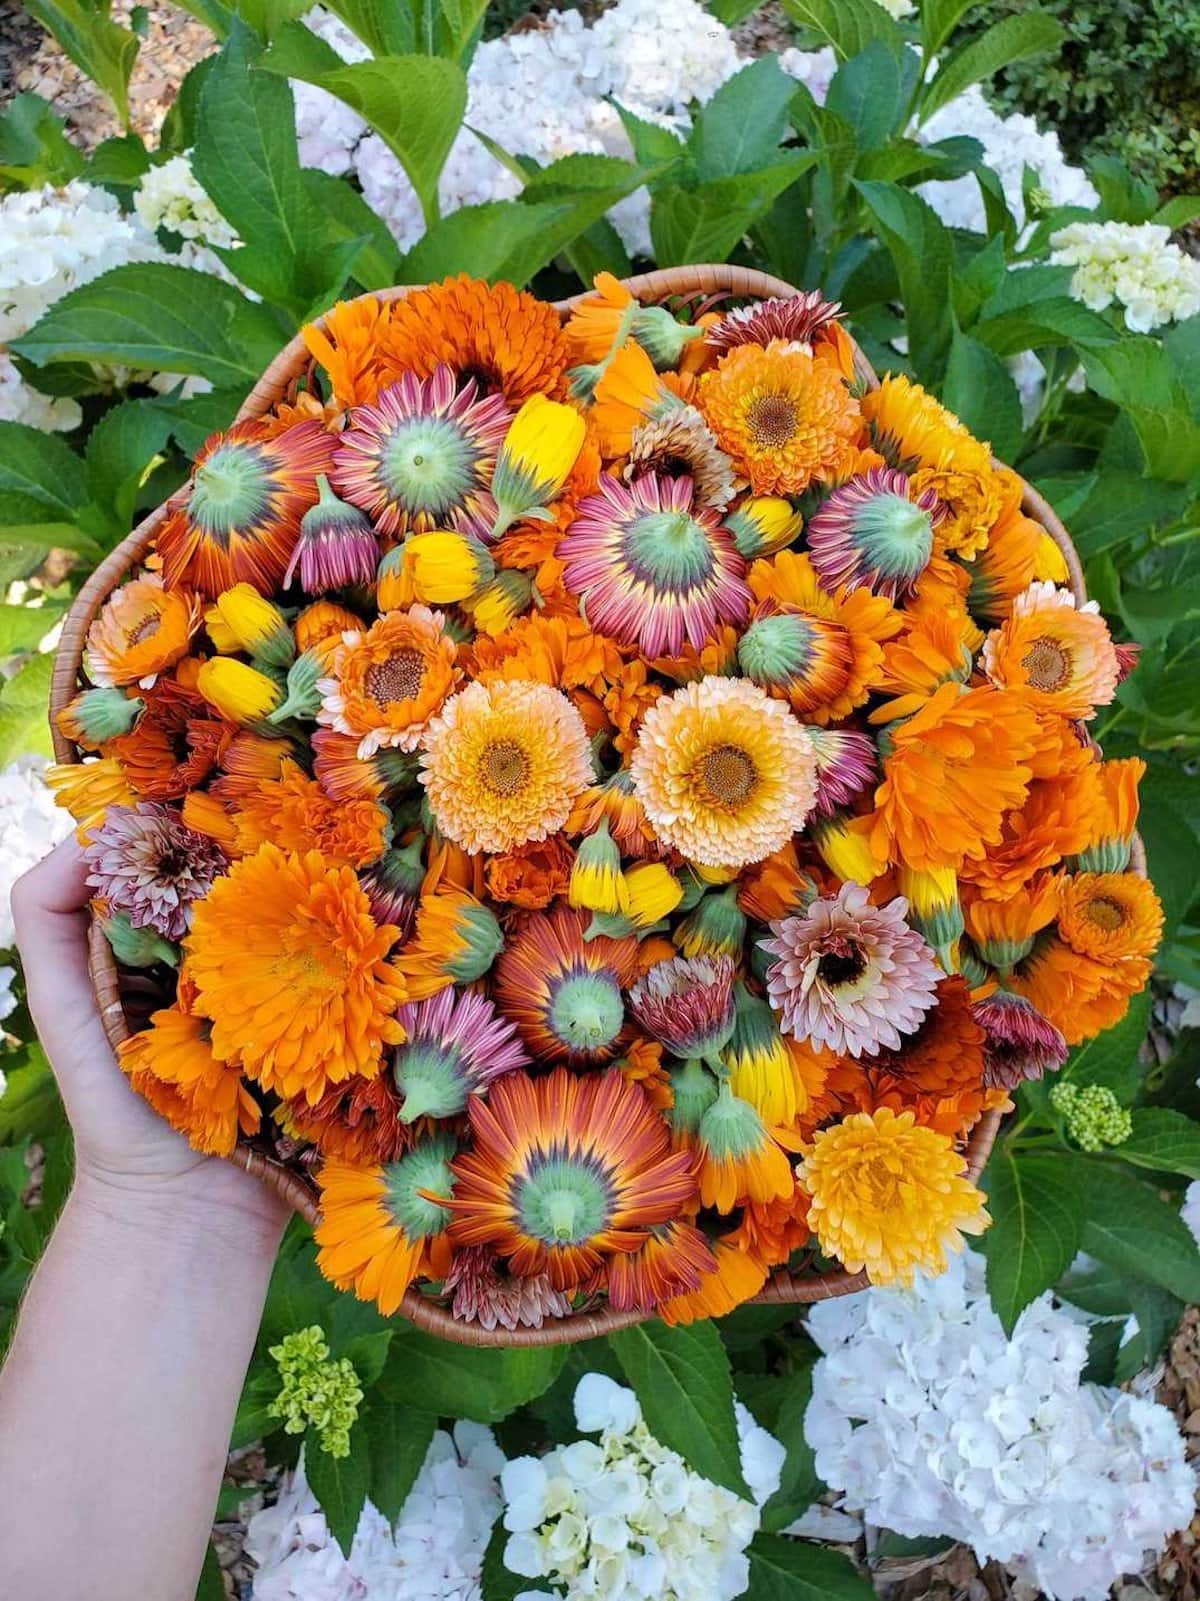
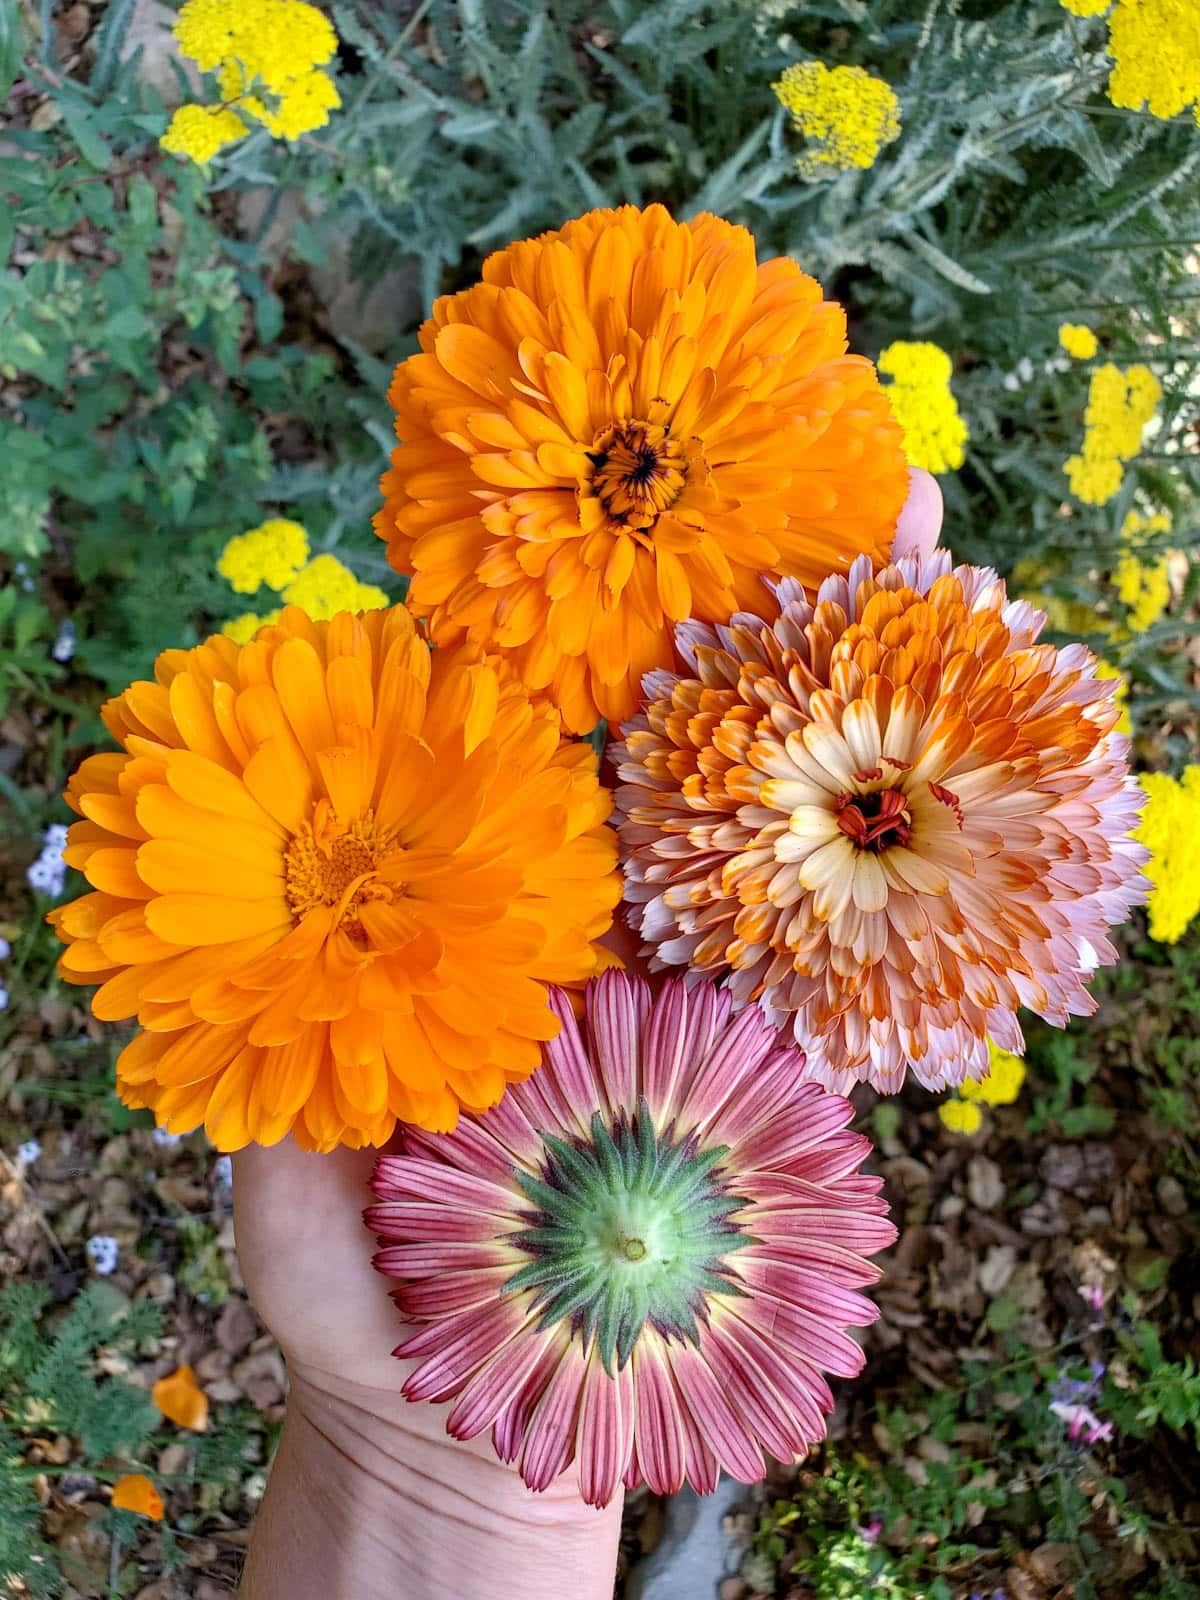
Calendula comes in dozens of shades of the sunset: golden yellow, bright to light oranges, blushing reds, and some of my favorite, peachy-pink tones. Some plants grow quite tall (over 3 feet) while other varieties stay more compact and bushy. They all offer amazing healing properties, yet the more sticky and resinous the flowers are, the more potent your homemade calendula products will be.
Some of our personal favorite calendula varieties to grow include: Resina, Pacific Beauty, Strawberry Blonde, Erfurter, Oopsy Daisy and Zeolights.
How to Grow Calendula
Calendula is just about as no-fuss and low-maintenance as they come! It’s easy to grow calendula from seed, or you may be able to find seedlings at your local nursery in spring. It grows well in just about every zone, including in containers.
- Direct sow calendula seeds outdoors after the last spring frost in your zone, or start seeds indoors 6 to 8 weeks before the last frost. See tips on starting seeds indoors in the section to follow.
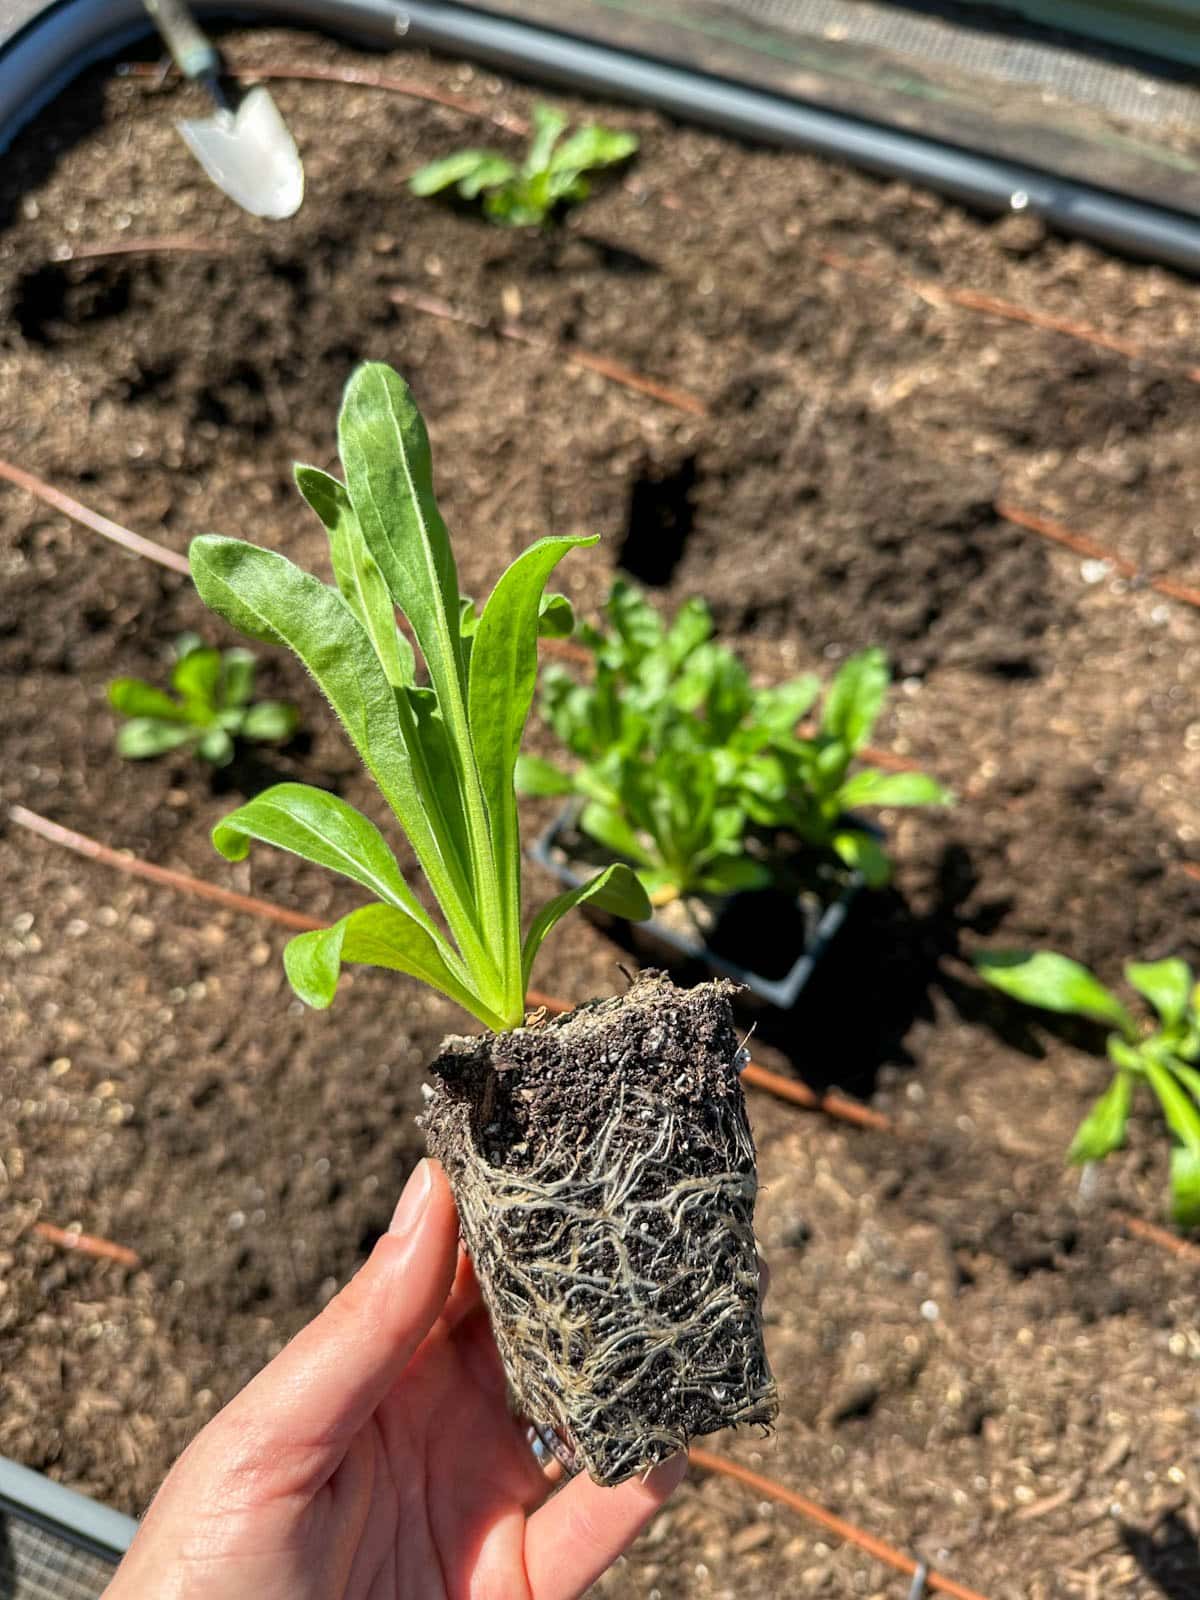
- Plant calendula seedlings outside once the risk of frost has passed, spacing plants about 8 to 12 inches apart in the garden.
- Calendula is not picky about soil. It performs best in moderately rich, well-draining soil but is known to tolerate poor soil conditions too. Some of our volunteer calendula plants grow happily in gravel even!
- Calendula grows best in full sun, though partial or afternoon shade can be beneficial in places with exceptionally hot summer weather.
- Provide moderate water. Calendula is fairly drought-tolerant so it won’t appreciate overly wet conditions.
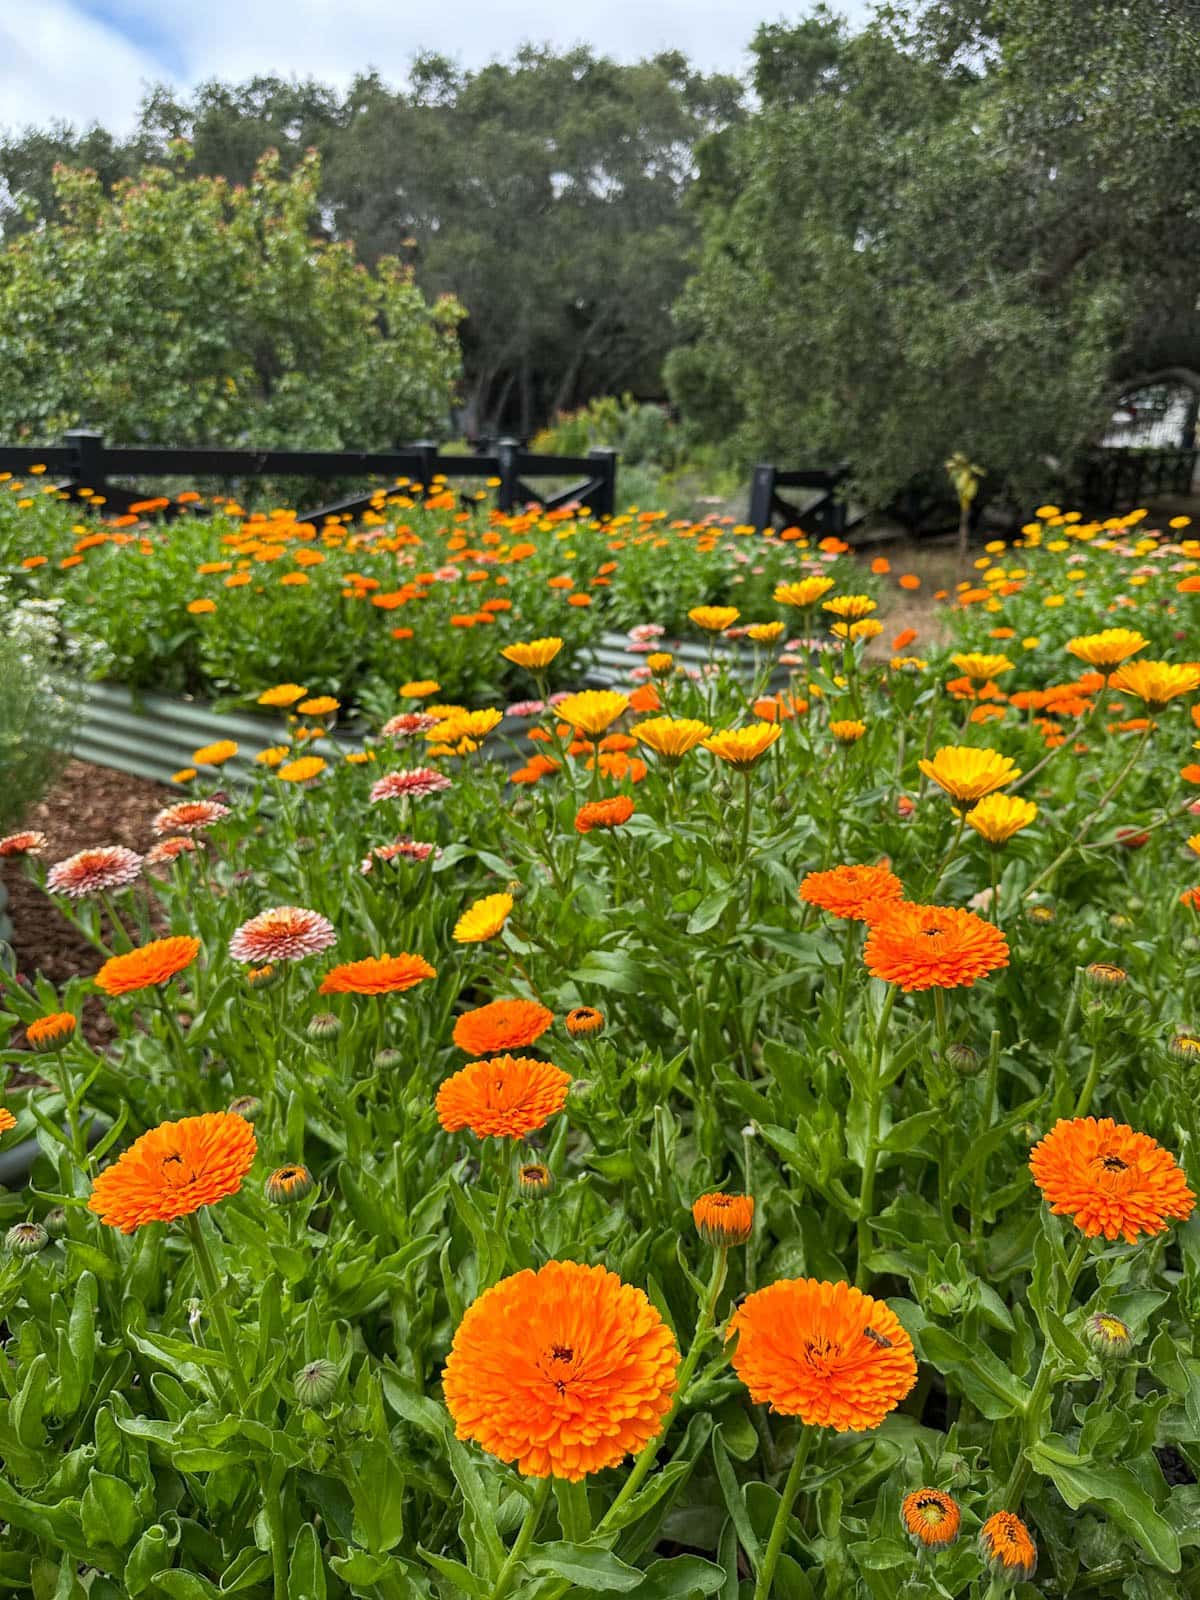
- Once established, calendula is tolerant to both heat and cold. In places with mild winters, you can grow it year-round! Expect prolific blooms from calendula in spring through fall.
- Calendula readily self-seeds (especially if you don’t harvest the flowers) so new plants will grow back as “volunteers” year after year.

Starting Calendula Seeds Indoors
We prefer to start our calendula indoors to get a jump start on the growing season, which means harvesting blooms sooner too!
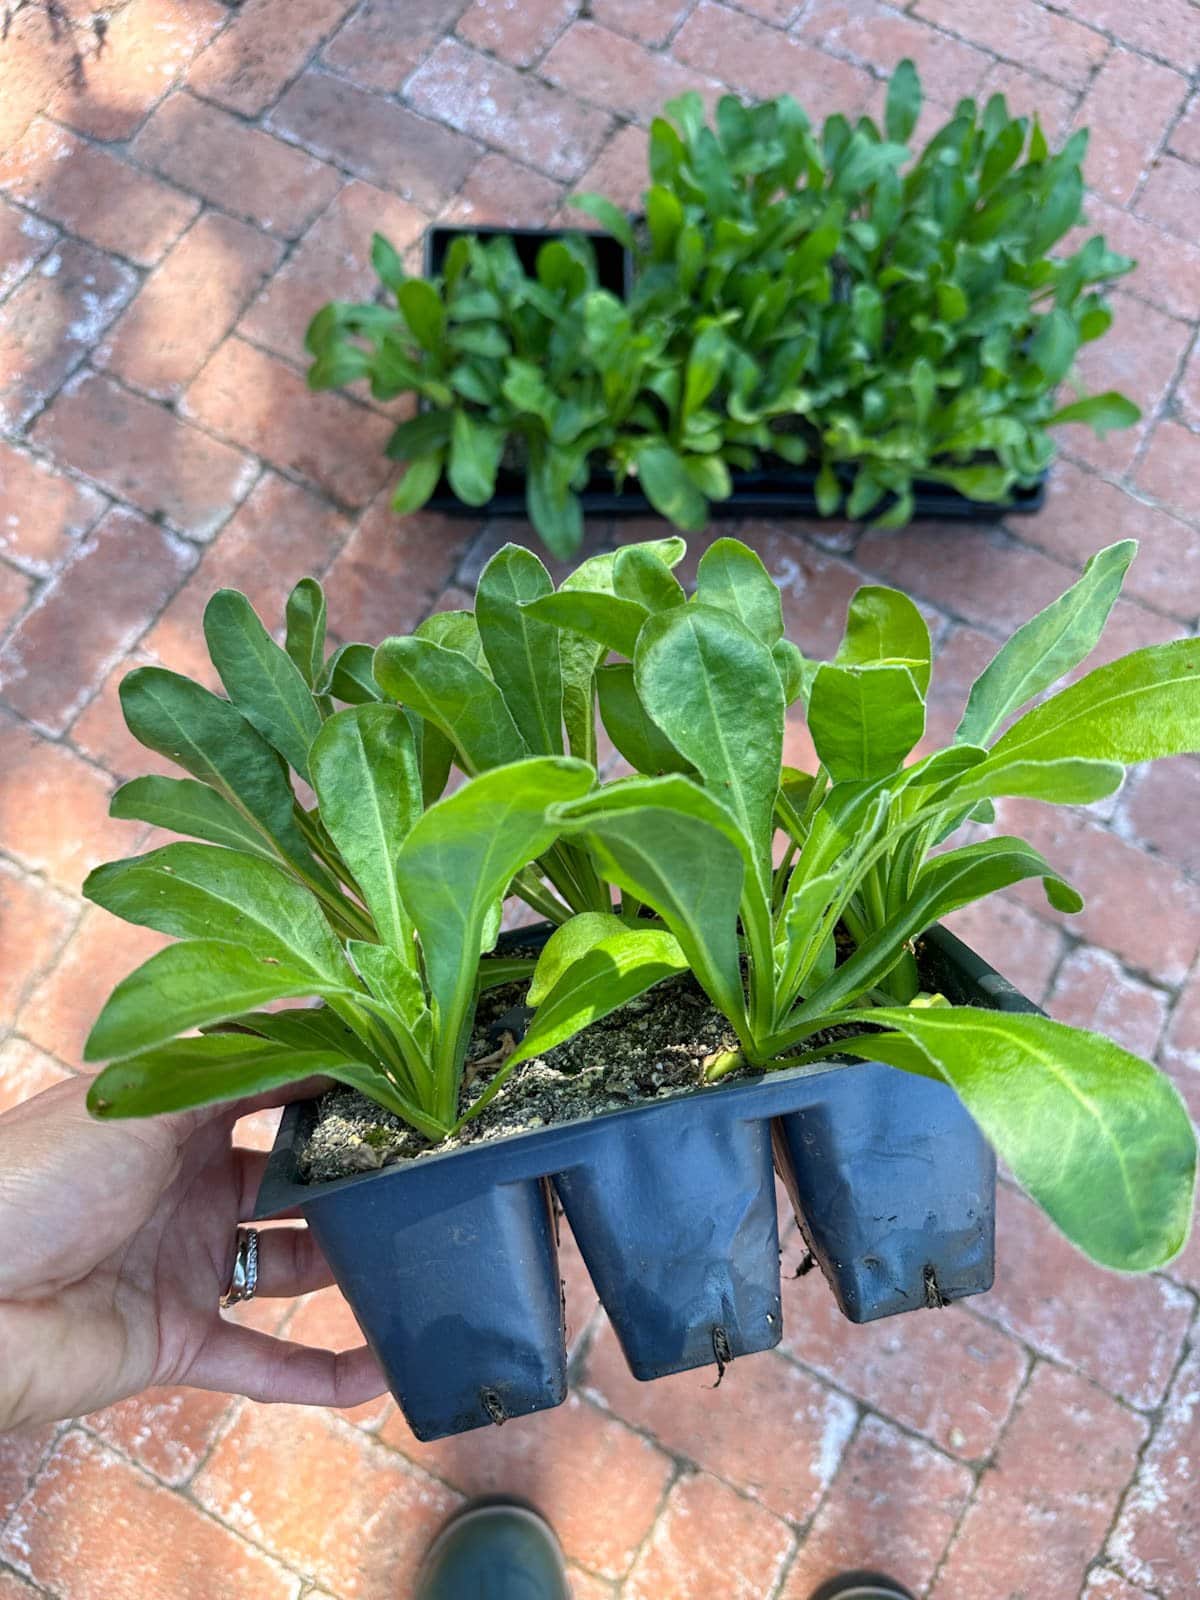
- To start indoors, sow calendula seeds in containers of fluffy seed-starting mix about 6 to 8 weeks before the last spring frost date in your zone. Plant seeds approximately 1/4-inch deep.
- Use a seedling heat mat to help encourage quick germination, and provide ample bright light (e.g. a grow light) to prevent them from getting leggy.
- Keep the soil evenly damp but not soggy.
- Transplant calendula seedlings outside once the risk of frost has passed, but be sure to harden off indoor seedlings first to prevent transplant shock!
Pro Tip: I always thin my seedlings to one plant per cell or seedling pot within just a week or two of sprouting. (I simply trim out the extras at the soil line.) Early thinning reduces competition and makes seedlings grow SO much faster! See our complete guide on starting seeds indoors for more detailed tips.
Calendula Pests and Disease Control
Thankfully, calendula doesn’t attract many pests. I’ve heard it’s deer resistant too!
Thrips, aphids and whiteflies may occasionally bother calendula plants, which can be blasted off with water or treated with homemade insecticidal soap. We occasionally see tiny bugs on our flowers but don’t treat them since they’re used for organic skincare products. Instead, the bugs seems to simply disappear once we harvest and dehydrate the flowers.
The most common disease that effects calendula is powdery mildew, which unfortunately is very prevalent here. Avoid overcrowding plants to increase airflow and reduce the chances of disease. Thankfully, the mildew seems to mostly affect the foliage and not the blooms. Learn how to prevent and treat powdery mildew organically here.
How to Harvest Calendula
- To harvest calendula, simply pluck or cut off the whole flower head where it meets the stem. Don’t pick petals only. Contrary to popular belief, the most medicinal part is the sticky green base of the flower head, NOT the petals alone.
- For the most healing benefits, harvest calendula flowers when they’re young, fresh and have just fully opened. If your schedule allows, it’s best to harvest calendula mid-morning, shortly after the new blooms have opened but after any dew has dried. Wet flowers can mold in storage!
- My fingers get super sticky when I’m picking calendula… but that’s a good thing! Again, the sticky resin is where most of the healing power comes from.
- Older, fading calendula flowers (including those forming seed) aren’t as medicinal in nature. You can either leave those on the plant to fully mature and dry out for seed-saving OR snip them off to discard before the seeds mature – which will reduce self-seeding and keep your plants looking tidy. Routine dead-heading will also promote more new blooms!
- After harvest, it’s key to start drying the flowers right away to prevent mold. See drying instructions below.
Pro Tip: Don’t be shy about harvesting calendula flowers! The more you harvest, the more will grow. So if you’re serious about stocking up on calendula, plan to harvest new blooms every few days.


How to Dry Calendula
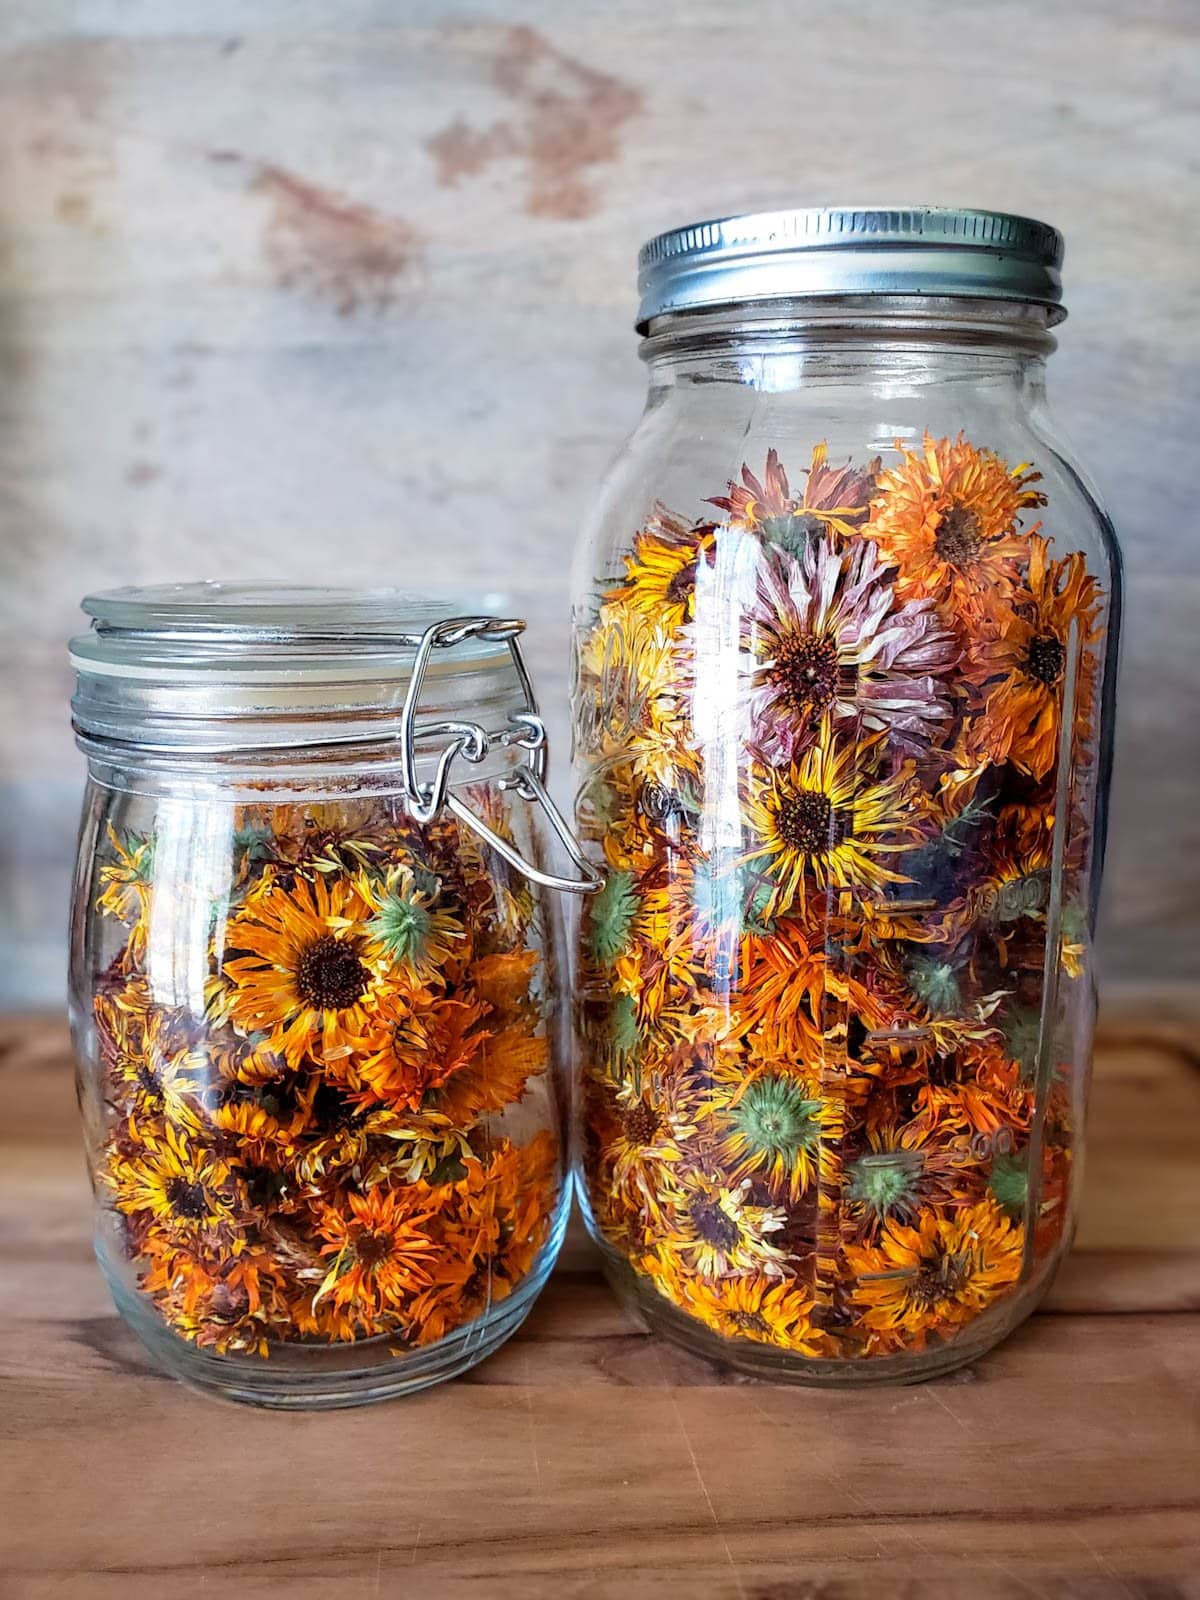
It’s essential to fully dry calendula flowers before putting them away for storage. Otherwise, the thick sticky flowers are prone to growing mold. (I’ve heard so many horror stories about jars full of moldy blooms – SO sad!) Plus, it’s important to use 100% dry flowers to make calendula oil or salves, which can also grow mold if they aren’t properly dried first.
You can dry calendula in a food dehydrator or attempt to air dry the flowers (both explained below). However, I don’t recommend drying calendula flowers in the oven. Exposure to high heat can denature and ruin its therapeutic compounds.
Don’t wash calendula flowers before drying. Extra moisture isn’t welcome! If needed, gently shake them out to dislodge dust or occasional insects. In my experience, the flowers are pretty clean since we harvest newly-opened blooms.
We dry our calendula flowers whole. You can also dry just the petals, which will dry more quickly and have less chance of mold. However, plucking petals is tedious and you lose the most medicinal part (the base of the flower).
How to Air Dry Calendula
It’s possible to passively air dry calendula flowers under the right conditions. It takes a bit of time and patience (up to a week or longer), but be forewarned they could develop mold if they don’t dry quickly enough.
- Spread out the calendula flowers on screens, in airy baskets, or other breathable racks like this mesh hanging herb drying rack.
- Then place them in a warm, well-ventilated, arid location to dry.
- Periodically toss and turn the blooms to ensure they’re drying evenly.
- You can also set up a fan nearby to encourage good airflow.
I personally don’t mess with air drying – especially in our cool, mild climate. It simply takes too long and I don’t want to risk them molding. Plus, we want to ensure the flowers are 1000% dry before making infused oil and salves (so they don’t spoil) so we use our food dehydrator.

Drying Calendula in a Food Dehydrator
Drying calendula flowers in a food dehydrator is the most quick, effective, and foolproof method.
- Spread the flowers out in a single layer (not piled up or overlapping) on your dehydrator trays.
- Dehydrate them on a low heat setting – ideally around 95-100°F – until they’re fully dry. Remember, high heat can ruin some of their beneficial properties! Our favorite Excalibur dehydrator has a “living foods” setting we like to use for calendula and other sensitive herbs.
- The time it takes to fully dry varies depending on your dehydrator and the thickness of the flowers. For example, some of our smallest blooms dry well within one day while very large flower heads take longer. We usually dry our calendula for at least 48 hours (or longer) before putting it away for storage, just to be safe.


How to Store Calendula
Once they’re fully dry, store dried calendula flowers in an airtight container (e.g. large glass jars) in a cool, dark location. Dried calendula will be the most potent if used within one year, though it’s still okay to use for several years – as long as the flowers are still in good dry condition (not moldy).
How to Use Calendula for Skin Care
Come experience the magic of calendula for skin health for yourself! When applied topically, it can soothe skin irritation better than prescription creams.
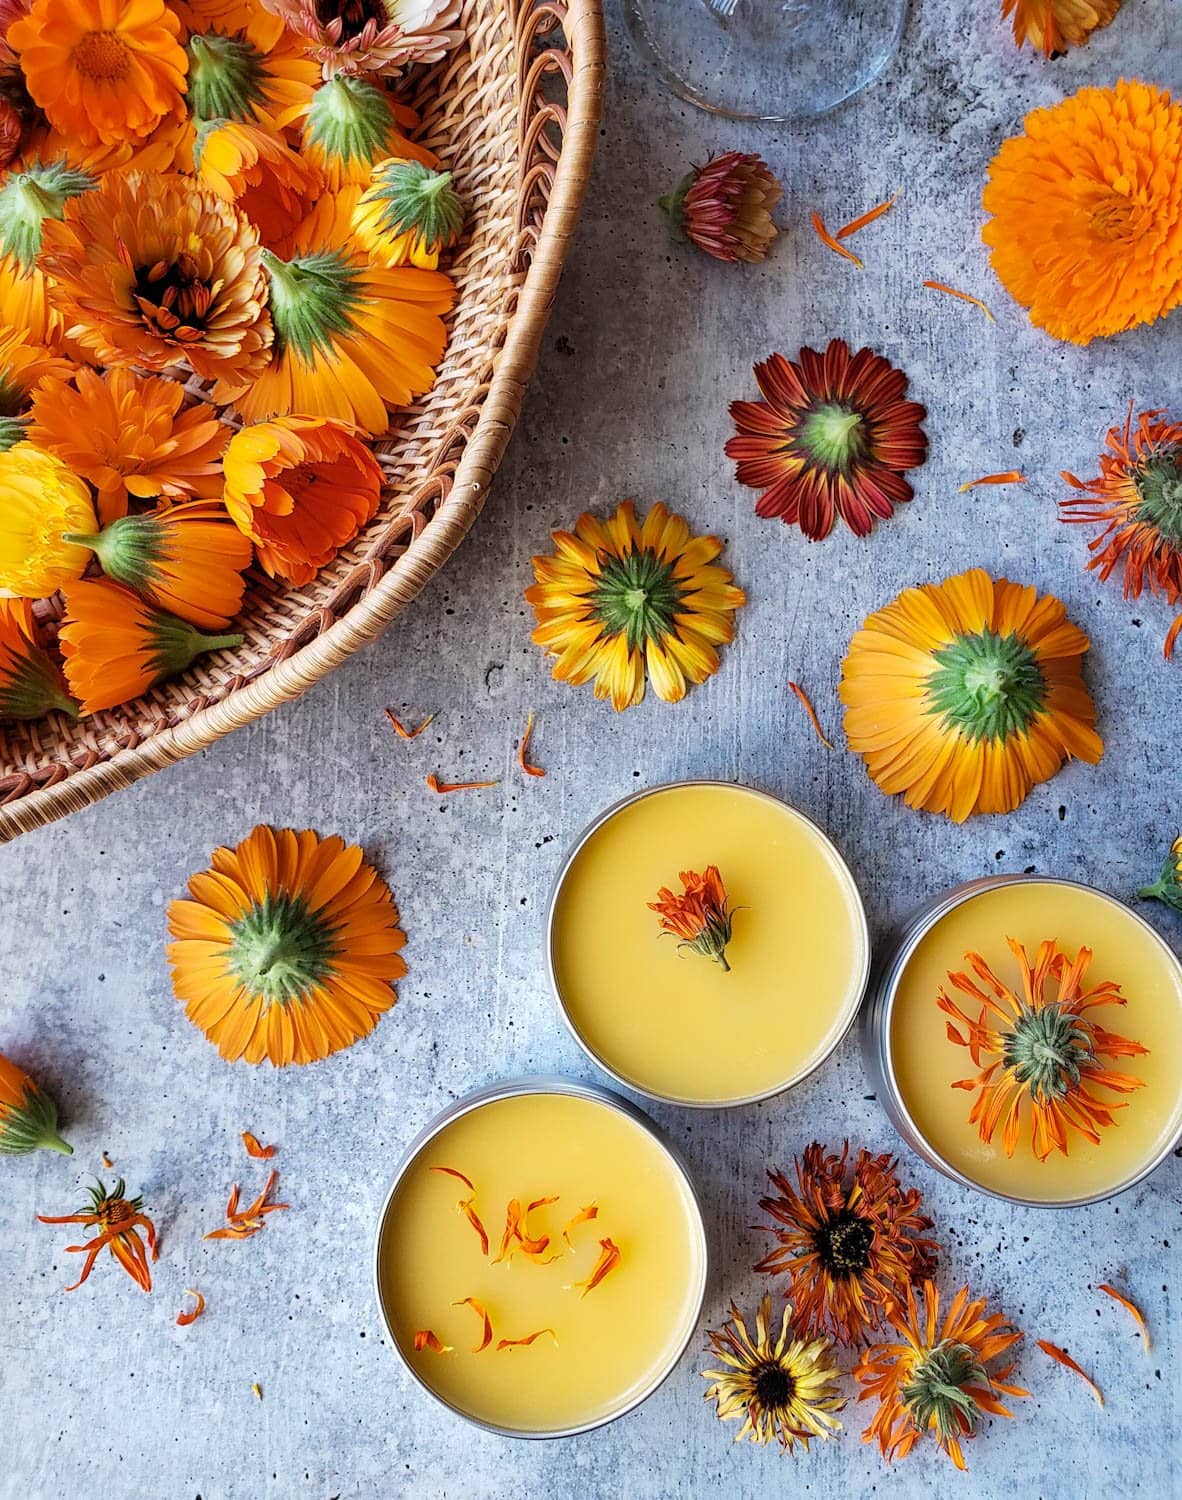
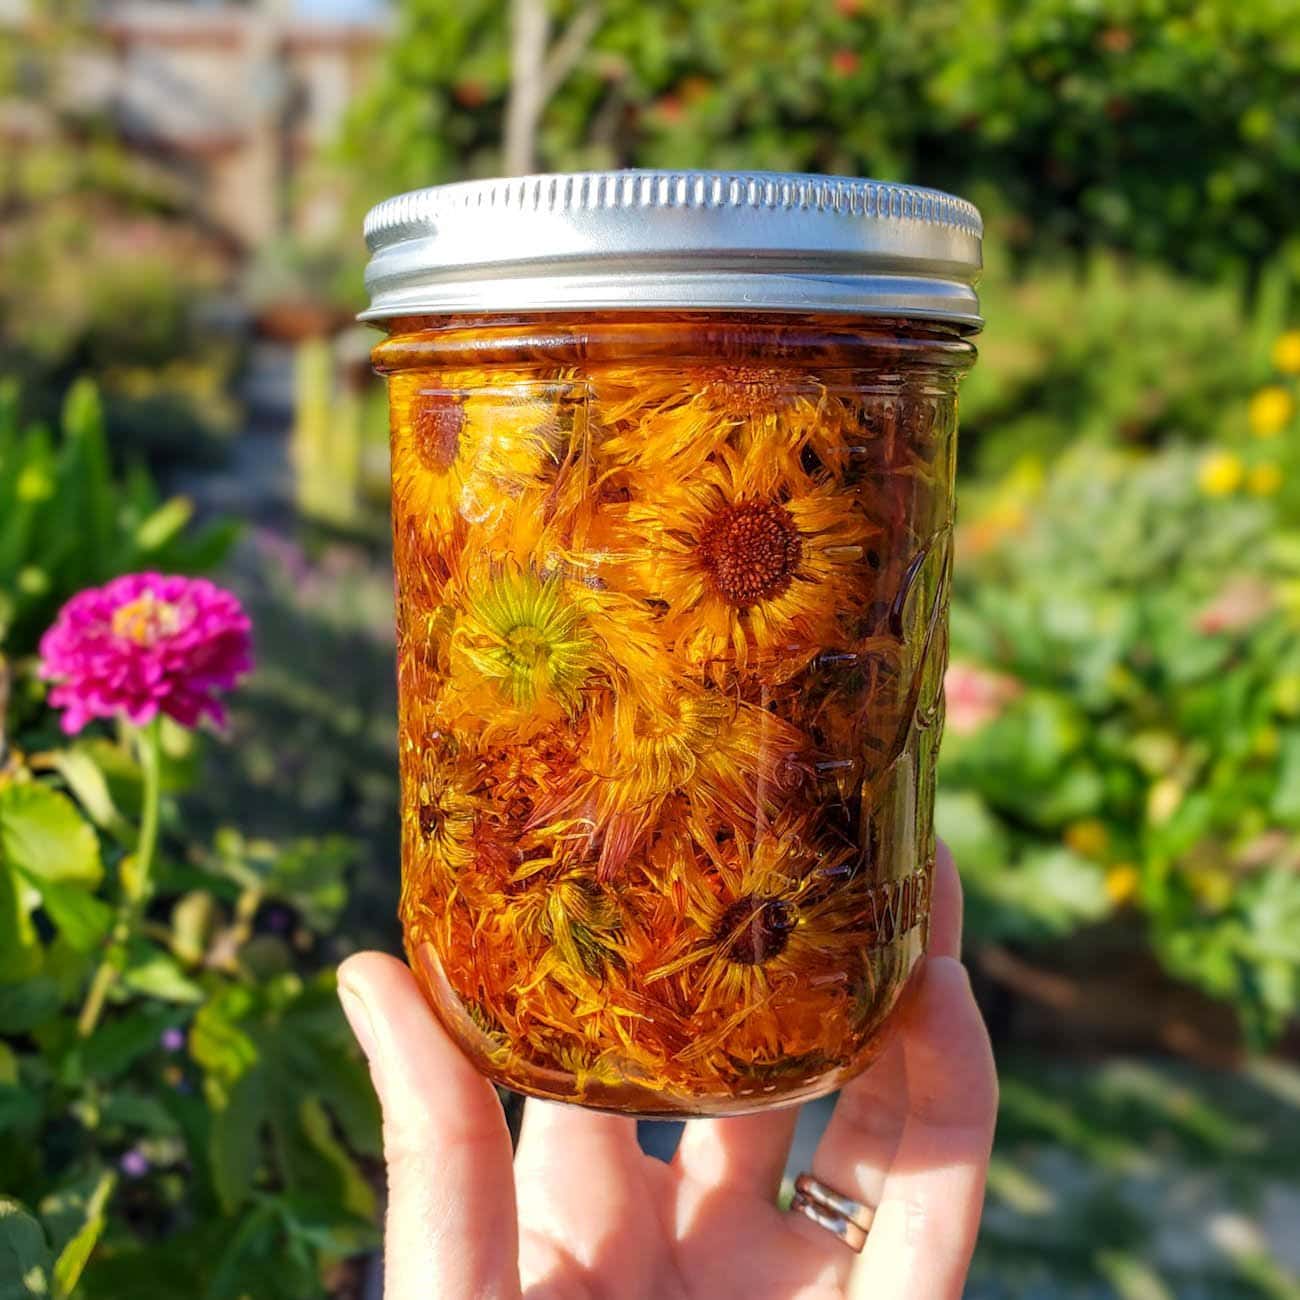
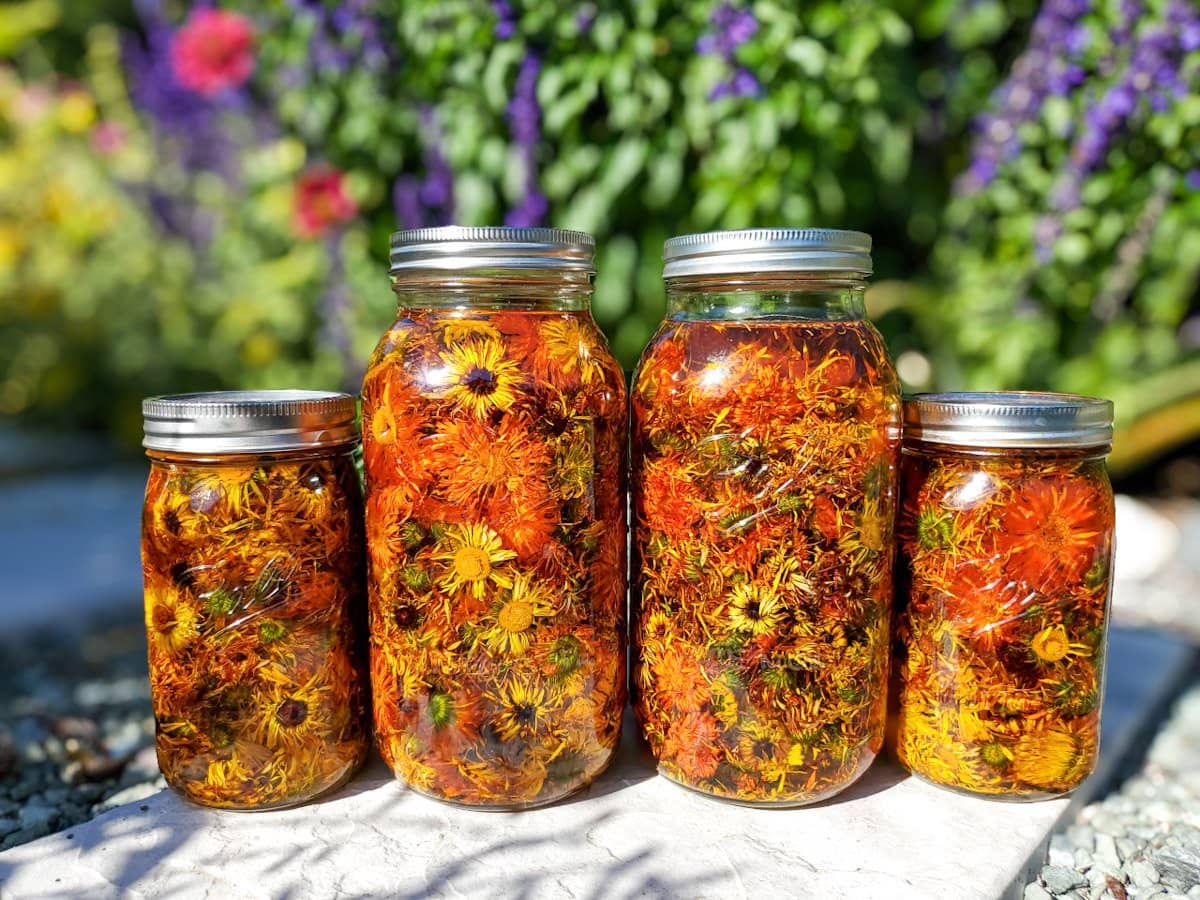
- You can make homemade calendula oil, which is made by steeping and slowly infusing the dried flowers in a carrier oil of choice (such as olive oil, jojoba oil, or sweet almond oil). After several weeks, strain away the flowers and you’re left with a potent, therapeutic oil that can be applied directly to skin or used in other DIY skin care products.
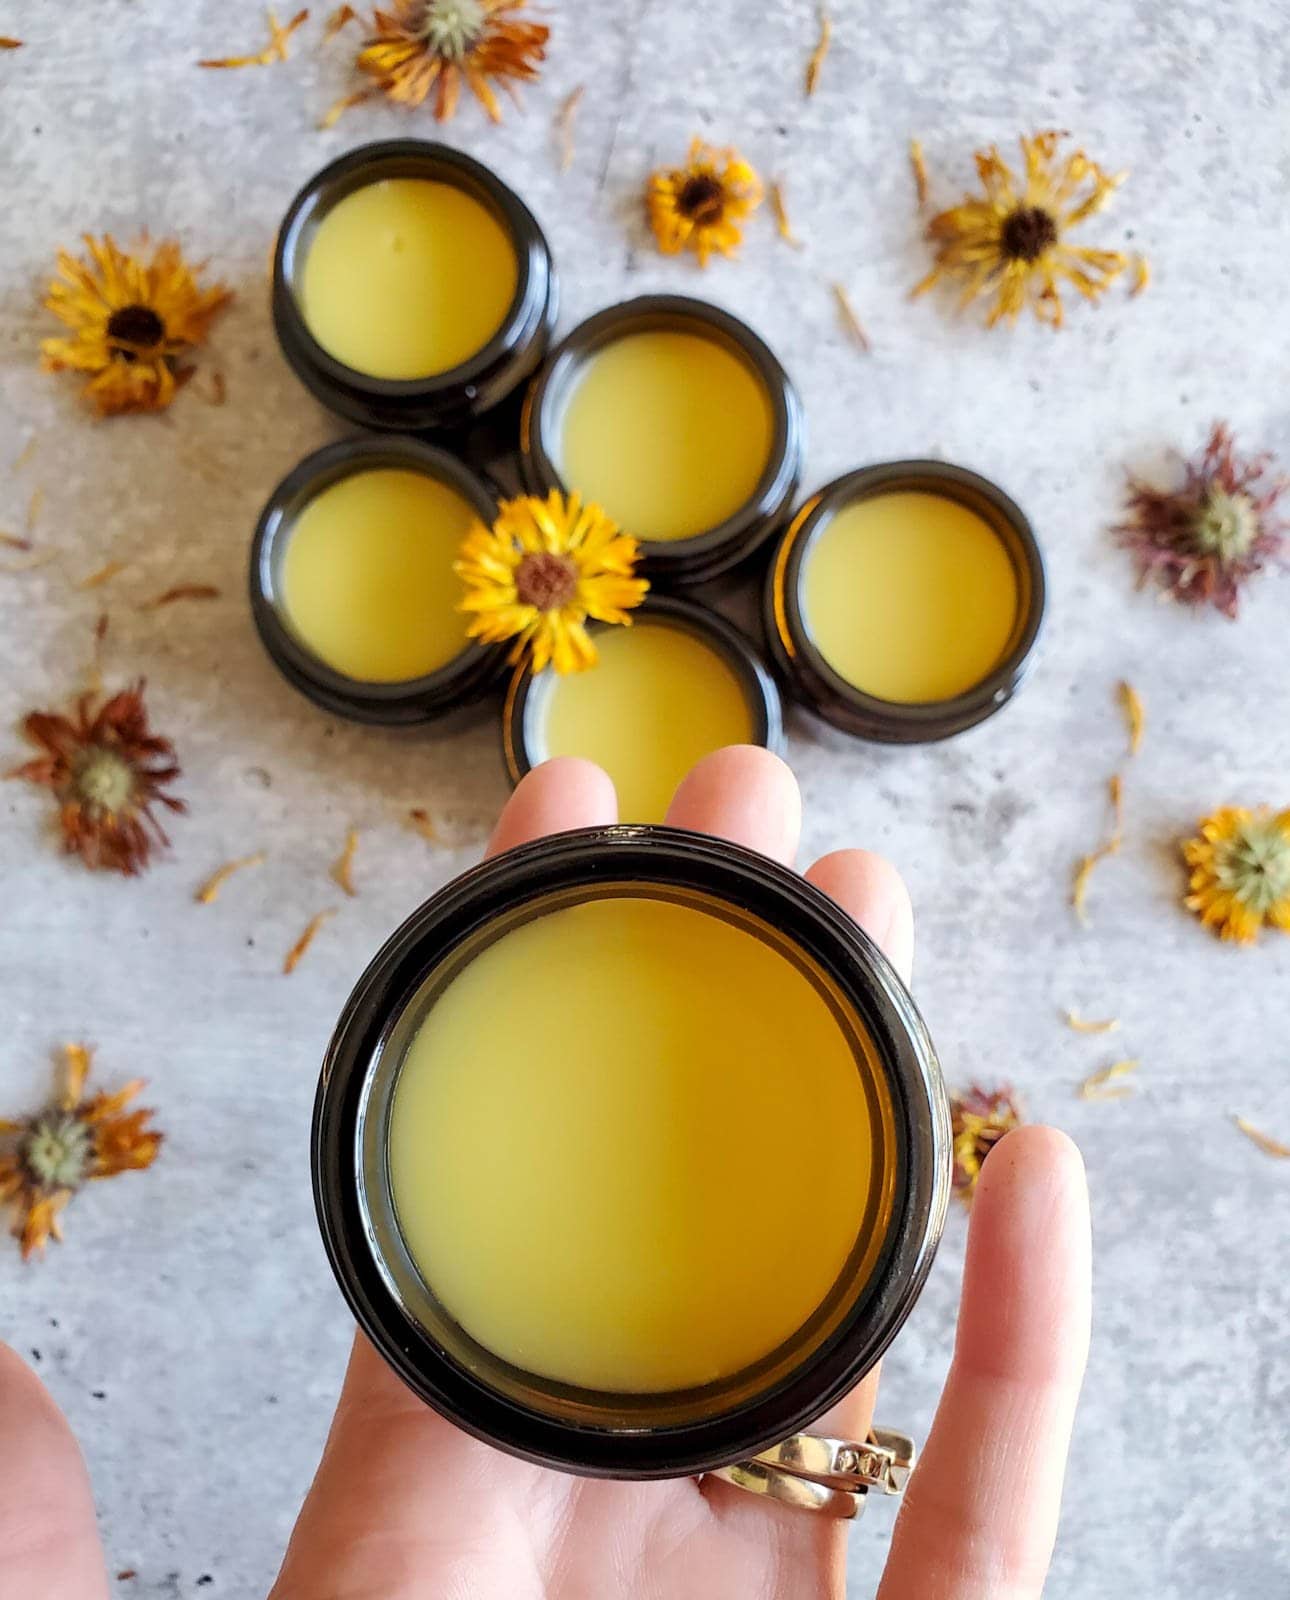
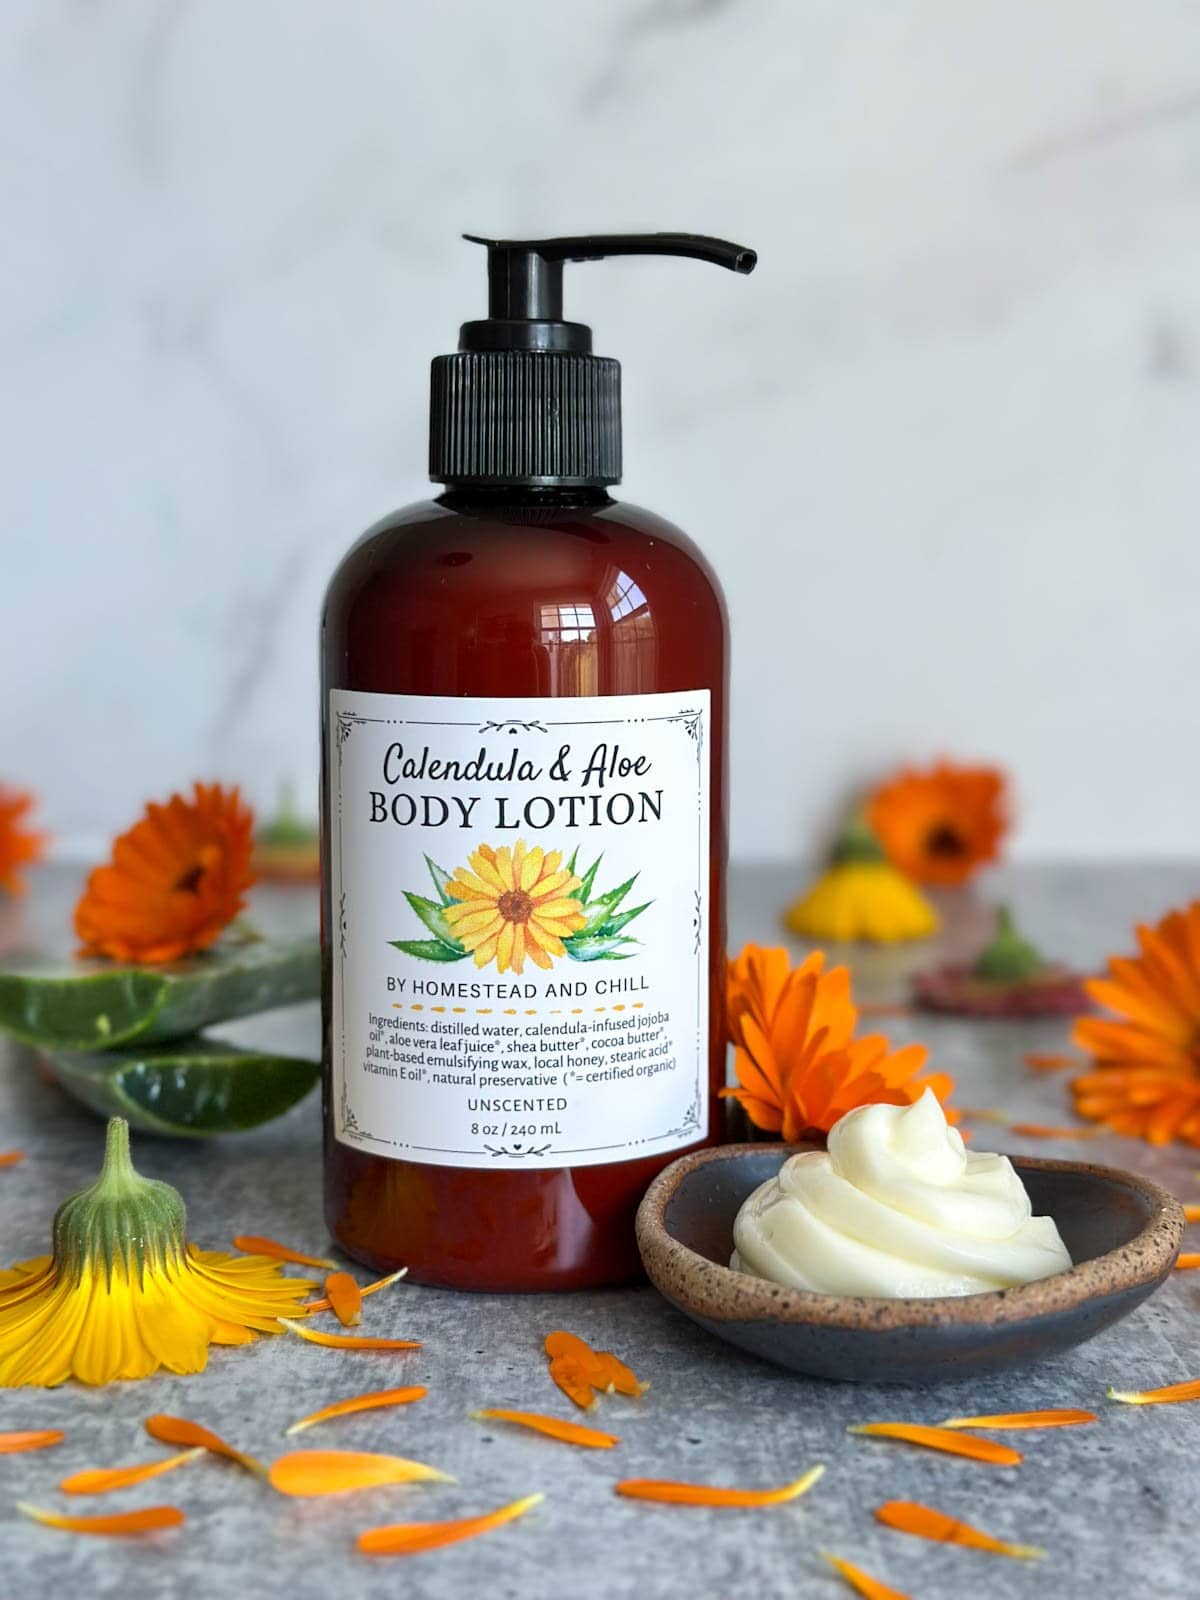
- Use calendula oil as an ingredient to make homemade calendula salve, calendula soap, lotion, hand cream, body butter, lip balm and more. See related recipes below.
- Oil aside, you can add calendula petals (or dried flowers) to homemade bath salts, soap, body scrubs or right into a bubble bath.
RELATED: Don’t miss our easy step-by-step guides on how to make calendula oil and homemade calendula salve, or our whipped body butter recipe! We also offer premium organic calendula salve, face oil, and hand and body lotion in our shop – made by hand with love on our homestead.
Other Ways to Use Calendula
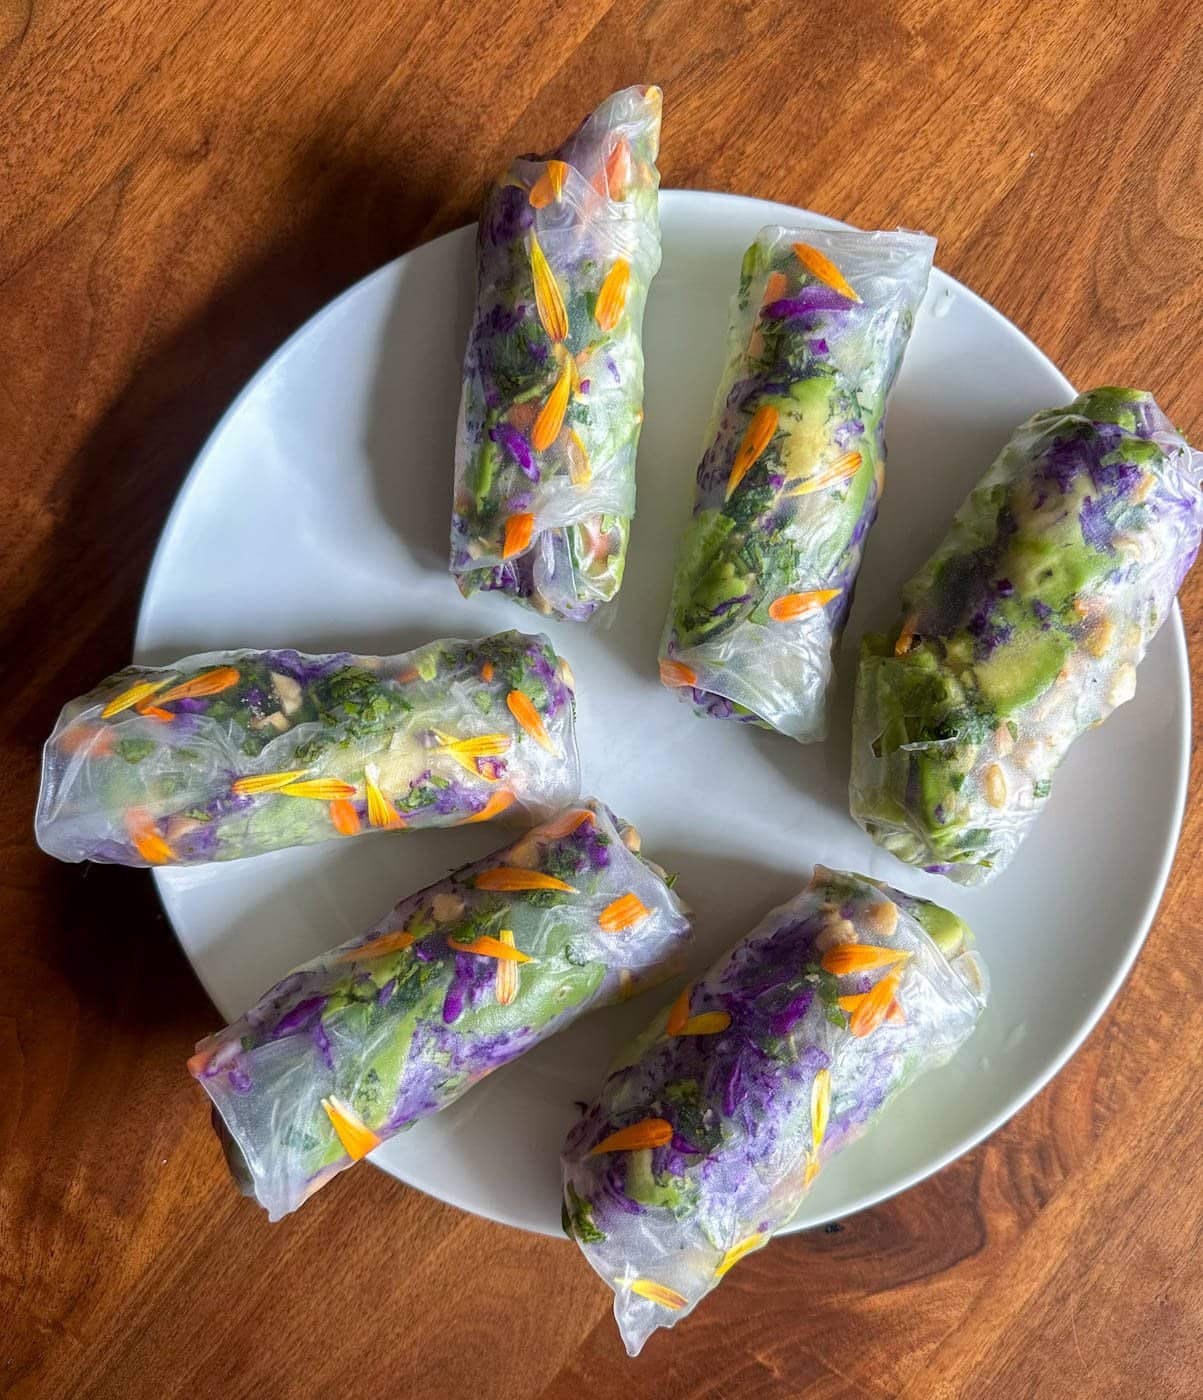
- Sprinkle fresh or dried calendula petals as a garnish on top of salads (or any dish really) for a playful pop of color! I like to add the petals to salads, spring rolls, quiche, ice tea, mocktails, flower-infused ice cubes, or to dress up the top of dips like guacamole or summer salsa.
- Make calendula tea! Calendula tea tastes mild and earthy, and offers great anti-inflammatory, antioxidant, and antibacterial properties. According to the Chestnut School of Herbs, calendula tea is especially popular to ease heartburn, digestive issues, menstrual cramps and swollen lymph glands. Steep about 1 to 2 loose tablespoons of dried petals, or 4 to 6 whole dried flowers per 8 ounces of water. Cover and steep in hot water for 8 to 10 minutes, and then enjoy!
- If you have chickens, calendula petals can be added to their nesting boxes as a natural insect repellent. Also, if you feed your chickens fresh or dried calendula petals, their egg yolks will be even more golden orange! Plus, they’ll reap all the health benefits by consuming it as well.

Frequently Asked Questions
Yes, mature calendula plants are frost tolerant once established (but not hardy against a full hard freeze). They may exhibit some slight damage or wilting after exposure to frost but will bounce back and continue to grow.
Calendula is most often grown as an annual flower in most zones, though it can survive as a short-lived perennial in warmer climates too (zone 9-11).
Calendula doesn’t usually need to be pruned, though routine harvesting (or dead-heading) of the flowers will help promote more new blooms. If parts of the plant get sparse and unhealthy looking, you can cut the plant back by about 1/3 to encourage fresh new growth.
Calendula is generally considered very gentle and safe to use, especially when used topically. However, calendula is a member of the daisy family so it could trigger allergies for those sensitive to the Asteraceae family – such as ragweed, marigolds, daisies, goldenrod and dandelion.
And that concludes this lesson on growing and using calendula!
I hope you found this article to be interesting and helpful as you start your calendula journey. Even if you don’t plan to make salves and oil, you won’t regret adding it to your garden! Feel free to ask questions in the comments.
If you want to dive deeper, I highly recommend checking out the book “Medicinal Herbs: A Beginner’s Guide” by Rosemary Gladstar. It has been one of my key sources of information and inspiration thus far – for calendula, and beyond! Another great resource is this Organic Body Care Recipes book.
Don’t miss these related posts:
- Growing Herbs 101: How to Start a Kitchen Herb Garden, Indoors or Out
- How to Dry Fresh Herbs: 4 Easy Ways + Storage Tips
- Pressing Flowers for Beginners: How to Press Flowers 4 Ways (Pros and Cons)
- 7 Best Easy Annual Flowers to Grow In Any Zone (With Photos)


128 Comments
Tanya
Loved your tips on growing Calendula, and all the things to do and make, including and the worm box! Will be trying all of these and gardening up a storm this spring! Chickens on the cards too! Think your Homestead Chilling is going to be a great hit for me! 😜. Thank-you for all the Awesome content! Here we go in NZ!
DeannaCat
Hi Tanya – It sounds like you’re up to some excellent and exciting things! Thank you so much for tuning in from across the globe, and enjoy your spring and summer!
Laura
Hi there, I just want to say I love this page and have learnt so much already!
I’m currently drying chamomile and calendula in an unused airing cupboard (so no extra heat in there), with the door closed (I have since opened the door today).
After checking on them both after 5 days, the Calendula is partly drying but some of the blooms have a powdery substance on the underside of the petals and the green base. I’m not sure if this is normal and part of the drying process? I’m worried it is mould but I wouldn’t know if this was mould or not. Is there any way of knowing if a herb has gone mouldy?
This is the first time I’m doing this, so I’m kind of seeing it as a test, but I would like a food dehydrator eventually, but I’m just trying to do this on a budget for the time being!
I really want to use this for a salve (using your recipe) but I don’t want mouldy blooms for it!
Side note, the chamomile looks OK, I’m using that for tea, but again, if there are any tips on noticing mould on chamomile too, that would be great!
Thanks for any thoughts.
Aaron (Mr. DeannaCat)
Hello Laura, we suggest if drying without a dehydrator to use a screen of sorts for the flowers to rest on to create more air circulation. Also making sure that your drying area is slightly warm with good circulation is also a must. Some of our calendula flowers take three days to dry in our dehydrator so I would imagine drying without one would take quite a bit longer. As far as the potential mold goes, I would just keep an eye on it and see if it continues to spread or not, I can not speak for the powdery substance but once mold starts it will usually continue to spread and should be fairly noticeable. Concentrate on making your drying area more suitable for drying, you may have to rotate your flowers daily or flip them from petals up to petals down to increase airflow to all parts of the flowers. Hope that helps and good luck!
Hillary
Hi Deanna!
I just made my first batch of salve thanks to your recipe(s) and thorough directions! It’s cooling in the cute little jars and I’m so tickled! My question is how long do the dried petals keep in the pantry? Argan oil wasn’t cheap enough for me to make one big batch so I’d like to do this again in a couple of months and want to be sure that’s okay assuming I have adequately dried and stored my petals!
Thank you so much for everything.
Hillary
Aaron (Mr. DeannaCat)
Hello Hillary, your dried calendula flowers should be fine if used within the next 6 to 8 months. Glad you’re having so much fun with the salve, it is an incredibly healing product. Thanks for tuning in and good luck!
Jeanne Hupprich
My dehydrator does not have a temperature setting. Do yo think I could still use it?
Thank you so much for this post. I love calendula.
I feel fortunate to have found you.
DeannaCat
Hi Jeanne – Does it give you even a low/med/high option, or just on and off? Either way, I think it should be okay, though if you do have any options at all – go for the lower settings! Or, if your climate is nice and arid, you could allow them to passively dry out at room temperature in a sunny window? Thank you for the kind words!
Nicole Novak
Well, I’m diving into the calendula pool. My flowers are already blooming like crazy with lots of volunteers coming up as well. I just had my first radiation treatment of 20 for skin cancer on my nose. I opted for radiation instead of surgery because it is supposed to be as successful and will not leave a horrible huge scar smack in the middle of my face. I have ordered the jojoba oil and the book Organic Body Care Recipes and will cut and dehydrate the flowers today so I can get them into the oil when it arrives and get the infusion going so that 3 weeks from now when the radiation burns are the worst I can treat the wound with this magical oil. I was given a tube of calendula cream by the care center but it contains alcohol as the first ingredient!! Thanks for your great articles on calendula and please everyone, protect your face and everywhere else with sunscreen and wear big floppy hats!
Monica
What about hang drying them from the stems like other herbs? Would that work?
DeannaCat
Yes, if you have the right climate for it! Though the petals can get brittle and fall off as they dry (making a bit of a mess) – which is why many people tend to lay them in baskets or herb drying racks. Also, it is common to harvest the head only instead of pulling large stems or branches since they can continue to produce more flowers 🙂
Kaitlin
Your site and Instagram are my go to’s! Thank you so much for all the amazing content, I’ve learned so much from you!
I harvested my first batch of calendula yesterday and the blooms were infested with teeny tiny bugs 🙁
I tried looking it up but was only finding info on pests on the underside of leaves. Any idea what it could be? They were super tiny, microscopic, larva looking. Very fast movers when I touch the petals, white/tan color.
DeannaCat
Hi Kaitlin – We see those on occasion too. I find that if I harvest the flowers and leave them in an open airy basket outside for a few hours or overnight before bringing them in to dry, the little buggers vacate the premises and are gone! Try that. If you have any around, you could also toss a sprig of rosemary, sage, mint or lavender in the basket – which can help repel insects and encourage them to move on. Thanks for reading!
Alexa
Hi love your post! So many great ideas on how to use. I am getting so many calendula flowers this year. I was wondering if you ever had trouble with flies after you have stored dried calendula in jars?
DeannaCat
No, we haven’t had any issues with bugs on them, especially after drying thoroughly! Are you air drying, or in a dehydrator?
Alexa
Maybe they weren’t dried fully. I was air drying them but didn’t have them spread out enough so I will try that this time. Wish I had a dehydrator to try.
Kati
Ooohhh! I am beyond excited to start growing Calendula! This post was super inspiring. Thank you. 🌼✨
DeannaCat
Oh yay! You will not regret it! Thanks for the feedback too 🙂
Lyndsay
Does calendula benefit from pinching off, like basil, or do they grow full and bushy without pinching or clipping of stems/blooms?
Liz
I harvested a bunch of my resina calendula, left it to dry on paper towels indoors (I live in arid Colorado) and this worked great for a few rounds. Then a few days after another harvest I checked on my drying flowers and found tons of caterpillars and their poo all over the flowers. I rinse the flowers off prior to drying them (because I can see small bugs on them) but I could not see caterpillar eggs. I wanted to use these for tea and oil but I’d love them to be bug free when I dry them… any tips?
Jan
Got it! Thank you!
Jan
What a fantastic article! Thank you so much!
I was turned on to the use of calendula about 4 years back by our local CNS and am growing it for the first time in my garden this year. I now make the salve myself and use it on my ever-dry, cracked heels. Now I’d like to research where to find other varieties of calendulas.
I have a question about the seed pods…I see in my garden both the flowers on the tops of the stems AND what look like seed pods on other stems (where there are no pedals). I would like to harvest my own seeds but don’t know just how so I am only guessing about the process. I can also buy seed pods at my local health store but prefer to harvest my own. How do I dry out seed pods from my own flowers? Is that what I am seeing for sure on that stem with curled pieces and no pedals? The look like what I bought to plant my own this year, though mine are green and what I bought were dark brown (dry). If so, do I leave the seeds attached to the stem head and wait til they dry and then separate them or do I separate them from the stem head and then let them dry?
Oh, one other item of business (i.e. fun!): I read somewhere that in using calendula salve you should wait until you are sure that there is no infection in a cut or such that you are applying it to on your body because the salve actually will ‘heal’ the infection in. Is this true? I sure would like to apply it to my owies (or grands) right after cleaning the affected area first (scratches, sun burns and so forth). What is your advice?
Thank you very much!
And I can’t wait to read your newsletters I have now subscribed to!
Jan in Wyoming
DeannaCat
Hey Jan! So those curled hook things ARE the seeds! Just let them develop and dry (or mostly dry) on the head, crumble them of into a paper bag to continue to fully dry, and then store in a dark cool location with your other seeds until next year!