

How and When to Thin Seedlings: Tips for Fast Healthy Growth
Thinning seedlings early is KEY to growing big healthy plants, and fast! This quick guide covers the benefits, when to thin seedlings, and three methods to do so – including the pros and cons of each option.
This is one of my top seed starting tips for success. I’ve conducted many side-by-side experiments and comparisons of thinned vs un-thinned seedlings over the years, and the results are undeniable!
I’ve also included a demonstration video at the end, along with a list of which seedlings are edible to enjoy as nutrient-packed microgreens so they don’t have to go to waste.
NOTE: This post was originally published in February 2019 but has been significantly updated since.
Would you like to save this?
What is Thinning?
After planting seeds, thinning is the practice of removing excess, weak, or crowded seedlings in order to give each plant more space. Don’t feel bad doing so! Once thinned, your seedlings will reward you with explosive growth. This applies to starting seeds indoors in containers, and for seeds directly sown or planted outside.
Seedlings can be thinned several ways: by trimming or cutting out extra seedlings (my personal preference), by plucking or pulling out extra sprouts, or by gently separating and teasing them apart – and potting up each seedling into its own container after. See tips, pros, and cons for each option below.

RELATED: Don’t miss our beginner’s guide on Starting Seeds Indoors full of step-by-step tips, tricks, and tools for success – including our DIY seed starting mix recipe. Also, don’t forget to thin your fruit trees!
Benefits of Thinning Seedlings
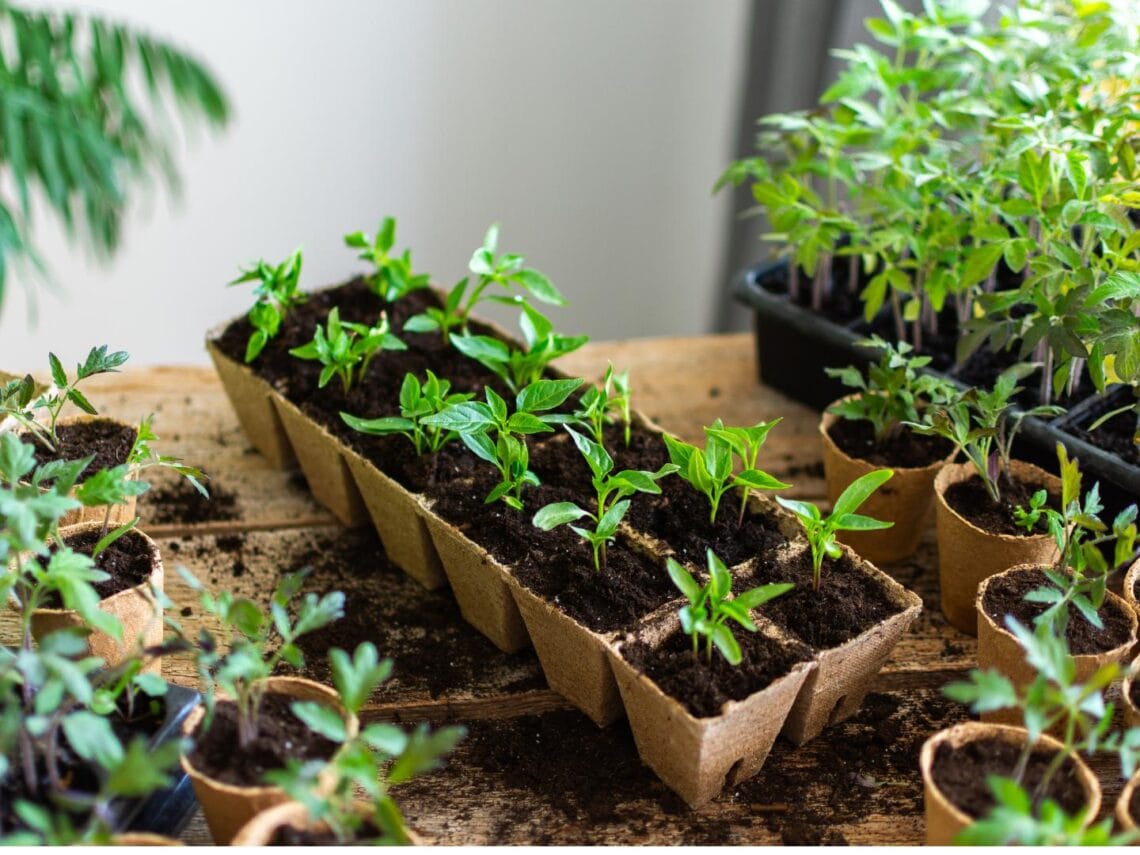
When left un-thinned, crowded seedlings compete for nutrients, water, light, and root space and therefore grow much slower and smaller compared to those with more room and resources.
On the other hand, thinned seedlings can quickly grow up to four times the size compared to their un-thinned counterparts, in just a matter of weeks! I’ve experienced this first-hand many times over the years. See the example photo below.
Good spacing and thinning practices also increases valuable airflow between the plants, which reduces the risk for pests and disease – especially fungal diseases like powdery mildew.
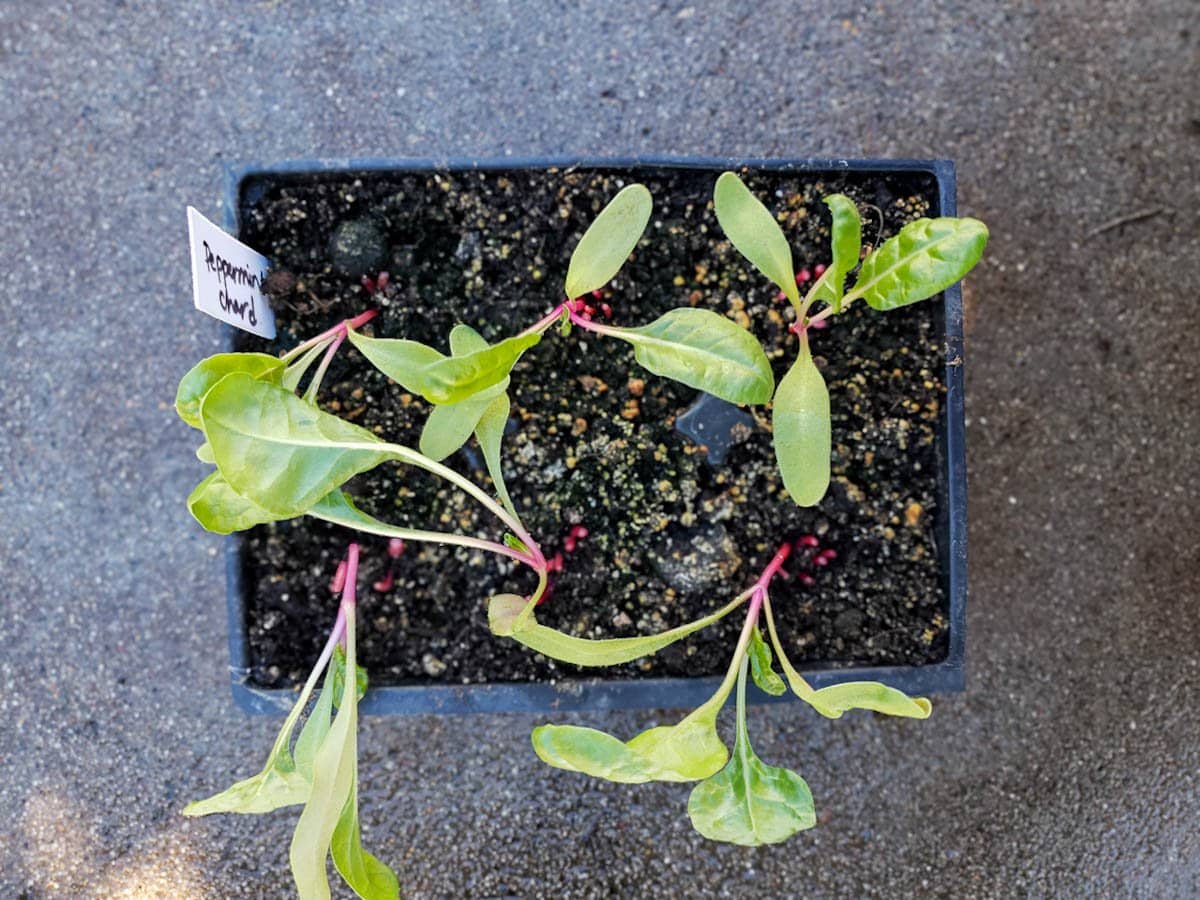
When to Thin Seedlings
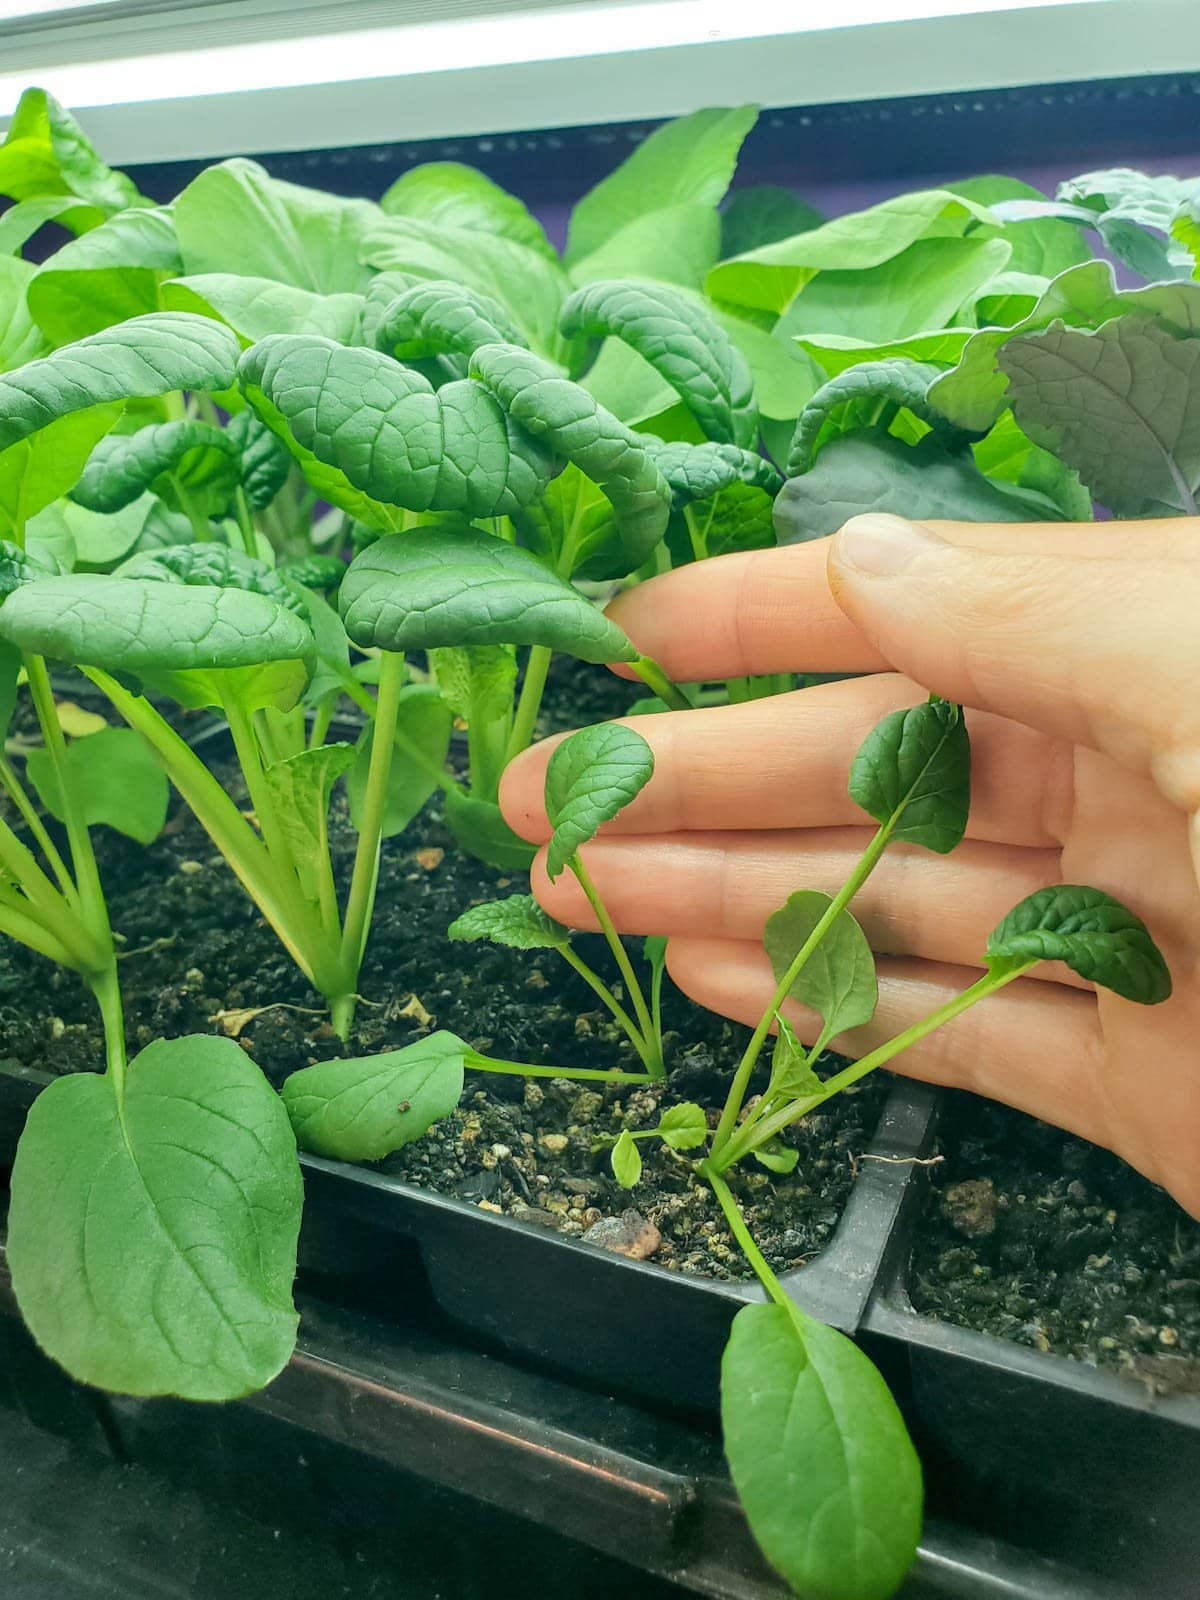
It’s best to thin seedlings within a couple weeks after sprouting, soon after they grow their first full set of “true leaves” (true leaves are the ones that emerge after the initial sprouting leaves). This encourages fast and healthy growth early on, before the plants become stunted or root bound.
If you’re going to thin your seedlings by gently teasing them apart, doing it early also reduces the chance of their roots becoming too intertwined and tangled.

How to Thin Seedlings (Three Ways)
When it comes time to thin, choose the strongest, healthiest seedling to keep around. But that doesn’t always mean the tallest! In fact, shorter seedlings are often stronger than floppy “leggy” ones. I look for thick straight stems and the largest, best-looking leaves.
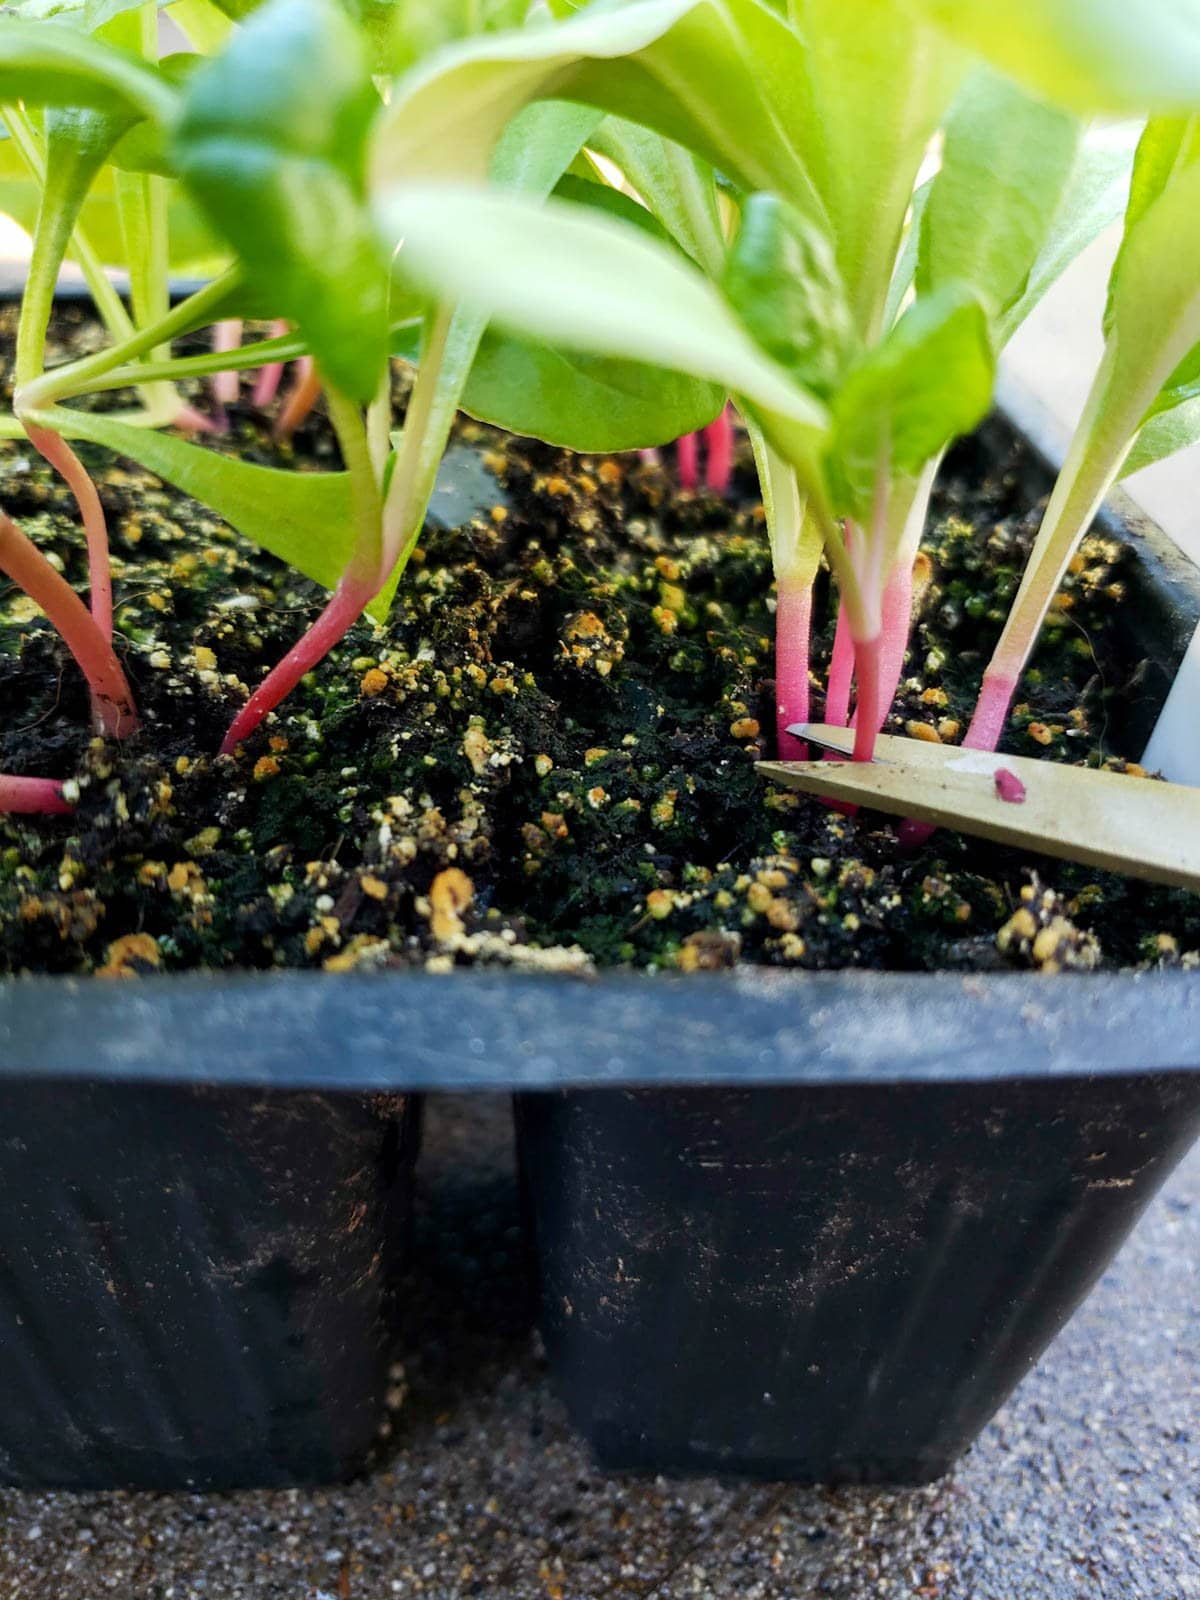
1) Thinning by Trimming
The easiest, quickest, and most effective way to thin seedlings is to simply cut out the extra sprouts. Use small garden snips to cut out unwanted seedlings at the soil level, leaving just one per cell or pot. Be careful to not accidentally cut the one you want to keep.
With this method, there’s zero risk of disturbing the roots of the “keeper” seedling. It’s also a huge time saver since you don’t have to fuss with potting up or transplanting the seedlings (as you would when teasing them apart).
This is my preferred way to thin most seedlings, especially since we don’t often pot up our seedlings (with the exception of large plants like tomatoes and eggplant). Instead, I like to start most of our seeds in large 6-packs with 2×2-inch cells or small 4-inch pots so they have ample room to grown without potting up.
PRO TIP: Since the extra sprouts are effectively culled, I try to sow only 2 to 3 seeds per cell so I don’t waste too much seed. We also eat many of the sprouts (hello microgreens!) or share them with our chickens. See a list of edible seedlings to follow.


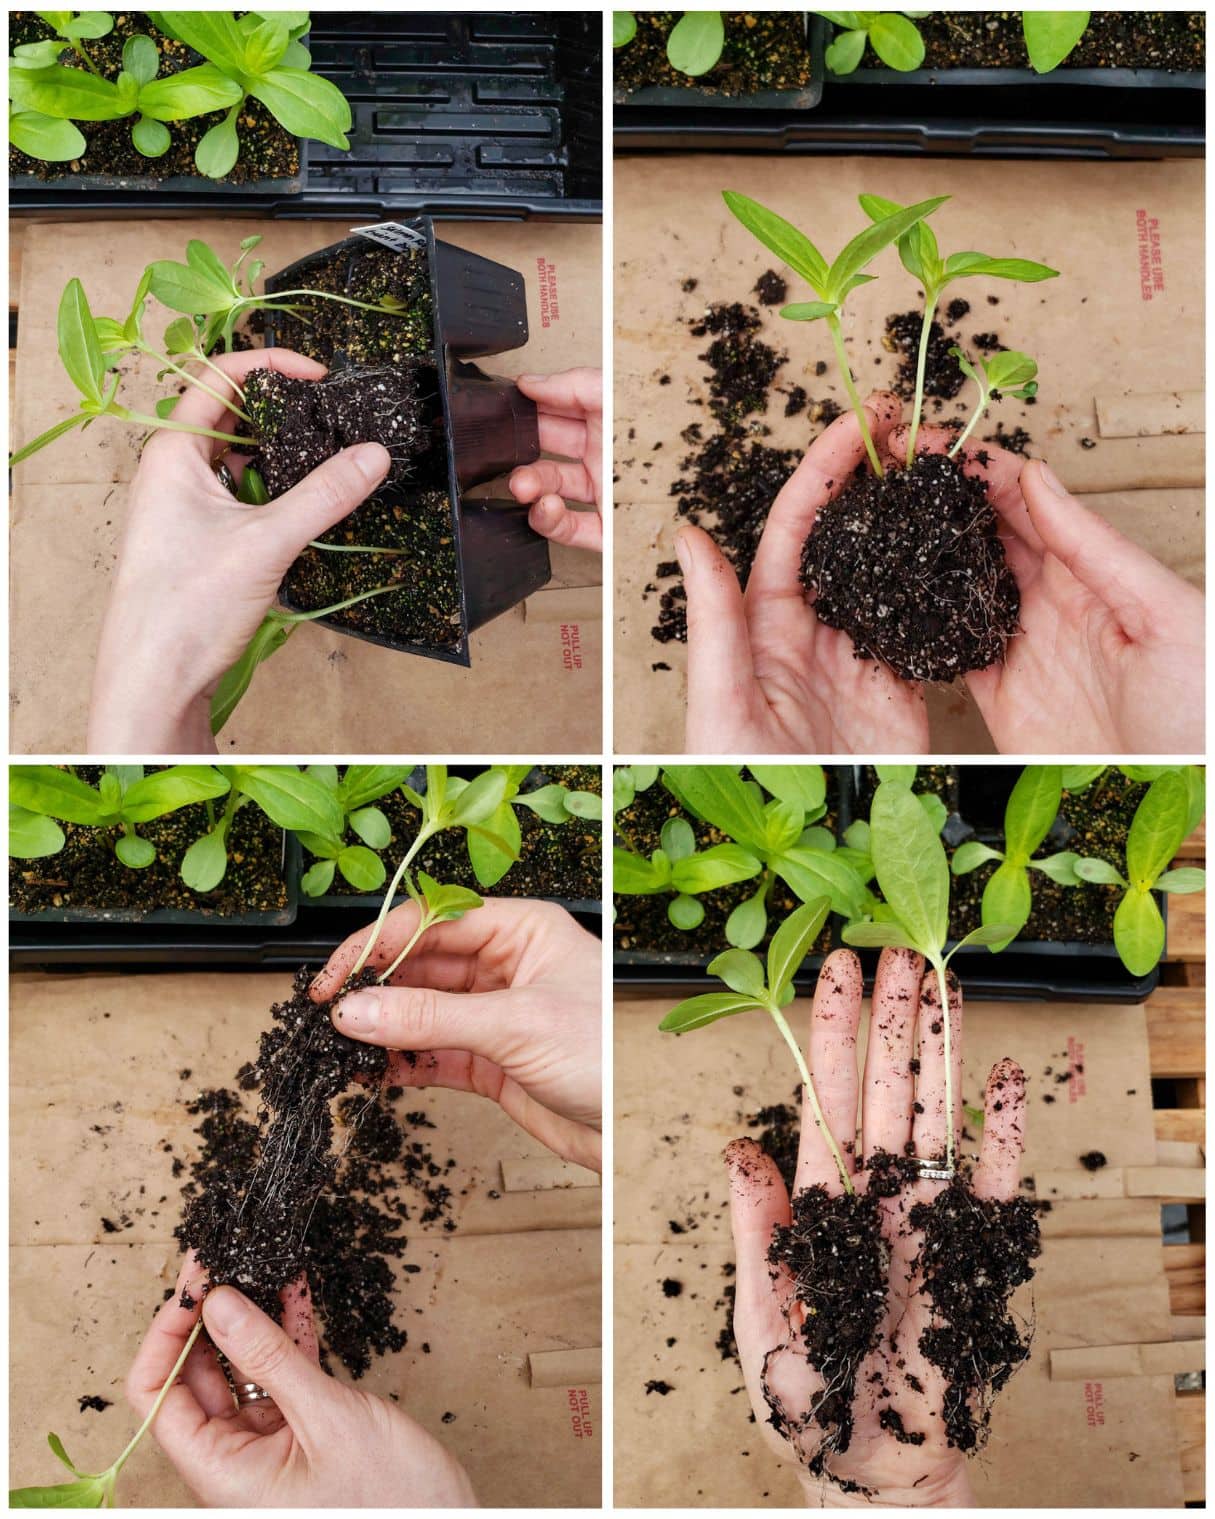
2) “Pricking Out” and Potting Up Seedlings
Teasing apart seedlings (or “pricking out” as UK gardeners call it) is the process of gently separating seedlings from crowded trays or cells and moving them into their own individual pots.
When seedlings are still very tiny, this can be done by using a pencil, dibble, chopstick, butter knife, or other small narrow tool to gently dig down and uproot crowded seedlings – so that you can lift up or “prick out” individual sprouts by carefully holding onto their leaves (with the roots still intact).
For slightly larger seedlings, you’d generally want take the entire soil mass/root ball out of the cell or container and then very gently tease apart the seedlings from one another – taking care not to tear the roots.
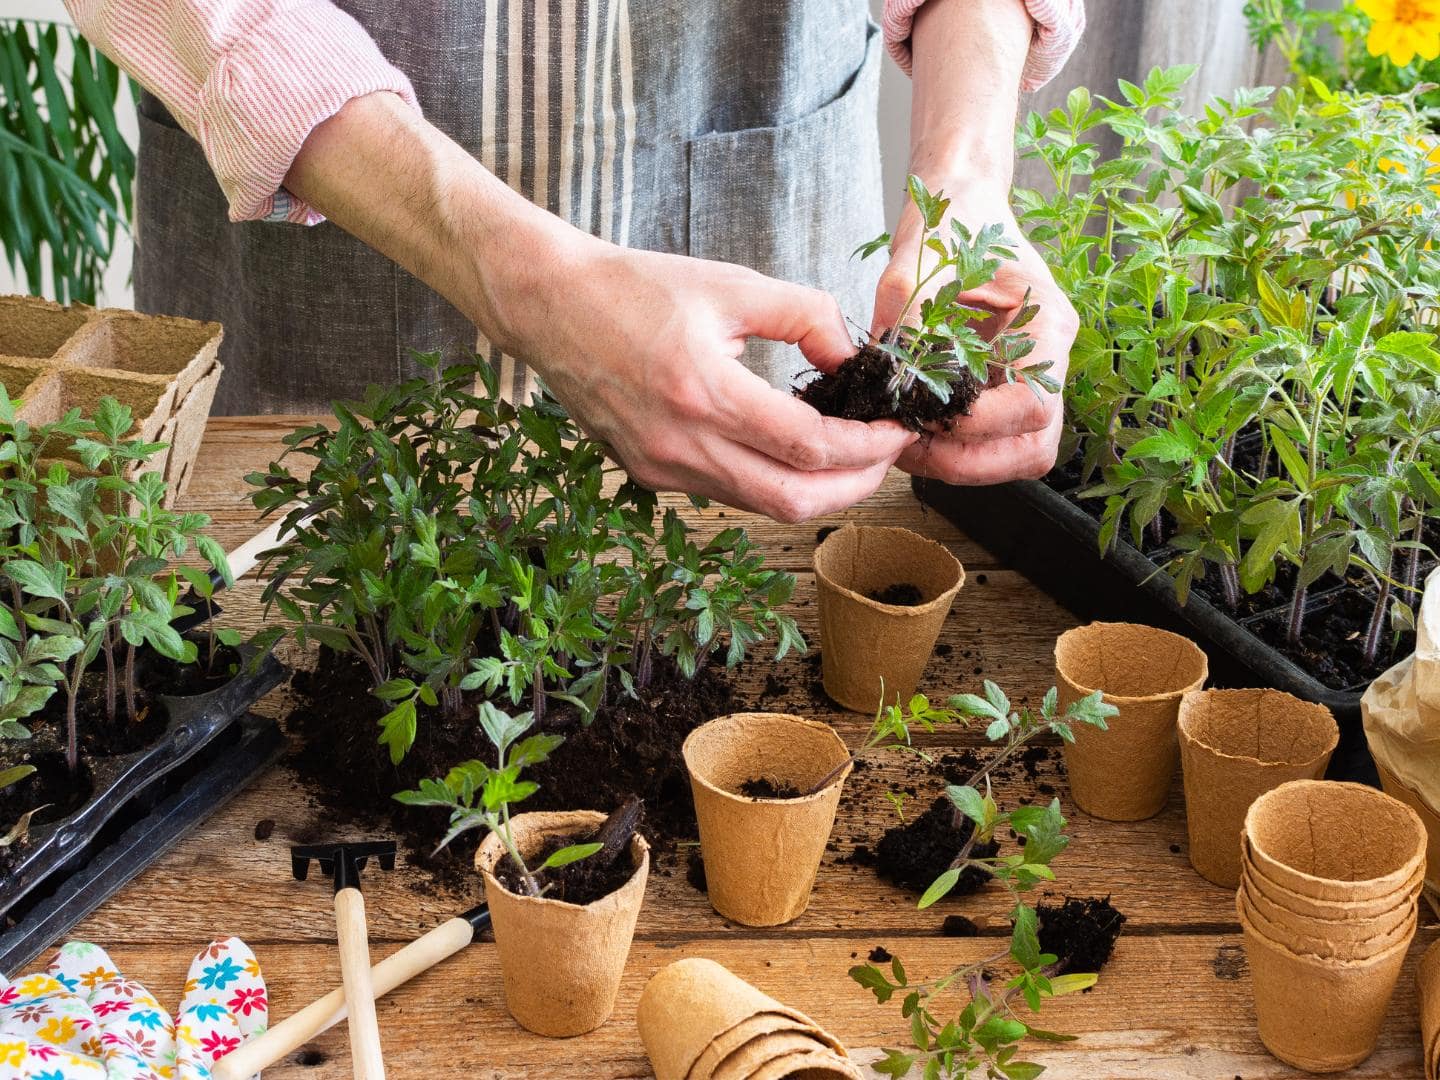
This thinning method maximizes the number of seedlings you can start and plant with little-to-no waste, which is great for large gardens, farms, or if you really want to grow out ALL those seedlings!
However, separating seedlings poses some risk of damaging roots, slowing growth, or even breaking seedlings. Plus, you then need to individually pot up or plant each seedling in a new container, which is time consuming and requires more soil, containers, and space (including under grow lights).
PRO TIP: I always heavily sow onion seeds and tease them apart later – they don’t mind at all! I also sometimes gently separate flower seedlings to keep as many as possible. However, I do not recommend teasing apart or pricking out plants with notoriously sensitive root systems including cucumbers, squash, melons, peas, beans, or root vegetables.

3) Pulling Extra Seedlings
Not to be confused with pricking out, a final way you can remove extra seedlings (especially those you don’t intend to keep) is to simply pull and pluck them out by the stem – without the use of a tool to help carefully ease them out of the soil.
However, this is almost guaranteed to damage the roots of the ones you pull up, and also poses some risk of ripping or disturbing the roots of the neighboring seedlings that you’re trying to keep too!
Carrots are the ONLY seedlings I ever pluck out since it’s the most quick and easy way to thin several rows of carrots. I try to thin them within a couple weeks after sprouting, when the carrot roots are still tiny and straight. I also try to plant carrot seeds in a way that reduces my need to excessively thin them (e.g. not seeding too liberally) to reduce this tedious task.

Edible Seedlings (Microgreens)
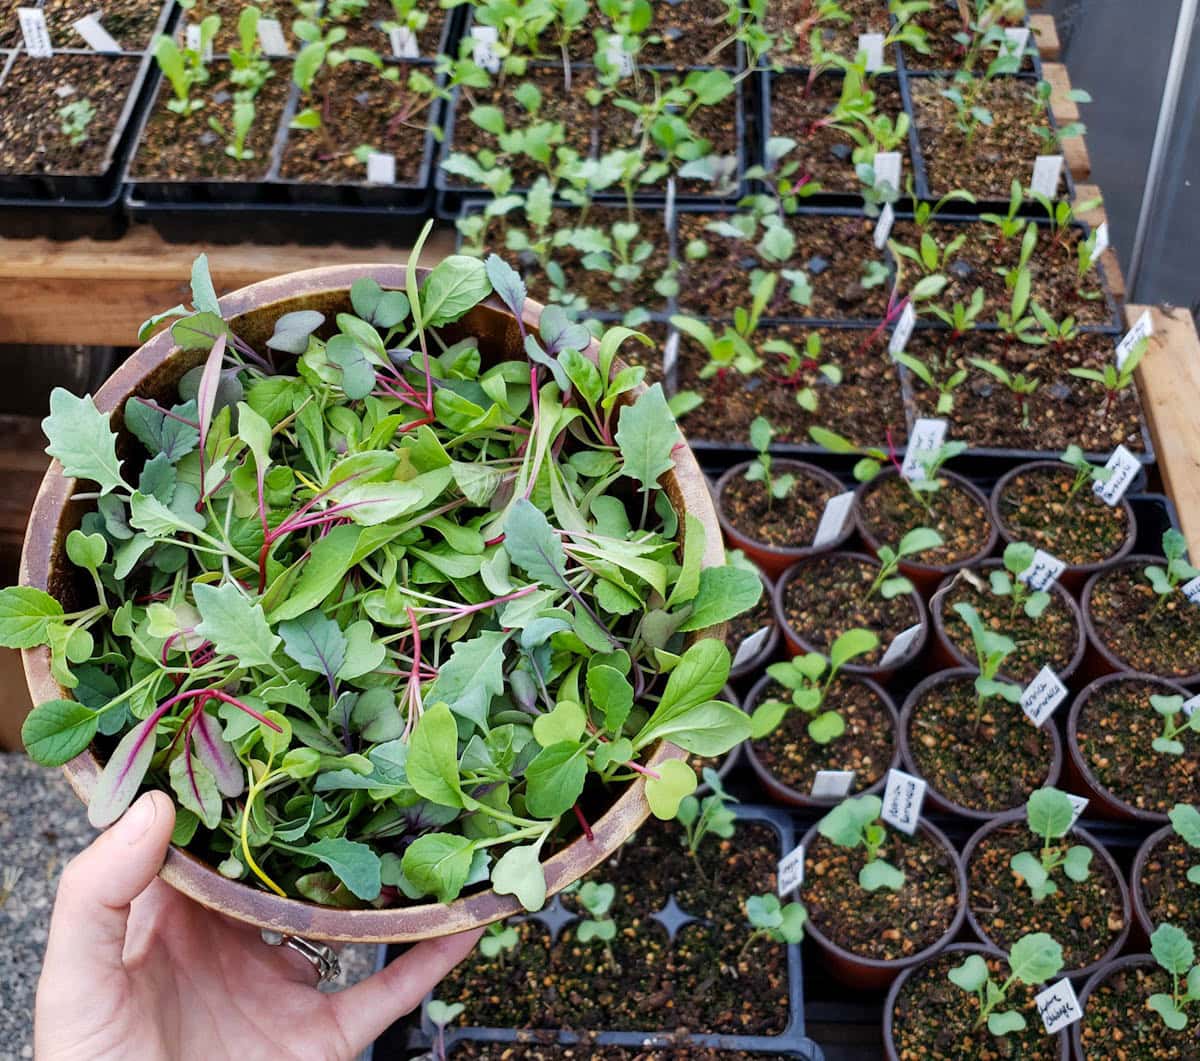
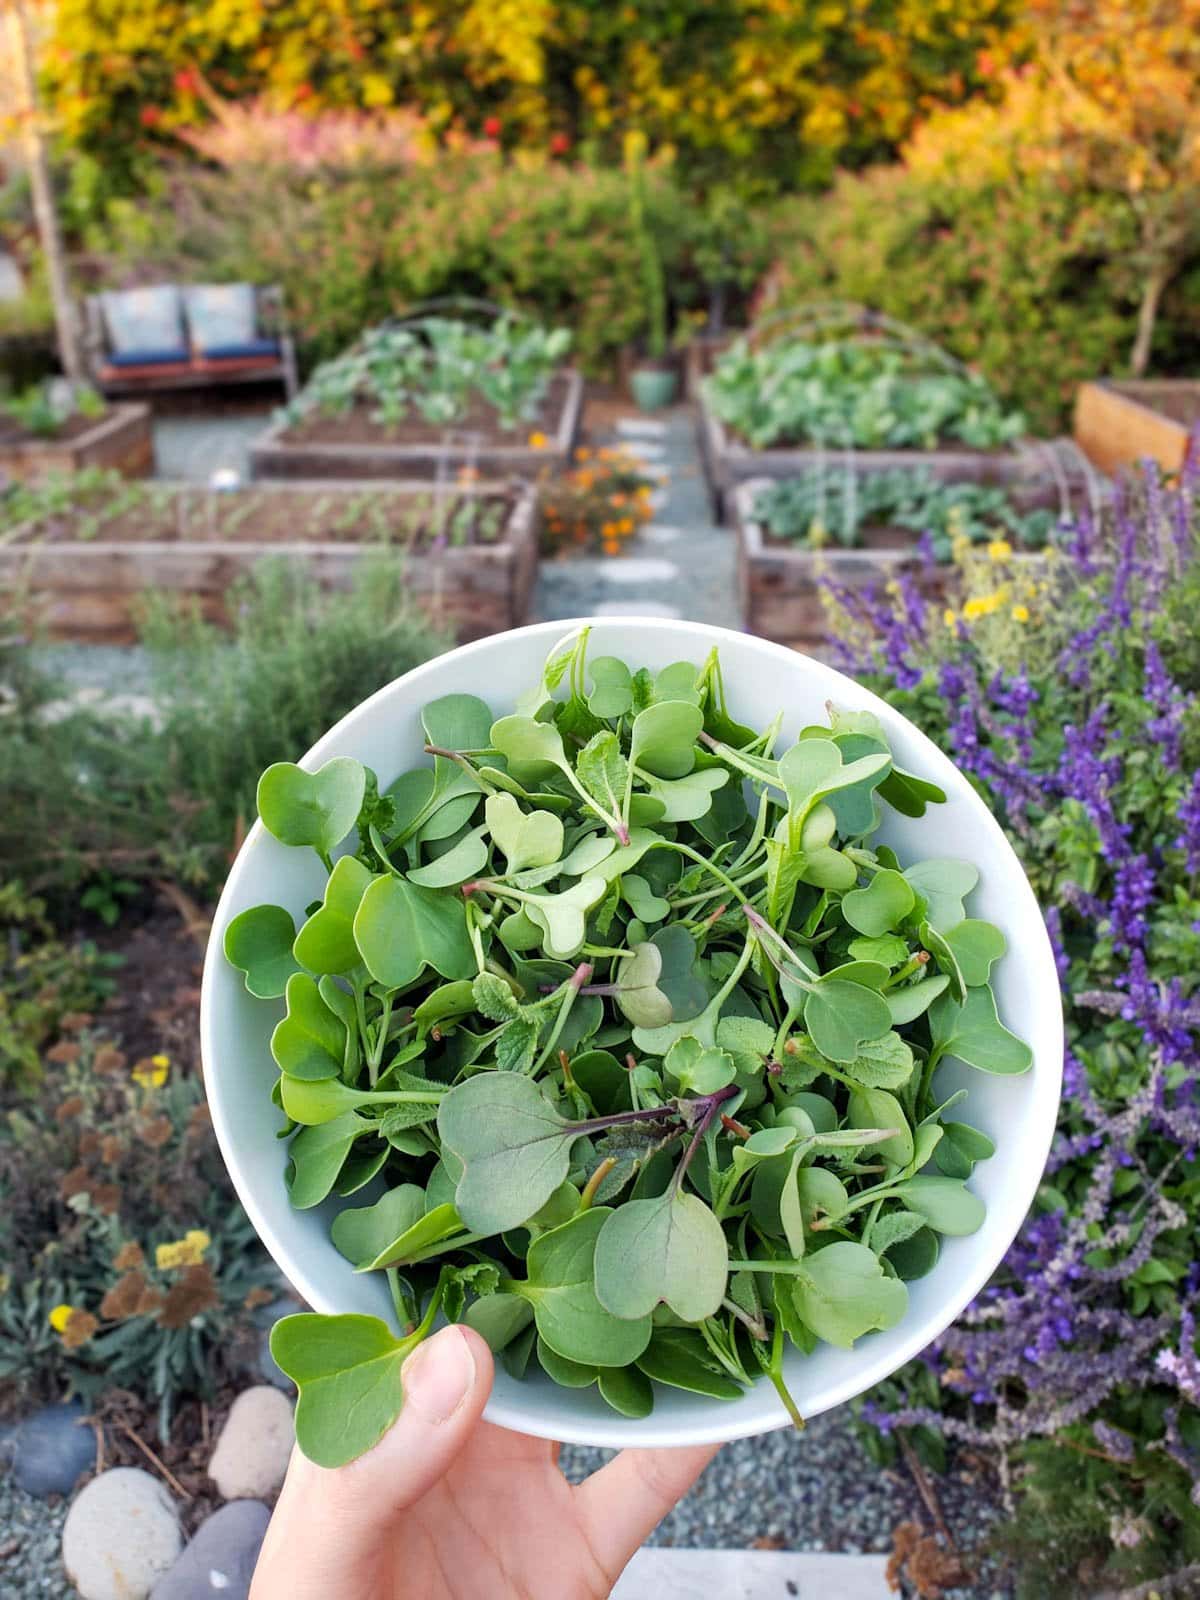
If you’ve seen broccoli, radish, kale or sunflower microgreens for sale at the natural food store – those are seedlings! So if you thin seedlings by cutting them out like we do, they don’t necessarily need to go to waste. Plus, tender little microgreens are even more nutrient-dense than their full-size counterparts.
We like to eat our thinned seedlings (microgreens) raw on top of salads, sandwiches, tostadas, or a quinoa/lentil bowl. Our spoiled backyard chickens also go crazy for them! Store microgreens in an airtight container in the refrigerator, with just a tiny splash of water inside to help them stay crisp and fresh.
Many types! Examples include peas, beets, radishes, leafy greens like lettuce, bok choy, arugula, or kale, brassicas including broccoli, cauliflower, or cabbage, or any other vegetable that you could otherwise eat the foliage of. On the other hand, avoid eating nightshade seedlings such as tomato, pepper, or eggplant leaves. See a complete list in the chart below.
| Edible Seedlings | Do Not Eat (Compost Instead) |
| Kale Spinach Radish Arugula Beets Carrots Celery Turnips Pea shoots Cabbage Collard Greens Mustard Greens Basil or other herbs Lettuces Onion/Leeks Swiss Chard Bok Choy | Tomatoes Peppers Eggplant Cucumber Melon Green Beans Potato greens – except for sweet potatoes, they’re okay! Rhubarb leaves are toxic! Squash are a maybe? Some cultures enjoy eating pumpkin leaves. |
Finally, here’s a demonstration video of me thinning seedlings two ways at our old homestead. (Sorry it’s a tad long, it’s an older video!)
That concludes this lesson on thinning seedlings.
Now that you can see how important it is, I hope this article inspires you to thin your seedlings early with confidence – and without guilt! Please feel free to ask any questions in the comments below
Don’t miss these related articles:
- When to Start Seeds Indoors: Planting Calendars for Every Zone
- How to Thin Fruit Trees: Apples, Peaches, Plums and More
- 7 Useful Seed Starting Supplies for Success Indoors
- How to Prune and Harvest Basil for More Productive Plants (With Photos)
- Topping Pepper Plants and Pinching Flowers for Better Harvests


31 Comments
Nick
The nutrient-rich microgreens have amazing health benefits, this is amazing for salads.
Petra Ahnert
Thanks for all the guidance you are sharing!
Question… how long do you leave your seedlings on the heat mat? Is it just until the seeds sprout? What about the plastic covers? do you leave those in place until they are ready to be hardened off?
My seedlings are currently in my unheated basement. My thought was that perhaps the more “cold tolerant” plants could come off heat, but maybe the more tropical seedlings like my hot peppers, would do better staying on heat a bit longer?
DeannaCat
We leave our seedlings on the heat mat for several weeks, but that is also because they’re outside in a greenhouse that is getting down into the 40s at night in the winter without the mats. Tomatoes, peppers, and eggplant will enjoy a little extra heat for the first few weeks. Did you read my hardening off post? It goes over reducing the heat before going outside. But yes your thought process sounds good – depending on how cold your basement gets. Any plant would like a little extra heat if it’s getting below 55 down there. And definitely take those plastic domes off as soon as the plants germinate! 🙂 I hope this helps
Cerena
Great post ~ love the different categories and tips! Thanks!
Emily
So I’ve readthat cannabis roots can hold most of the plants cbd, do you know if there is any benefit from saving/using cannabis microgreens and infusing oils or extracting their medicinal goodness other ways? Or are they benign because theyre so small? Was wondering your thoughts!
DeannaCat
Interesting… I haven’t heard that! I wouldn’t imagine anyone using cannabis microgreens because they’re too valuable. Their seeds are expensive! Usually at least $5-10 per seed! So that would be one heck of an expensive sprout…. Ha
Teresa G
My husband keeps yelling “there can be only one!” Haha!!
Christine
Thank you for taking the time to show us the after care of seedlings. I often have no problems getting stuff to grow but to take care of them once they are becoming established has been a mystery.
Deepa
Hi Deanna,
Thank you so much for sharing your knowledge. Can i use the separating method for swiss chard? they have not yet sprouted true leaves yet.
Thanks!
Deepa
DeannaCat
Sure thing! Chard tolerates transplanting pretty well. Like with anything, be gentle with those little guys and they’ll do just fine 🙂
Fernanda
Thanks to you my edible garden is growing so well! Thanks for sharing! Love
Stephie
Hi Deanna, very nice post, thank you! You might want to add carrots to the list of plants that don’t like to be transplanted.
DeannaCat
Bi Stephie! Good call. Yes, carrots and radishes! I was thinking more about ones you may try to start inside – but I supposed some folks may not realize those two should always always be direct sowed. Thanks again!
Lillian
Thanks for this! I always struggled with getting rid of baby plants because it felt wasteful, but you’ve helped me feel confident that I’m acting in the best interests of the garden!
DeannaCat
I get you! I used to feel that way too. But yes, you’re definitely helping them out by doing it!