

All About Calendula: How to Grow, Harvest, Dry, & Use Calendula Flowers

Calendula officinalis just may be one of my favorite annual flowers to grow in the garden. Yes, I could probably say that about many flowers – I do love them all! – but calendula definitely deserves to be among the top 5. It is gorgeous, easy to grow, has a long blooming season, and is super easy to save seeds from. Additionally, did you know that calendula is both medicinal and edible? It sure is!
Come read along to learn how to grow calendula along with it various benefits and how to harvest, dry, and use it. In addition to providing a burst of sunshine in the garden, you may be surprised to learn what expansive natural healing properties it has!

Would you like to save this?
Disclosure: Homestead and Chill is reader-supported. When you purchase through links on our site, we may earn an affiliate commission.
RELATED: Come get our best tips on growing herbs at home, along with four ways to preserve and dry fresh herbs!
Get to Know Calendula
Calendula is highly prized by gardeners and herbalist alike due to the versatility of this flower. To be more accurate, we should call calendula by what it really is: a flowering herb! Note that calendula is sometimes referred to as “pot marigold” – but don’t confuse it with true marigolds, such as french marigolds. They’re distinctly different, and not nearly as medicinal in nature.
Sprinkle fresh or dried calendula blossom petals on top of salads (or any dish really) as a cheerful pop of color! They also make a beautiful and tasty addition to scrambled eggs, frittata, summer salsa, or even in soup! Whole dried flowers can also be added to soups, broths, and stews in the winter for an extra immunity boost. Or, put some pep in your summer beverages with a calendula garnish.
Another bonus is that calendula makes an excellent companion plant in any vegetable or pollinator-friendly garden! It is #1 on our list of Top 23 Plants for Pollinators. This flower attracts bees and butterflies, and is said to repel pest insects. Its roots may help increase the activity of beneficial microbes and fungi in the soil.

Medicinal Benefits of Calendula
Calendula has been called upon for centuries to treat skin ailments, support the immune system, and heal infections, both internally and externally. If you pay attention to labels, you’ll probably notice calendula as a key ingredient in many natural skin care products, and for a good reason! We primarily grow calendula to make soothing skin salves.
Topically, calendula can ease, heal, or otherwise treat a huge array of skin conditions. According to the Chestnut School of Herbs, this includes: “rashes, stings, wounds, burns, sunburn, swelling, eczema, acne, surgical wounds, scrapes, chicken pox, cold sores, and even genital herpes sores.” It works its magic by promoting cells repair and growth, coupled with its natural antiseptic properties and anti-inflammatory properties. Above all, it is gentle in its work.
“Calendula is a wonderful herb for babies, being potent as well as soothing gentle. It is one of the most popular herbs for treating cradle cap, diaper rash, and other skin irritations. And calendula tea is a useful remedy for thrush type of yeast overgrowth not uncommon in infants.”
Rosemary Gladstar, from her book Medicinal Herbs: A Beginner’s Guide
Internally, it can help boost the immune and lymph system, fight fungal infections, reduce inflammation, menstrual cramps, and gastrointestinal upset, as well as keep fevers at bay. It is also an anti-viral. One of the quickest and easiest ways to consume calendula is by making tea, which we’ll cover soon!
Our Favorite Calendula Varieties
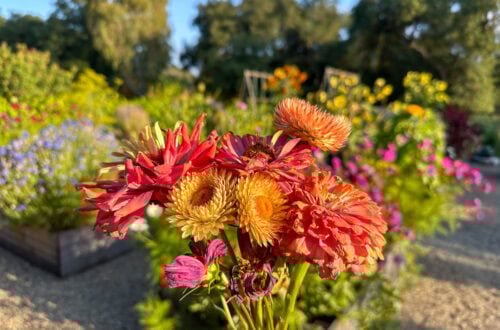
Calendula comes in dozens of shades of the sunset: golden yellow, bright to light oranges, blushing reds, and some of my favorite, peachy-pink tones. Regardless of appearance, they all have the same amazing healing properties, so choose whatever colors tickle your fancy! Note that the more sticky and resinous the variety, the more potent your homemade calendula products will be.
Here are our current favorite varieties of calendula to grow:

So, are you convinced? Are you ready to try to grow calendula in your home garden? I shouldn’t even say “try” – because there’s really not much to it! I’d like to wager that even the blackest of thumbs out there can successfully grow calendula.
How to Grow Calendula
Calendula is just about as no-fuss and low-maintenance as they come. It will perform best in rich, well-draining soil, but will tolerate a wide variety of soils – including poor soil. Heck, half of ours this year isn’t even growing in soil. Spent blooms dropped seed into the gravel area around our raised beds (that has landscape fabric below it) and they’re growing very happily there (pictured below). It is also very easy to successfully grow calendula in containers as well.
You can either grow calendula seeds indoors and transplant seedlings outside, or direct-sow calendula seeds in the garden in spring after the last frost. Follow the instructions on the seed package in regards to depth (usually around 1/4″ deep). Thin seedlings early to prevent overcrowding, spacing plants about 8 to 12 inches apart.
Calendula grows best in full-sun, but will tolerate some late afternoon shade, especially in the hottest climates. Provide moderate water. It won’t like being overly wet, as it is fairly drought-tolerant. Calendula is tolerant to both heat and cold. The plants and long-lasting blooms may continue straight through the first freeze the following winter! It is also reported to be deer-resistant.

Calendula disease and pests
Calendula does not attract many pests. The one disease that seems most likely to affect this plant is powdery mildew, which unfortunately is very common here. Avoid overcrowding plants to increase airflow and reduce the chances of disease. Thankfully, the mildew only seems to affect the foliage and not the blooms. Learn how to prevent and treat powdery mildew organically here.
When to Harvest Calendula
Herbalist all agree that the best time to harvest calendula is during mid-morning, shortly after the new blooms have opened but after any dew has dried. That said, simply do your best given your schedule. Harvesting midday or even in the afternoon is better than not harvesting them at all!
If you plan to use it for edible or medicinal purposes, harvest calendula flowers when they’re fresh, young, and have just fully opened. Avoid collecting heads that are already starting to dry and form seeds. You can leave those on the plant to fully dry and mature for seed-saving instead.
On that note, uncollected flower heads will allow calendula to freely re-seed itself. If you don’t want your garden full of calendula volunteers, plan to collect spent flowers before the seeds dry and disperse. We harvest some, but leave plenty behind as well. The volunteers are welcome here!
How to Harvest Calendula
To harvest calendula blooms, simply pick or cut off the flower where it meets the stem. Yes, take the whole head! The most medicinal value is actually found in the green pedestal, not just the flower petals. While harvesting calendula, your fingers may get a bit sticky from the resin. This is a good thing! In fact, the stickier the better. The resin has potent antifungal properties and is where most of the healing power comes from.
Don’t be shy about harvesting calendula flowers. The more you harvest, the more will grow. If you’re serious about stocking up on calendula, plan harvest new blooms every few days.


How to Dry and Store Calendula
There are several ways to dry calendula flowers – explored below. No matter how you do it, one thing is of the utmost importance: make sure that it is 100% completely dry before being put away for storage. I have heard too many horror stories of jars full of moldy blooms, after all that hard work to collect and preserve them. So, so sad!
The next very important thing to note is that calendula should not be exposed to high temperatures when drying. Heat will denature and ruin much of its medicinal components. Therefore, drying in an oven is not recommended.
You can choose to dry the petals, or the entire head. Petals alone will dry more quickly and have less chance of mold. However, plucking petals takes a lot more upfront labor to prepare for drying. Not to mention, the green base of the flower is incredibly resinous and potentially holds even more beneficial compounds than the petals, so we dry the blooms whole.
Do not wash blooms before drying. If needed, gently shake them out to dislodge dust or occasional insects. But since we are taking newly-opened blooms, they should be fresh as daisies!
Store dried calendula blooms in an airtight container out of direct sunlight, and use within one year.

Air Drying Calendula
Under the right conditions, calendula can passively air dry. It just takes a bit of time and patience. Okay, maybe a lot of time. In a warm, well-ventilated, dry location, set the calendula blooms on screens, in airy baskets, or other breathable racks, like this hanging herb drying rack. Periodically toss and turn the blooms to ensure they’re drying evenly. Then wait.
Given our temperate climate, humidity, and cool spring weather, we decided to not fuss with air drying. It would take forever, and I was worried they would mold. Instead, we used our food dehydrator.

Drying Calendula in a Food Dehydrator
This method will get the job done much faster! But remember, we don’t want to heat the calendula. Set your dehydrator on the lowest setting – no warmer than 95-100°F. Our awesome Excalibur dehydrator has a “living foods” setting in this range, which ensures all the beneficial healing properties of herbs or other plants aren’t destroyed by heat!
Lay out your calendula blooms face down on your dehydrator racks. On a low setting, dry them until they’re dry. Bone dry. Sorry, there isn’t an exact time to go by!
The time it takes to fully dry depends on the method you use, your machine (or not), if you’re drying petals only or whole heads, and the flowers themselves. For example, some of our smallest blooms were completely dry within a day or two, while the fattest, largest heads still seemed like they needed a few more days.


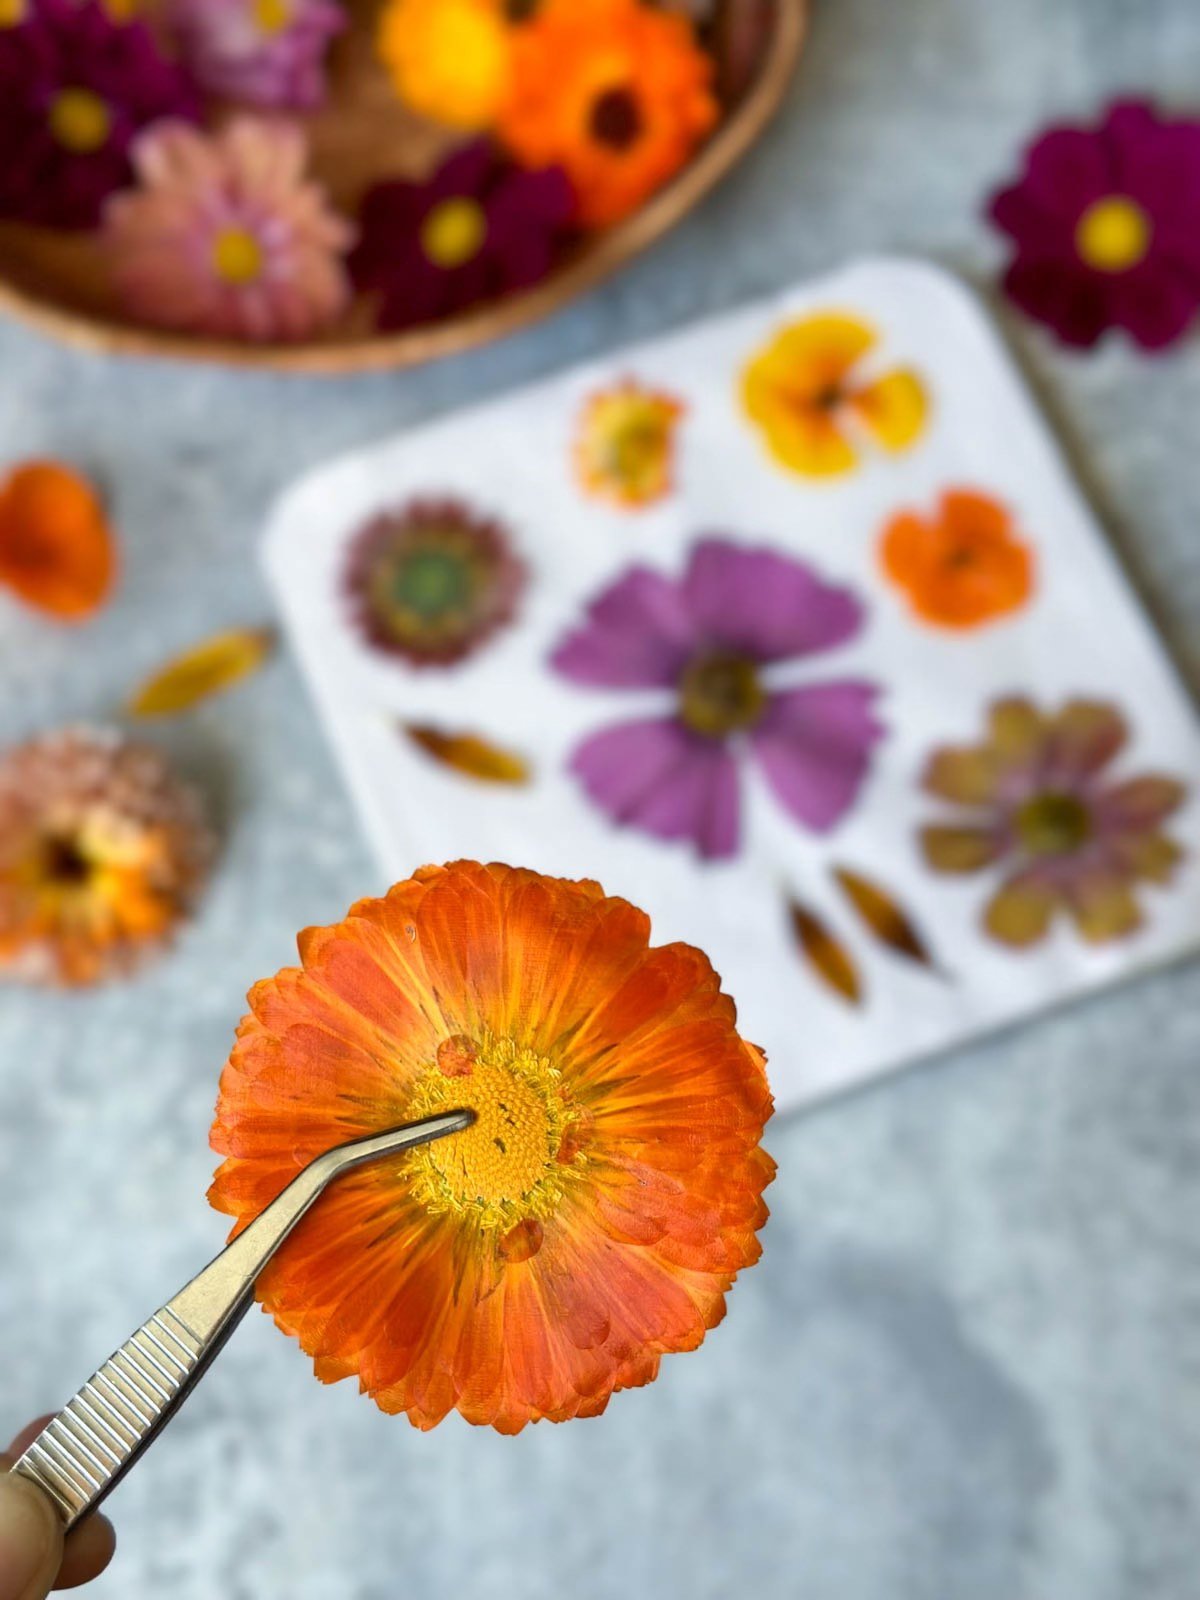
Pressing Calendula Dry
Calendula also dries quite well in a press, and is a beautiful addition to dried flower craft projects! Learn how to press flowers in our detailed beginner’s guide. It covers four methods to press flowers: in a book, traditional wood press, microwave or using an iron – including the pros and cons of each option! I also explore several fun ideas of how to use pressed flowers, storage tips, and more.
How to Use Dried Calendula
So, what do I do with all this dried calendula? Well… any number of things!
Calendula Tea
For internal use, one of the quickest and easiest ways to prepare dry calendula is making a tea infusion. In 8 ounces of water, steep approximately 1 to 3 loose Tablespoons of dried petals, or 4 to 6 dried flower heads. This is easy to do with the assistance of a loose-leaf tea infuser, like this one we love and use. Cover and steep in hot water for 8 to 10 minutes, and then enjoy! Or, scale up the portions and steep a larger pot to enjoy over a couple of days. It is best to store the prepared tea in the refrigerator to maintain freshness.
Keep in mind that people make medicinal teas primarily for their health benefits over pure enjoyment and flavor. Thankfully, I quite like the taste of calendula tea! It is mellow, slightly earthy, slightly sweet, and maybe just a tad bit grassy – but not nearly as grassy as over-steeped green tea.
Enjoy calendula tea on occasion to boost your mood. After all, it is historically referenced for having antidepressant properties! Or, if you are in need of some deeper healing (and have an ample supply!), feel free to sip on the tea up to three times a day. You really can’t overdo it. Calendula has no limit or risk of toxicity! I have been sipping calendula tea this spring to ease my swollen lymph glands caused by allergies.

Other Ways to Use Dried Calendula
In addition to adding it to various meals and beverages, herbalists use dried calendula to make incredibly healing calendula-infused oil, topical salves and creams, or tinctures for internal use. When applied topically, calendula can help ease inflammation, redness, rashes or other irritation, eczema, psoriasis, and more.
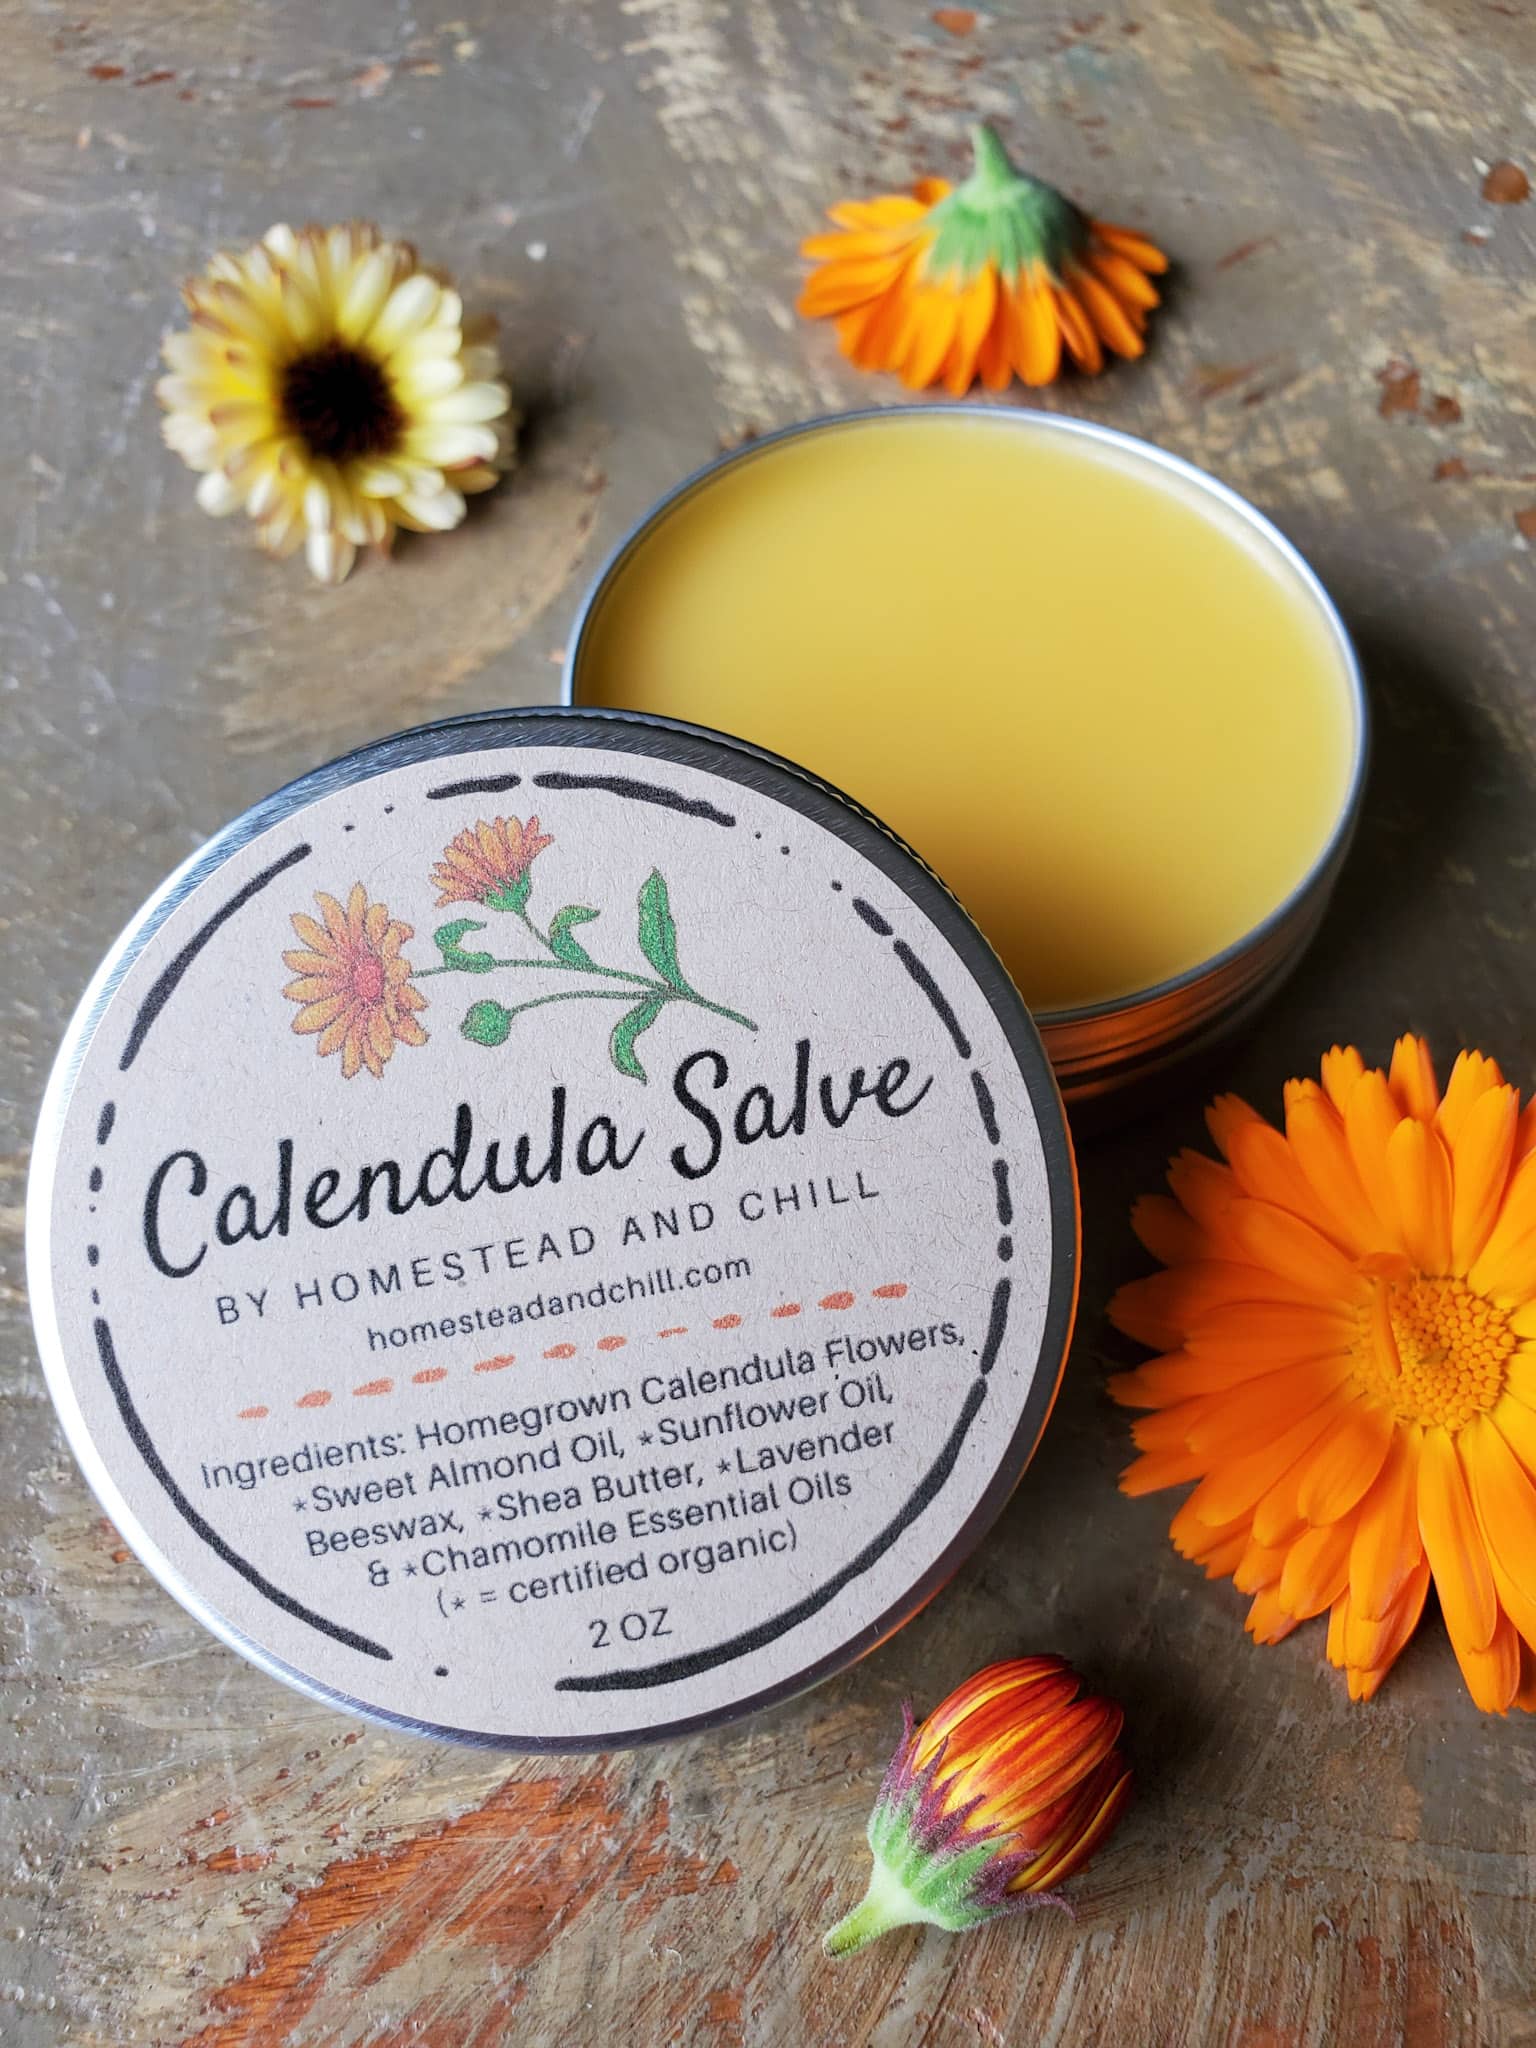
Learn how to make homemade calendula oil here, along with 8 ways to use it! Then, you could turn your oil into incredibly moisturizing homemade calendula salve with this tutorial. We also offer organic calendula salve in our shop, made with flowers grown in our home garden.
If you have chickens, calendula petals can be added to their nesting boxes as a natural insect repellent. Also, if you feed your chickens fresh or dried calendula petals, their egg yolks will be even more golden orange! Plus, they’ll reap all the health benefits as well. You can also add petals or whole flowers to a bubble bath!
If you want to dive deeper, I highly recommend checking out the book “Medicinal Herbs: A Beginner’s Guide” by Rosemary Gladstar. It has been one of my key sources of information and inspiration thus far – for calendula, and beyond! Another great resource is this Organic Body Care Recipes book.
Now you know all about calendula!
I hope you found this article to be interesting and helpful as you start your calendula journey. Even if you don’t plan to get all deep into salves and oils, you won’t regret adding it to your garden. I promise!
Finally, let me know if you have any questions, and please spread the love and share this post with friends!


126 Comments
Jess
I didn’t even plant my calendula this year and it has been welcomly popping up in the garden from last year. Considering I planted and slashed a green manure crop in summer I’m really surprised, they’re definately hardy plants!
Yvette
Fab info on the Calendulas! I love them and them growing and self seeding all over the veggie patch. I recently dried a heap (naturally in a dark corner of the house in a basket) and then steeped the petals in a jar of jojoba oil. I placed the jar in a brown paper bag to protect the vibrant colour, and popped it on the windowsill for 6 weeks. It’s autumn/winter so the heat was only mild but enough to colour the oil beautifully whilst adding all those medicinal qualities. I use the calendula oil directly on my face and my skin feels heavenly soft afterwards. It’s amazing and as I believe jojoba oil is the closest oil to what our skin produces naturally, it’s super nourishing without being oily. It may help for acne but I don’t tend to suffer from that so haven’t tried. Might be worth a try tho? Thanks again love your posts! I’ll tag you on insta so you can’t see the bright orange calendula oil.
DeannaCat
Excellent feedback! I like to use jojoba for our DIY essential oil rollers, and when I used to try using the oil cleansing method on occasion, so that was my thought as well! Thank you
Courtney sapp
Can you dry outside in the sun? I live in a dry warm climate. It’s been about 90 degrees during the day.
DeannaCat
I have read that outdoors is okay, but it is best to keep them out of direct hot sunlight while drying – so maybe in a shady area or under a porch/overhang?
Jen
Thanks for the reminder about calendula! I haven’t got any planted yet but I think there’s still plenty of time. It’s been such a cold, wet spring here that everything is running weeks behind. How long would you say from seed to bloom?
DeannaCat
Hey Jen… Oh goodness, I think it will depend on the season and conditions. For example, we sometimes start ours as early as Jan/February and get blooms in April-May, but they grow so slowly during that time too with the short sunlight hours and cool conditions. You could get them quicker as it warms up, longer days, and the plants grow faster.
Maggie
I’ve been waiting for a blog on this bc I always see it in all your IG posts… thanks for sharing! 🧡
Perfect plants
So interesting!!! I have some calendula from last year. I soooo wish it was a perennial. Gonna make some tea today 🙂
Ji
Thank you so much for this article! I love following you on Instagram and have been an avid reader of your blog since the beginning, though this is my first comment. Now I’m super excited to grow Calendulas and try the tea! Do you think it’s too late to sow seeds outdoors in zone 7A? I also had skin problems (oily/acne) all my life that only started getting better the past few years after switching to all natural diy recipes. (jojoba oil as base for serum; rose water + witch hazel base for toner – both with added essential oils)
DeannaCat
Hey Ji, I would go ahead and give it a shot with a few seeds and see what happens! Not much harm in trying! 🙂 That is great about your skin improvement! Lucky lady… I am pretty convinced that my issues come from being Type 1 Diabetic, causing frequent hormone and blood sugar swings – it is a known “side effect” – but all of those things help to soothe scars and inflammation too, even if I can’t prevent it all, so I am on board! I am going to make a jojoba calendula infusion soon 🙂
Ann
Great post Deanna! Thanks for all the super helpful information. If you haven’t tried it already, I highly recommend almond oil. It’s great for sensitive skin. And smells lovely!
Jessica
So if it takes days in a food dehydrator it’s safe to say it takes much longer sitting out to dry?! Also, do these do ok in pots or should they go directly in the ground or raised bed?
DeannaCat
I believe it can take weeks to dry passively at room temperature, but again, that will all depend on your climate, methods, and the flowers themselves – some of ours have HUGE wet centers! Yep, they do great in containers too. You can plant them where ever you like, and they’ll like it 😉
Katie
Great read! I didn’t know you could do so much with calendula. Love how informative your blog is. Thanks!