


Homemade Chili Powder Recipe (How to Dry Peppers in a Dehydrator or Oven)
Want to learn how to make chili powder? This simple guide will teach you how to dry chili peppers in either a food dehydrator or oven, and then turn the dried peppers into a versatile, spicy seasoning powder. Bright, complex and flavorful, homemade chili powder puts store-bought chili powder to shame!
Our chili powder recipe is simple to make, includes tips for the best flavor and color retention possible, and is easily customized to your tastebuds using any kind of peppers you prefer. (You can even follow the same steps to make homemade paprika using sweet red peppers!) This is one of our go-to ways to preserve peppers from the garden, so we often blend several varieties.

Would you like to save this?
Disclosure: Homestead and Chill is reader-supported. When you purchase through links on our site, we may earn an affiliate commission.
Ingredients and Supplies
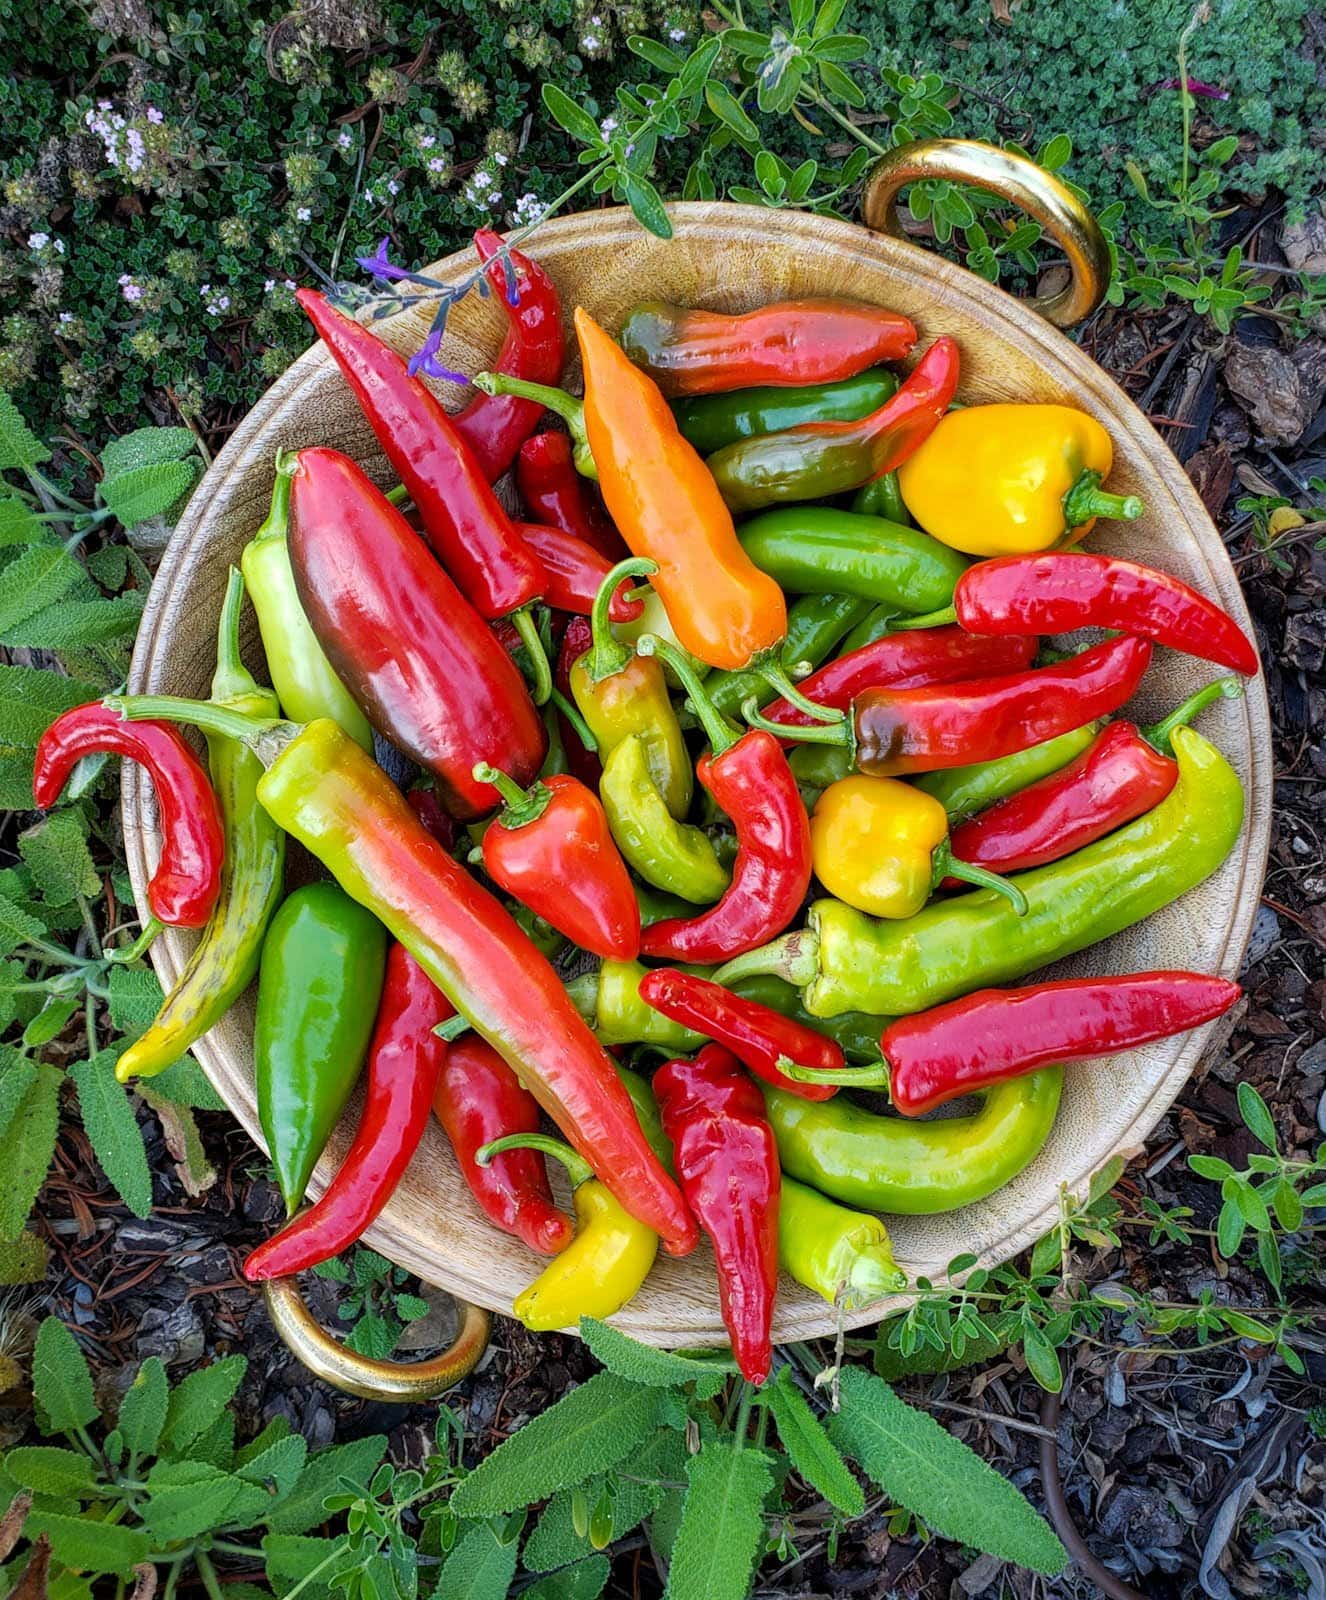
- Peppers of choice. I like to use a combination of both hot chilis and a few mild or sweet peppers to create a balanced, flavorful, not insanely-spicy finished chili powder. Keep in mind that the color of your peppers will influence color of the final powder too. (Since we used red, yellow and green in this example, it turned reddish-brown).
- Food dehydrator, or oven and baking trays
- Blender or food processor
- Large pot and bowl, for the optional blanch and ice bath step
- Gloves – optional but recommended!
Caution!
It may go without saying, but be careful when working with hot peppers. Capsaicin, the neuropeptide within chilis that makes them spicy, is a corrosive irritant. I recommend wearing gloves during prep (and still be cautious with what you touch). I also suggest drying hot peppers in a well-ventilated room with the windows open.
RELATED: Looking for more ways to preserve peppers? Don’t miss our delicious cowboy candy recipe, easy refrigerator pickled peppers, sweet-n-spicy jalapeño honey, or our popular fermented hot sauce recipe.
Instructions
1) Prepare Chilis
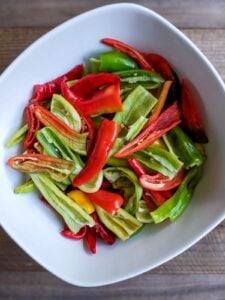
- Inspect your chili peppers of choice, and avoid using any with soft spots, disease, or other signs of rotting.
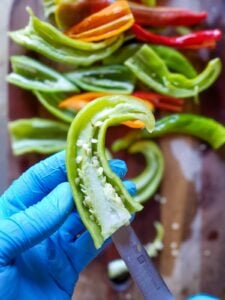
- Wash the peppers, cut off the top stem portion, and then slice the chilis in half lengthwise.
- Unless you’re a heat-loving heathen, I suggest to scoop out and discard the seeds and inner white membrane (the hottest part). It’s fine if a few seeds or a little membrane is left behind, but overall we try to remove most of them.


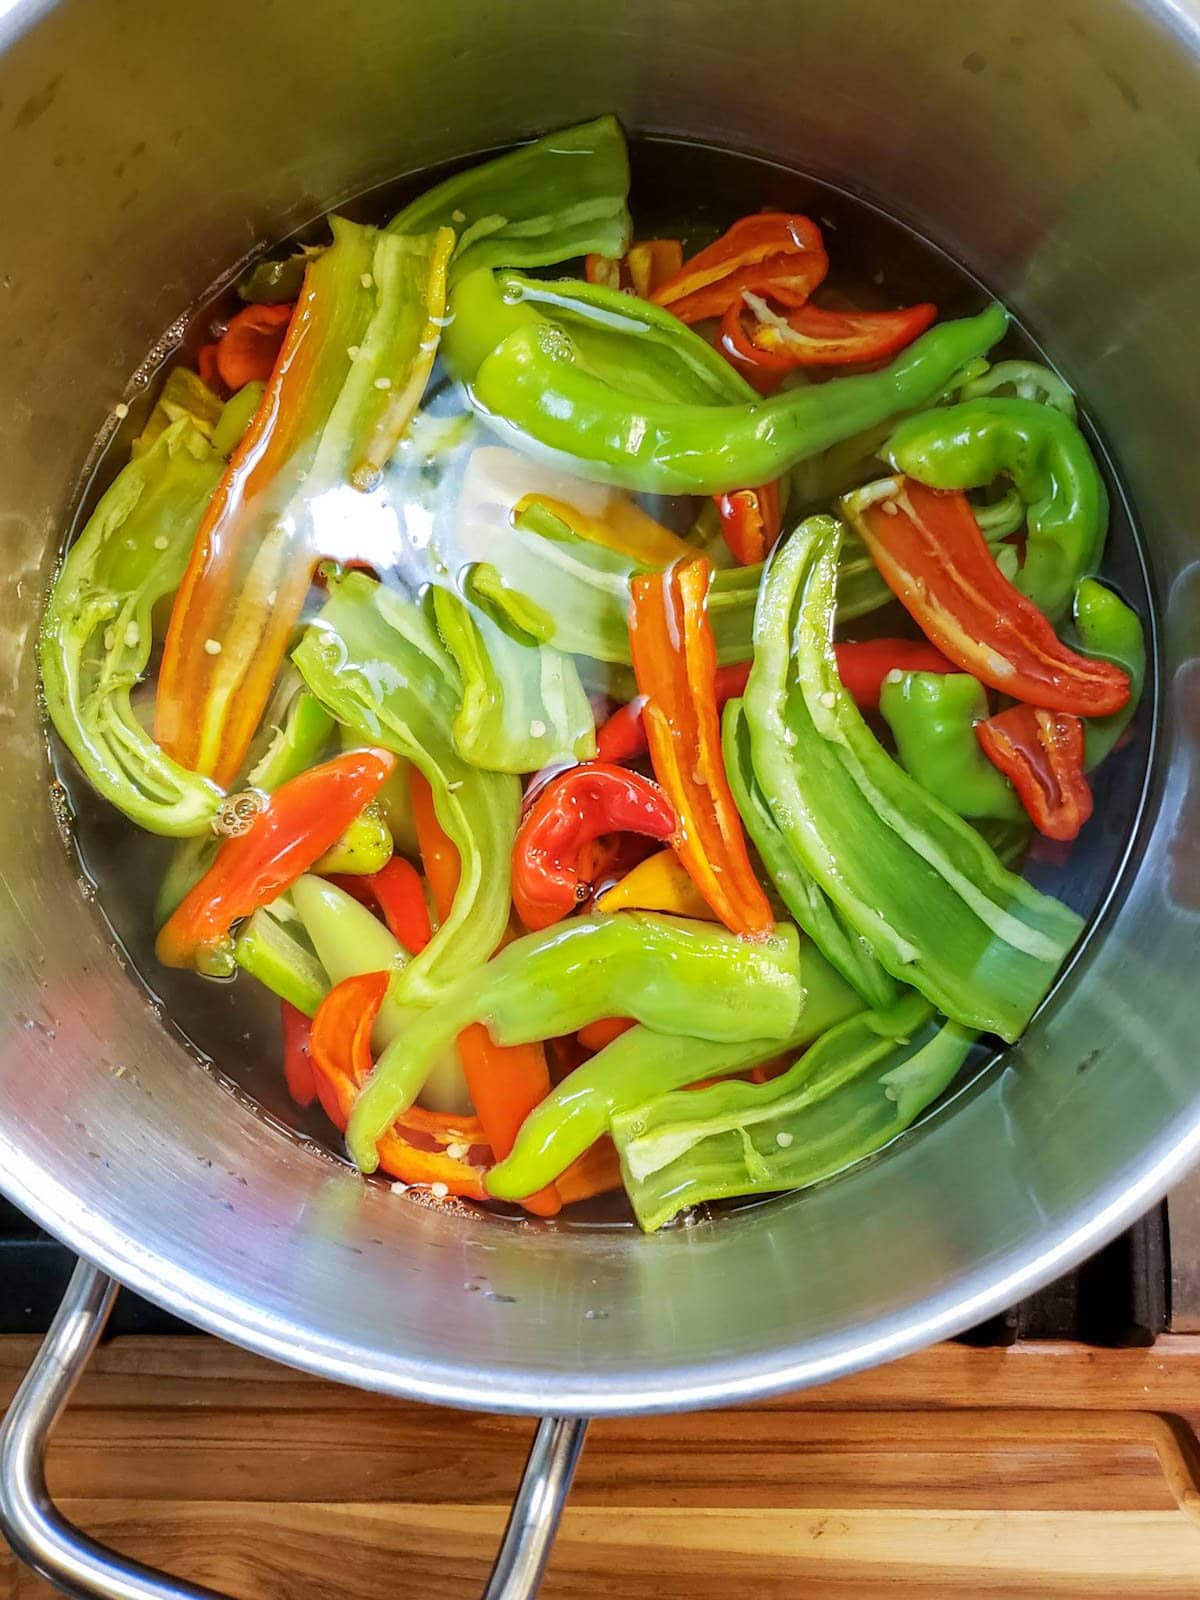
2) Blanch Peppers (optional)
This step is totally optional, but offers some benefit! Much like blanching veggies before freezing them, quickly blanching chilis in hot water destroys certain enzymes – which in turn slows how the peppers degrade over time. Quickly heating the peppers also enhances their complexity of flavor. Therefore, blanching chilis helps maintain the best flavor, color, and texture of the dried chili powder.
- Heat a pot of water on the stovetop, full enough to completely submerge your prepped chilis.
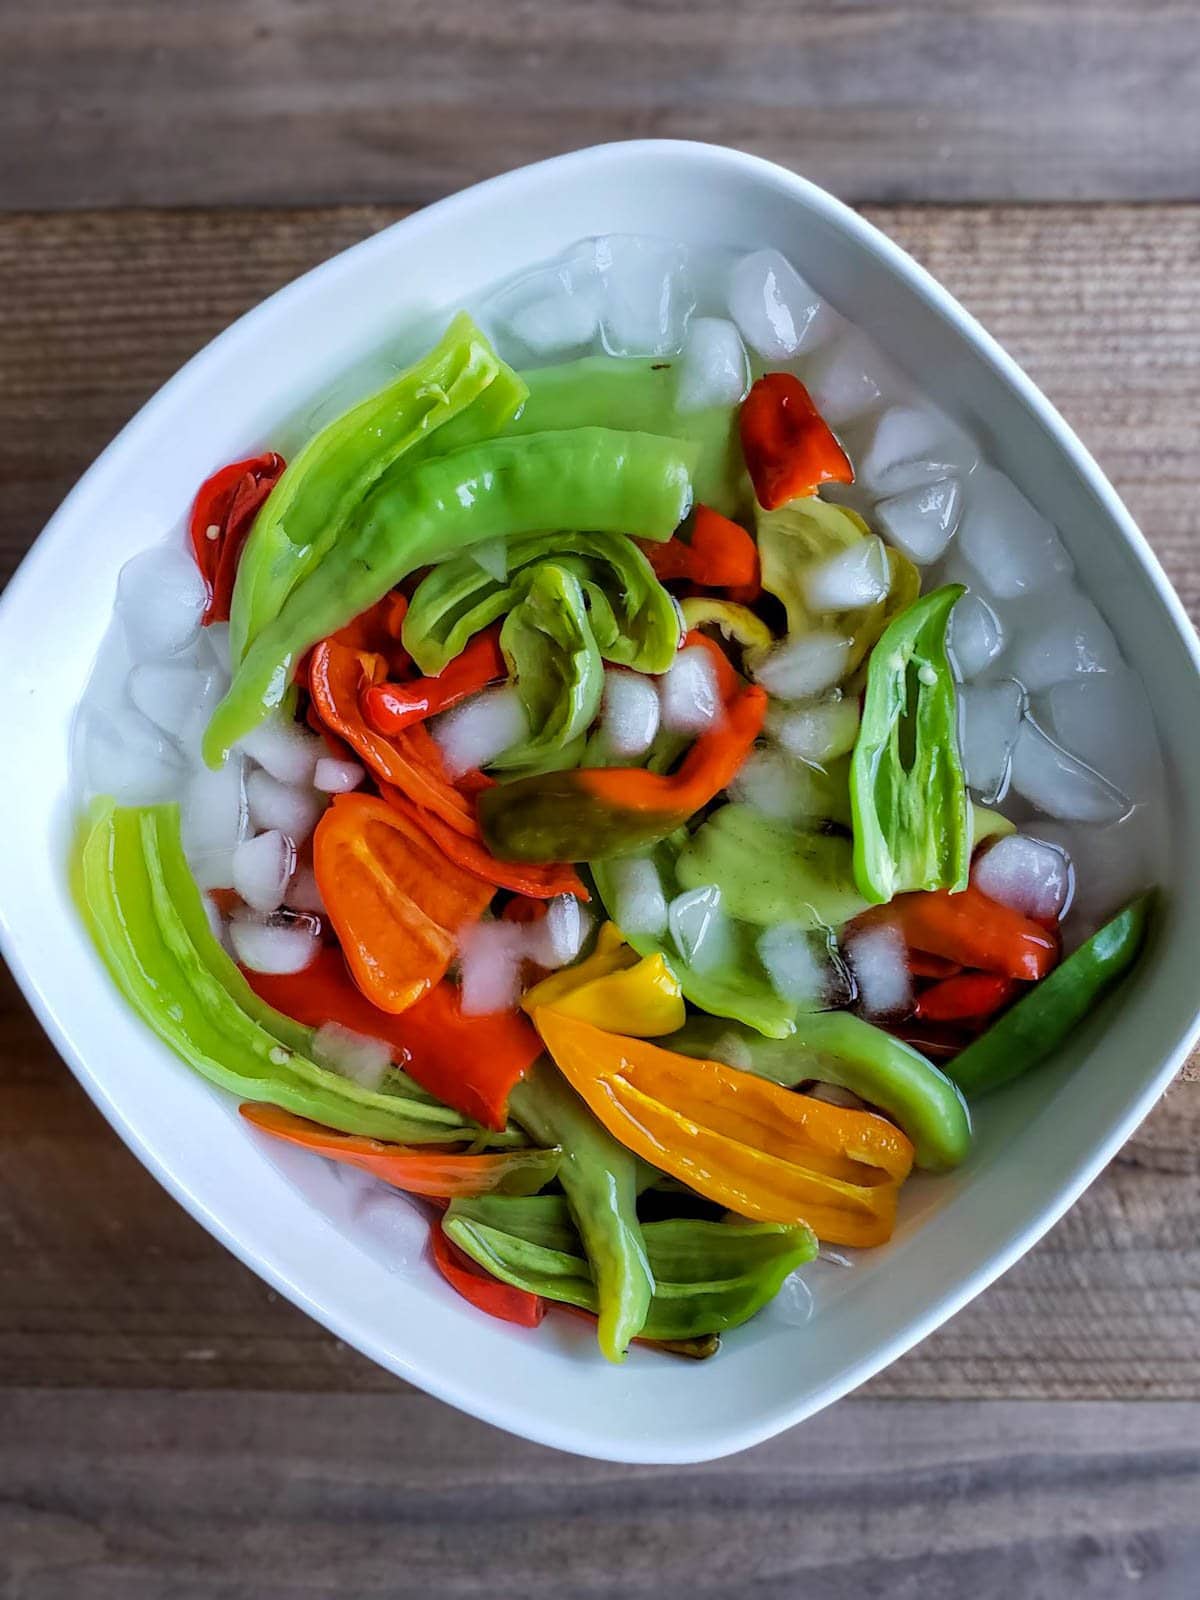
- While it is heating, set up an ice-bath (a bowl full of ice water) also large enough to hold the chili peppers.
- Once the water reaches a rolling boil, put the chilis in the hot water, return to a boil, and blanch for one minute. Take note of the time or set a timer. Don’t overcook them!
- After one minute, either carefully strain away the hot water or scoop the chilis out with a slotted spoon to get them into the ice bath as quickly as possible to stop the cooking process. Use caution; the steam from the pot will be extra spicy!
- Once the chilis are completely cool, strain away the ice bath water.
2) Dehydrate Peppers
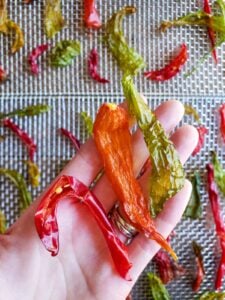
Now it’s time to dry the peppers until they’re 100% crisp and dry. It’s key to completely dry them to prevent your homemade chili powder from spoiling or clumping! See instructions to do so in either a food dehydrator or the oven below.
I prefer to use a dehydrator over the oven since both methods take several hours, and we can put the dehydrator in a separate room (or the garage) with the door closed and windows open. It’s also much easier to fully, properly dry things in a dehydrator without the risk of burning, achieving maximum color and nutrient retention with little-to-no oversight required.
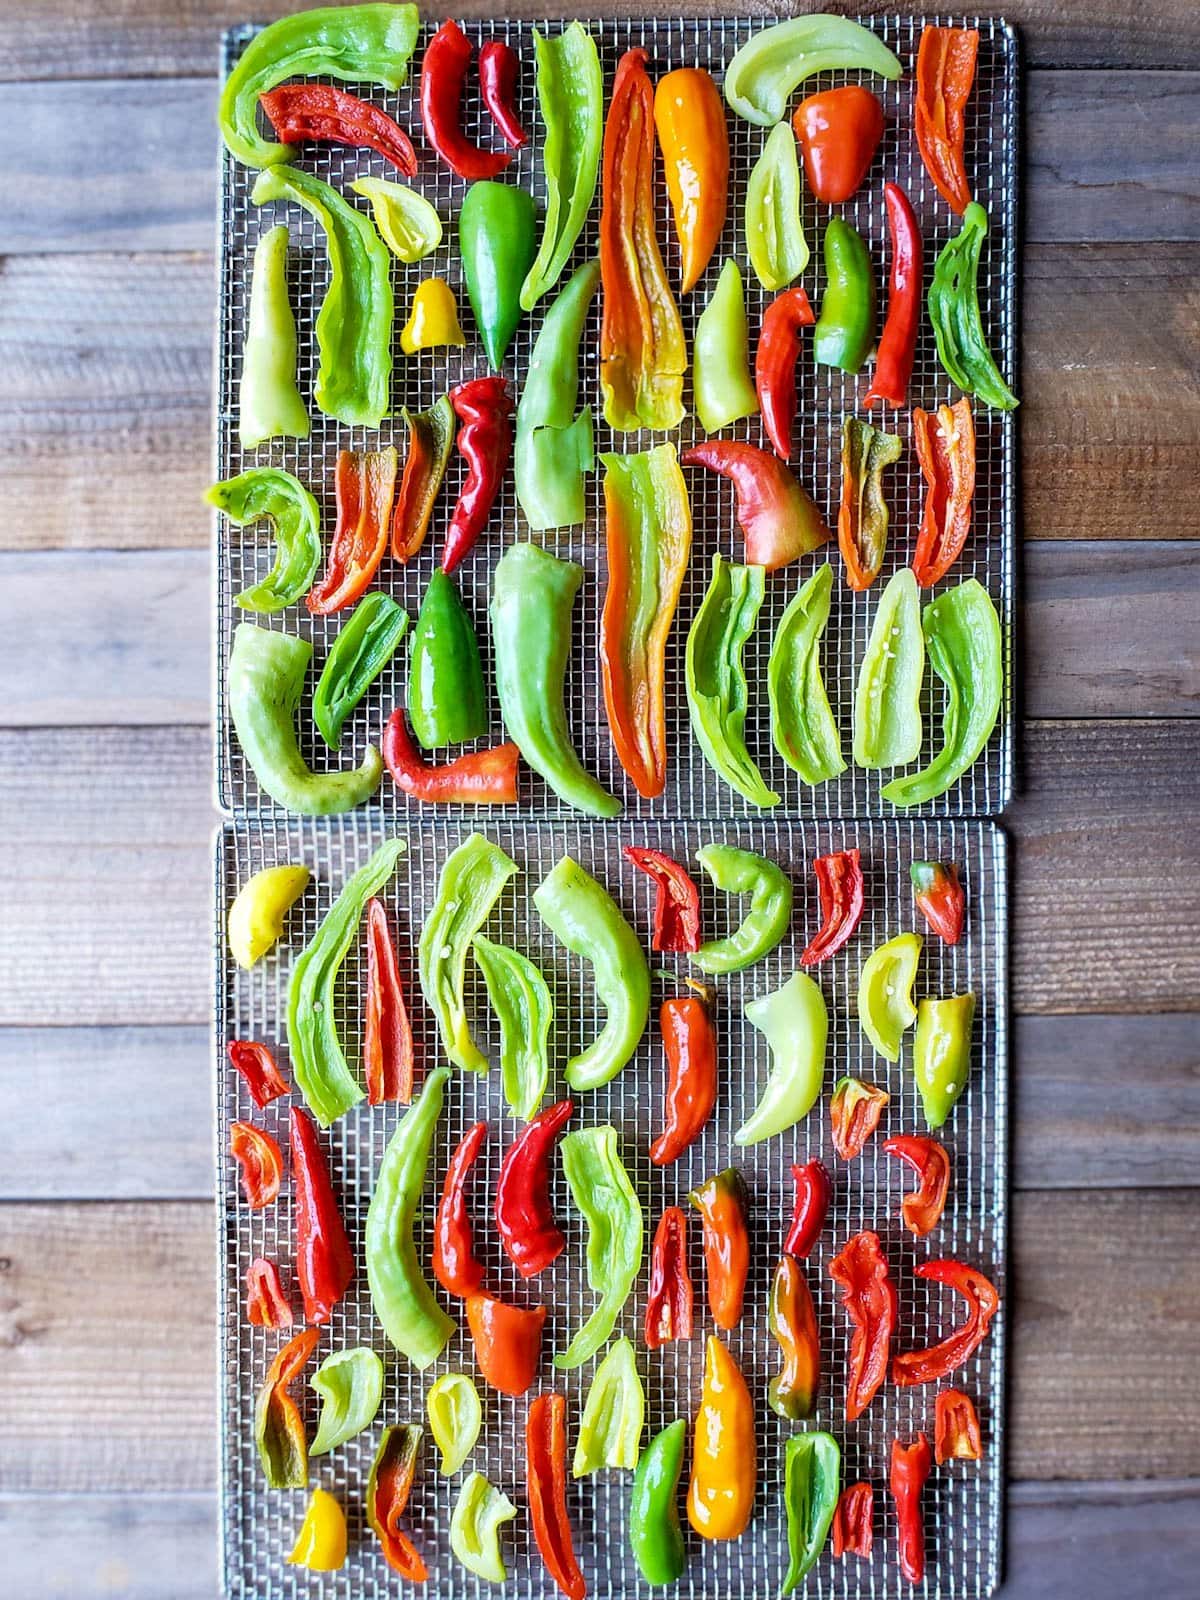
Using a food dehydrator
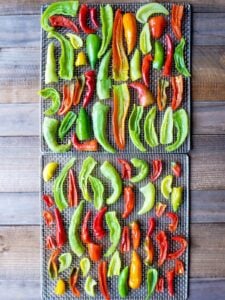
- Spread the blanched (or raw) chili peppers on food dehydrator trays in a single layer, not overlapping.
- Set the dehydrator to 125°F (or the designated “vegetable setting” on your dehydrator), and dry until they’re completely crisp.
- Depending on your dehydrator, you may want to rotate the trays every few hours to promote even drying. (I don’t find the need to do so in our Excalibur since the fan is in the back, but previously had to with an older dehydrator where the fan was in the top lid.)
- The peppers are finished drying when they snap and crunch when bent, and don’t have any flexibility or moisture left to them. The time it takes for the chilis to fully dry will vary depending on your machine, and the thickness or type of peppers used. Ours usually take around 14 to 18 hours.
Drying chili peppers in the oven
- Preheat your oven to 150 to 175°F. The lower the temperature the better to avoid burning the peppers. The goal is to dry them, not cook them!
- Lay the chili pepper slices out on a baking sheet. Use a slotted baking rack if you have one to increase airflow around the peppers and reduce the need to turn them.
- To promote quicker drying, it may be worthwhile to cut larger peppers into slightly smaller slices than when using a dehydrator – no more than 1 inch wide. You can also try turning the oven up to 200F, but keep a close eye on them so they don’t burn!
- Place the trays of peppers in the oven, and allow to dry until they’re completely crisp. The time can vary from 4 to 8 hours or more, depending on the size and thickness of the chili peppers. Flip them over every hour or two.

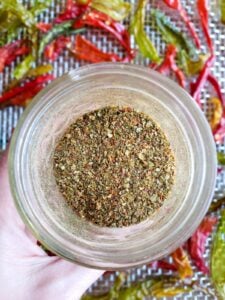
4) Grind Into Chili Powder
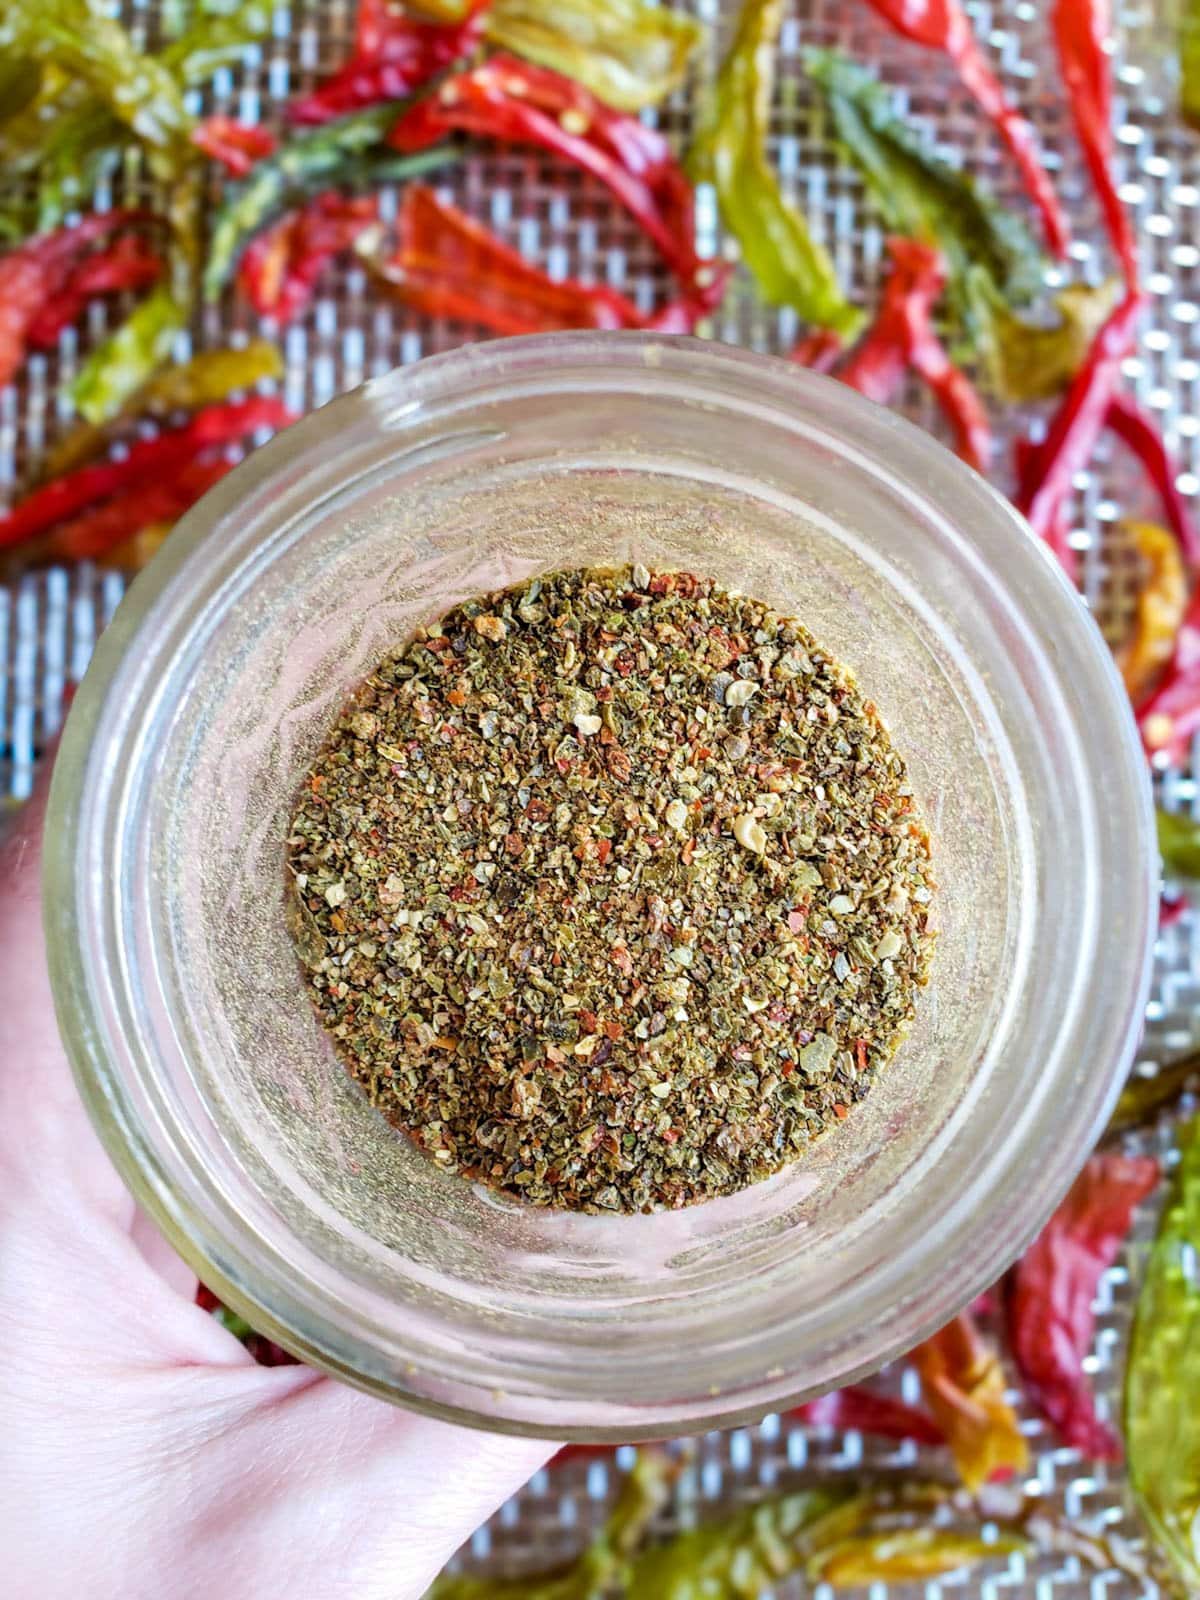
To transform the dried chili peppers into powder, we grind them in a powerful Vitamix blender until the desired consistency is reached. You can also use a food processor, large coffee grinder, or similar appliance.
If you dehydrated a fairly small batch of chili peppers, you may end up grinding them all at once. However, a pepper-loving gardener friend once told us that dried chilis stay most fresh and flavorful when stored whole, and ground into powder in small batches as needed. So if you dry a large amount of peppers like we do, consider grinding just a portion – such as enough to fill one spice jar at a time.
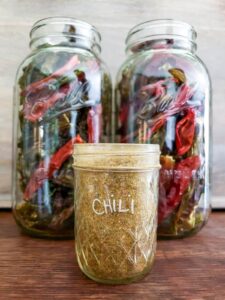
Storage and Shelf Life
Finally, transfer your ground chili powder (or whole dried chili peppers) in a glass container with an air-tight lid. We often use half-pint mason jars, though you can also save and reuse old spice jars!
Homemade chili powder will stay good for over a year when properly dried and stored in a fairly cool, dry, dark location (e.g. a pantry or cupboard). Whole dried peppers will also last at least a year. If you live in a humid climate, you may want to tuck one of these sustainable food desiccant packets inside the jar to help keep them crisp.

Enjoy!
Well friends, I hope you enjoy this easy homemade chili powder recipe as much as we do. If so, please do us a solid and leave a review below once you give it a try!
We love sprinkling chili powder over sautéed vegetables or eggs, added to soups, salsa, guacamole, hummus, tacos, vegetarian chili, and more! You can also mix chili powder with other seasonings (think salt, garlic powder or onion powder) to create your own homemade custom spice blend.
Don’t miss these related posts:
- Best Cowboy Candy Recipe (Candied Jalapeños) Canning or Refrigerator
- How to Grow Peppers and Chilis: Seed to Harvest
- Preserving Garlic: How to Make Homemade Garlic Powder
- Quick & Easy Refrigerator Pickled Peppers Recipe
- How to Make Homemade Onion Powder (Dehydrator or Oven)
- How to Make Tomato Powder (Fresh Tomatoes or Skins)

Easy Homemade Chili Powder (Oven or Dehydrator)
Equipment
- Food Dehydrator, or Oven
- Blender, food processor, coffee grinder, or other appliance for grinding
Ingredients
- Chili peppers of choice
- Optional: sweet and mild peppers
Instructions
- Use caution when working with hot peppers! I recommend wearing gloves, and opening windows (or dehydrate them in a separate room/garage with the door close and windows open.
- Wash chili peppers of choice. Select peppers in good condition, free of disease or damage.
- Cut off the top stem portion, then cut the peppers in half lengthwise.

- Remove excess seeds and membranes from inside the peppers (unless you want it extra spicy).
- Optional blanching for maximum color/flavor retention: bring a pot of water to a rolling boil. Add prepped chili peppers, and blanch for one minute.
- Remove peppers from hot water and immediately into an ice bath (ice water in bowl) to stop the cooking process. Once they're fully cool, strain peppers from water.
- Spread blanched (or raw) peppers in a single layer on dehydrator trays, or on baking sheets for the oven. Do not overlap.
- In the oven, dry the peppers on 150-175F until they're 100% crisp and dry. This will take several hours. Flip and turn the peppers once every hour or so (or use a slotted oven rack to increase airflow). You can try turning up the oven to 200F, but keep an eye on them so they don't burn!
- In a food dehydrator: dry chili peppers on 125F for until they are completely dry and crisp with no moisture left. They should crunch, crumble, or snap when bent. Time will vary depending on peppers and dehydrator use, but should be done within 12-24 hours. (You may want to to rotate your dehydrator trays every few hours if the fan is in the lid or bottom.)
- Once fully dry, either store whole dried peppers in a jar with a tight-fitting lid until needed, or grind into chili powder for immediate use.
- Grind dry peppers into a powder using a blender, food processor, coffee grinder, or mortar and pestle. The flavor is best if chilis are ground in smaller batches, one spice jar worth at a time, and store extra dried chilis whole until a refill is needed.
- Store in a glass container with an air-tight lid in a moderately cool, dark, dry location. It will be good for over a year stored in the pantry.


Deanna Talerico
Deanna Talerico (aka DeannaCat) is a garden educator and writer with over 15 years experience in organic gardening. She is a retired Senior Environmental Health Specialist, and holds a M.A. in Environmental Studies and B.S. in Sustainability and Natural Resources.


20 Comments
Mary W
Just got my last harvest of peppers on the dehydrator and sat down for cup of coffee and YT. Saw this comment for lemon powder and linked to it. I bought my first Meyer lemon tree last year and have fruit!!! Now what to do with it come December when it should be ripe (Florida). I got a ton of ideas from your article on lemon powder and won’t waste a single priceless organic peel! Karen from The Art of Doing Stuff blog turned me onto you guys a couple years ago when I started journey into sourdough and been very happy with what you provide to me. THANK YOU! I do make my own chili powder – peppers are a real work horse in my garden!
Aaron (Mr. DeannaCat)
That’s great to hear Mary! We really enjoy making chili powder and we are glad to have you here, enjoy those Meyer lemons (our favorite) when they are ready for harvest.
Amy miller
So happy to find this recipe, and your blog. I love your writing voice and I’m going to try your recipe as soon as I get my hot peppers harvested. Can’t wait! I’ve never made chili powder before, but I’m expecting that it’ll be in a different bracket altogether from the store-bought stuff. Yay!!
Bruce
What sweet peppers to you recommend drying with the chili peppers?
Aaron (Mr. DeannaCat)
Hi Bruce, really whatever sweet chilis you have growing in your garden will work. We like banana peppers, different varieties of sweet mini peppers, cayenne (slightly hot), or even red bell peppers would work. Hope that helps and enjoy!
vince picchiello
Totally awesome recipe. This is my favorite website by a country mile. I thoroughly enjoy receiving your weekly publication.
I have a question in regards to peppers hot and sweet alike. This year many of my peppers have rotting/black seeds inside their membranes. Most times the peppers look completely healthy on their exteriors. In fact, I have Turkish eggplants that display the same symptoms. Many of the peppers have soft outer spots that indicate rotting.I live in Toronto Canada and our weather this summer has been extremely hot with very little rain. I’ve tried to maintain a regular watering routine but the ground doesnt appear to absorb water aswell as a steady rainfall can. Can you help diagnose this problem with me.
Thanks in advance
Aaron (Mr. DeannaCat)
Hi Vince, thank you so much for the kind words and for supporting the website. The black seeds may just be bad seeds that either died or didn’t develop properly. What color are the spots on the peppers? The soft spots on your peppers could be due to sunscald which happens when the fruit receives too much direct sunlight which in turn burns the fruit, this often happens to tomatoes as well. The sunburned part of the fruit will turn dry and leathery with time. If the spots are occurring on the bottom of the fruit, it may be blossom end rot which can occur with irregular watering. There is also a disease called anthracnose that usually affects tomatoes and potatoes but it can show up in peppers as well. Hopefully that gave you a few ideas to work with and hopefully you can get it all figured out, good luck!
Pey-Lih
You also made lemon powder? Did you dry out the rind and then grind them up? Do you use this for baking? You are encouraging me to get a food dehydrator and make my own spices. That’s pretty cool.
Aaron (Mr. DeannaCat)
Hello Pey-Lih, we make lemon powder, garlic powder, onion powder etc. We have articles for each of them, here is the link to lemon powder so you can see the whole process and the different ways you can use it; How to Make Dehydrated Lemon Powder + 13 Ways to Use It. Hope that helps, thanks for reading and good luck!
Greg Corning
I have chiles from last year which I dried using a traditional “ristra” – stringing them together and hanging up. Do you know anyone who has used air-dried chiles to make chile powder? Are there any specific tips about doing so?
Thank you.
Aaron (Mr. DeannaCat)
Hello Greg, we don’t typically air dry chiles for chili powder though we will let them air dry when we want to seed save from certain chili peppers. You could make the chili powder from chiles dried using a ristra, just be sure to avoid the twine or other materials used to keep them together. Dried chilis are also best used within a year for optimal flavor. Good luck.
Doug
Have you done this with Jalapeños?
DeannaCat
Hi Dough – Yep! We haven’t done jalapeños just by themselves (we always use a combo of a few different types of peppers) but have definitely included them in the mix! I’m sure they’d made a great powder too.
susan horst
I have also made jalapeno salt – dry the jalapenos and when you go to grind them I add some kosher salt – amount depends on you – makes the powder go further and so tasty!!
Aaron (Mr. DeannaCat)
Great idea Susan and it sounds delicious!
Karen L K
Thanks for the information. I got a lot of peppers this year and I am thinking of drying them. My son has dried some of his very hot peppers a couple years ago. Do you tend to have several different peppers types in the batch?
admin
Yes! We like to mix some sweet and mild with the hot ones to create a more well-rounded flavor profile 🙂 Enjoy!
Lavona
I like to pan sear my peppers before oven drying. It gives a slight smoky sweetness to the final product. Much better than just dehydrating.
Aaron (Mr. DeannaCat)
Thanks for the tip!
Sarah Post
Perfect timing again!! I’ve just harvested two huge bowls of chilis the past couple of days and planned to make chili powder for the first time!! Thank you for all these tips!!!