

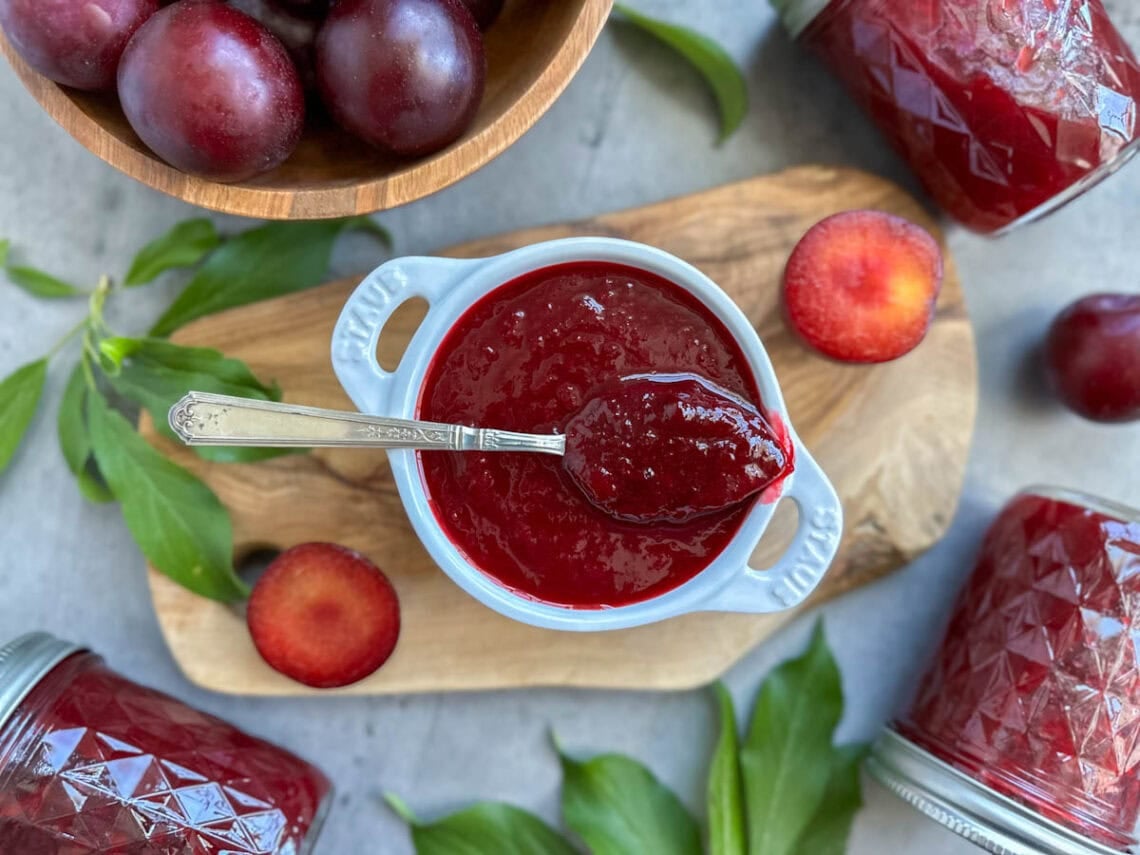
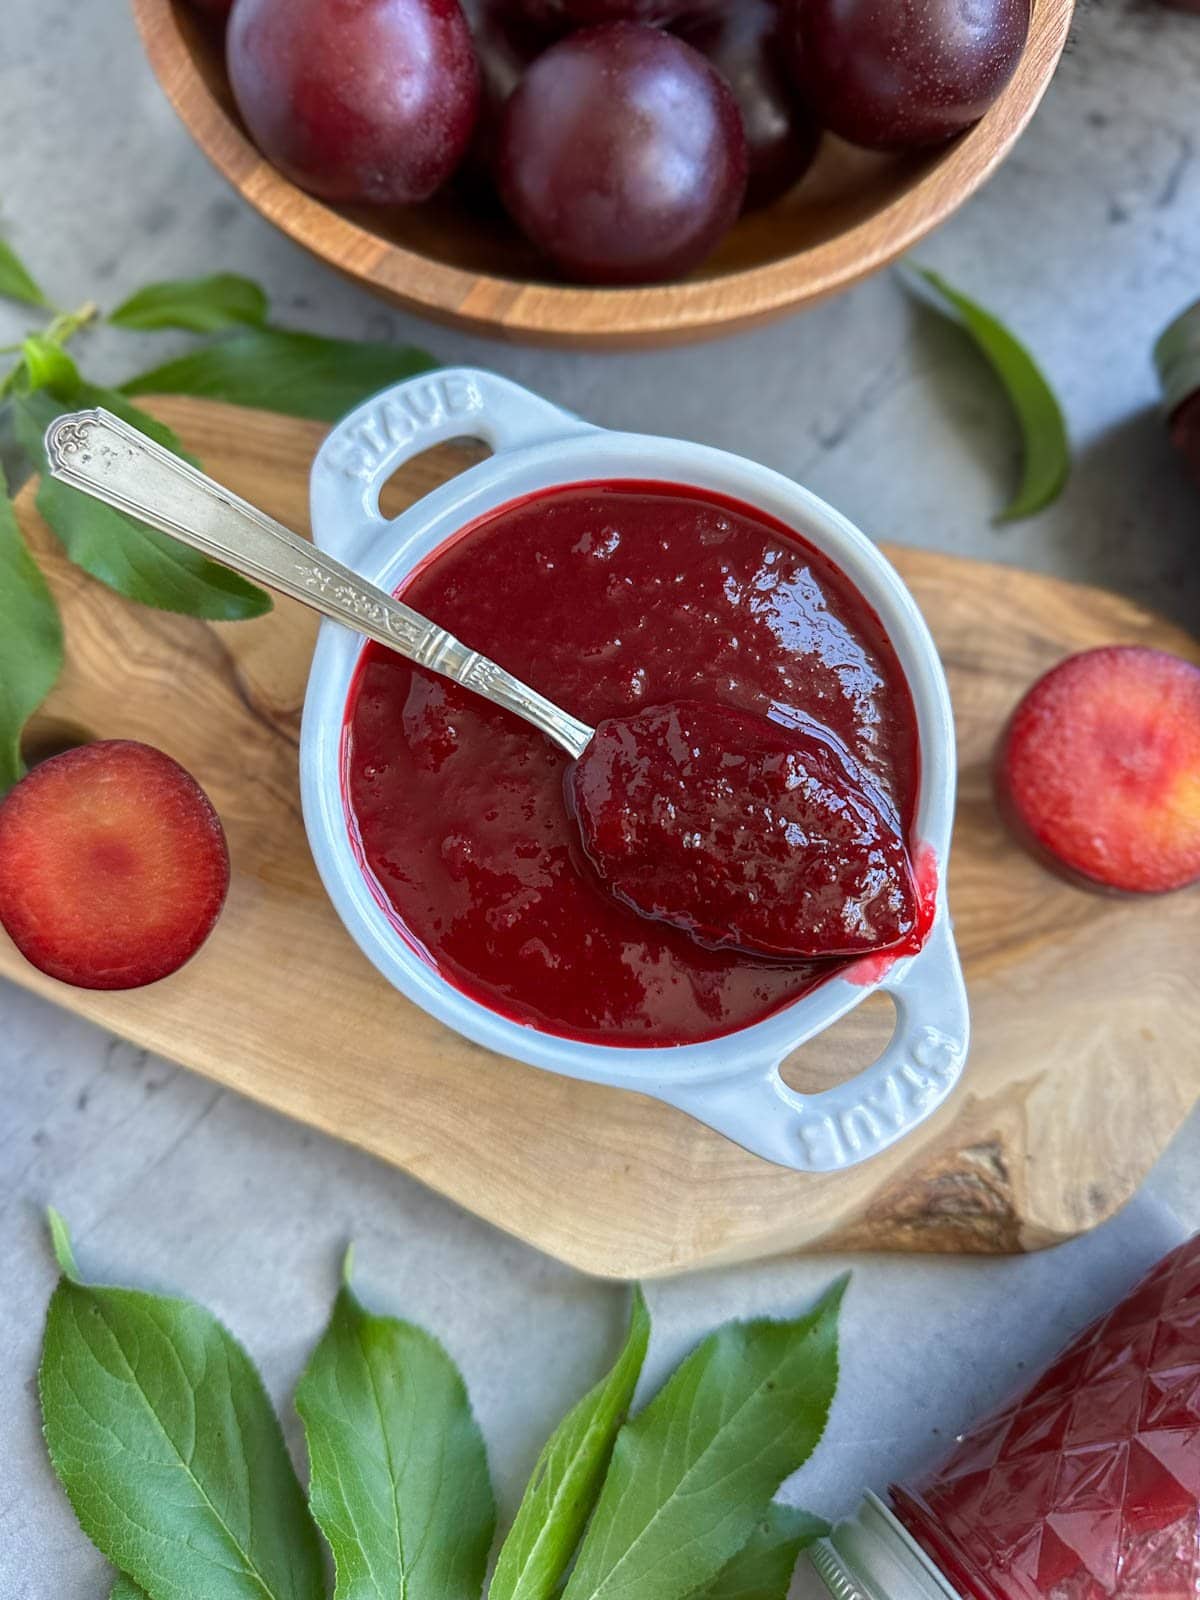
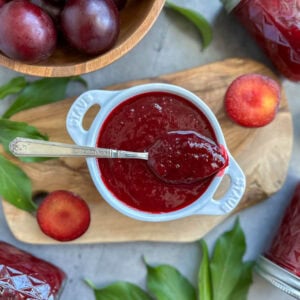
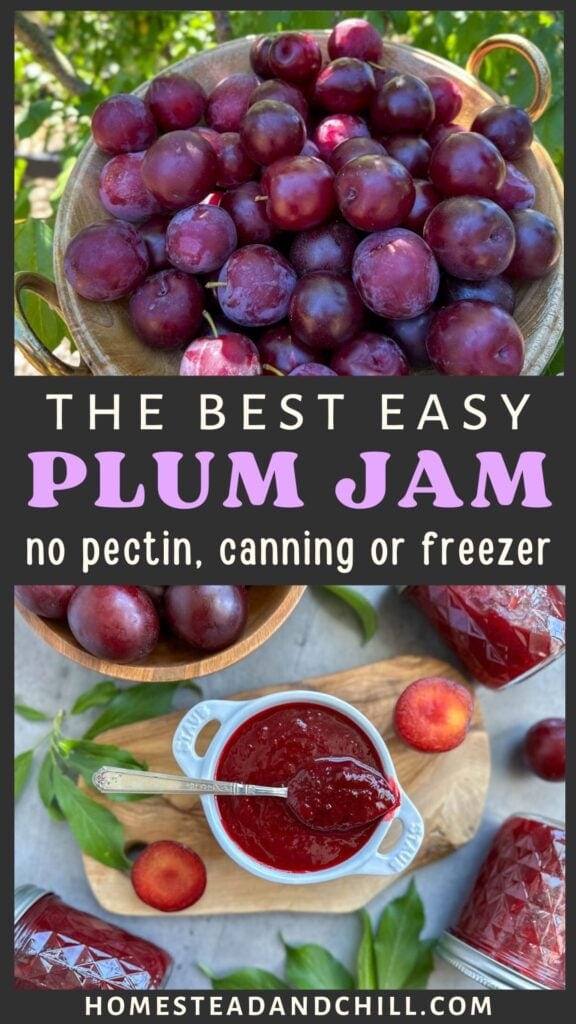
Easy Plum Jam Recipe to Can or Freeze (No Pectin, No Peeling)
You’ll love our easy homemade plum jam recipe. Made with only fresh (unpeeled) fruit, lemon juice, and sugar, it’s simple to make – and the perfect balance of tart and sweet. If you’re like us and find yourself with an abundance of fresh plums (thank you, tree!) making homemade plum jam is the perfect way to preserve plums to enjoy all year.
Using only half the amount of sugar as others do, our plum jam recipe is considered low sugar but is still safe for canning. Or, you can simply store it in the freezer instead. And even though it’s made without added pectin, I’ve included a few tips on how to make plum jam plenty thick – naturally!

Would you like to save this?
RELATED: If you enjoy this recipe, don’t miss our easy fruit shrub recipe (aka drinking vinegar), peach jam without pectin and low sugar apricot jam!
Tips to Make the Best Plum Jam Without Pectin
Macerate the Fruit
Our recipe includes a slow maceration process: where chopped plums and sugar are combined and allowed to rest together for several hours (or even a couple days – gotta love the flexibility!) before turning it into jam. During that time, the sugar significantly softens the plums, drawing out natural sugars and juices.
I love making jam this way because it helps to reduce the cooking time, thicken the jam without pectin, and better enhance that wonderful fresh fruit flavor.
Leave the Skins
With our easy plum jam recipe, you don’t have to worry about peeling the plums or fussing with a food mill. In addition to making life much easier, leaving the skins actually helps to thicken the jam too! Plum skins are high in natural fruit pectin, and we want to include every bit we can since we’re not adding packaged pectin. The skins also offer a lot of beautiful color and fiber!
A Mix of Ripeness
Using fresh ripe plums will create the most sweet and flavorful jam, yet it’s not bad to include a few slightly underripe ones too. Less-ripe plums contain more pectin, so while you don’t want to use green plums in this recipe, we do like to add a few slightly more firm ones (maybe 1/4 of the total plums) to make our homemade plum jam nice and thick.
Supplies Needed
- A medium to large non-reactive mixing bowl
- A large pot to cook the jam
- Measuring cups
- Kitchen scale
- Canning supplies including jars, lids, a canning pot, rack, jar lifter, etc. Here is a handy canning kit with everything you need!
- An immersion blender – recommended for ease, but not required (you can also use a regular blender, or not blend at all)
Ingredients
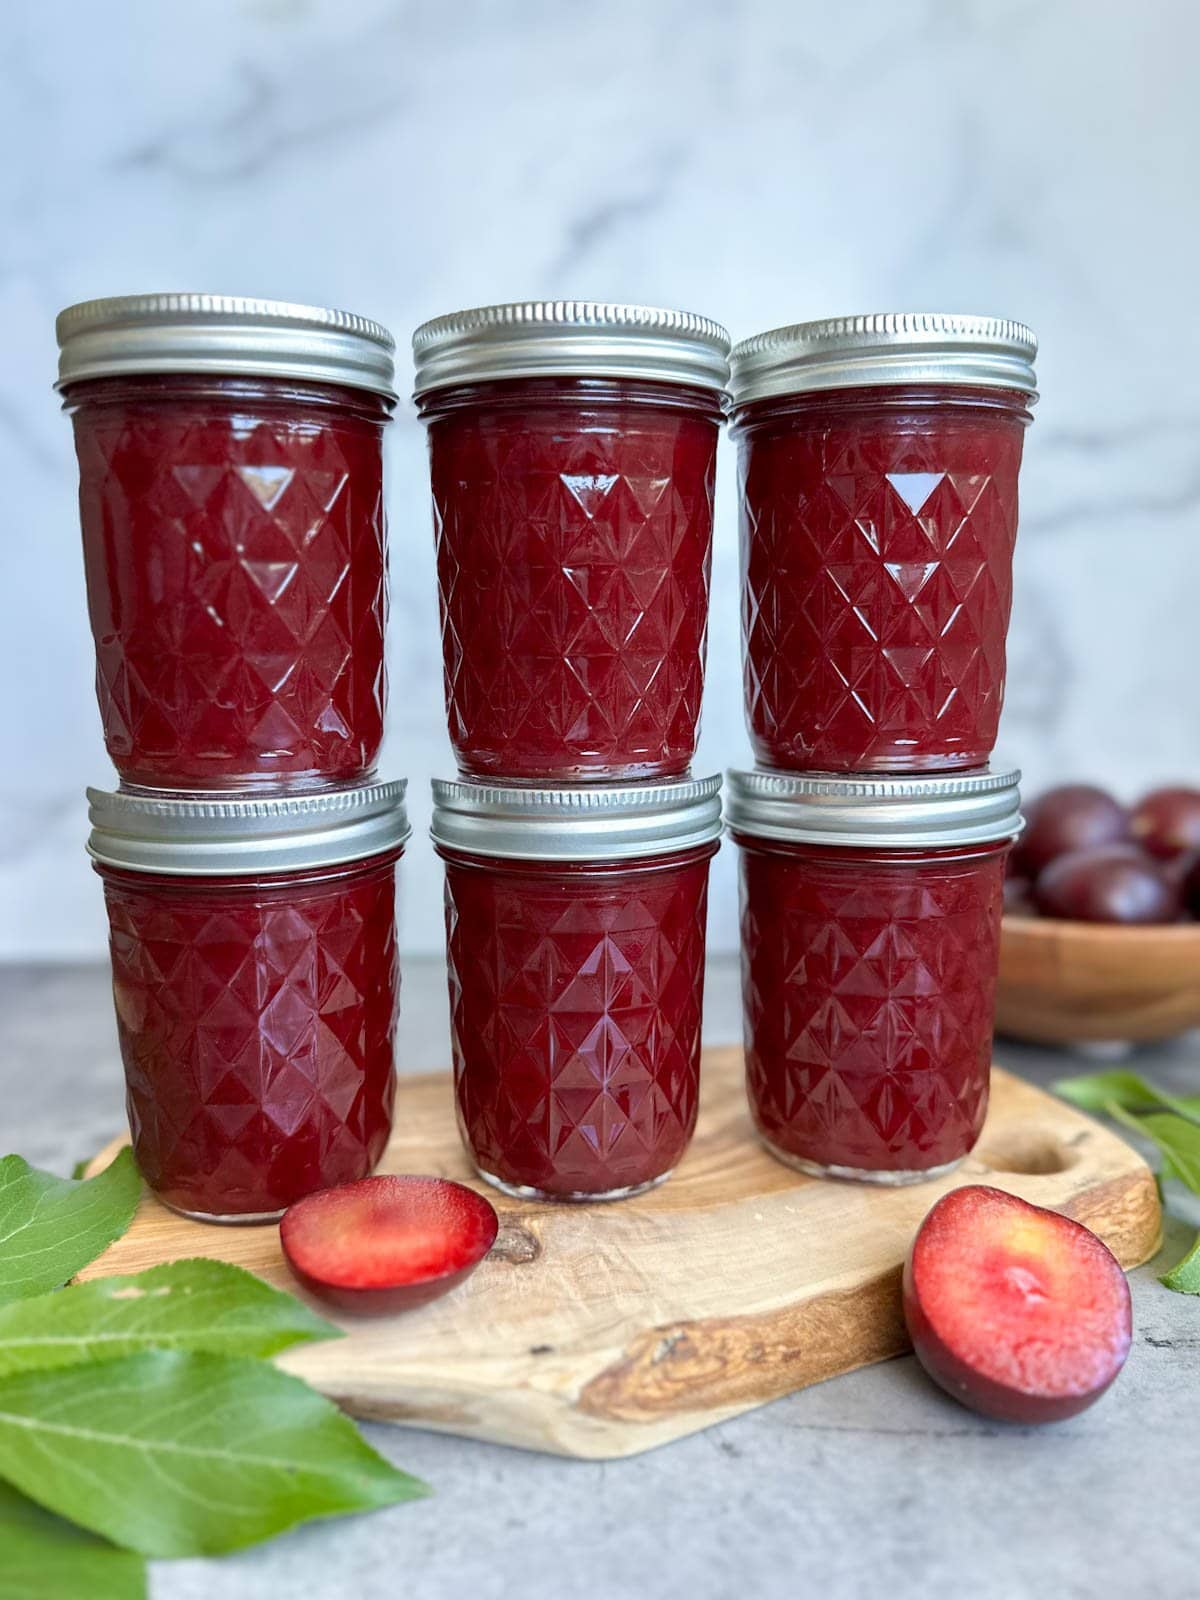
This recipe yields about 6 half pints or 3 pints of homemade plum jam.
- 4 pounds of fresh ripe plums (weighed after prepping/removing pits, so up to 5 pounds prior to prep)
- 2 cups white cane sugar
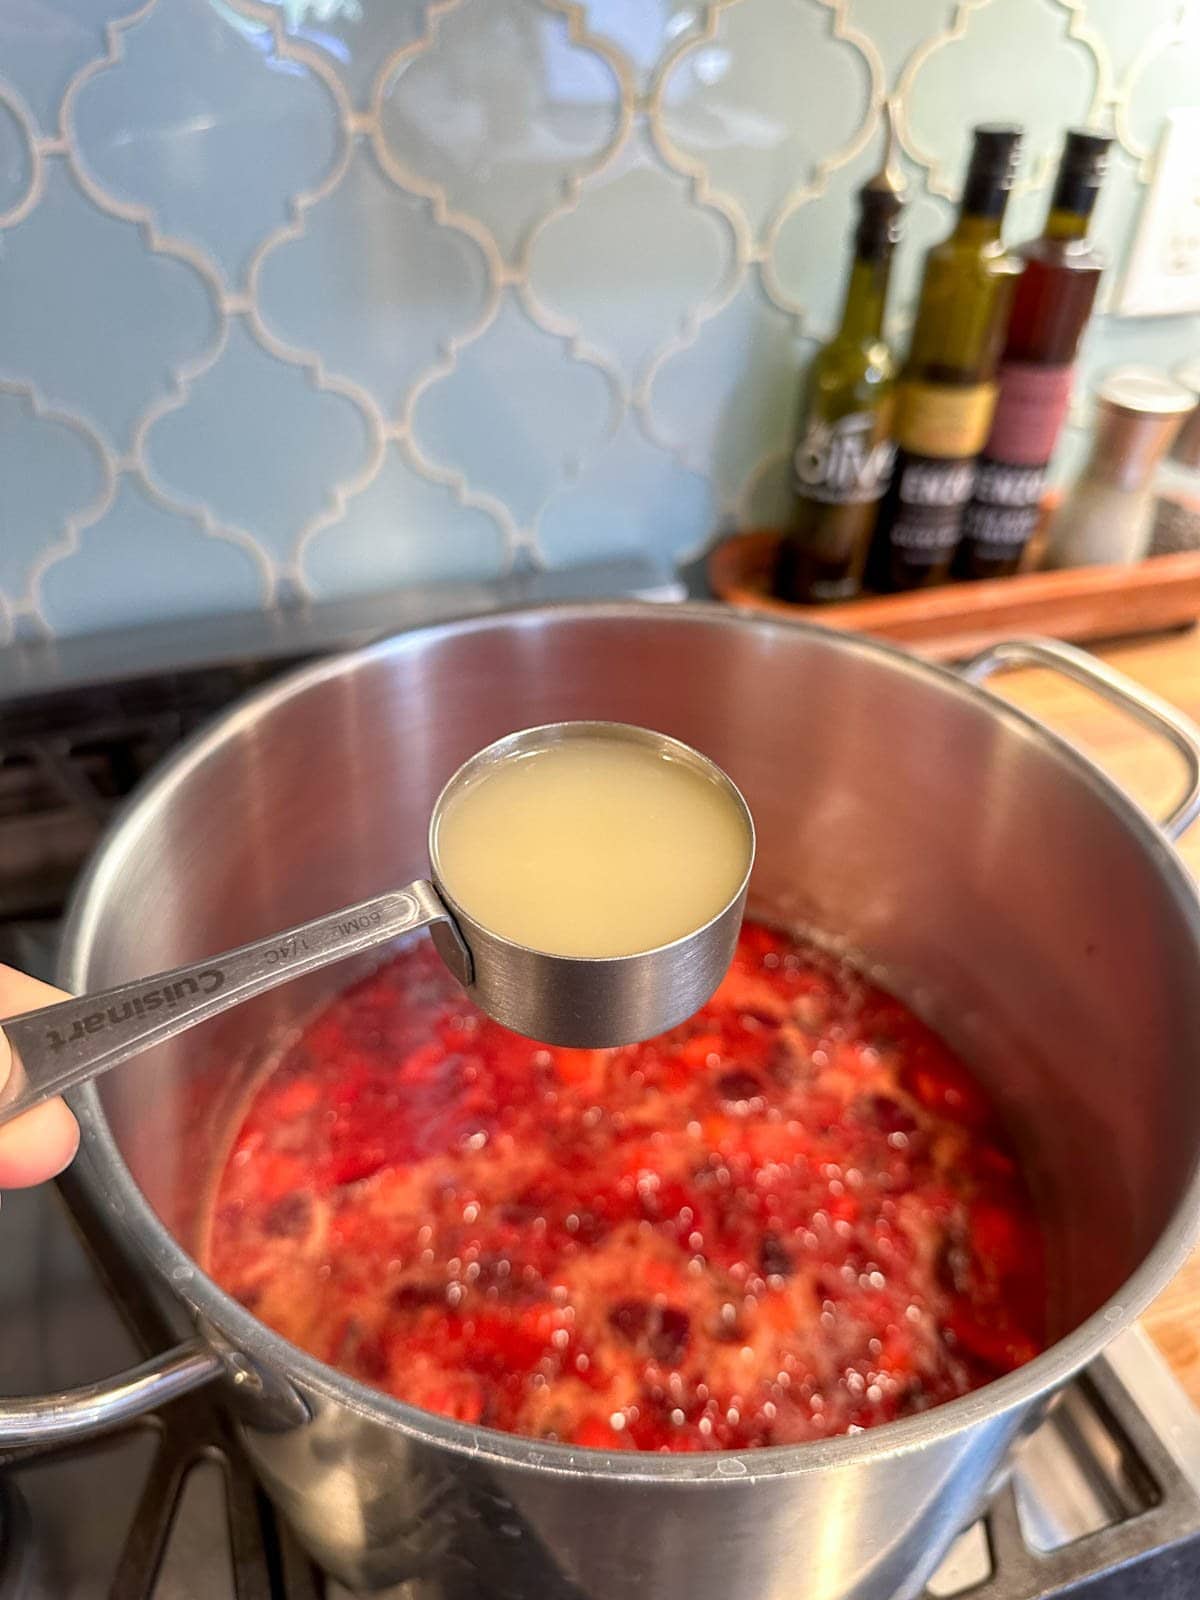
- 1/4 cup bottled lemon juice (4 Tbsp). This is what lowers the jam pH to make the recipe safe for canning! Lemon juice is also crucial to help the jam thicken and set. Do not reduce, and do not substitute with fresh-squeezed lemon juice since the acidity can vary.
- Optional: up to 1 Tbsp of fresh grated ginger. I like to add about 1 tsp for a nice subtle hint of ginger, whereas 1 Tbsp will make it much more gingery.
Yes, you can use previously frozen plums for this jam recipe. Simply allow them to partially defrost in the refrigerator, and then prep/mix them with the sugar as instructed below. You may need to cook the jam slightly longer since defrosted plums will be even more wet and juicy than fresh.
Instructions
Prep and Maceration
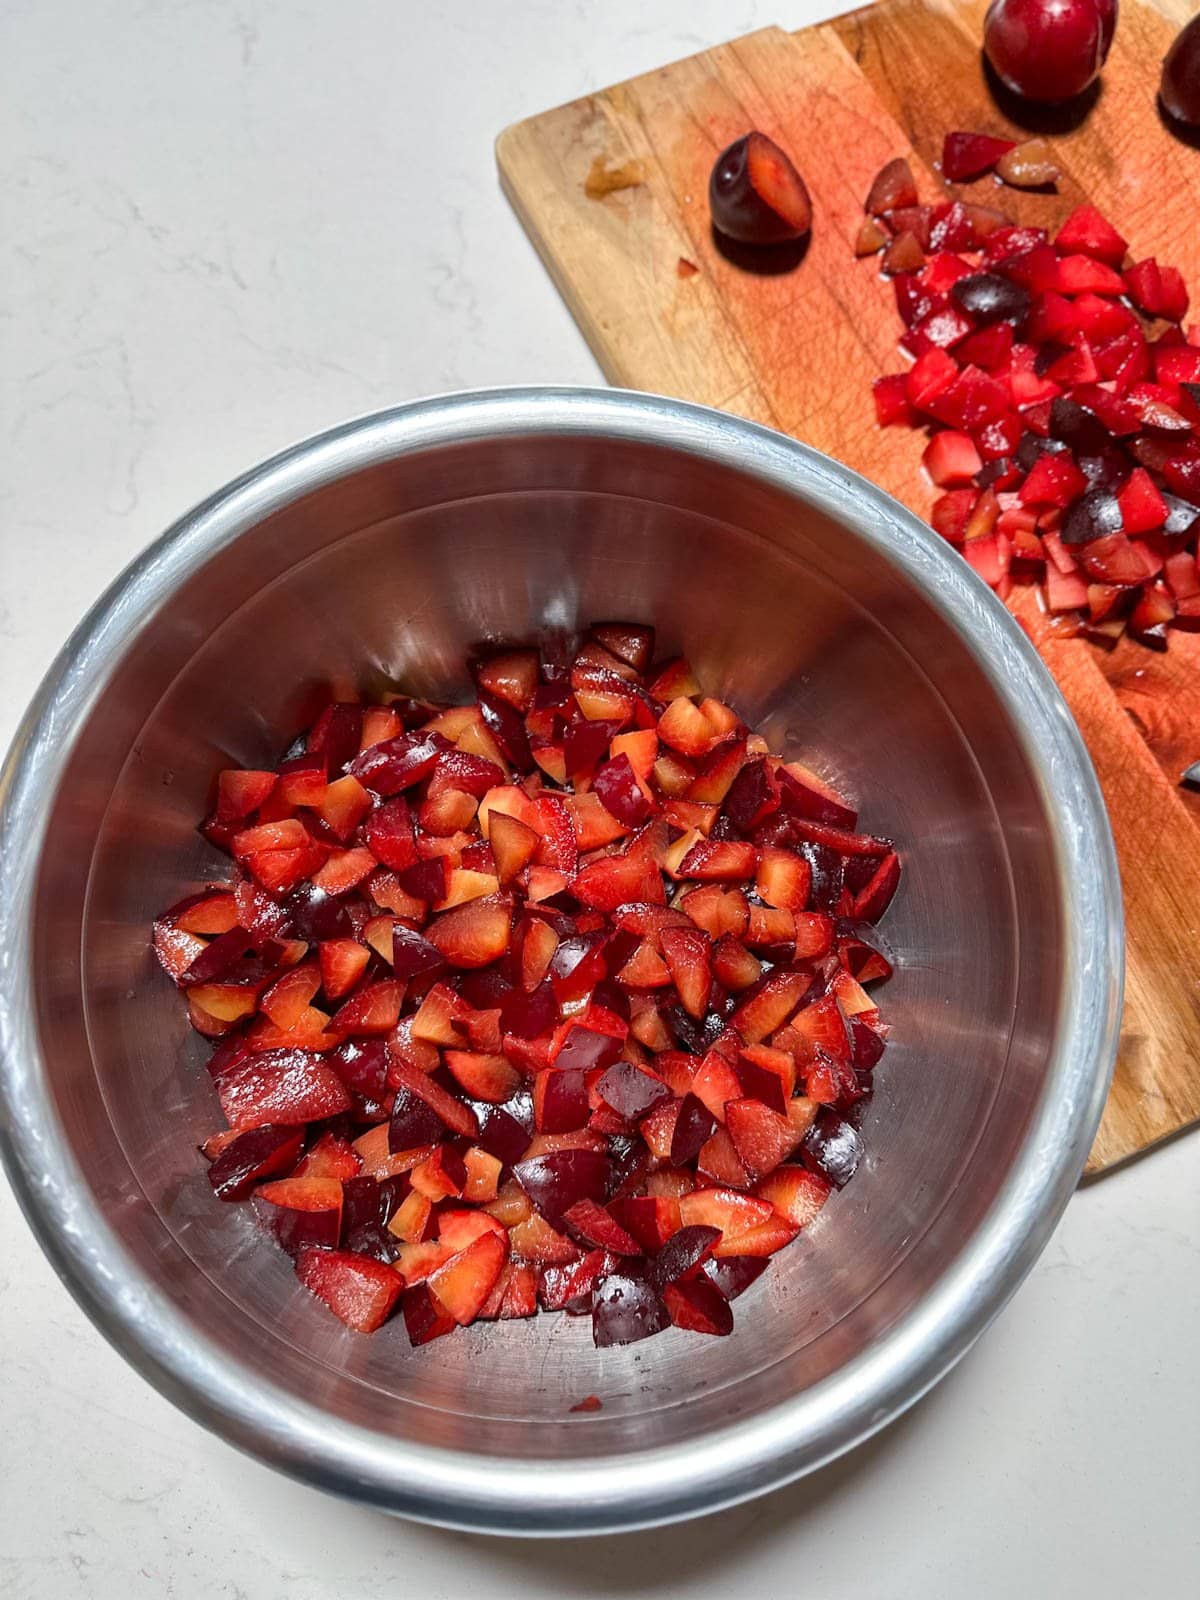
- Wash the plums with warm water, and then chop them into fairly small pieces. Discard the pits. (Our homegrown Santa Rosa plums are clingstone so I just cut around the pits the best I can.)
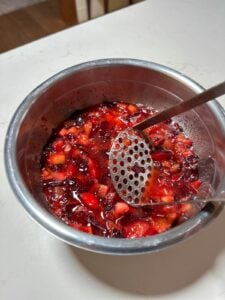
- Add the prepared plums to a large non-reactive mixing bowl, weigh to ensure you have four pounds (add more plums as needed), and then stir in the sugar. Mix thoroughly to combine.
- Give the fruit a light muddle or mash with a large spoon. I like to use my potato masher for this!
- Cover the bowl, and allow the fruit and sugar to sit for several hours, overnight, or up to 24 hours for the best results. (You can even let it sit for a couple days.) I like to leave it out at room temperature for a couple hours at first, but then it should be refrigerated thereafter.

Cooking the Jam
- If you’re canning the plum jam, I suggest getting all your canning supplies ready (canning pot, sterilized jars, lids, etc) before proceeding. If you’re new to canning, please read up on the basics here. Also stick a small plate in the freezer if you like to use the plate test for your jams.
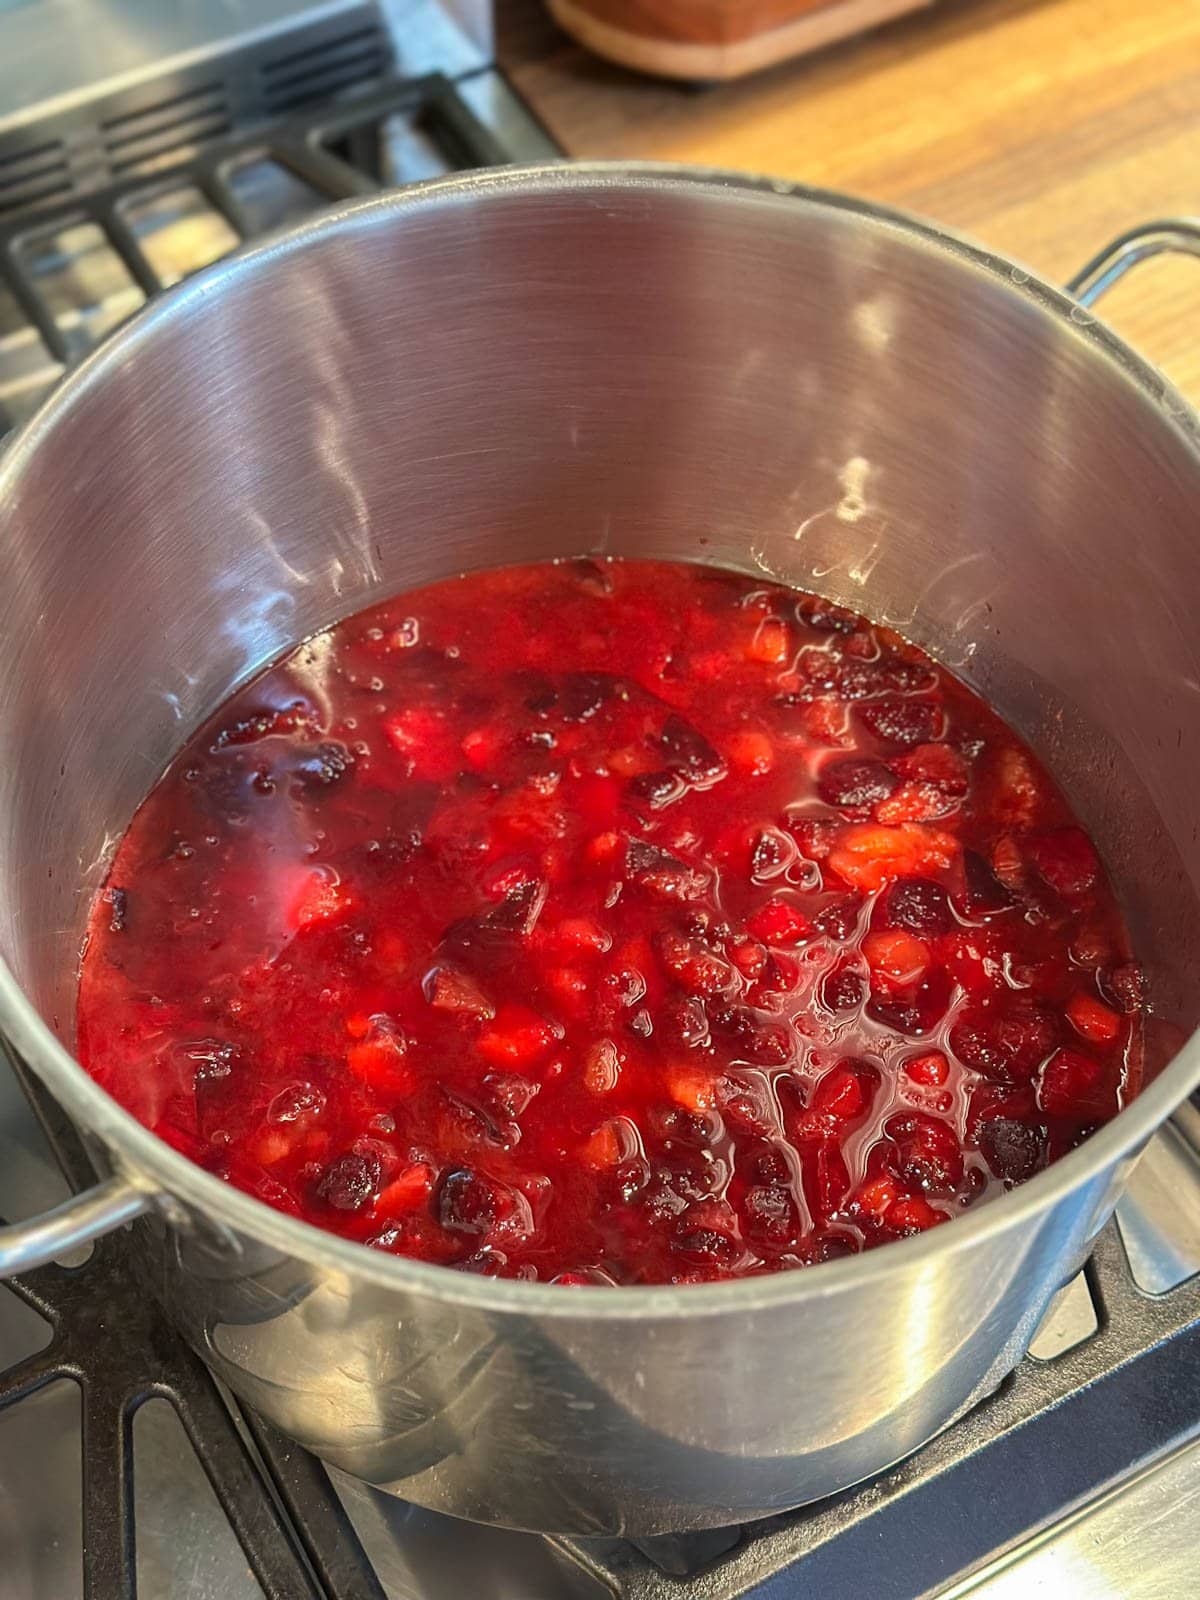
- In a large non-reactive pot, combine the macerated fruit with the called-for lemon juice and optional ginger.
- Turn the heat on high to bring the jam to a roiling boil for two to three minutes. Then turn down the heat slightly to a steady simmer for about 17 to 20 minutes until the jam is nicely reduced and thickened. Stir frequently to prevent burning or sticking, including the bottom and sides of the pot.
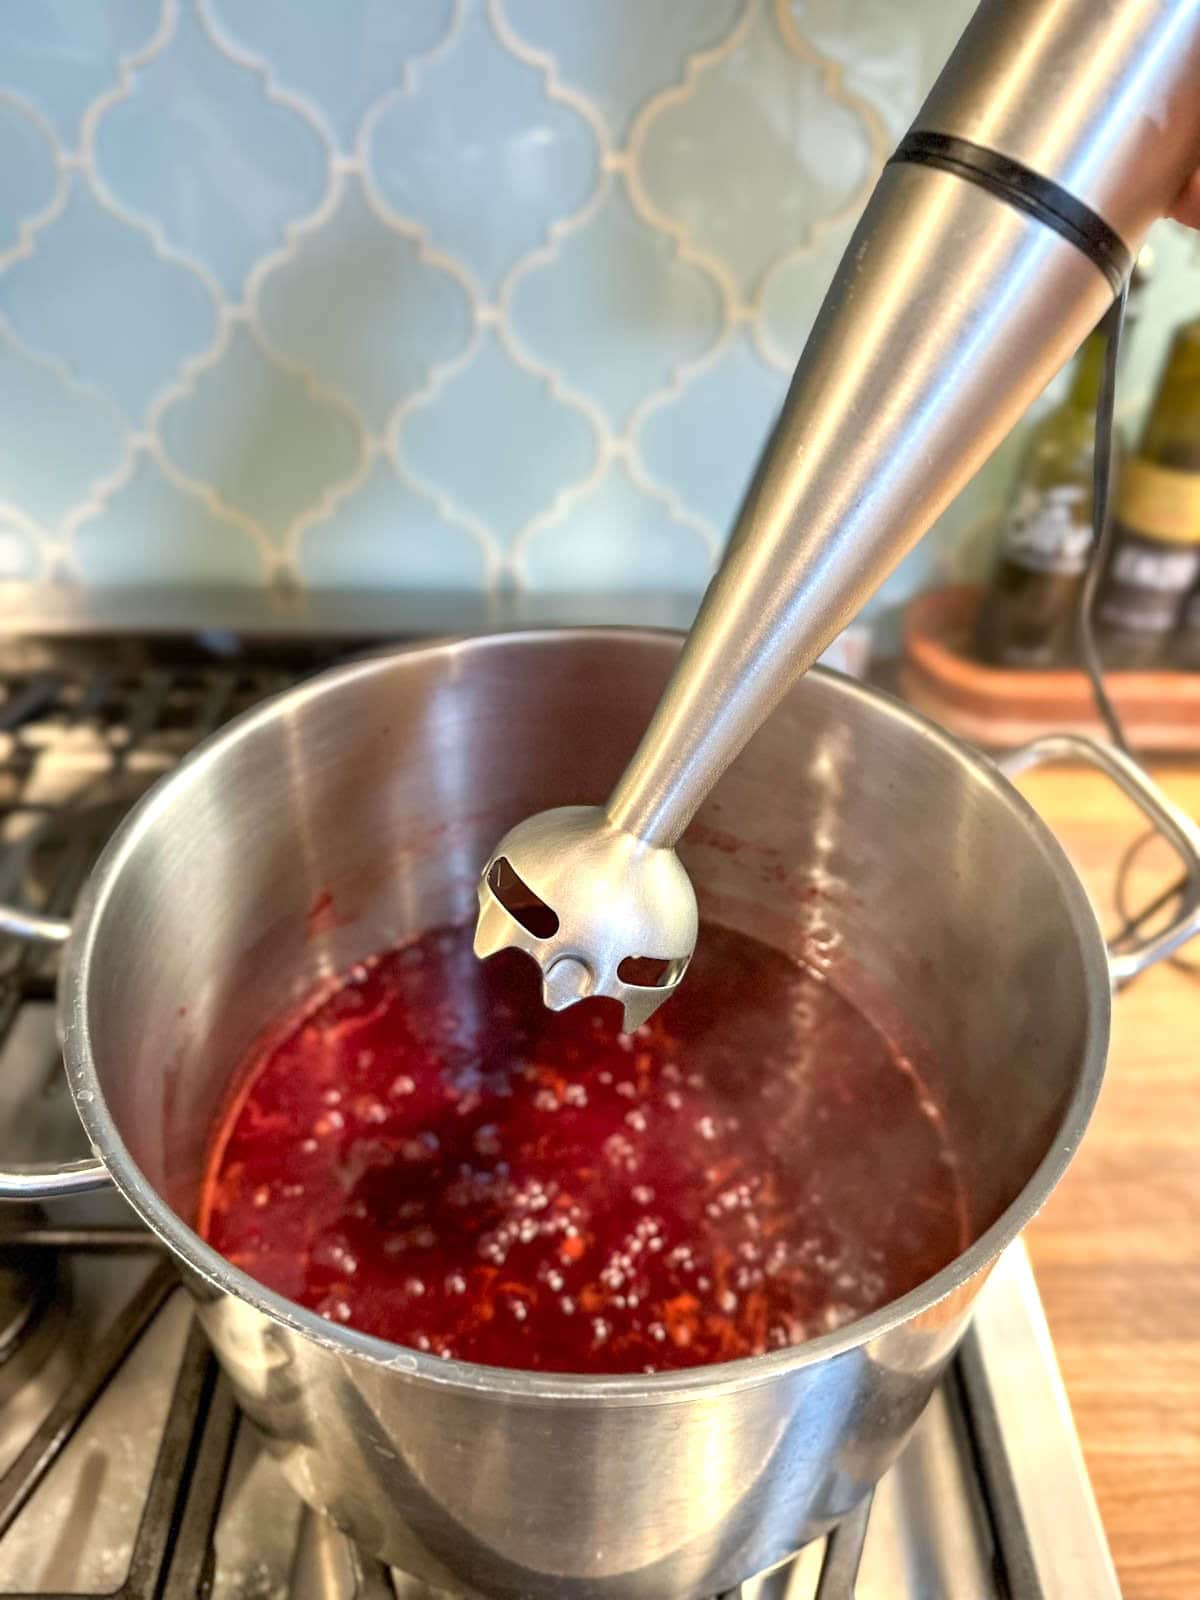
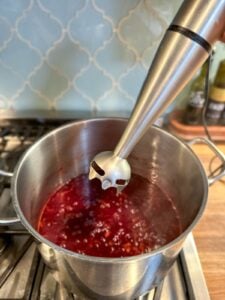
- Around the 10 minute mark, I like to use an immersion blender to partially blend the jam right in the pot, which helps to thicken it as well as break up some of the skins. I give it just a few whizzes though (not blend it completely smooth) since I prefer plum jam with some good chunky texture! You could also take out a few scoops to blend in a regular blender if needed, and then return it to the pot.
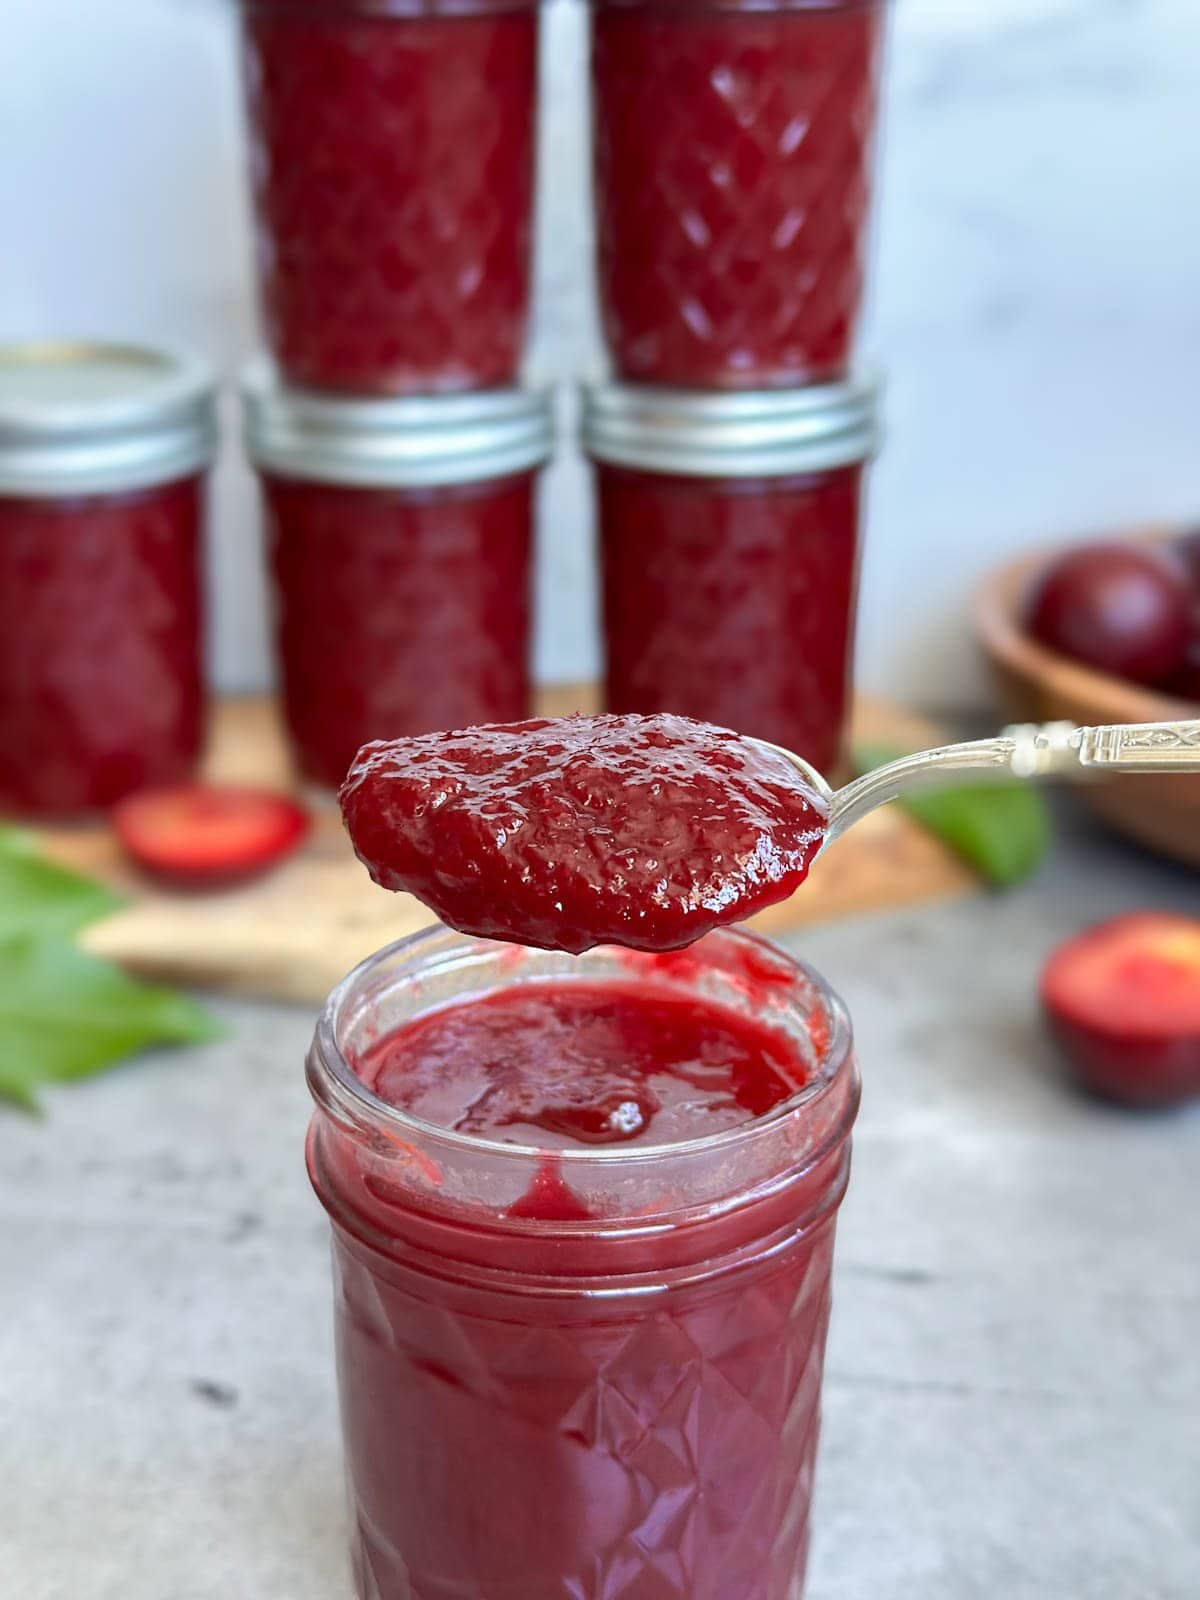
- Keep in mind that the jam will still look fairly thin while hot but will significantly thicken and set as it cools! If you’re unsure, do a plate test around the 15 minute mark to see if it’s set.
Canning Instructions
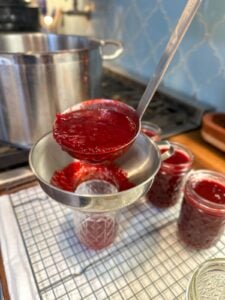
- Remove from heat, and transfer the hot plum jam into hot sterilized canning jars with the assistance of a clean canning funnel.
- Fill jars nearly full, leaving ¼ inch headroom. This handy tool makes it easy to measure headroom as well as carefully remove air bubbles from the jar.
- Use a clean damp paper towel to wipe the rims of the jars before adding canning lids and rings. Screw on the rings to finger-tight only, not overly tight.
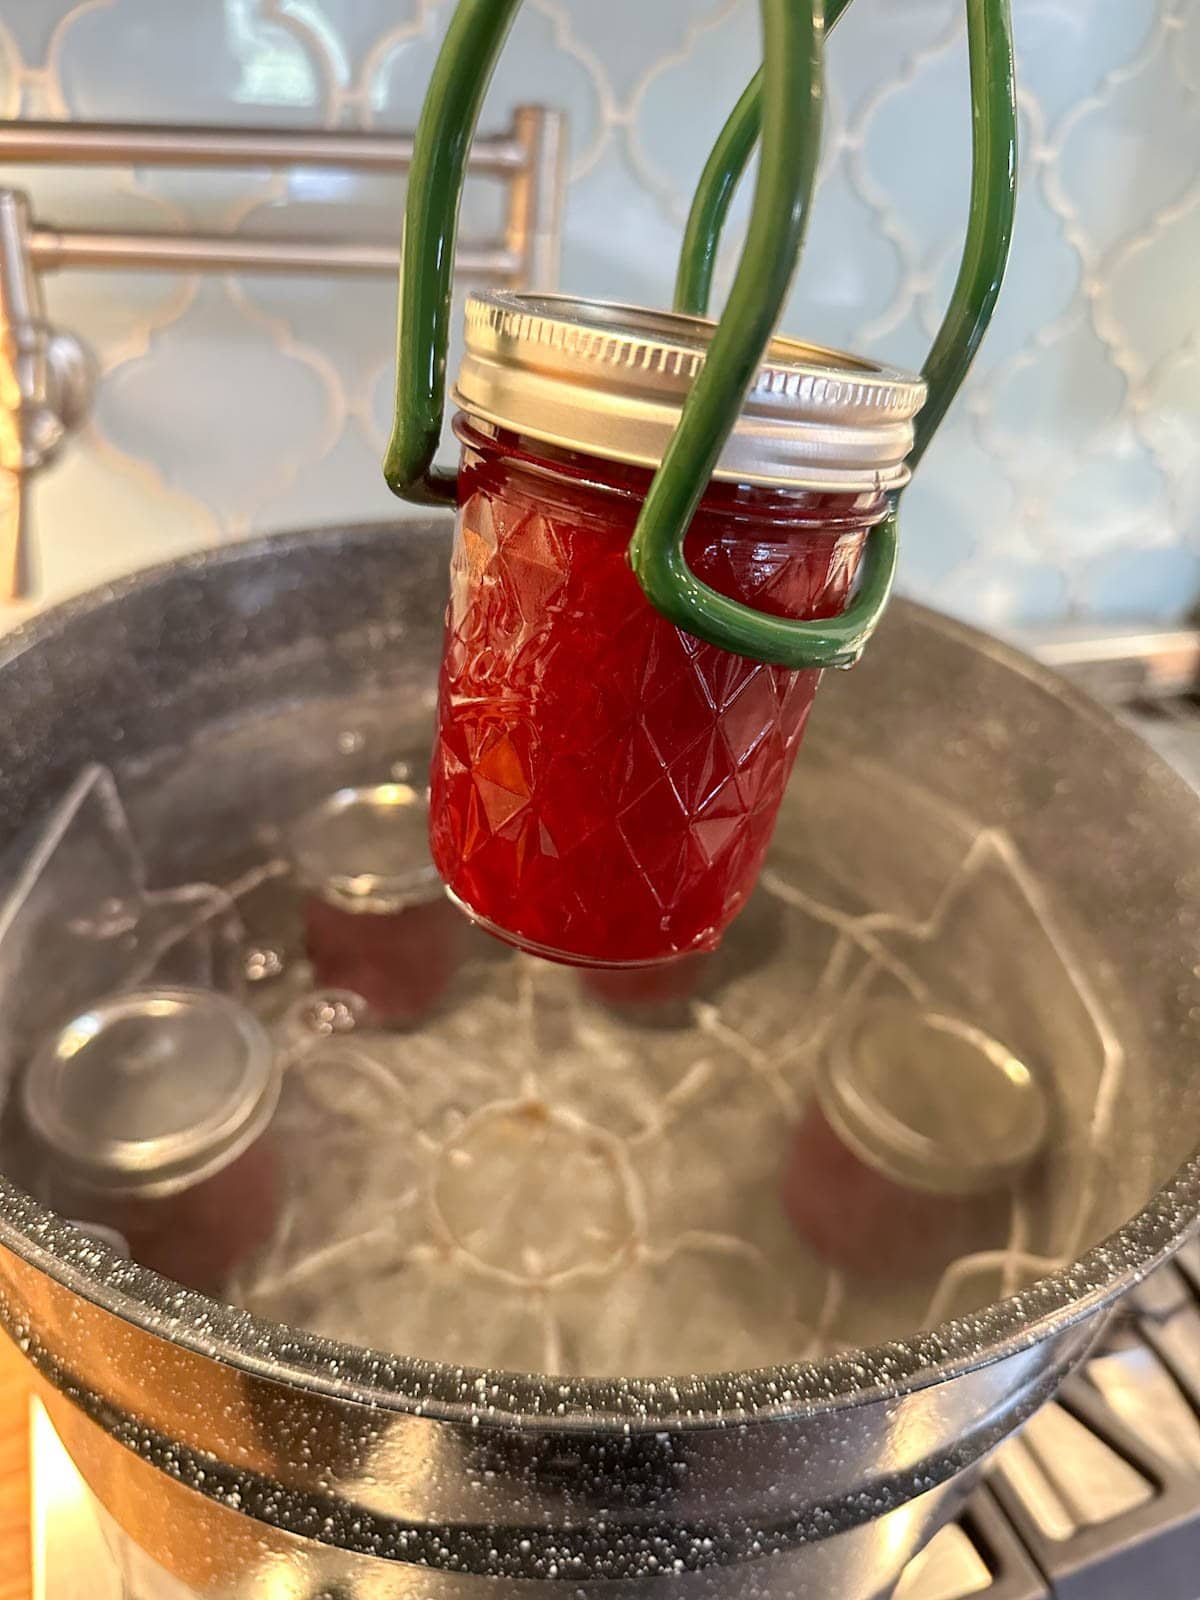
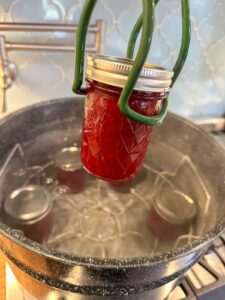
- Use a jar lifter to carefully transfer the jars to your pre-heated canning pot, cover with a lid, and vigorously boil. See chart below for processing times.
- When finished, transfer the jars from the canner to a cooling rack and leave them undisturbed for at least 12 hours before checking jar seals. (Do not stack or press on the top of the lids.)
| Recommended process time for Plum Jam in a boiling water canner. | Process Time at Altitudes of | |||
| Style of Pack | Jar Size | 0 – 1,000 ft | 1,001 – 6,000 ft | Above 6,000 ft |
| Hot | Half-pints or Pints | 5 min | 10 | 15 |
Table from National Center for Home Food Preservation


Tips for Freezing Plum Jam
- To freeze homemade plum jam, allow it to cool to lukewarm in the pot before transferring it into your freezer-safe containers of choice.
- We love these durable, reusable BPA-free freezer containers that come in a variety of sizes. You can also freeze jam in wide mouth pint or half-pint glass jars (not regular mouth, as jars with “shoulders” are prone to cracking in the freezer). Leave at least a half-inch of head space!
- For the best results, allow the jam containers to fully cool in the refrigerator overnight before transferring to the freezer.
Storage and Shelf Life
- Store the canned, sealed jam jars in a cool dark location – such as a pantry, cellar, or kitchen cabinet. For the best quality, use within one year. Storing jars without canning rings reduces the risk of false seals.
- Frozen plum jam will also stay good in the freezer for a year or longer, though the quality will start to degrade with time.
- Once open, store unsealed jars in the refrigerator and plan to use them within one to two months. Signs of spoiled jam include mold growth, off odors or taste. Discard immediately if you suspect it has spoiled.
Way to Use Plum Jam
- My favorite way to use our homemade plum jam is drizzled over thick plain yogurt for breakfast, along with some sourdough granola, hemp hearts, nuts and seeds on top.
- On bread, toast, or PBJs. Learn how to make homemade sourdough bread here.
- On top of vanilla or coconut ice cream.
- With sweet-and-savory snacks, like with cheese on sourdough discard crackers or sliced baguette. A friend recently said she loves putting plum jam inside a grilled cheese sandwich!
- As a part of a glaze, topping, or filling for baked goods. Plum jam would be delightful on thumbprint cookies, scones, or cheesecake.
- On sourdough pancakes, which is particularly tasty with pumpkin seeds, almonds, pecans or walnuts on top!
Now go enjoy your jam! We hope you all enjoy this recipe as much as we do. Please feel free to ask any questions and leave a review below!
You may also like:
- Best Cowboy Candy Recipe (Candied Jalapeños)
- Easy Low Sugar Peach Jam Without Pectin
- The Best Zucchini Relish Recipe
- Simple Strawberry Rhubarb Jam Recipe
Easy Plum Jam Recipe (No Pectin, Low Sugar, Can or Freeze)
Equipment
- Large mixing bowl
- Large non-reactive pot
- Canning pot (water bath)
- Sterilized canning jars and lids
- Jar lifter, canning funnel, etc
- OR freezer-safe storage containers
- Immersion blender (or blender) optional
Ingredients
- 4 pounds fresh plums (recommend using mostly ripe, but about 1/4 of the plums can be slightly underripe for added pectin) – weighed after chopping and removing pits
- 2 cups organic white cane sugar
- 1/4 cup organic bottled lemon juice (do not use fresh-squeezed juice)
- 1 tsp fresh grated ginger (up to 1 Tbsp for a stronger ginger kick) optional
Instructions
Prep and Maceration
- Wash the plums with warm water, and then chop them into fairly small pieces. Discard the pits. (Our homegrown Santa Rosa plums are clingstone so I just cut around the pits the best I can.)

- Add the prepared plums to a large non-reactive mixing bowl, weigh to ensure you have four pounds (add more plums as needed), and then stir in the sugar. Mix thoroughly to combine. Give the fruit a light muddle or mash with a large spoon. I like to use my potato masher for this!
- Cover the bowl, and allow the fruit and sugar to sit for several hours, overnight, or up to 24 hours for the best results. (You can even let it sit for a couple days.) I like to leave it out at room temperature for a couple hours at first, but then it should be refrigerated thereafter.

Cooking
- Prepare and sanitize all necessary canning equipment.
- Combine macerated fruit with bottled lemon juice in a large non-reactive pot, along with the optional ginger.
- Bring to a rolling boil for couple of minutes, then reduce to a medium-high heat and cook uncovered at a steady simmer for another 17-20 minutes, until the jam reduces and thickens nicely.
- Stir frequently, including the bottom and sides of the pot to prevent sticking or burning.
- Recommended: around the 10-minute mark, blend a portion of the jam to increase thickness and break up some of the plum skins. (We like to keep it fairly chunky still though!) Use an immersion blender right in the pot, or carefully remove a few scoops to blend in a regular blender.
- Keep in mind that the jam will still look fairly thin while hot but will significantly thicken and set as it cools! If you’re unsure, do a plate test around the 15 minute mark to see if it’s set.

Canning Instructions
- Transfer hot jam into hot sterilized canning jars. Fill to 1/4" head room in jar. Wipe rims and add lids (rings finger tight only).
- Process in pre-heated boiling water canner per provided chart above for your elevation (e.g. 5 minutes for 0-1000 feet, 10 minutes for 1001-6000 feet – for pints or half pints)
Freezing Instructions
- Allow the jam to cool slightly in the pot before transferring it into freezer-safe containers of choice. Leave at least 1/2" of headroom.
- For the best results, allow the jam containers to fully cool in the refrigerator overnight before transferring to the freezer.
Storage and Shelf Life
- Store sealed canned jars in a cool dark location (e.g. pantry or cellar) and use within one year for best quality.
- Frozen plum jam will also stay good in the freezer for a year or longer, though the quality will start to degrade with time. Defrost in the refrigerator overnight.
- Once open, store unsealed jars in the refrigerator and use within one to two months.

Deanna Talerico
Deanna Talerico (aka DeannaCat) is a garden educator and writer with over 15 years experience in organic gardening. She is a retired Senior Environmental Health Specialist, and holds a M.A. in Environmental Studies and B.S. in Sustainability and Natural Resources.


2 Comments
Debbie
Great, easy, tasty recipe!
Aaron (Mr. DeannaCat)
So glad you enjoyed it Debbie!