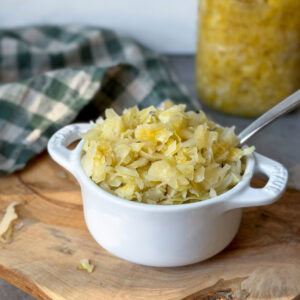
How to Make Sauerkraut: Easy Step-by-Step Recipe
Learn how to make classic sauerkraut with this easy step-by-step recipe. It's tangy, delicious, full of gut-healthy probiotics, and my favorite way to preserve homegrown cabbage from the garden!
Equipment
- A glass jar or fermentation vessel. This recipe best fits a quart-size mason jar (or liter) but can be scaled up or down as desired in another container of choice (e.g. a ceramic crock, do not use plastic)
- Large mixing bowl
- Kitchen scale
- Knife or mandolin slicer
- Optional: Kraut pounder
- Fermentation weight like glass block or springs (separate weight not needed if your airlock lid comes with a weight or spring)
- Recommended: an airlock fermentation lid that fits your chosen jar. If you don't have an airlock lid, you can lightly screw on a regular non-reactive lid like these BPA-free plastic lids instead (with a weight below), but you'll need to “burp” (quickly open) your jars every day to release built up gasses
Ingredients
- 2 pounds fresh tender cabbage, weighed after shredding or finely chopping (so start with a cabbage that weighs slightly more). You can use red or green cabbage though green yields the most tender sauerkraut. Organic cabbage is highly recommended for fermentation.
- 4 tsp sea salt, kosher salt, or pickling salt (not iodized table salt)
- *To scale this recipe up or down, simply maintain the same salt-to-cabbage ratio (2 tsp of salt 1 pound shredded cabbage)
Instructions
- Start with clean supplies (washed with hot water) but avoid using strong-smelling soap or bleach. We often use plain white vinegar.
- Tare and/or note the weight your bowl before you start
Prepare the Cabbage
- Wash the cabbage with warm water and remove any tattered or bruised outer leaves. Peel off and reserve a couple nice large outer leaves (kept whole) for later.
- Cut the cabbage in half (or quarters), remove the tough center core, then thinly slice the cabbage into fine shreds or 1/8-inch thick “ribbons” by hand or with a mandolin slicer (not a food processor)
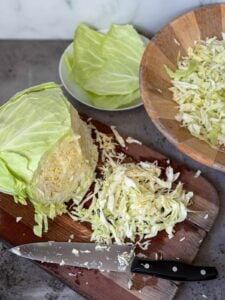
- Add the sliced cabbage into your bowl, weighing as you go until you reach 2 pounds (or other desired weight if you’re making more or less).

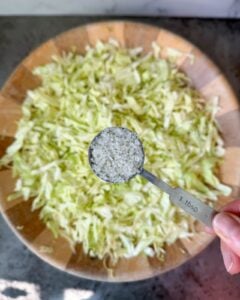
Salt and Massage
- Sprinkle over 4 tsp of salt per 2 pounds of cabbage (or 2 tsp per 1 pound). Toss and mix well.
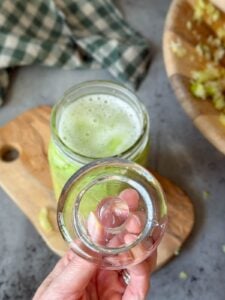
- Using very clean hands, massage the cabbage for a few minutes. Stop and let it rest for 10-15 minutes, then massage again for several minutes. The cabbage should significantly soften, reduce in volume, and release a lot liquid - the natural brine for the ferment.
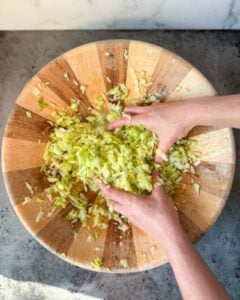
- Alternatively (if you don’t want to massage by hand) you can salt the cabbage and let it sit for at least 30 minutes draw out moisture, then use a pounder/tamper to crush it further.
Pack the Jar
- Pack all cabbage into the fermenting vessel (jar).
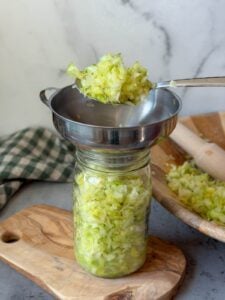
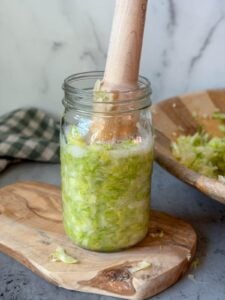
- Use a kraut pounder or other utensil to firmly press down to compact and remove excess air. Repeat and add more cabbage, packing as you go until the jar is full to 1-2 inches from the top.
- Don't get rid of the excess liquid in the bowl! The cabbage should be fully submerged with brine. Add leftover liquid from the bowl as needed to cover top.
Add Weight and Lid
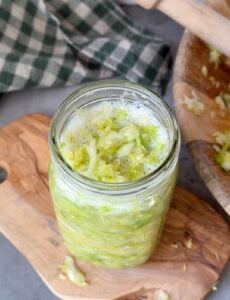
- To help prevent any floaties, place one or two whole reserved cabbage leaves in the jar on top of the shredded cabbage.
- Add a weight (e.g. spring or glass weight) to keep all of the cabbage submerged well below the liquid brine level. This is essential to prevent mold growth during fermentation!
- Finally, add the airlock lid to the jar. If you’re using a standard jar lid, screw the lid on loosely but not completely tight, and “burp” the jar (open it briefly) once or twice daily to release gases.

Ferment
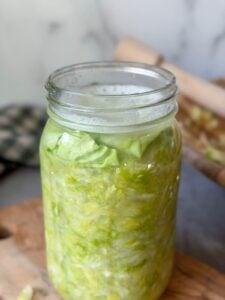
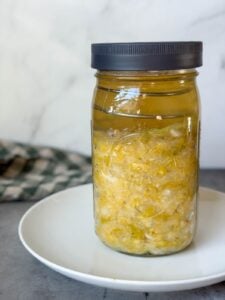
- Allow the jar to sit at room temperature (65-75F is ideal) for 7-14 days (up to several weeks) depending on personal flavor preference and temperature. Cooler temps = slower ferment activity, warmer = faster.
- Your ferment should bubble slightly during this time, and the brine will become cloudy. Green cabbage will fade to pale yellow and red cabbage will turn bright pink.
- You can do a taste-test after 7 or 8 days to see how it’s coming along. The longer sauerkraut ferments, the more tangy and sour it will become. Be sure to save and replace the cabbage cap and weight after you open the jar however.
- Once it’s fermented to your liking, remove the cabbage cap, airlock lid, and weight (replace with a standard lid) and move the kraut the refrigerator.
Storage and Shelf Life
- Once it’s done fermenting, store your finished sauerkraut in the refrigerator where it will stay good for several months - up to a year or longer if properly preserved.
- Since it’s slightly acidic, it’s best to store sauerkraut in a glass or ceramic container with a non-reactive lid, such as these BPA-free mason jar lids or rustproof stainless steel lids. Or you can place a piece of parchment paper below a standard metal lid to prevent corrosion.
- Signs that is has gone bad include mold growth, off odors, or slimy textures; discard as needed.
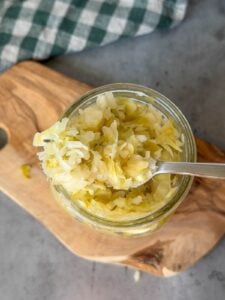
- Enjoy homemade sauerkraut alongside sandwiches, tacos, burgers, hot dogs, egg dishes, stir fry, sautéed veggies, bratwurst, lentils and more.
Tried this recipe?Let us know how it was!