

Best Creamy Roasted Cauliflower Soup Recipe (Vegan Options + Freezer Tips)

You’re going to love our creamy roasted cauliflower soup recipe! It’s easy to make and oh-so-delicious. Roasted cauliflower gives this soup incredible depth of flavor, coming together in a thick, creamy soup that’s both light and healthy but deeply satisfying.
Skipping the heavy cream and cheese, our roasted cauliflower soup recipe calls for just a modest amount of coconut milk and butter. That said, it’s very easy to make it vegan using plant-based butter or olive oil instead. Blending the roasted cauliflower makes the soup plenty creamy on its own, or you could make it chunky too!
I’ll also share tips on how to freeze roasted cauliflower soup. We grow a LOT of cauliflower in our fall/winter garden, and this is one of my favorite ways to preserve fresh cauliflower for future easy meals! (The same goes for our creamy broccoli soup recipe.)

Would you like to save this?
Disclosure: Homestead and Chill is reader-supported. When you purchase through links on our site, we may earn an affiliate commission.
RELATED: Want to make it homegrown? Come learn how to grow cauliflower here. Also don’t miss our creamy roasted tomato basil soup, vegan chicken noodle soup, or hearty green lentil soup!
Why It’s So Good
If you know me, you know there isn’t a soup I’ve met and haven’t liked yet. But this roasted cauliflower soup is at the top of my list – for a number of reasons!
- Roasted goodness. Compared to fresh, adding roasted cauliflower to the soup makes it far more flavorful, transforming the vegetal or even bitter aspects of raw cauliflower into wonderfully caramelized, toasted, nutty notes instead.
- Low carb, big cozy. As a Type 1 Diabetic, I LOVE that this soup is reminiscent of thick, cozy, creamy potato leek soup (one of my favorites) – but without the added carbs! Cauliflower is naturally low in calories and carbohydrates, but is loaded with nutrients including vitamin C, K, fiber and antioxidants.
- Versatile. If you prefer a little more texture to your soup, I’ve included tips to easily make the recipe more chunky towards the end of this post. We sometimes add other goodies like chickpeas, mushrooms or fresh garden greens. Mild-flavored cauliflower goes well with just about anything!

Ingredients
YIELD: This recipe makes about 1.5 to 2 quarts (6 to 8 cups), or about 4 bowls of creamy roasted cauliflower soup.
- 1 head of cauliflower (about 2 pounds). Many of our homegrown cauliflower heads are extra large, closer to 3 pounds, so we simply make 1.5x the recipe.
- 2 stalks of celery
- 1 medium yellow onion
- 4 cloves garlic
- 1 quart low-sodium vegetable broth. Learn how to make homemade vegetable broth from scraps here!
- 1/2 cup coconut milk. I recommend using full-fat, plain, unsweetened canned coconut milk or cream, NOT sweetened coconut milk in a carton. You can also substitute with heavy cream or crème fraîche, which will not curdle when it’s heated like regular milk.
- 2 Tbsp unsalted butter, plant-based butter, or olive oil (plus extra olive oil to drizzle over the cauliflower before roasting)
- 1.5 tsp fresh thyme – or ½ tsp dried
- 1/2 tsp cumin
- 1 pinch ground nutmeg or clove (1/8 tsp or less)
- 1 Tbsp lemon juice
- salt and pepper, to taste
- optional: we started adding 4-5 brown (or white) mushrooms to the soup and love the extra umami it offers!
Optional toppings: grated cheese, a dash of paprika, red pepper flakes, fresh chives, and/or dill to garnish at the time of serving.

Instructions
1) Roast Cauliflower
- Pre-heat the oven to 425°F. (Our oven runs hot so we usually roast on 415°F instead)
- Wash the head of cauliflower, and then use a knife to break it down into individual florets.
- Spread the cauliflower out in a single layer on a baking sheet. We line ours with parchment paper for easy clean-up (and easy transfer to the pot later).
- Add a generous drizzle of olive oil over the cauliflower, along with a sprinkle of salt and pepper.
- Roast the cauliflower in the oven for approximately 25 to 30 minutes, until it’s fork-tender and golden brown. Stop to toss and rotate the tray halfway through.


2) Saute
- Once the cauliflower is almost done roasting, chop/dice the onions, celery, and garlic.
- Add 2 Tbsp of butter (or olive oil) to a medium saucepan along with the onions, celery, optional mushrooms, and a sprinkle of salt and pepper. Saute over medium-high heat until the onions are translucent and the celery has started to soften, for about 5 to 7 minutes.
- Then add the garlic and thyme, and sauté another for 3 to 4 minutes. Stir occasionally
- Cover the pot and turn to low (or remove from heat) if the cauliflower isn’t ready yet.

3) Combine
- Next, add the roasted cauliflower to the pot, along with the vegetable broth, cumin, and a pinch of nutmeg or clove.
- Optional: Reserve a few of the nicer, bite-size pieces of roasted cauliflower to add to each bowl of soup at the time of serving.
- Bring everything to a light boil, then reduce the heat, cover with a lid, and simmer for 15 minutes. This will help get the cauliflower extra tender to blend smooth!

4) Blend Smooth
- Add the called-for coconut milk.
- Use an immersion stick blender to blend the soup right in the pot, or carefully transfer the soup to a standard blender (in batches if necessary). Blend until it’s smooth and creamy.
- If you prefer cauliflower soup a little chunky, don’t blend it all just yet! See notes for chunky variations below.
- Finally, add the lemon juice to the pot before serving, once it’s removed from the heat. Taste-test and add more salt and pepper if desired.


Serve and Enjoy
I love to garnish each bowl of soup with some fresh chopped chives, roasted pumpkin seeds, and a dash of paprika. Don’t forget to add the extra cauliflower you reserved (if you did). A handful of grated cheese on top is always welcome too!
Creamy roasted cauliflower soup pairs exceptionally well with a crusty, chewy piece of fresh homemade sourdough bread or fluffy sourdough focaccia.
Keep reading for variations, storage, freezing, and re-heating tips!

Variation: Make It Chunky
There are few easy ways to make this roasted cauliflower soup more chunky if you prefer!
- Instead of adding it all at once, only add half of the roasted cauliflower to the pot at Step 3. Let it cook and simmer in the broth, blend it, and then add the remaining portion of cauliflower florets to the pot at the end. If you do, reserve the more manageable bite-size pieces of cauliflower (not huge chunks) to add later. Also make sure they’re cooked/soft enough from the oven – or let them continue to cook in the pot (covered) awhile after adding them to the blended portion if needed.
- An even easier option is to simply add all the cauliflower to the pot, let it simmer in the broth, but then only blend half of the soup itself. That way you’ll also have some chunky onion and celery pieces left too.
- This creamy roasted cauliflower soup also pairs exceptionally well with chickpeas or white beans, which you can add towards the end of cooking for a welcome pop of texture AND protein.

Storage and Shelf Life
Roasted cauliflower soup is good for about 5 to 7 days in the refrigerator. Once cooled, store in an air-tight container with a lid for maximum freshness. Or, freeze your leftover soup to enjoy for many months to come!
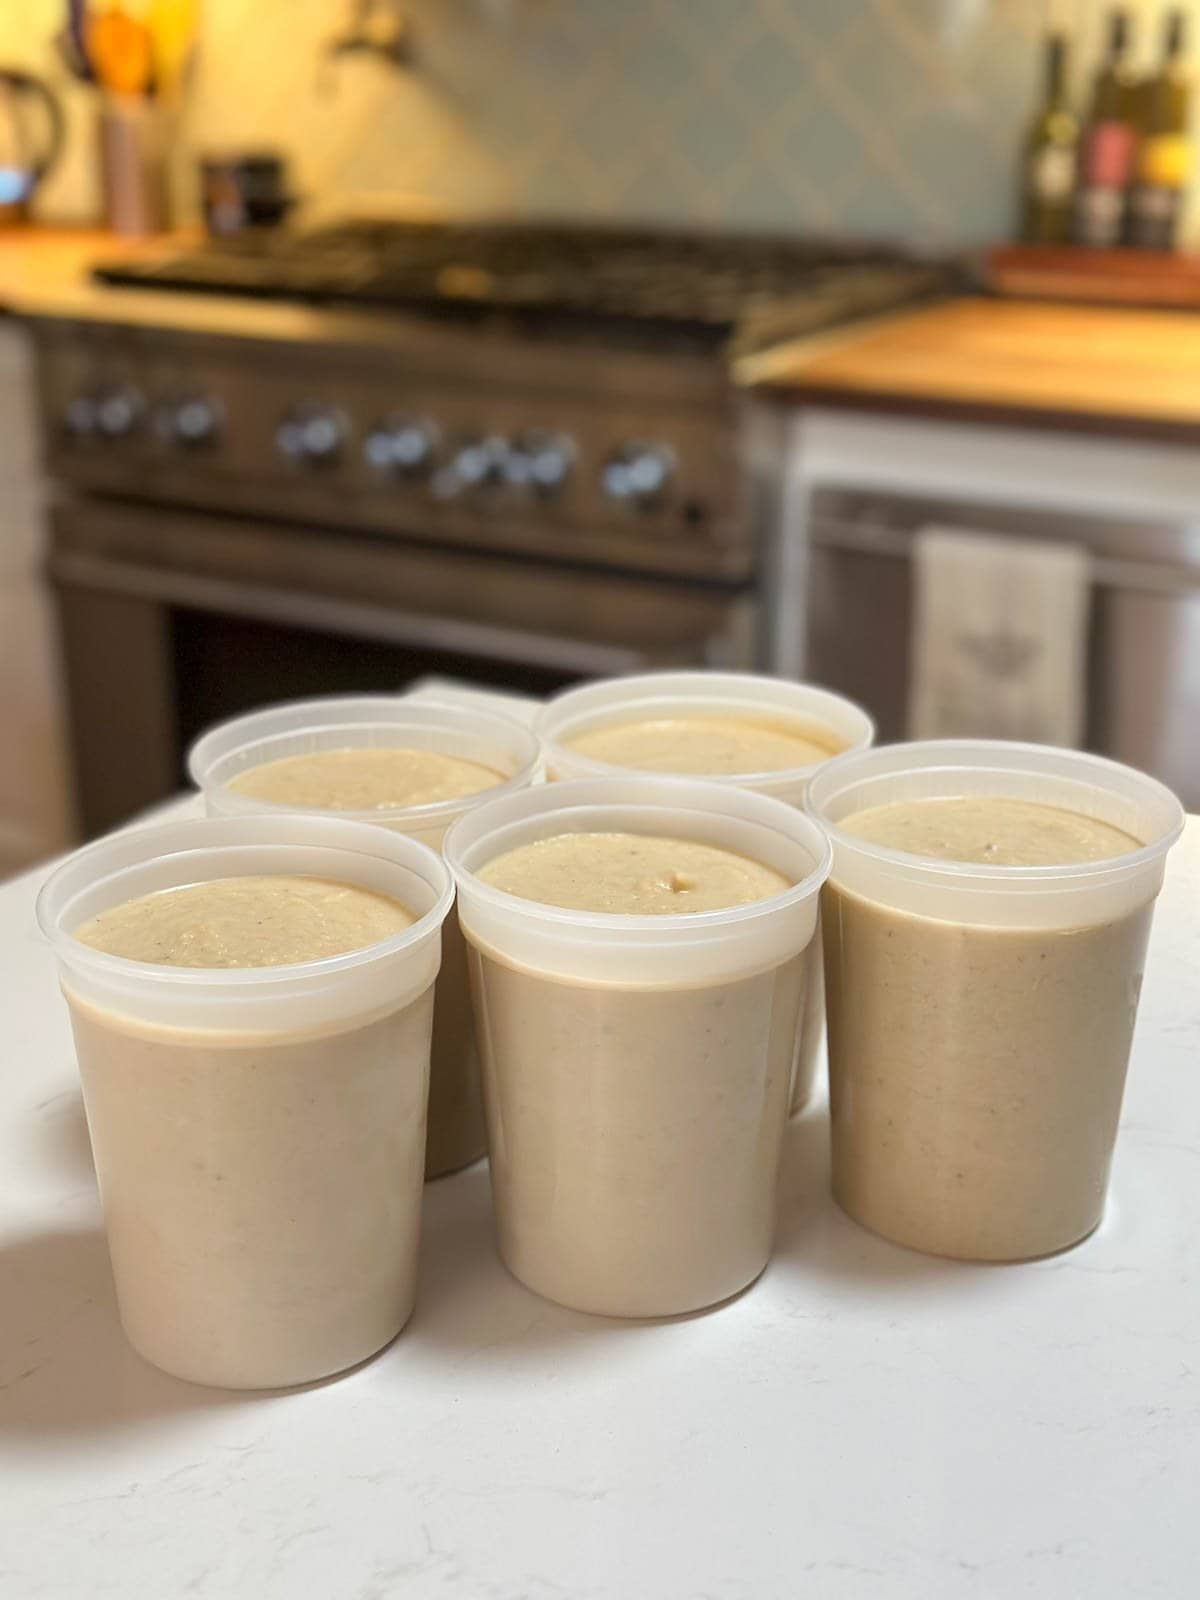
How to Freeze Cauliflower Soup
We love keeping our freezer stocked with homemade soup for future easy meals! Frozen cauliflower soup is good for up to a year in the freezer, though it will be the best quality within 6 months.
- To preserve and freeze cauliflower soup, first allow the soup to fully cool. (We usually let it cool overnight in the fridge, without a lid.)
- Once cool, transfer it into freezer-safe containers of choice. We love these durable, reusable BPA-free quart freezer containers. They’re the perfect size for soup for two!
- Fill containers to the “fill line” near the top, leaving about 1/2 to 1-inch of headroom for expansion. The less air inside the container, the less chances of freezer burn. Don’t forget to date and label!
Defrost frozen cauliflower soup in the refrigerator overnight, or leave out on the counter for no more than 4 hours. When re-heating leftovers, we love to use thick creamy soups like this as a “base”, first sautéing some fresh seasonal garden veggies in the pan before adding the soup to re-heat to 165°F. We’ll often add chickpeas or white beans too. (As shown in the photo above.) We do the same with our tomato basil soup, roasted butternut squash soup, or potato leek soup recipes!
I hope you all love this recipe as much as we do. Please leave a review below once you give it a try! Thank you so much for tuning in today. Enjoy!

Best Creamy Roasted Cauliflower Soup (Vegan Options)
Equipment
- Medium saucepan
- Baking sheet
- Parchment Paper
- immersion blender or regular blender
Ingredients
- 1 head cauliflower (about 2 pounds)
- 2 celery stalks, chopped
- 1 yellow onion (medium), diced
- 4 garlic cloves, peeled and minced
- 4 cups vegetable broth, low-sodium (1 quart)
- 1/2 cup unsweetened canned coconut milk (can sub with heavy cream or crème fraîche, which will not curdle when heated)
- 2 Tbsp unsalted butter, planted-based butter, or olive oil (plus extra olive oil for drizzling)
- 1.5 tsp fresh thyme leaves (or 1/2 tsp dried)
- 1/2 tsp cumin
- 1 pinch ground nutmeg or cloves (1/8 tsp or less)
- 1 Tbsp lemon juice, after removing from heat
- salt and pepper, to taste
- 4-5 white or brown mushrooms, diced (optional)
- Optional: grated cheese, a dash of paprika, red pepper flakes, fresh chives, and/or dill to garnish at the time of serving
Instructions
- Use a knife to break it down into individual florets. Spread cauliflower pieces out in a single layer on a parchment-paper lined baking sheet.

- Add a generous drizzle of olive oil over the cauliflower, along with a sprinkle of salt and pepper.
- Roast the cauliflower in the oven on 425°F for approximately 25 to 30 minutes, until it’s fork-tender and golden brown. Stop to toss and rotate the tray halfway through. (Our oven runs hot so we usually roast on 415°F instead)
- Once the cauliflower is almost done roasting, add butter (or oil), diced onions, chopped celery, and optional mushrooms to a medium saucepan. Sprinkle with salt and pepper. Saute over medium-high heat until the onions are translucent and the celery has started to soften, for about 5 to 7 minutes.
- Then add the garlic and thyme, and sauté another for 3 to 4 minutes. Stir occasionally. Cover the pot and turn to low (or remove from heat) if the cauliflower isn’t ready yet.
- Next, add the roasted cauliflower to the pot, along with the vegetable broth, cumin, and a pinch of nutmeg or clove. *Optional: Reserve a few of the nicer, bite-size pieces of roasted cauliflower to add to each bowl of soup at the time of serving.
- Bring everything to a light boil, then reduce the heat, cover with a lid, and simmer for 15 minutes
- Add the coconut milk.
- Use an immersion blender to blend the soup right in the pot, or carefully transfer the soup to a standard blender (in batches if necessary). Blend until it’s smooth and creamy.
- Finally, add the lemon juice to the pot before serving, once it’s removed from the heat. Taste-test and add more salt and pepper if desired.
- Serve and enjoy! I love to garnish each bowl of soup with some fresh chopped chives, roasted pumpkin seeds, and a dash of paprika. A handful of grated cheese or slice of homemade sourdough is always welcome too!
- Store in the refrigerator and use within 5 to 7 days, or transfer to freezer-safe containers (once fully cooled) and store in the freezer for up to one year.
- Defrost frozen cauliflower soup in the refrigerator overnight, or leave out on the counter for no more than 4 hours. Reheat on the stovetop to 165°F.


Notes
- Instead of adding it all at once, only add half of the roasted cauliflower to the pot at Step 3. Let it cook and simmer in the broth, blend it, and then add the remaining portion of cauliflower florets to the pot at the end. If you do, reserve the more manageable bite-size pieces of cauliflower (not huge chunks) to add later. Also make sure they’re cooked/soft enough from the oven – or let them continue to cook in the pot (covered) awhile after adding them to the blended portion if needed.
- An even easier option is to simply add all the cauliflower to the pot, let it simmer in the broth, but then only blend half of the soup itself. That way you’ll also have some chunky onion and celery pieces left too.
- This creamy roasted cauliflower soup also pairs exceptionally well with chickpeas or white beans, which you can add towards the end of cooking for a welcome pop of texture AND protein.


14 Comments
Brandess
This is my first time making a cauliflower soup. It is a very simple recipe so I didn’t think that it would have much flavor but it was a 10 out of 10! Thank you for a healthy and delicious recipe.
Aaron (Mr. DeannaCat)
So glad you enjoyed it!
Jeanie G.
This soup is so delicious! Thank you for another good one.
Aaron (Mr. DeannaCat)
So glad you enjoyed it Jeanie!
Zach Miller
this soup is sooooooo good and very easy to make! i added a bit of hatch green chili powder for an extra kick. this recipe is great because it’s open ended enough that you can add extra spices & ingredients to your liking. A+++++
Joan Terry
Delicious! I made this soup and the roasting coupled with your spice blend is simply magic! We loved it and have added it to our regular menu. Thank you!!!!!
Aaron (Mr. DeannaCat)
That is so amazing to hear Joan, so glad you enjoyed it!
Cassie
Just made this today, and wow is it tasty! It’s -38 Celsius on the Canadian prairies today, and this was the perfect warm and cozy soup for such a cold day. 😋
Thanks for the recipe! This will definitely be going on our menu rotation.
PS, my husband who claims not to be a soup fan, loved it as well!
Aaron (Mr. DeannaCat)
That is so great to hear Cassie, hopefully you stay warm and make it through that freezing cold spell!
Jessica W
This looks delish – cannot wait to try it! Thanks, Deanna!
Courtney
Your leek and potato soup is one of our all-time favorites, so we’re excited to try this one!!! The roasted cauliflower sounds like it will make it super flavorful. Thanks for another amazing recipe.
Jane
Great recipe! I tastes like fall (even when it’s -35C)
Aaron (Mr. DeannaCat)
Hi Jane, it’s so great to hear you enjoy the soup and we hope it gets you through that absolutely freezing weather!
Kristin
Love cauliflower, this is a good recipe to make soup!