

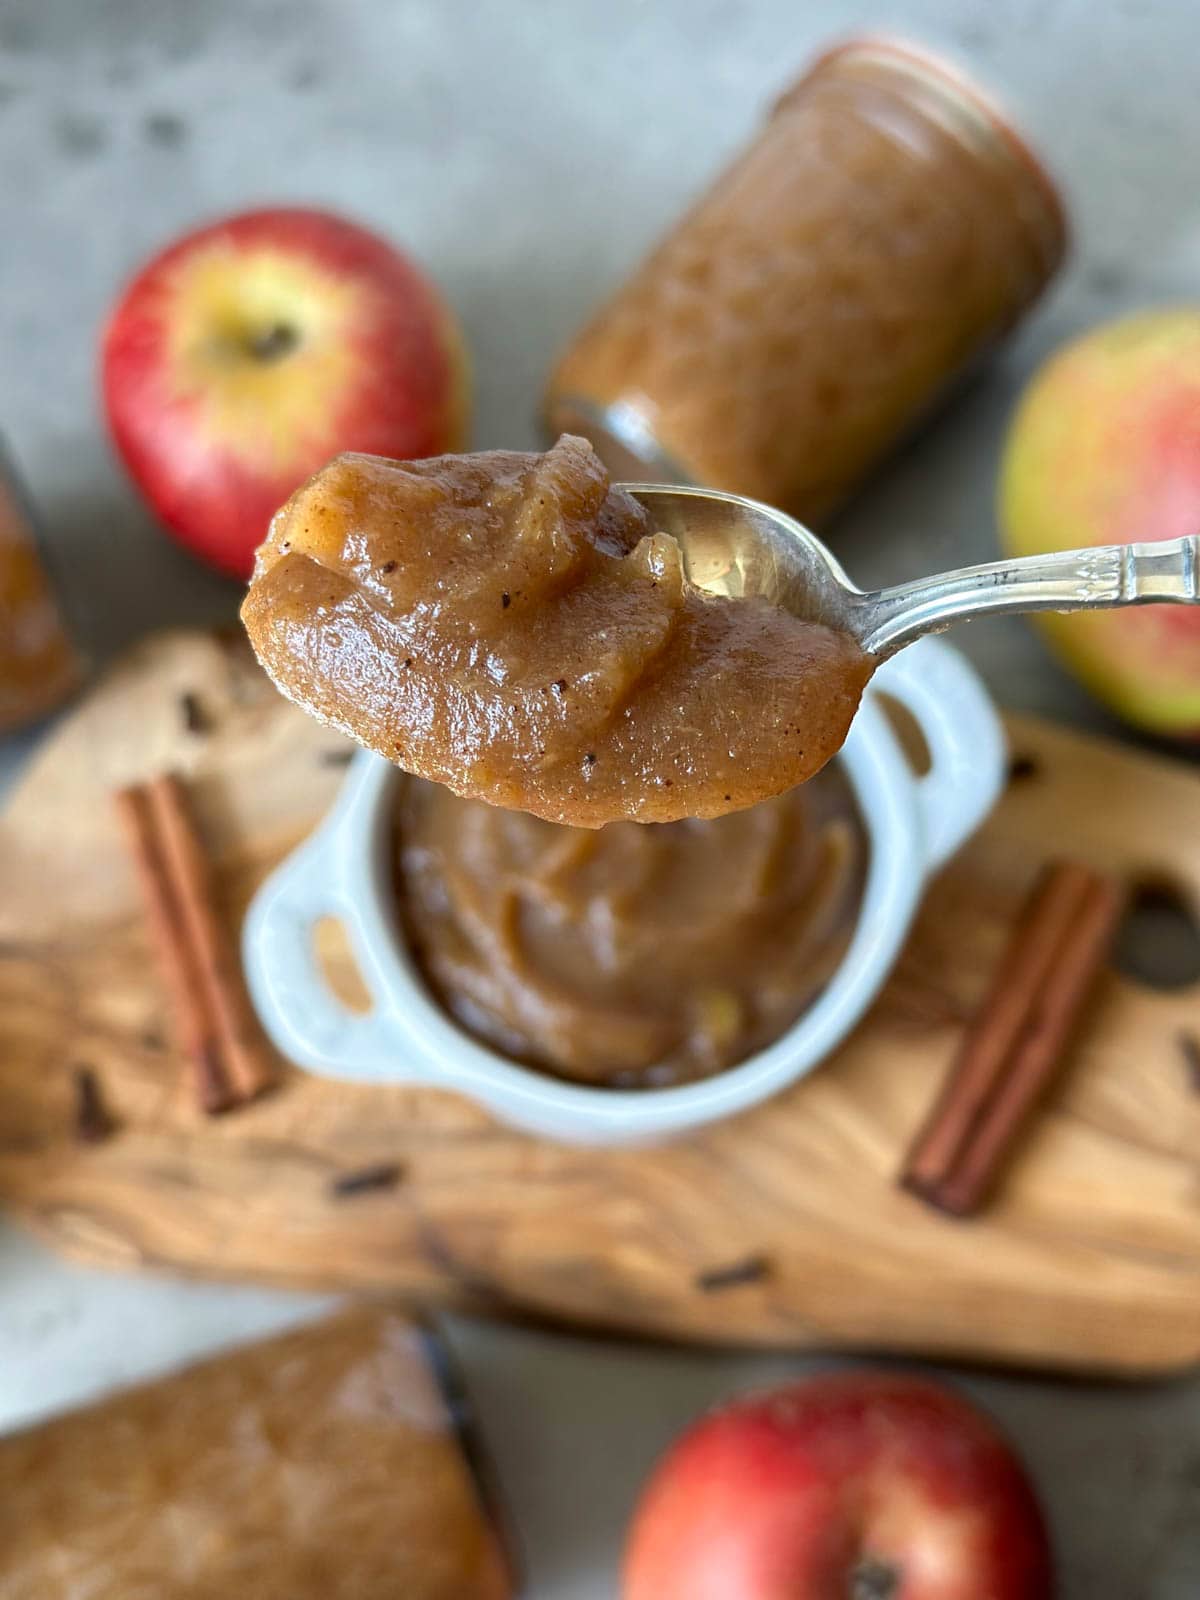
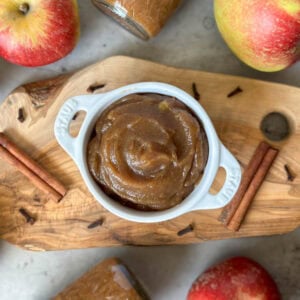
The Best Apple Butter Recipe for Canning or the Freezer

Full of rich caramelized apple flavors and warm fall spices, our apple butter recipe is smooth, thick, and exceptionally delicious – ready to top your yogurt, toast, savory meals, and more. You can make it in a crockpot or on the stovetop so I’ve included instructions for both options.
This apple butter recipe is pH-tested and is safe for canning. Or, you can simply freeze it instead. It’s also lower in sugar and doesn’t require peeling, milling, or straining! (A blender will help make it smooth.) Apple skins add valuable nutrients, fiber, flavor, and natural pectin that helps thicken the apple butter after all.
Don’t miss the list of creative ways to use apple butter at the end of this post!
Would you like to save this?
Making Apple Butter in a Crockpot vs Stovetop
Making apple butter on the stovetop is much faster, usually taking about 2 to 3 hours total. However, close oversight is required since you’ll need to regularly stir it to prevent burning.
On the other hand, using a slow cooker or crockpot is much more hands-off (many consider it the easier option) though it can take 12 hours or longer. Do what works best for you!
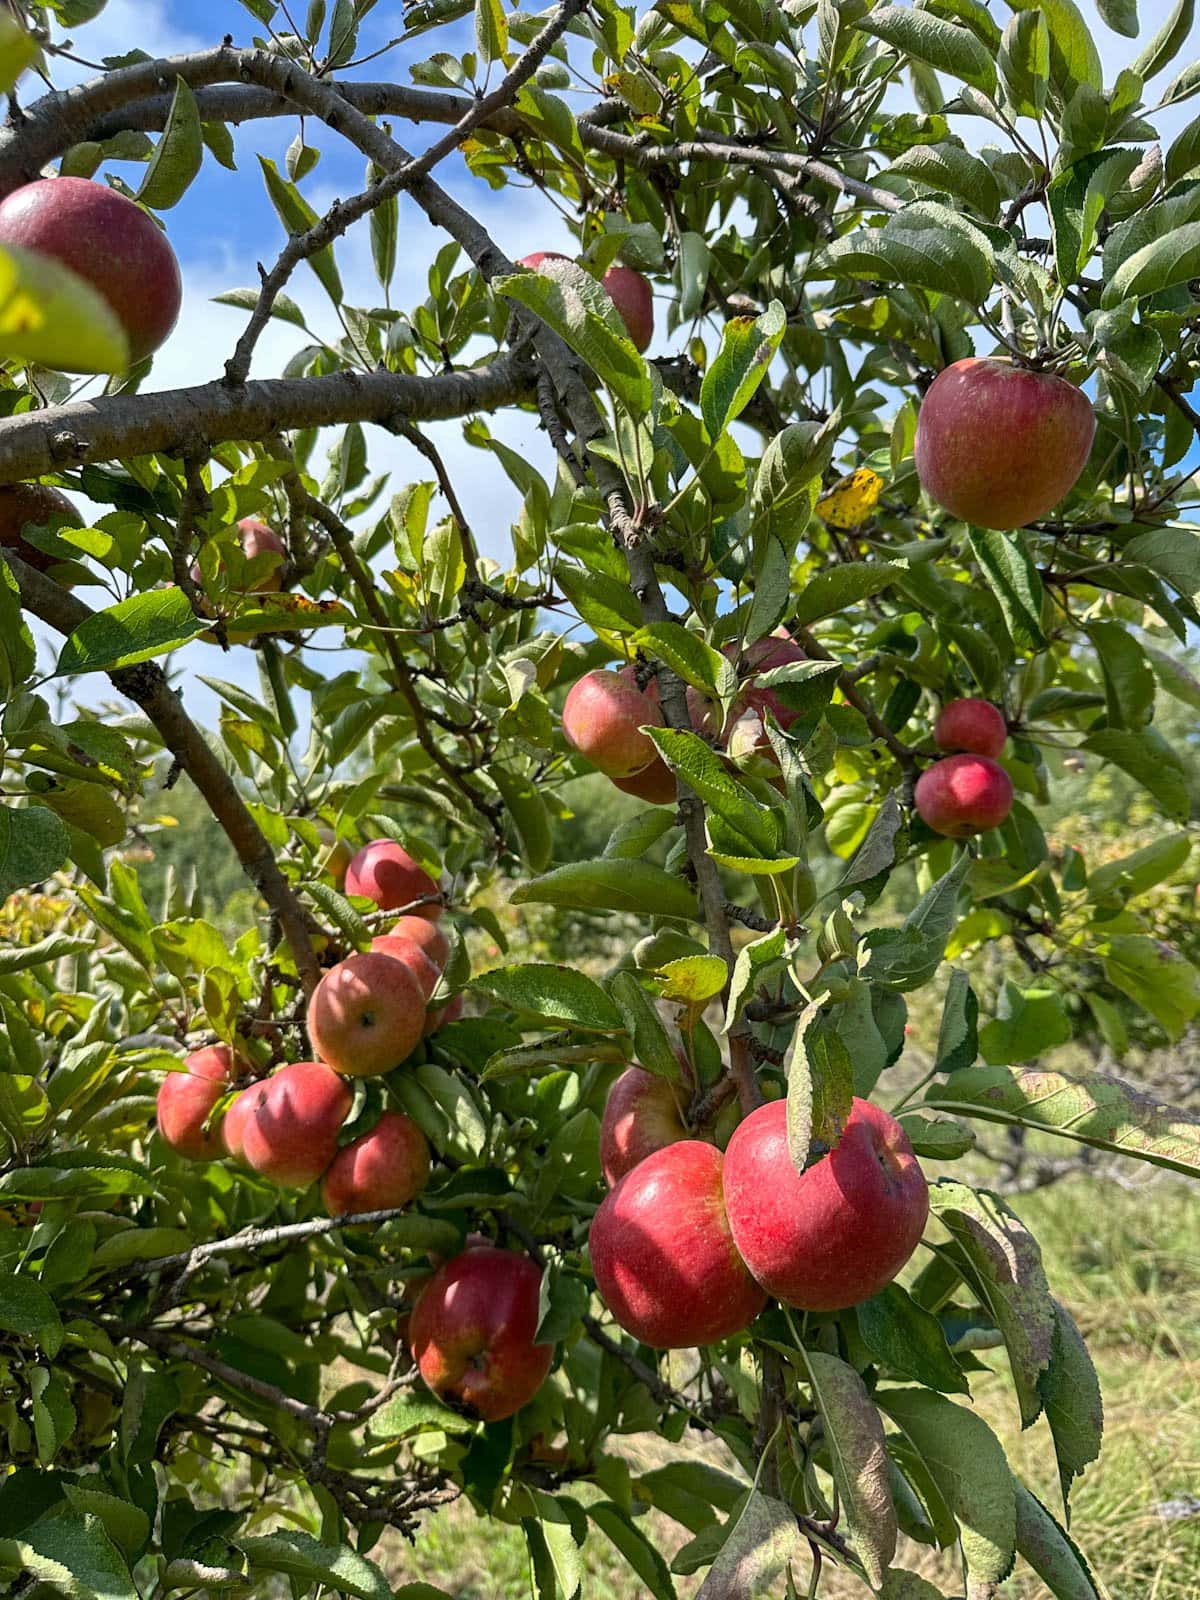
The Best Apples to Use
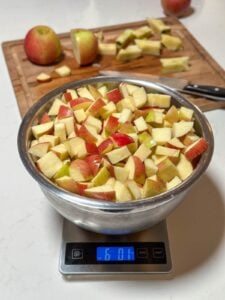
For the best results and depth of flavor, it’s ideal to make apple butter using a mix of soft, sweet apples (like Golden Delicious, Fuji or Gala) along with more tart, firm apple varieties (think Braeburn, Granny Smith, Jonagold or Honey Crisp). The softer apples cook down nicely for a smooth, buttery texture, while the tart ones offer a great balance of flavor.
However, you can make apple butter with any kind of apples, so use whatever is most available to you – especially if you’re growing your own. We grow Fuji, Pink Lady, Anna, and Golden Dorsett so we often use a mix of those.
Or if you go apple picking at a local farm (the perfect fall activity!) ask the farmer what varieties they recommend to use.
RELATED: Looking for more ways to use or preserve apples? Try making dehydrated apple chips or homemade apple cider vinegar.
Making apple butter is one of our favorite ways to preserve homegrown apples. In fact, it was one of the very first things we learned how to can many, many years ago – and have been tweaking and perfecting our recipe ever since!
Supplies
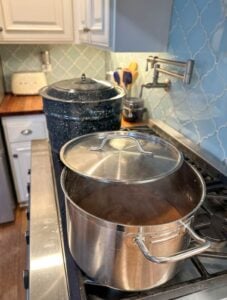
- Large stainless steel stock pot (at least 8 quarts)
- OR a 6 to 8 quart crockpot or slow cooker
- Immersion blender (preferred), regular blender or food processor
- Canning supplies including jars, lids, a canning pot, rack, jar lifter, etc. Here is a handy canning kit with everything you need!
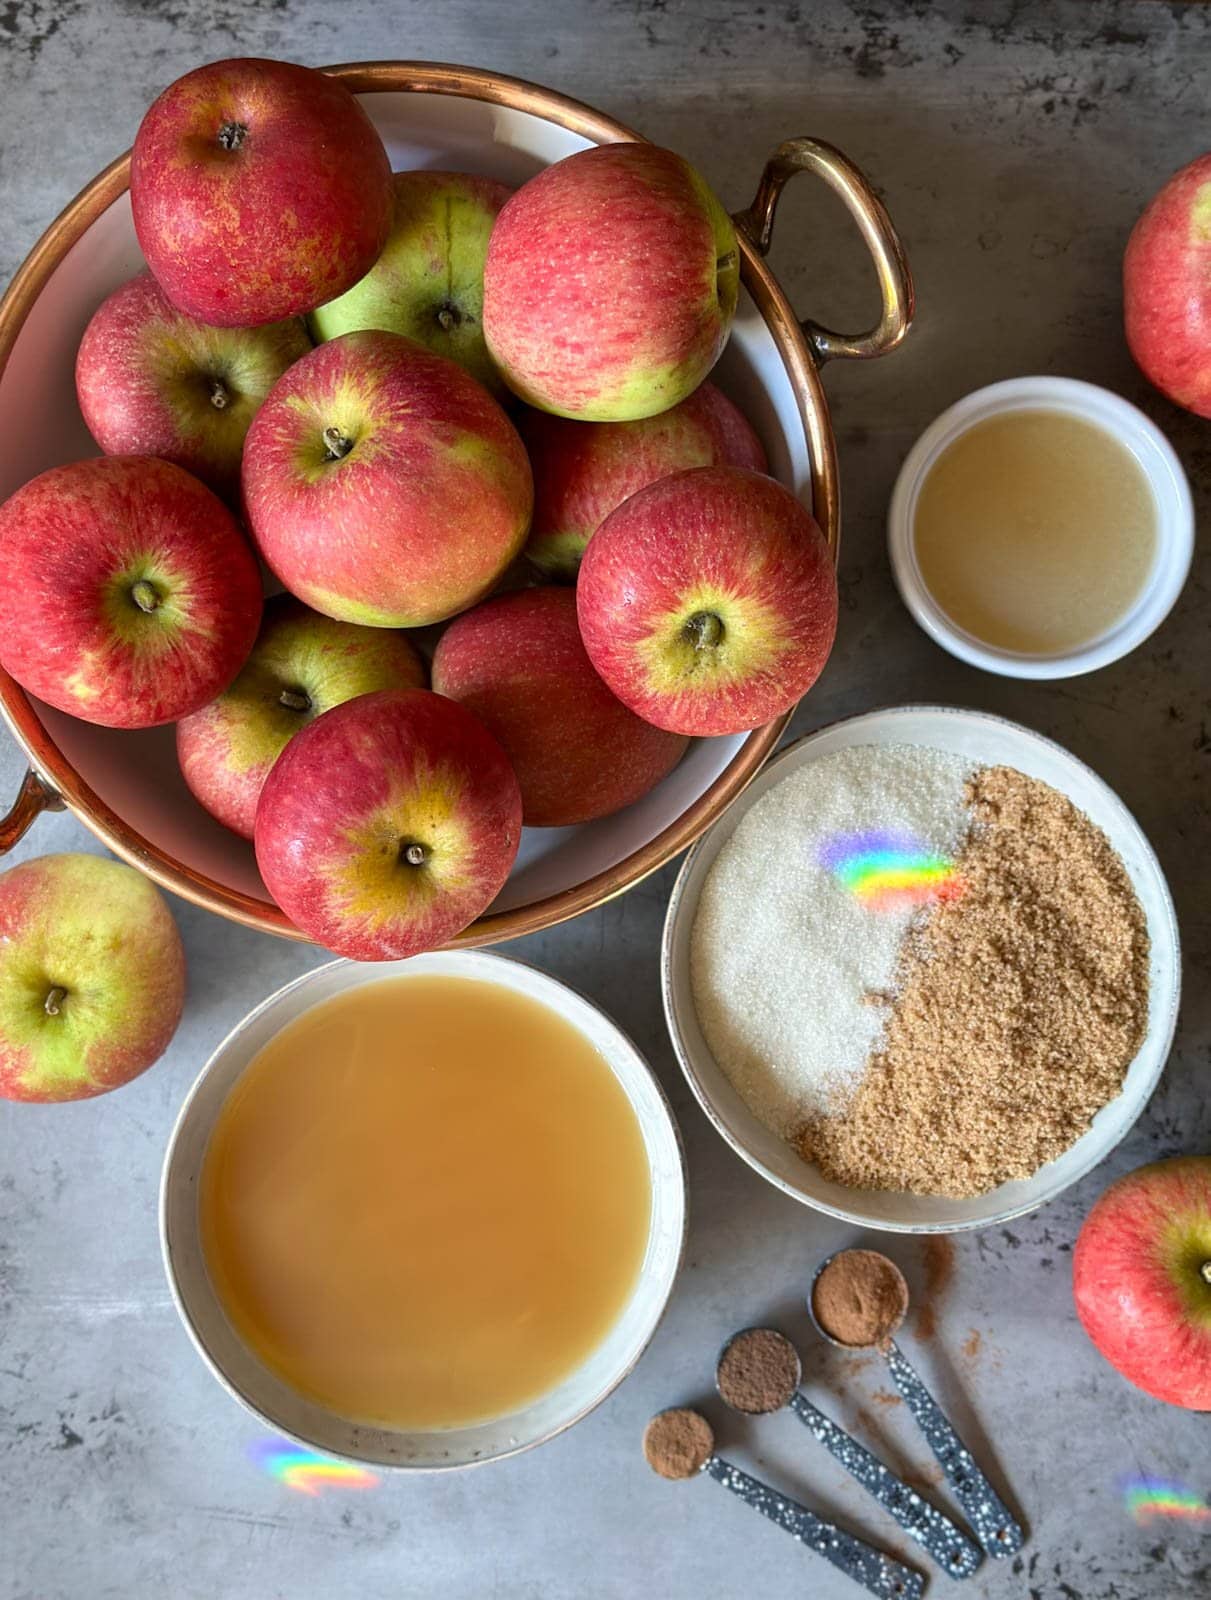
Ingredients
YIELD: This apple butter recipe makes approximately 5 pint (16 ounce) jars or 10 half-pint (8 ounce) jars
- 6 pounds of ripe apples (preferably a mix of sweet and tart varieties) – cored and chopped into approximately 1 to 2 inch pieces
- 2 cups sweet apple cider or apple juice (NOT apple cider vinegar). I like to use organic unfiltered apple juice. Do not substitute with water if canning since it will change the pH.
- 2 cups sugar. I like to use 1 cup white sugar and 1 cup brown sugar, though you can use all white if you don’t have any brown on hand.
- 1/4 cup bottled lemon juice (for canning safety, use bottled not fresh)
- 2 tsp ground cinnamon
- 1/2 tsp allspice
- 1/4 tsp ground cloves
- 1/4 tsp sea salt or other kosher canning salt
- 1/4 to 1/2 tsp ground ginger (optional)
- 1 tsp vanilla extract (optional – add after cooking, before canning)
Can I reduce the sugar in this recipe?
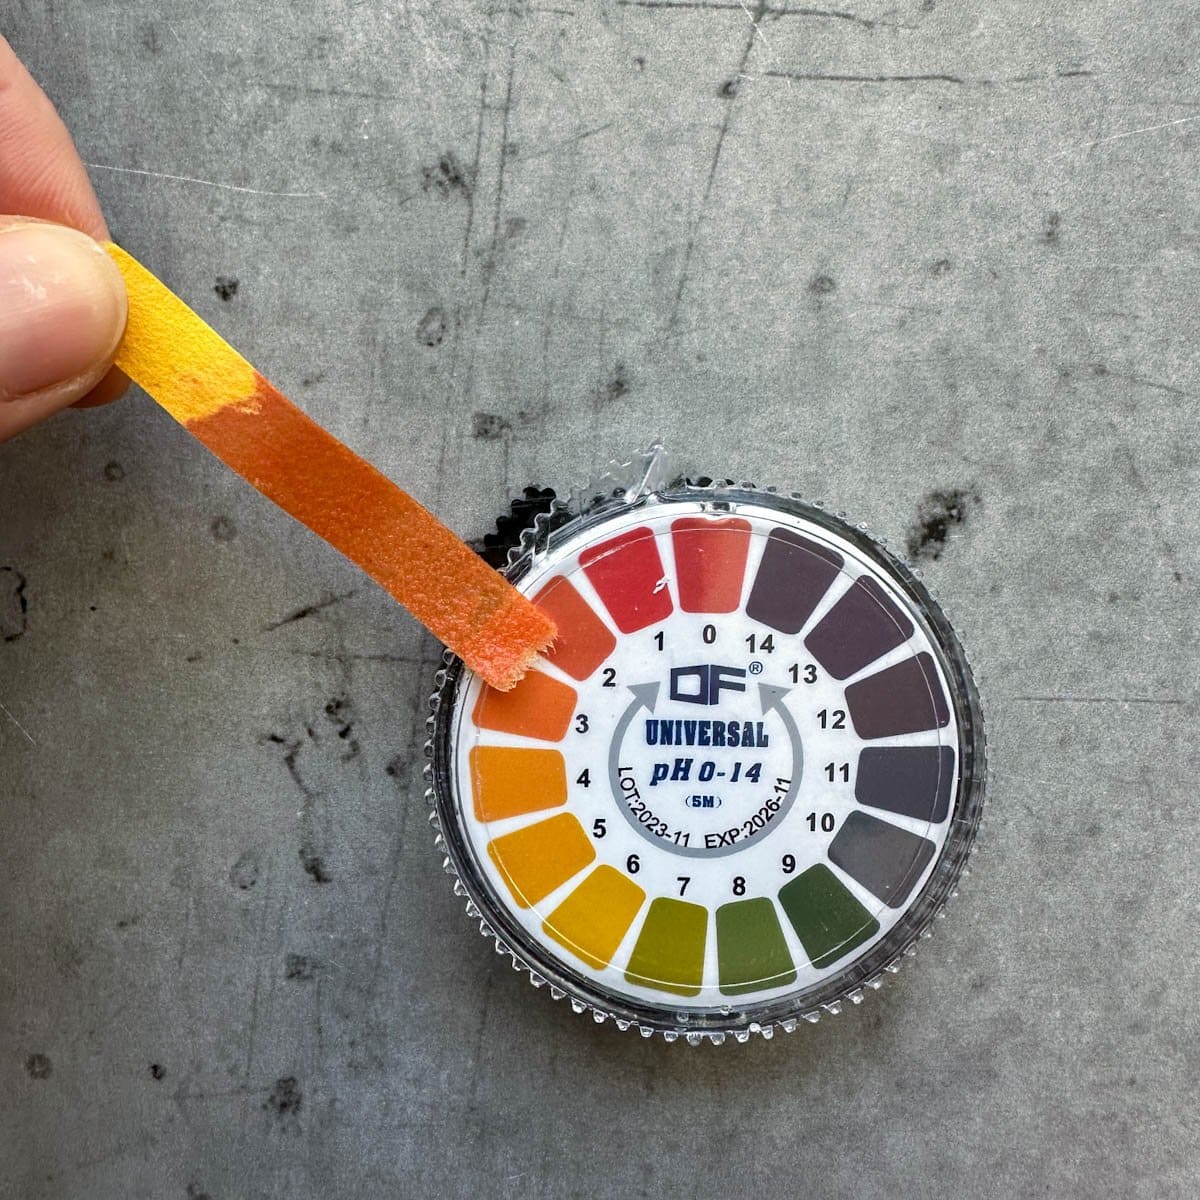
Using far less than most recipes, our apple butter recipe is already considered low sugar – but yes, you can safely reduce the sugar further if desired! This tested recipe relies on the natural acidity of apples and bottled lemon juice to lower the pH, so it will still be safe for canning with less sugar. (But don’t adjust the amount of apples, apple cider, or lemon juice.)
However, reducing the sugar can negatively impact the overall quality of the apple butter, as sugar helps to better preserve the flavor, texture, and color over time. Apple butter made with less sugar also might not last as long once opened, as sugar helps to slow mold growth after the jars are open and stored in the refrigerator.
Instructions (Stovetop)
See instructions to make apple butter in a crock pot in the printable recipe at the end of this post.
1) Prep and Initial Cook
- Wash, core, and roughly chop apples into one to two-inch pieces. (The smaller you cut the pieces, the faster they will soften and cook). And remember, you don’t need to peel the apples! Discard any damaged bits.
- Combine the chopped apples and apple cider (or apple juice) in a large stainless steel stock pot on the stovetop.
- Bring to a rolling boil over medium-high heat, and then reduce the heat and steadily simmer until the apples are very soft and falling apart like thick applesauce (about 30 to 45 minutes). It won’t seem like enough liquid at first, but don’t worry – the apples will quickly break down and release their own juices! Stir regularly.


2) Blend or Strain
Once the apples have cooked down and are falling apart, blend until smooth. To do so, you can either use an immersion stick blender right in the pot (that’s what we do) or carefully transfer the apple mixture into a blender or food processor in batches.
*IMPORTANT: To avoid hot splatters, make sure that the immersion blender head is completely submerged in the apples before turning it on!

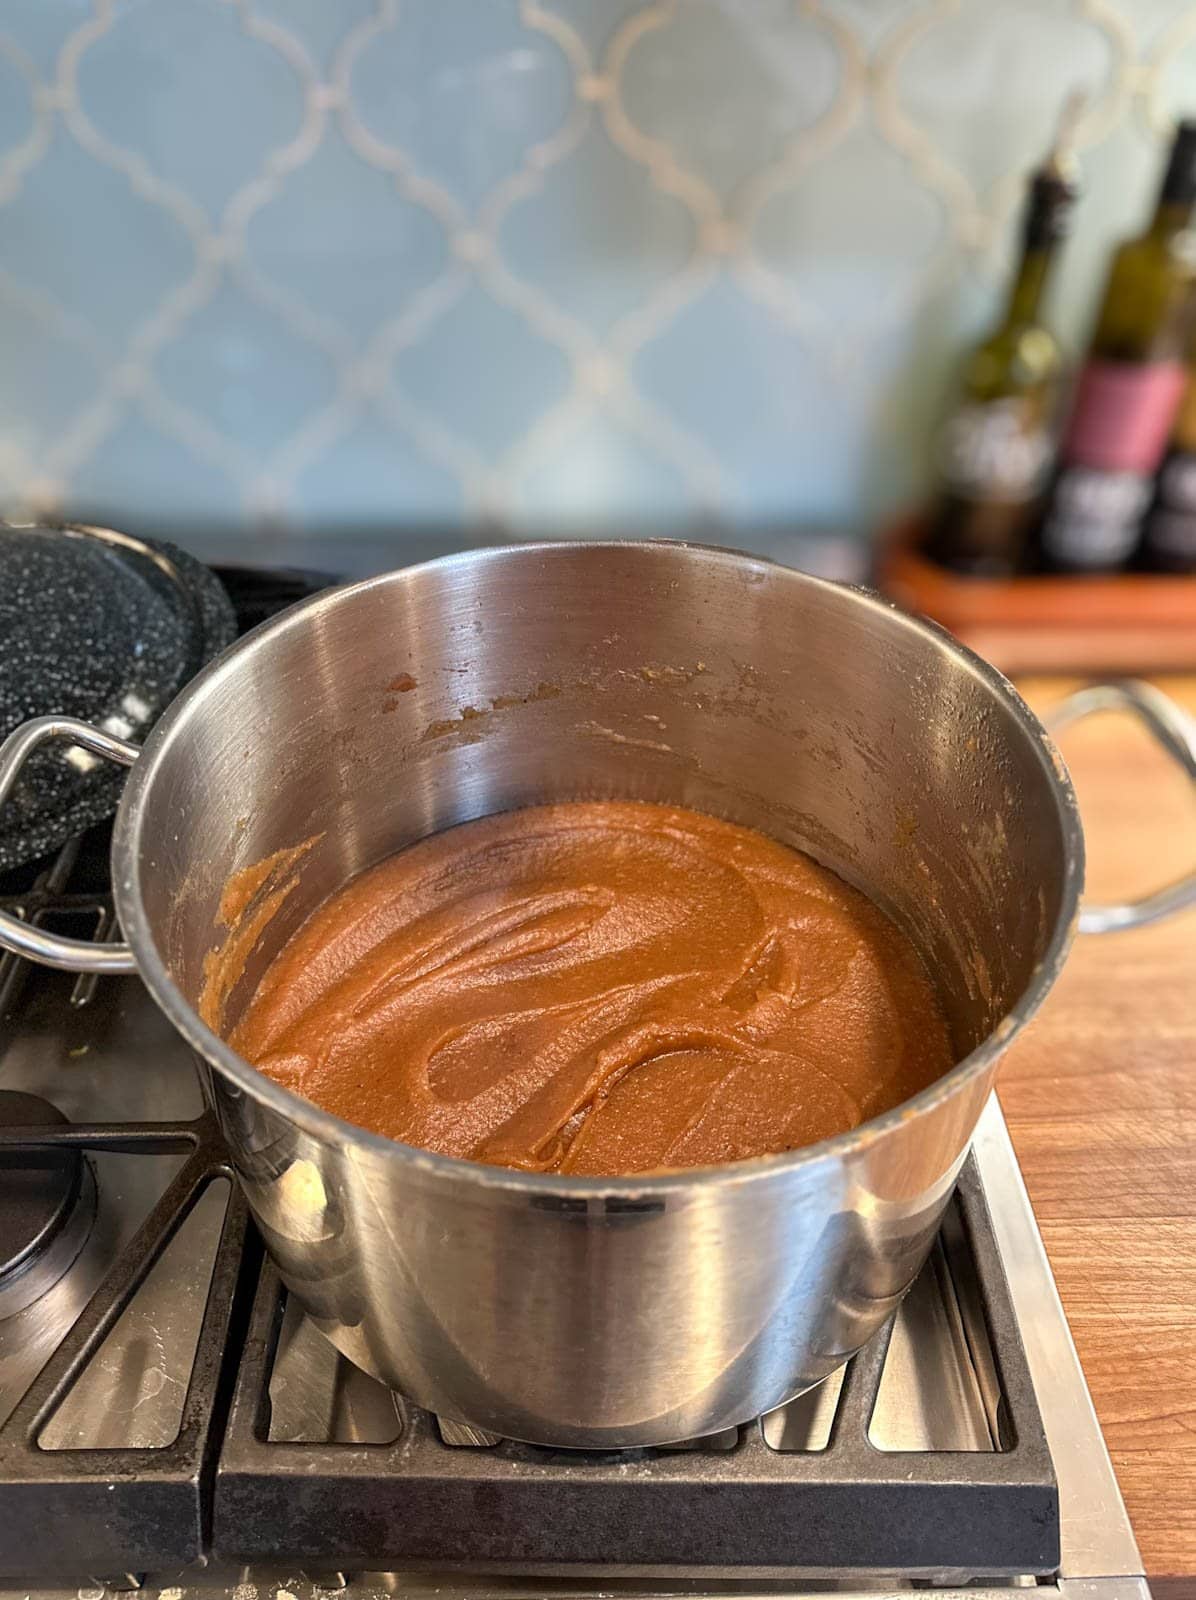
3) Reduce and Brown
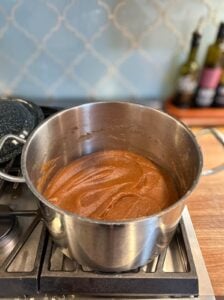
- Now combine the pureed apples, sugar, lemon juice, and spices in a large stainless steel pot (but don’t add the optional vanilla now – wait until it’s almost finished cooking!) Stir until the sugar dissolves.
- Return the mixture to a boil, then steadily simmer over medium heat until it significantly reduces, thickens, and turns a lovely darker caramel brown color. This will take around an hour or even longer, but patience is a virtue! A longer cook time is what sets apple butter apart from applesauce, giving it a deeper, rich caramelized apple flavor. Learn how to test for doneness in notes below.
- CAUTION: Since apple butter is so thick, it tends to sputter on the stovetop. So I partially cover the pot with the lid (about halfway on) to block the hot sputters, but still allow steam to escape so it can reduce as desired.
- Stir regularly and thoroughly to ensure the sides and bottom don’t burn, especially as it gets thicker.
- Once it’s nearly done cooking, mix in the optional vanilla extract. (Cooking vanilla extract too long can change it’s flavor – that’s why we wait until the end.) I set it on the counter near the stove so I don’t forget!
- Get your canning supplies ready while the apple butter is reducing on the stove, including pre-heating the water bath. See canning instructions to follow.

Testing Apple Butter for Doneness
At first, apple butter will have a similar texture and appearance as applesauce, but will become increasingly dark, thick, smooth and buttery as it cooks.
Apple butter is done cooking when it easily holds a mound shape on a spoon, even after a few minutes of sitting on the spoon away from heat. You can also check for doneness using the “plate test”: spoon a small dollop onto the chilled plate. If the butter holds shape and liquid doesn’t separate or spread around the edges, it’s done and ready for processing.
Adjusting the Texture
If the apple butter is thicker than you like, you can thin it out by adding more apple cider or apple juice (1/2 to 1 cup maximum) until it reaches your desired consistency. But don’t add water if you’re canning, which can alter the pH.
If it’s too thin on the other hand, you can thicken your apple butter by letting it continue to cook and reduce uncovered for a bit longer, though keep in mind it will thicken even more as it cools.
Canning Apple Butter
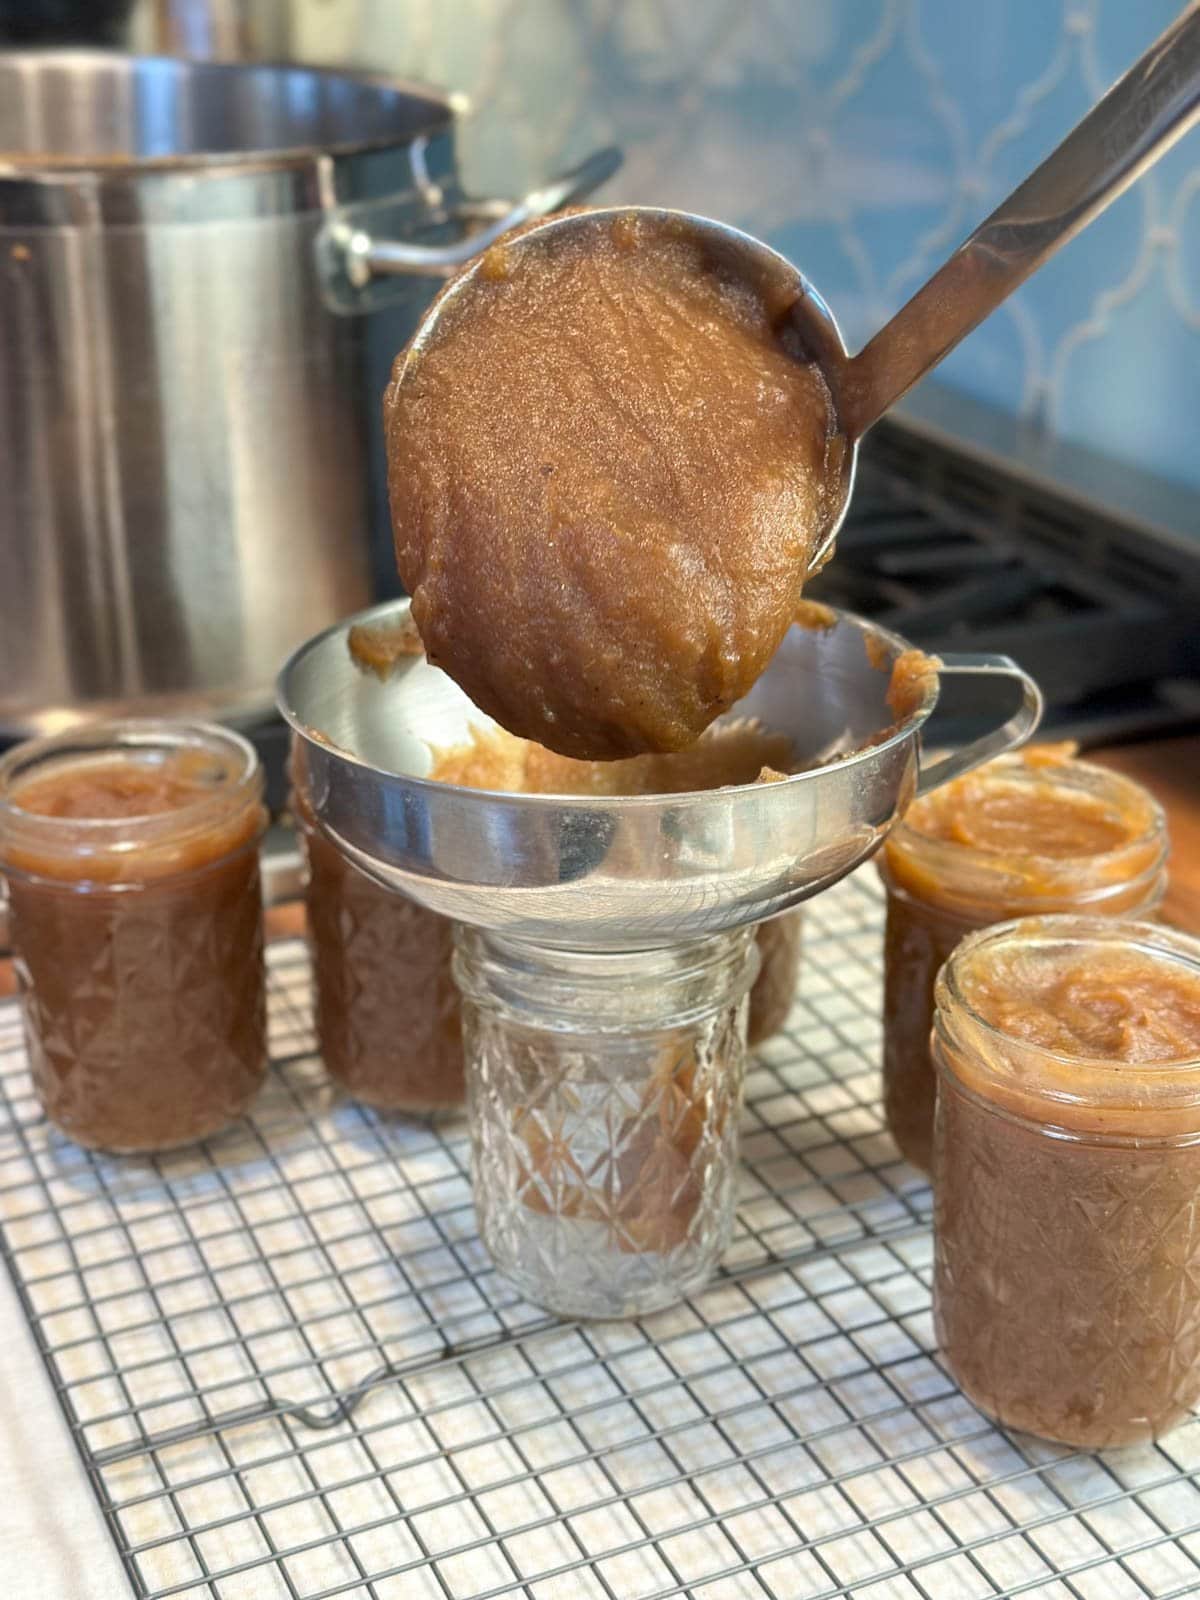
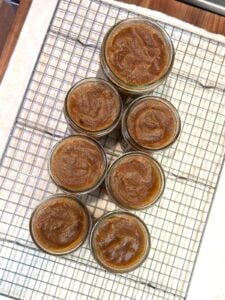
- Remove from heat, and transfer the hot apple butter into hot sterilized canning jars with the assistance of a clean canning funnel.
- Fill jars nearly full, leaving 1/4 inch head space. This handy tool makes it easy to measure headroom as well as carefully remove air bubbles from the jar.
- Use a damp paper towel to wipe the rims of the jars clean before adding canning lids and rings. Screw on the rings to finger-tight only, not overly tight.
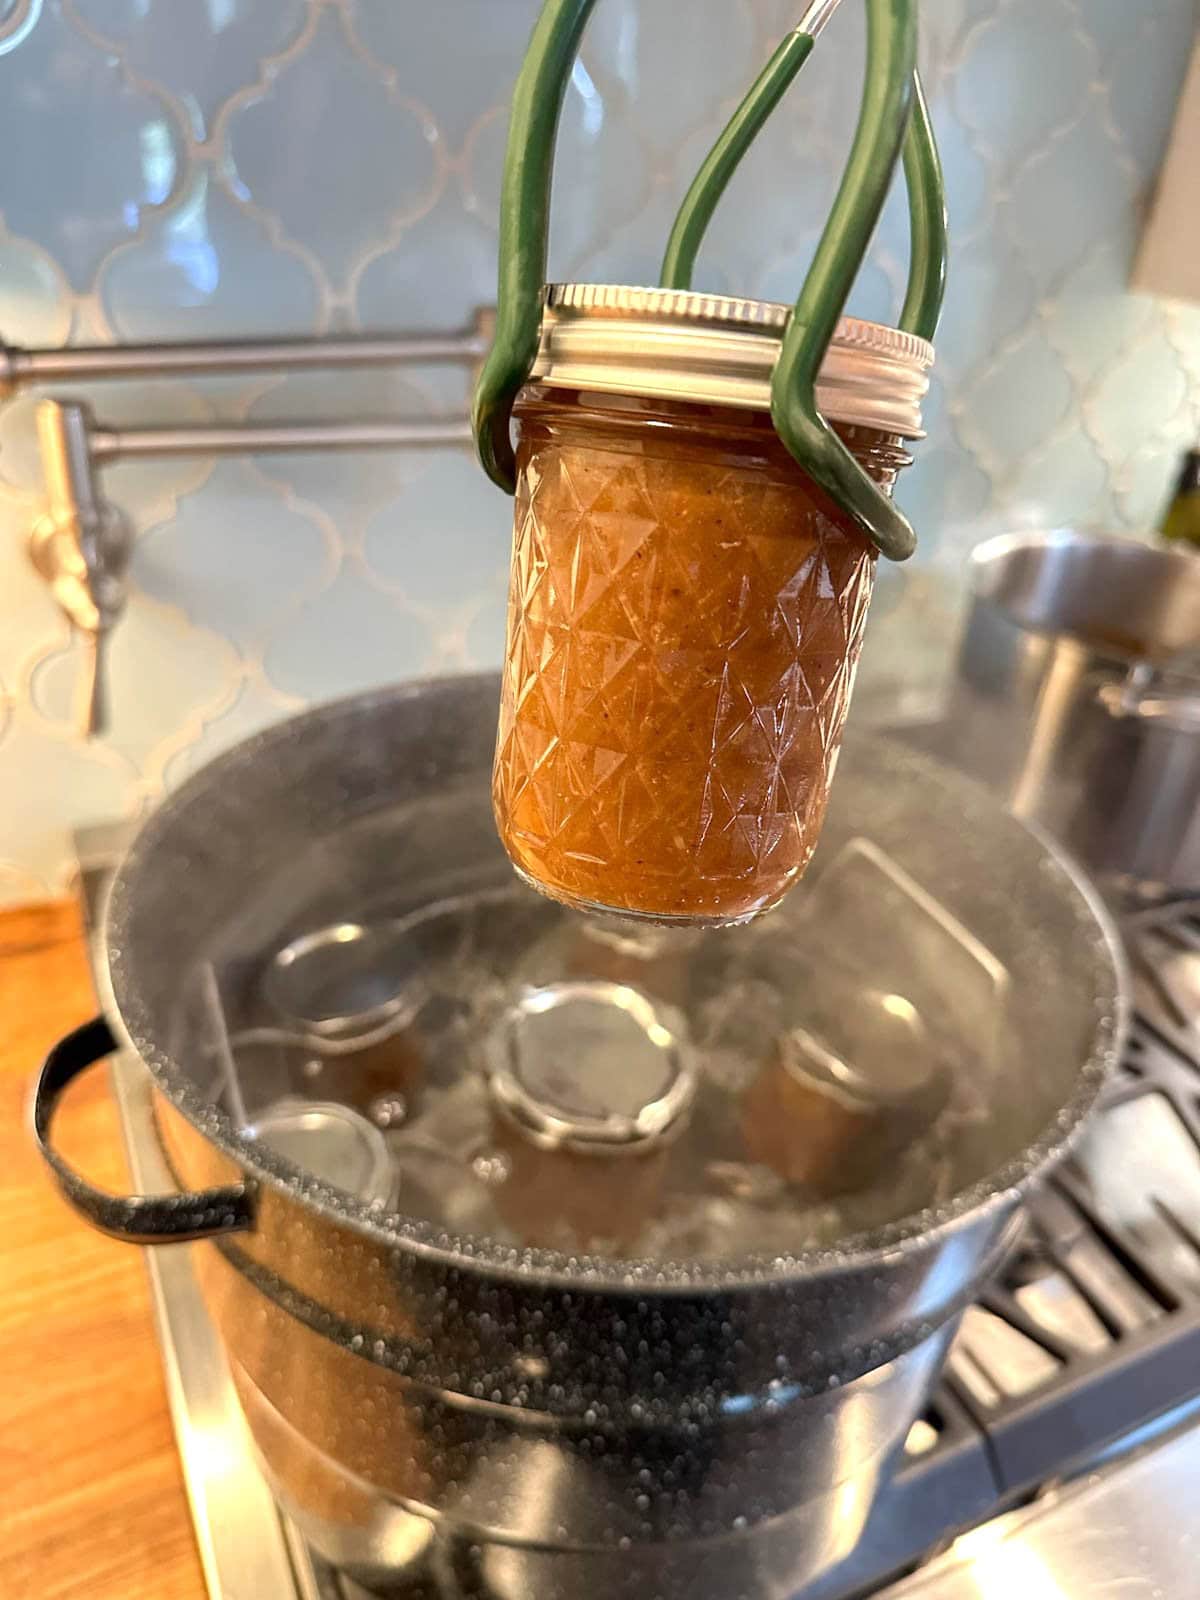
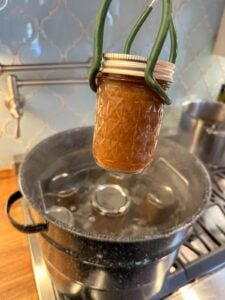
- Use a jar lifter to carefully transfer the jars to a pre-heated canning pot, cover with a lid, and vigorously boil. The jars should be covered by 2 inches of water. Add more boiling water if needed. Process for 15 minutes at sea level (see chart below to adjust for altitude.)
- Remove the canner lid, then wait 5 minutes before removing the jars from the canner. Transfer the jars to a cooling rack and leave undisturbed for at least 12 hours before checking seals. (Do not stack or press on the top of the lids.)
| Recommended process time for Apple Butter in a boiling water canner. | Process Time at Altitudes of | |||
| Style of Pack | Jar Size | 0 – 1,000 ft | 1,001 – 6,000 ft | Above 6,000 ft |
| Hot | Half-pints or Pints | 15 min | 20 | 25 |

How to Freeze Homemade Apple Butter
- To freeze homemade apple butter, allow it to cool to lukewarm in the pot before transferring it into your freezer-safe containers of choice. Leave at least a half-inch of head space to allow for expansion.
- We love these durable, reusable BPA-free freezer containers that come in a variety of sizes. You can also freeze apple butter in wide mouth pint or half-pint glass jars (not regular mouth or quarts, as jars with “shoulders” are prone to cracking in the freezer).
- Defrost in the fridge overnight or at room temperature for a few hours before use.
Storage and Shelf Life
- Store canned, sealed jars of apple butter in a cool dark location – such as a pantry, cellar, or kitchen cabinet. For the best quality, use within one year. Storing jars without canning rings reduces the risk of false seals.
- Frozen apple butter will also stay good in the freezer for a year or longer, though the quality will start to degrade with time.
- Once open, store unsealed jars in the refrigerator and plan to use them within one to two months. Signs of spoilage include mold growth, off odors or taste. Discard immediately if you suspect it has gone bad.
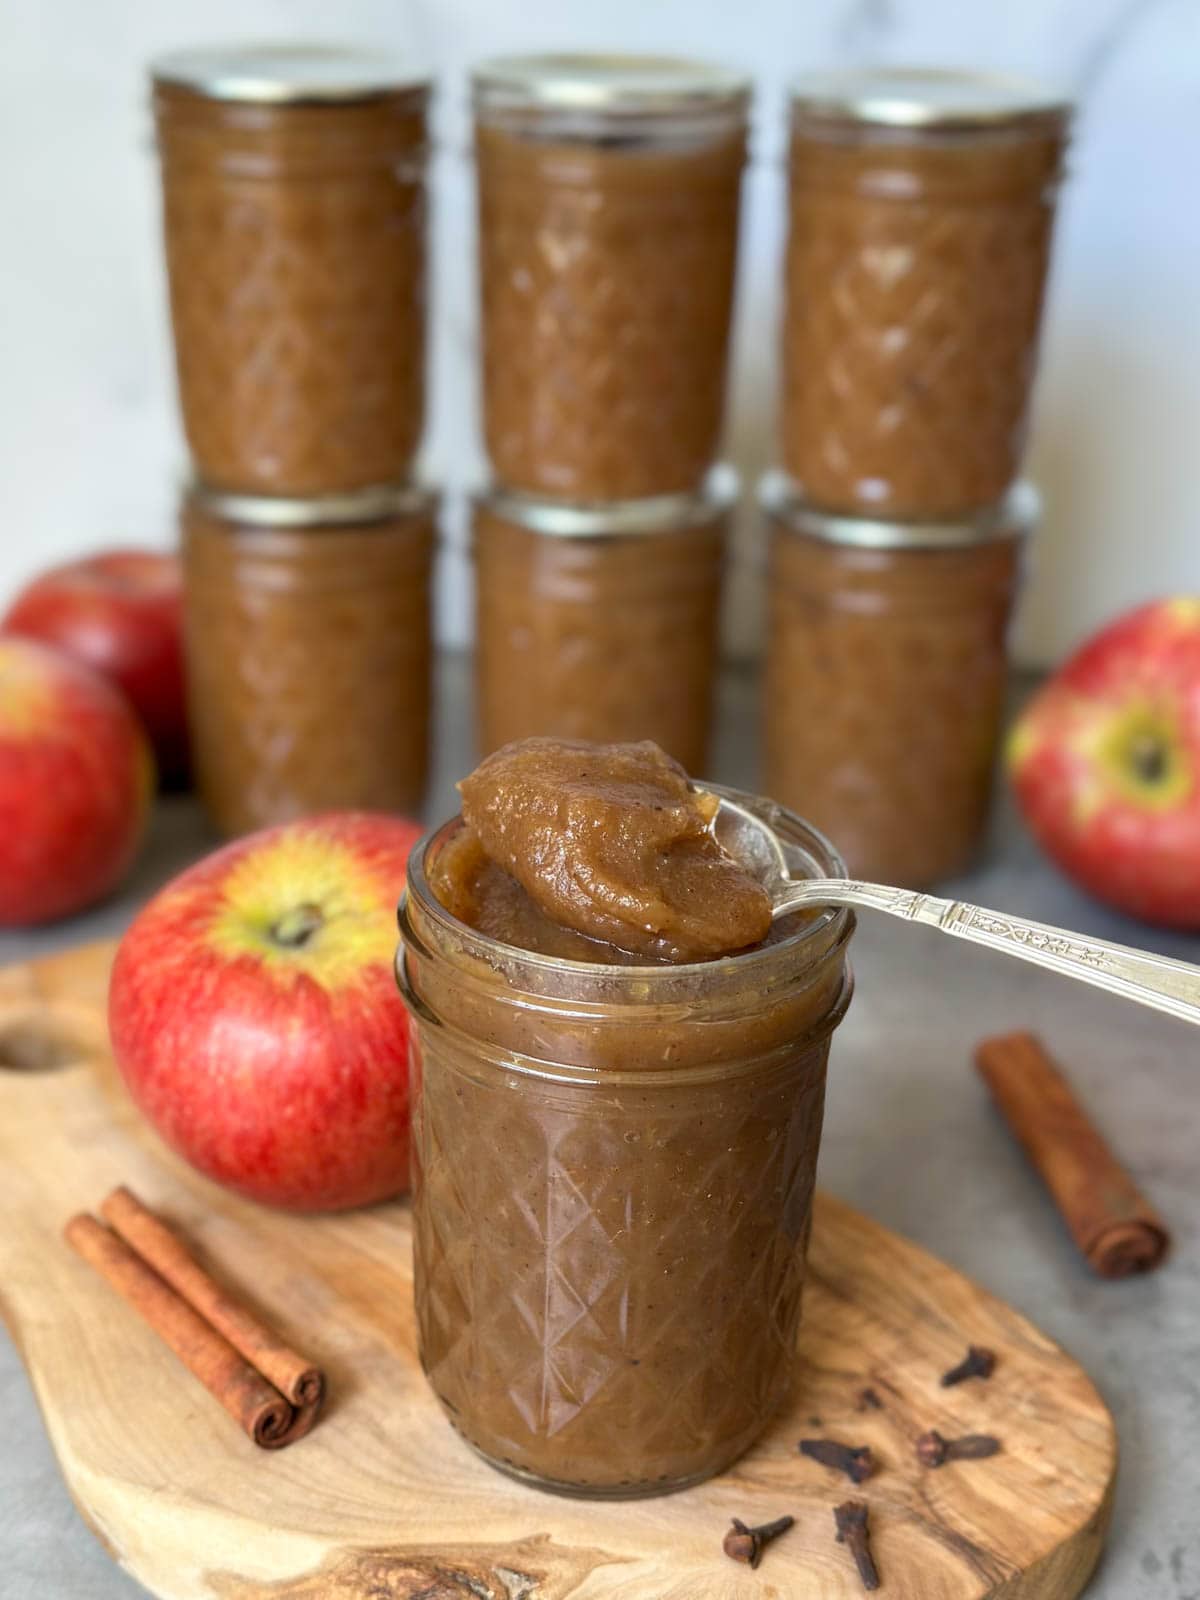
Ways to Use Apple Butter
- My favorite way to use our homemade apple butter is on top of plain yogurt for breakfast, along with sourdough granola, hemp hearts, nuts and seeds. It’s also amazing in oatmeal.
- Spread on bread, toast, bagels, biscuits, English muffins, or PBJs.
- On top of vanilla or coconut ice cream.
- With sweet-and-savory snacks or charcuterie boards, paired with goat cheese or cream cheese on sourdough discard crackers or sliced baguette. You could even add a spread of apple butter inside a grilled cheese sandwich!
- As a part of a glaze, topping, or filling for baked goods. Apple butter is delightful in thumbprint cookies, scones, muffins, or cheesecake.
- Apple butter is commonly used to accompany savory meat dishes or sandwiches, such as a glaze for pork, turkey, or chicken.
- On waffles, pancakes, or sourdough pancakes – which we love with pumpkin seeds, pecans or walnuts on top!
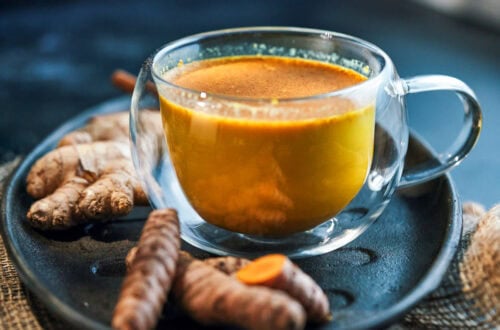
- You can also mix apple butter into homemade salad dressing, marinades, cocktails, mocktails or other beverages. I love to add a small spoonful to hot chai tea!
Enjoy!
If you try this recipe, please leave a review below! You may also enjoy our low sugar peach jam recipe, easy apricot jam recipe, zucchini relish recipe, or our roasted tomato sauce recipe for canning.
Best Apple Butter Recipe (Canning or Freezer, Stovetop or Crockpot)
Equipment
- Large non-reactive pot (we use a 12 quart pot though 8-10 is sufficient)
- OR a 6 quart crockpot or slow cooker
- Blender, or food processor (immersion blender preferred)
- Canning supplies including jars, lids, a canning pot, rack, jar lifter, etc.
- Cutting board, knife and measuring cups
Ingredients
- 6 pounds ripe apples, cored and chopped into 1" to 2" pieces (use a mix of sweet/soft and tart/crisp varieties if possible)
- 2 cups sweet apple cider or apple juice (not vinegar)
- 1 cup white cane sugar
- 1 cup brown sugar
- 1/4 cup bottled lemon juice (not fresh if canning)
Spices
- 2 tsp cinnamon
- 1/2 tsp allspice
- 1/4 tsp ground clove
- 1/4 tsp sea salt or kosher canning salt (not iodized table salt)
- 1/4 tsp ground ginger powder (or up to 1/2 tsp, optional)
- 1/2 tsp vanilla extract (optional, added at the end of cooking)
- NOTE: You can safely modify the seasonings or reduce the sugar, but DO NOT change the amount of apples, juice, and lemon juice if canning – and do not substitute with water.
Instructions
Stovetop Instructions
- Wash, core, and roughly chop apples into one to two-inch pieces. (The smaller you cut the pieces, the faster they will soften and cook). No need to peel the apples.

- Combine the chopped apples and apple cider (or apple juice) in a large stainless steel stock pot on the stovetop.
- Bring to a rolling boil over medium-high heat, and then reduce the heat and steadily simmer until the apples are very soft like thick applesauce (about 30 to 45 minutes). Stir regularly.
- Once the apples have cooked down and are falling apart, blend until smooth. Use an immersion stick blender right in the pot (use caution to fully submerge the head) or carefully transfer the apple mixture into a blender or food processor in batches.
- Combine the pureed apples, sugar, lemon juice, and spices in a large stainless steel pot (but don’t add the optional vanilla now). Stir until sugar dissolves.
- Return the mixture to a boil, then steadily simmer over medium heat until it significantly reduces, thickens, and turns a lovely darker caramel brown color. This will take around an hour or even longer. Learn how to test for doneness in notes below.

- CAUTION: I partially cover the pot with the lid (about halfway on) to block hot sputters as it bubbles and cooks, but still allow steam to escape so the apple butter can reduce as desired.

- Stir regularly and thoroughly to ensure the sides and bottom don’t burn, especially as it gets thicker.
- Add optional vanilla extract once it's almost done cooking.
- Get your canning supplies ready while the apple butter is reducing on the stove, including pre-heating the water bath.


Crockpot or Slow Cooker Instructions
- Combine all ingredients in a 6-quart crock pot (or larger) and stir to combine.
- Turn crockpot on high and allow it to cook for 8 to 10 hours while covered, stirring on occasion. (Turn down the heat to low after the first few hours.) Stir occasionally.
- After 8 to 10 hours, use an immersion blender or carefully transfer it into a regular blender or food processor to puree into a smooth texture.
- Let the apple butter continue to cook and reduce on low heat (uncovered now) for another couple of hours, until desired texture, caramel brown color and doneness is achieved. Stir as needed to prevent scorching, especially on the bottom.
Testing Doneness
- Apple butter is done cooking when it easily holds a mound shape on a spoon, even after a few minutes of sitting on the spoon away from heat. You can also check for doneness using the “plate test”: spoon a small dollop of apple butter onto the chilled plate. If the butter holds shape and liquid doesn’t separate or spread around the edges, it’s done and ready for processing.
Adjusting Texture
- If the apple butter is thicker than you like, you can thin it out by adding more apple cider or apple juice (1/2 to 1 cup maximum) until it reaches your desired consistency. But don’t add water if you’re canning, which can alter the pH.
- If it’s too thin on the other hand, you can thicken your apple butter by letting it continue to cook and reduce uncovered for a bit longer, though keep in mind it will thicken even more as it cools.
Canning Instructions
- Remove from heat, and transfer the still-hot apple butter into hot sterilized canning jars with the assistance of a clean canning funnel. Leave 1/4-inch of head space.
- Remove air bubbles as needed using a bubble remover or small knife. Use a clean damp paper towel to wipe the rims of the jars clean before adding lids
- Add sterilized canning lids and rings. Screw on the rings to finger-tight only, not overly tight.
- Use a jar lifter to carefully transfer the jars to your pre-heated water bath canning pot, cover with a lid. The jars should be covered by 2 inches of water. Add more boiling water if needed.
- Once the canner returns to a rolling boil, process for 15 minutes. (To adjust for altitude, process 20 minutes at 1000-6000 feet above sea level, and 25 minutes at 6000+ feet.)
- When the time is up, remove the lid and turn off the heat, but let the jars sit in the canner for another 5 minutes before carefully transferring them to a cooling rack. Leave jars undisturbed for at least 12 hours before checking seals. (Do not stack or press on the top of the lids.)

Freezing Tips
- Allow the apple butter to cool to lukewarm in the pot before transferring it into freezer-safe containers of choice.
- Leave at least a half-inch to an inch of head space to allow for expansion as it freezes.
- Frozen apple butter will stay good in the freezer for about a year, though it’s best if used within 6 months.
- Defrost in the refrigerator overnight or for a few hours at room temperature.
Storage and Shelf Life
- Store canned, sealed jars in a cool dark location for 1 to 2 years – such as a pantry, cellar, or kitchen cabinets. For the best quality, use within one year.
- Once open, homemade apple butter should stay good in the refrigerator for one to two months, possibly longer.
- Signs of spoilage include mold growth, off odors or taste. Discard immediately if you suspect it has spoiled.


12 Comments
Travis
Thank you for the recipe, it turned out fantastic. My whole family loves it.
Hilary
I haven’t made this yet, but can I pressure can instead of water bath?
Aaron (Mr. DeannaCat)
Hi Hilary, we can’t say for sure as we don’t have a pressure canner and most information surrounding canned apple butter relates to water bath canning. Some say that pressure cooking high acid foods such as apples can change their flavor somewhat. Here is so information from the University of Minnesota and their pressure canner processing time for hot applesauce is 8 minutes if you needed a reference for possible processing times. Hope that helps and let us know how it turns out!
Sherry
Why does it have to be bottled lemon juice instead of fresh if you are canning? I often buy a bag of organic lemons and since I never use all of them for a particular recipe, I zest them all and juice them all and I freeze both separately so I just really wanna understand why your recipe calls for canned lemon juice rather than fresh. Thank you. It is my first time making your recipe and I’m so looking forward to it
Aaron (Mr. DeannaCat)
Hi Sherry, the main reason you want to use bottled lemon juice and not fresh lemon juice when canning is due to the more consistent acidity (around 5%) and pH of bottled vs fresh along with bottled being more concentrated. It is just a best practice for safely canning as there is no way to know for sure the acidity or pH of fresh lemon juice. If you were going to freeze the apple butter, by all means, use fresh lemon juice, however, using fresh lemon juice is not recommended for safety reasons. Hope that helps and enjoy the apple butter!
Meredith
10/10 recommend! This recipe is SO delicious, easy to follow, and the spices are perfect! Will definitely make again – thanks again for another keeper!
Kristen Duncan
Another winner recipe/product from Homestead and Chill. Like anything you can expect from Deanna, this apple butter recipe turned out phenomenal. Caramelized and spiced to perfection and melt in your mouth delicious. I used the crockpot instructions but ended up finishing it off on the stovetop to thicken it up quickly because I couldn’t wait any longer to eat it.
Aaron (Mr. DeannaCat)
Amazing to hear Kristen, enjoy your apple butter!
Tina
Made this last fall for the first time. So good!
Just reviewed the recipe as I will start this years batch. Thanks so much for the
recipes.
Aaron (Mr. DeannaCat)
So great to hear Tina and we hope you enjoy the apple butter!
Alley
So delicious! Very easy to make in crockpot! I appreciate the time it took to write both stovetop and crockpot versions
Aaron (Mr. DeannaCat)
Amazing to hear you enjoyed the apple butter Alley, thanks for sharing!