
How to Start Seeds Indoors (and Take Care of Seedlings)
Learn everything you need to know to successfully start seeds indoors with step-by-step instructions, from how to sow seeds to care for growing seedlings after they sprout.
Equipment
- seeds
- seed starting mix (soil)
- seed starting trays of choice - including top and bottom trays
- water - sprayer and/or watering can
- labels
- worm castings (optional but recommended)
- grow lights and timer (optional but recommended)
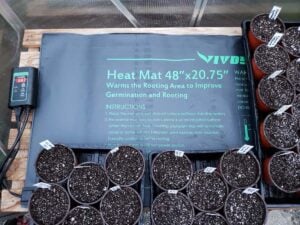
- seedling heat mat (optional but recommended)
- humidity dome covers (optional but recommended)
Instructions
Starting Seeds Indoors
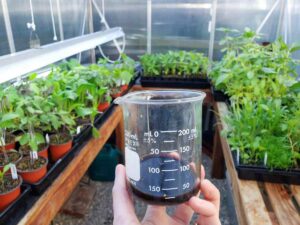
- Start with a fine, fluffy, well-draining soil mix that is made for seed starting, not regular potting soil (which to too heavy and rich on it's own). I often mix 70% seed starting mix with 20% potting soil and 10% worm castings or other well-aged, fine, screened compost. I like to do this in a storage tote.
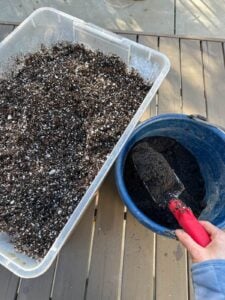
- Use a sprayer to slowly pre-moisten the seed starting soil mix until it's evenly damp, but not sopping wet.

- Fill seed starting trays with soil, but do not compact.
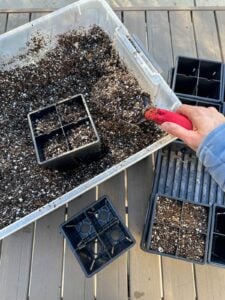
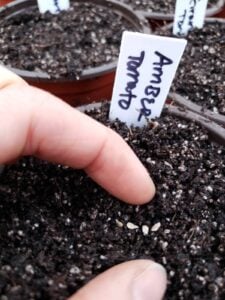
- Sow (plant) seeds following the recommended depth on the seed package, varying depending on the size and type of seed. (Most common seeds call for about 1/4" deep, though larger seeds like peas or beans can be planted 1/2-1" deep). I usually sow 2 to 3 seeds per cell or container. Gently cover with soil, and don't forget to label!
- Gently mist the top of the soil using a water sprayer to moisten where the seeds were just planted, but avoid the heavy stream of a watering can.
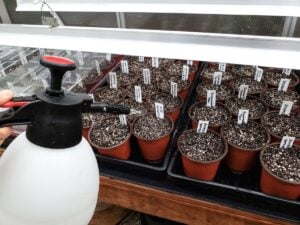
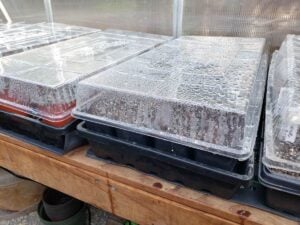
- Cover the seedling trays with clear humidity domes to help keep the soil moist during germination. Remove the covers once the majority of the seeds have sprouted.
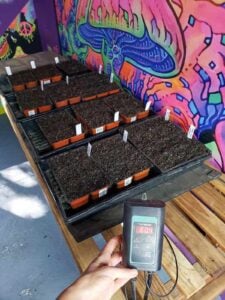
- Place the seedling trays in a warm location to help aid in germination (70-80F) is ideal, such as on a seedling heat mat with an adjustable thermostat. Do not heat seeds over 95F!
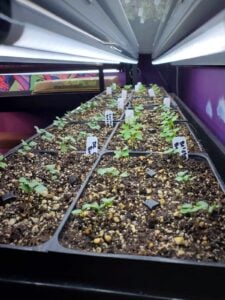
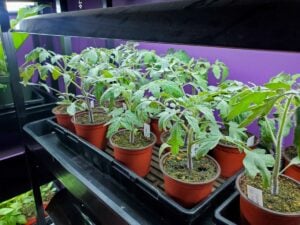
- Immediately after the seedlings or sprout (or even before) provide bright direct light for 14 to 16 hours per day. A grow light + timer is highly recommended. Most grow lights should be hung just a few inches over the seedlings.
Ongoing Seedling Care
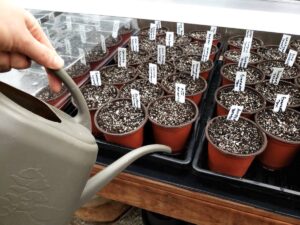
- WATER: Try to keep the soil damp at all times, but not soggy. If anything, let it dry out slightly between watering. After seeds sprout, switch to bottom-watering: add just enough water to the lower tray that the soil absorbs it all within a few hours. Pour off excess as needed to avoid sitting in standing water.
- HEAT: is most essential during germination but then can be slowly dialed back. If your house is warm (regularly 65-75) you could remove the heat mats after the seeds sprout. If your seeds are in a cooler location, gradually reduce the heat by 5 degrees each week after sprouting
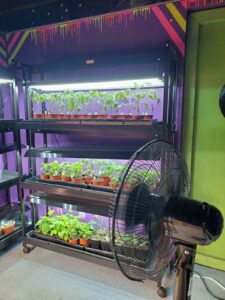
- LIGHT: Hang the light low over the seedlings, just a few inches above, and gradually raise it as they grow. (Some LED lights require more clearance, so check the manufacturer’s recommendations.) Keep the lights on 14-16 hours per day. Rotate your seedlings trays every few days if they don't all get equal light exposure.
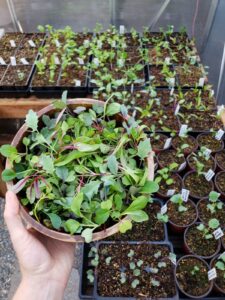
- THINNING: A week or two after they sprout, carefully thin the seedlings down to just one strong, healthy-looking sprout per cell or container. I like to snip out the extras at the soil line instead of pulling.
- AIR FLOW: A week or two after sprouting, introduce a light breeze via an oscillating fan. Don't blast them hard, just enough to cause a wiggle and movement (which strengthens seedlings stems)
- FERTILIZING: Do NOT fertilize young seedlings until at least a few weeks after sprouting. Then you can use a very gentle, seedling-safe fertilizer such as dilute seaweed extra or dilute fish fertilizer. Water from below, and go lighter than what the manufacturer recommends. If you're going to pot up into richer soil soon, you likely don't need to fertilize.
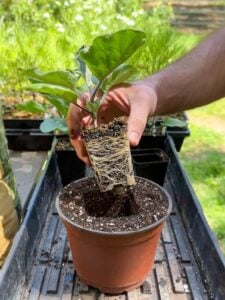
- POTTING UP: Pot up growing seedlings into larger containers with slightly richer potting soil (or mix half seedling soil and potting soil) as needed - when they seem too large for their containers, have a lot of roots coming out the bottom, or seem to stop growing. You'll likely need to do this once or twice before transplanting seedlings outdoors, depending on the size of seed starting trays/pots you began with.
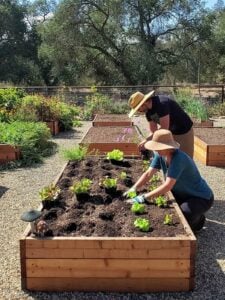
- HARDENING OFF: A week prior to transplanting outside, harden off (introduce) seedlings to outdoor conditions by taking them outside in the shade for a short period of time - gradually increasing the time and direct sun exposure each day.
- TRANSPLANTING: Choose a mild-weather day for transplanting. Keep an eye on the weather forecast, and have a plan to protect tender young seedlings from frost, extreme heat, and pests. (We use hoops and various types of row covers like shade cloth, frost cloth or insect netting as needed)
Tried this recipe?Let us know how it was!