

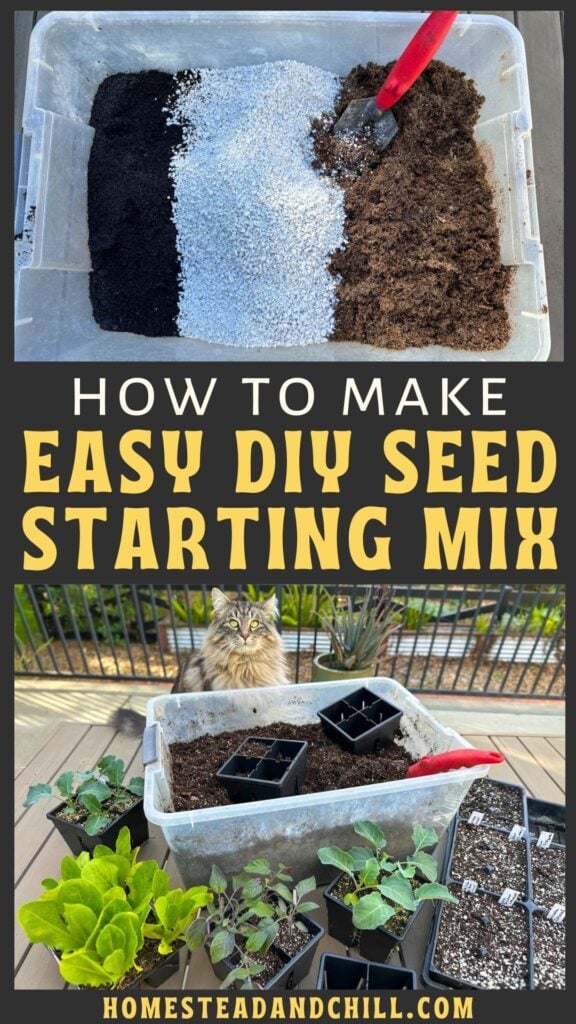
How to Make DIY Seed Starting Mix: The Best Recipe
Ready to grow some big healthy seedlings? Come learn how to make DIY seed starting mix, perfect for sprouting all your favorite vegetable, herb and flower seeds. Making your own seed starting mix is really easy to do, and gives you the utmost control over the ingredients. It’s also a great way to save money if you grow a lot from seed like we do!
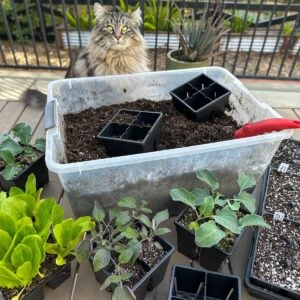
Truth be told, most seed starting mix recipes are pretty simple and similar, but our tutorial is “the best” (IMHO) because our adorable furry garden assistants are going to teach you how to make it! Plus I have plenty of tips for success to get the best results possible, like how to rehydrate coco coir or screen the mix to reduce unwanted lumps.
RELATED: Don’t miss our complete Seed Starting Guide with tips on how to grow the most healthy, robust seedlings possible. Also learn when to start seeds indoors with planting calendars for every zone!
Would you like to save this?
Disclosure: Homestead and Chill is reader-supported. When you purchase through links on our site, we may earn an affiliate commission.
What is Seed Starting Mix?
- Seed starting mix is a soilless mixture made specifically for germinating or starting seeds. It’s usually composed of peat moss (or coco coir) and perlite, and occasionally with a small amount of compost, wetting agents, or other ingredients added.
- Seed starting mix has an extra fine and fluffy texture, perfect for tiny sprouts and roots to grow in with ease. On the other hand, something like potting soil is too chunky, heavy, and thick, which can smother or stunt new fragile roots.
- It’s relatively low in nutrients since seeds and young seedlings don’t need rich soil to grow. Rather, they’re very sensitive to fertilizer burn.
- Seed starting mix should have good moisture balance, offering both excellent drainage as well as long-lasting water retention so that the mix doesn’t yo-yo between soggy and dry.
- Most often, it’s used in seed starting trays or small pots to start seeds indoors (or in a greenhouse). However, you can also use this seed starting mix recipe for soil blocks.
Benefits of Making Your Own Seed Starting Mix
- As a gardener, it’s a great skill to know how to make your own seed starting mix – especially if you have a hard time finding a decent pre-made bagged mix locally. Our local availability fluccuates alot
- If you start a lot of seeds each season, you can potentially save a lot of money by buying ingredients in bulk and mixing your own big batch! For instance, we can only find 8-quart bags of pre-made seed starting mix (fairly small) at our local nursery.
- Making your own mix gives you the utmost control over the ingredients and quality. For instance, some gardeners really don’t like peat moss – so you can simply use coco coir in this recipe instead. Otherwise, it’s virtually impossible to avoid peat in bagged mixes.
Sometimes we buy pre-made organic seed starting mix (and add a little compost), and sometimes we make our own!

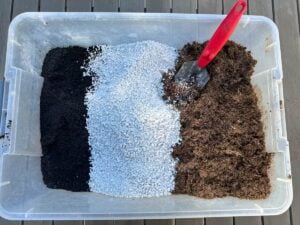
Ingredients and Recipe
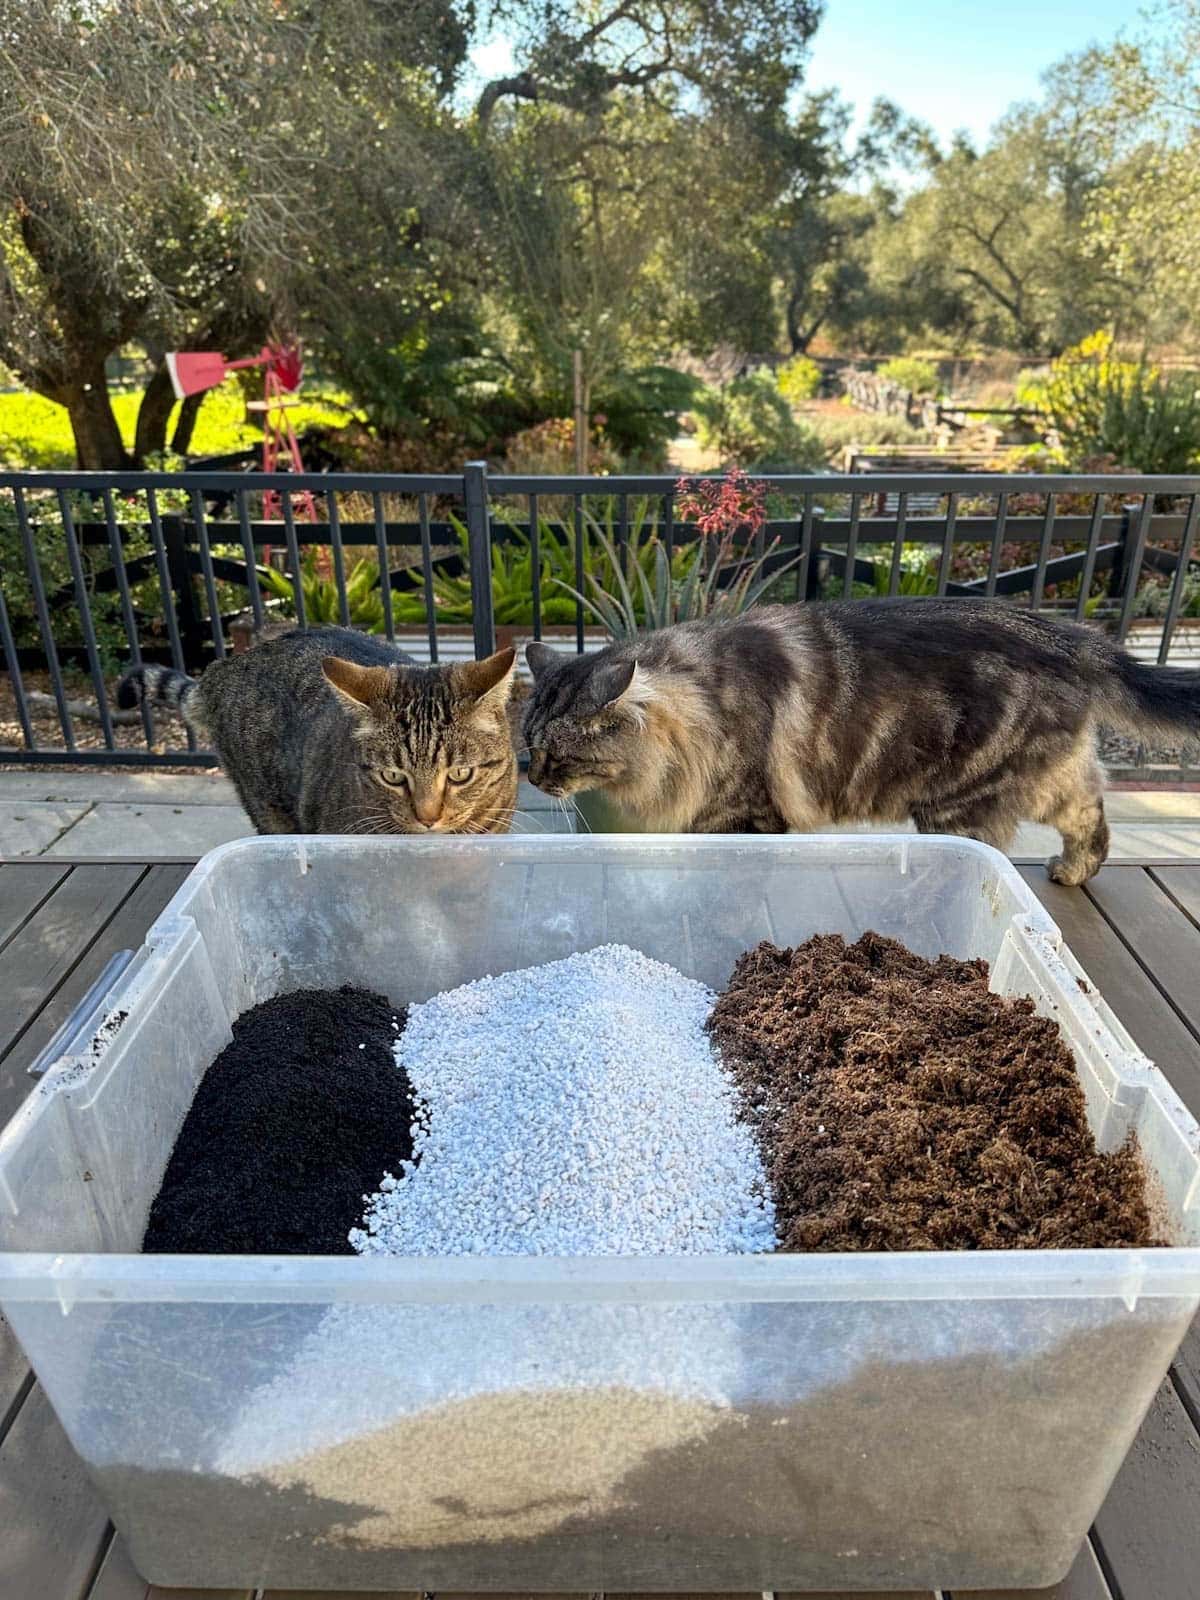
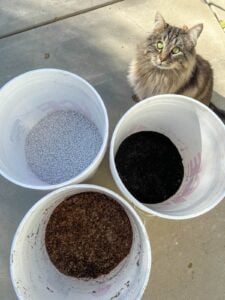
- 60% (or 4 parts) peat moss or coco coir, pre-moistened (damp but not wet) and free of large chunks. See pros and cons of both options below. Coco coir usually comes in condensed dry bricks. Each 1.4 pound brick will expand to about 2 gallons of damp coco coir. Rehydrating tips to follow.
- 30% (or 2 parts) fine perlite or vermiculite. For the best results, use the smallest perlite size possible – sometimes referred to as grade 1 perlite, which is about 1/8-inch or under 3 mm granules.
- 10% (or 1 part) worm castings or other well-aged finished compost. Worm castings are the best compost choice for homemade seed starting mix because: a) they offer really gentle nutrients that won’t accidentally “burn” your plants like fertilizer can, and b) they naturally have the perfect small particle size. We usually use homemade worm castings from our worm compost bin, but you can also buy organic worm castings online. You want the mix to be as fine and free of chunks as possible, so if you use another type of compost, be sure to break it up and screen it well first. (See screening tips at the end of this post.)
PRO TIP: To measure by “parts” simply swap parts for the measurement or volume you wish to use, such as: 4 quarts peat moss (or coco coir), 2 quarts perlite, and 1 quart worm castings or compost. Or, 4 gallons peat moss, 2 gallons perlite, and 1 gallon worm castings.
Peat Moss vs Coco Coir: Pros and Cons
You can use either peat moss or coco coir in this DIY seed starting mix. Both are fine, fluffy, and offer great moisture balance – ideal for seeds and seedlings.
However, peat moss is considered far less sustainable than coco coir. Though there have been increasing efforts for sustainable peatland management and restoration in recent years, it is essentially a non-renewable natural resource. You can learn more about the issues with the peat moss industry here.
On the other hand, comparison studies consistently show that peat moss is a superior seed starting medium and results in larger, healthier, faster plant growth when compared to coco coir (hence peat’s popularity). Peat is also slightly easier to work with, as coco coir often comes in condensed bricks that must be rehydrated and broken up before use.
Instructions
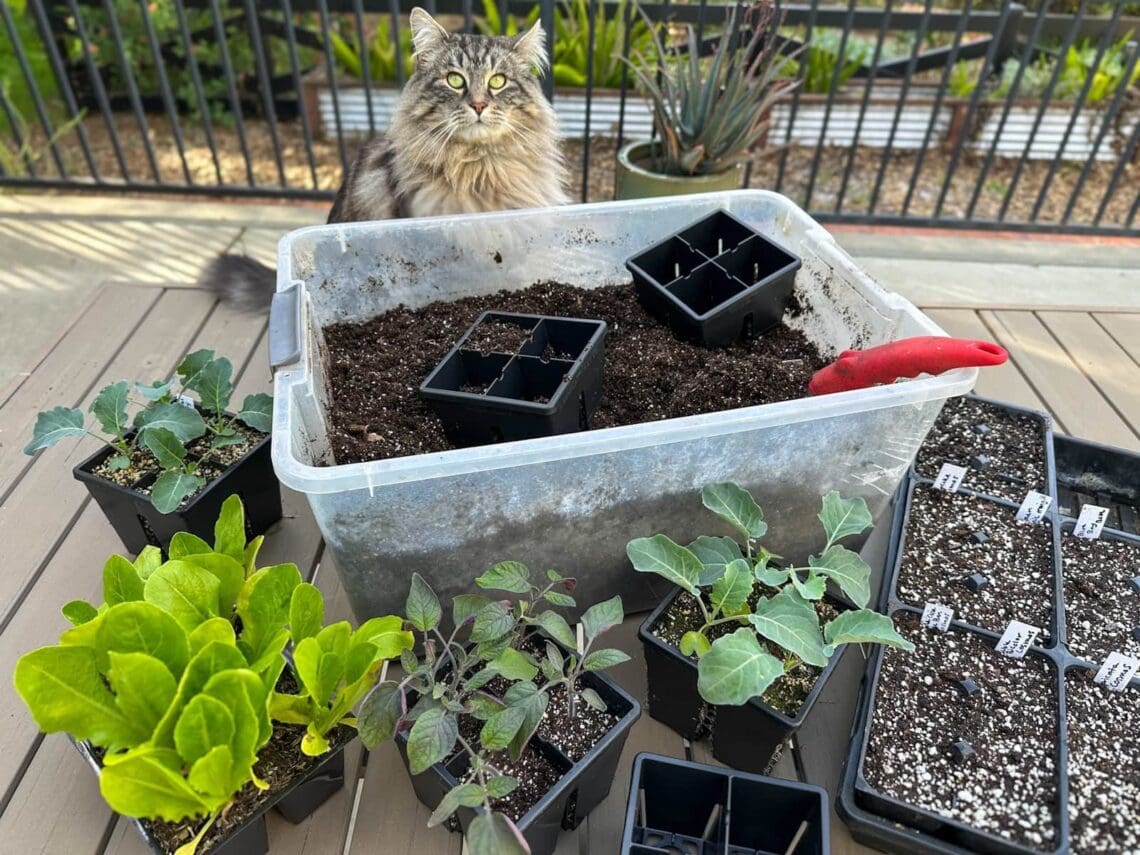
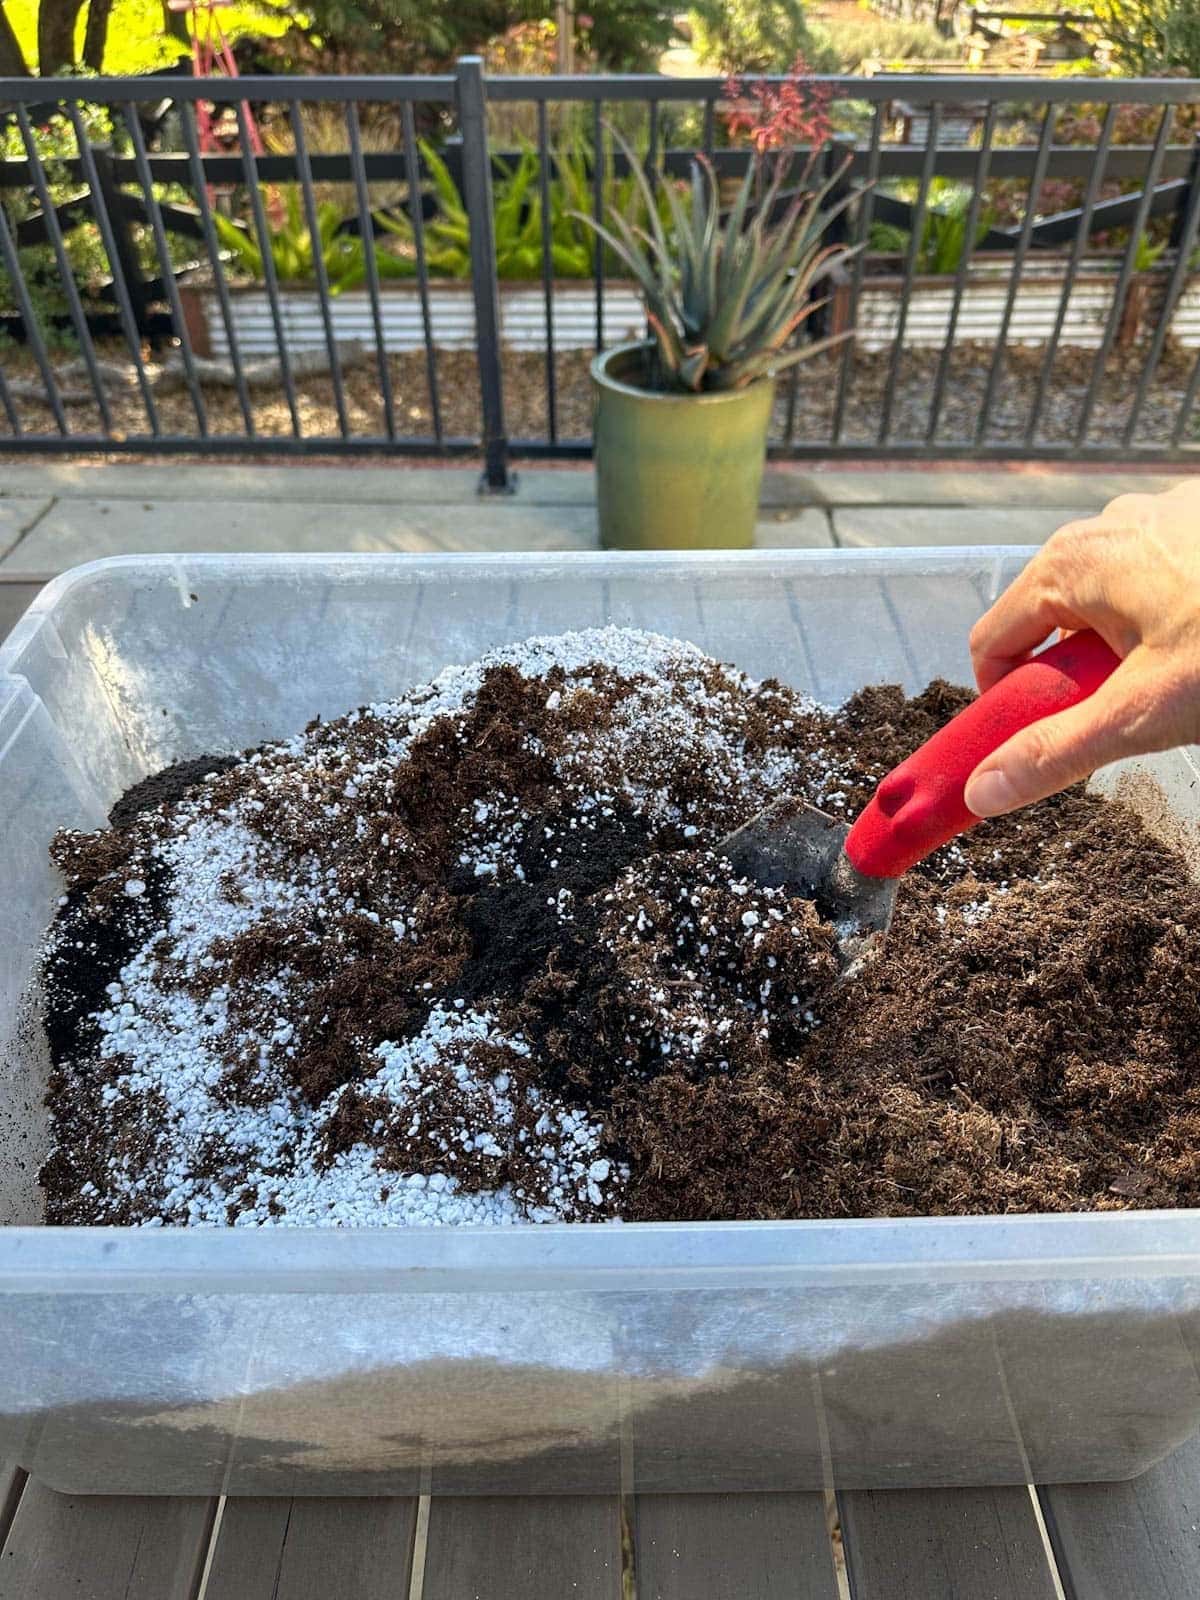
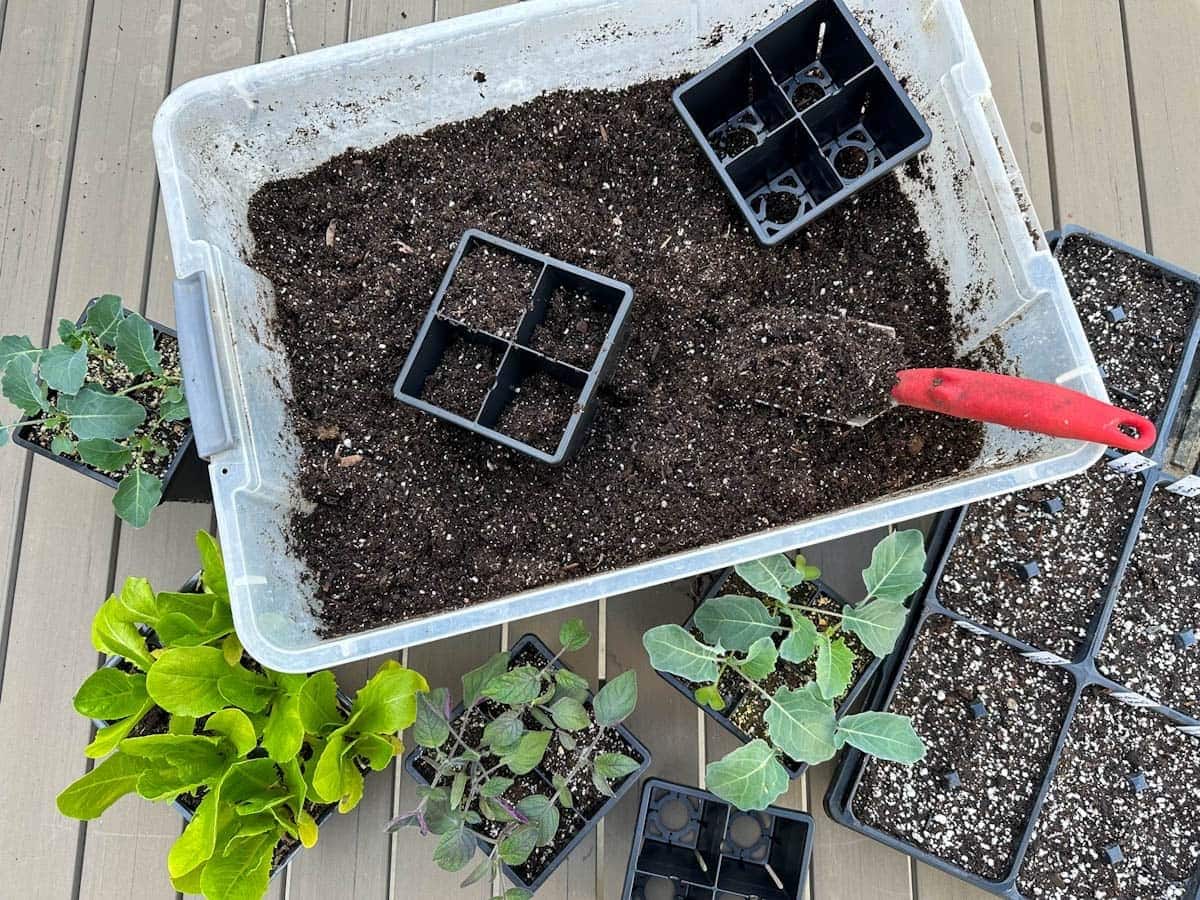
To make your own seed starting mix, all you have to do is combine the called-for ingredients in this recipe together and mix well. However, follow our tips below for the best results possible, including how to rehydrate coco coir. We like to make our seedling soil in a plastic tote, which makes it easy to mix and then neatly store to use later.
Pre-Moistening
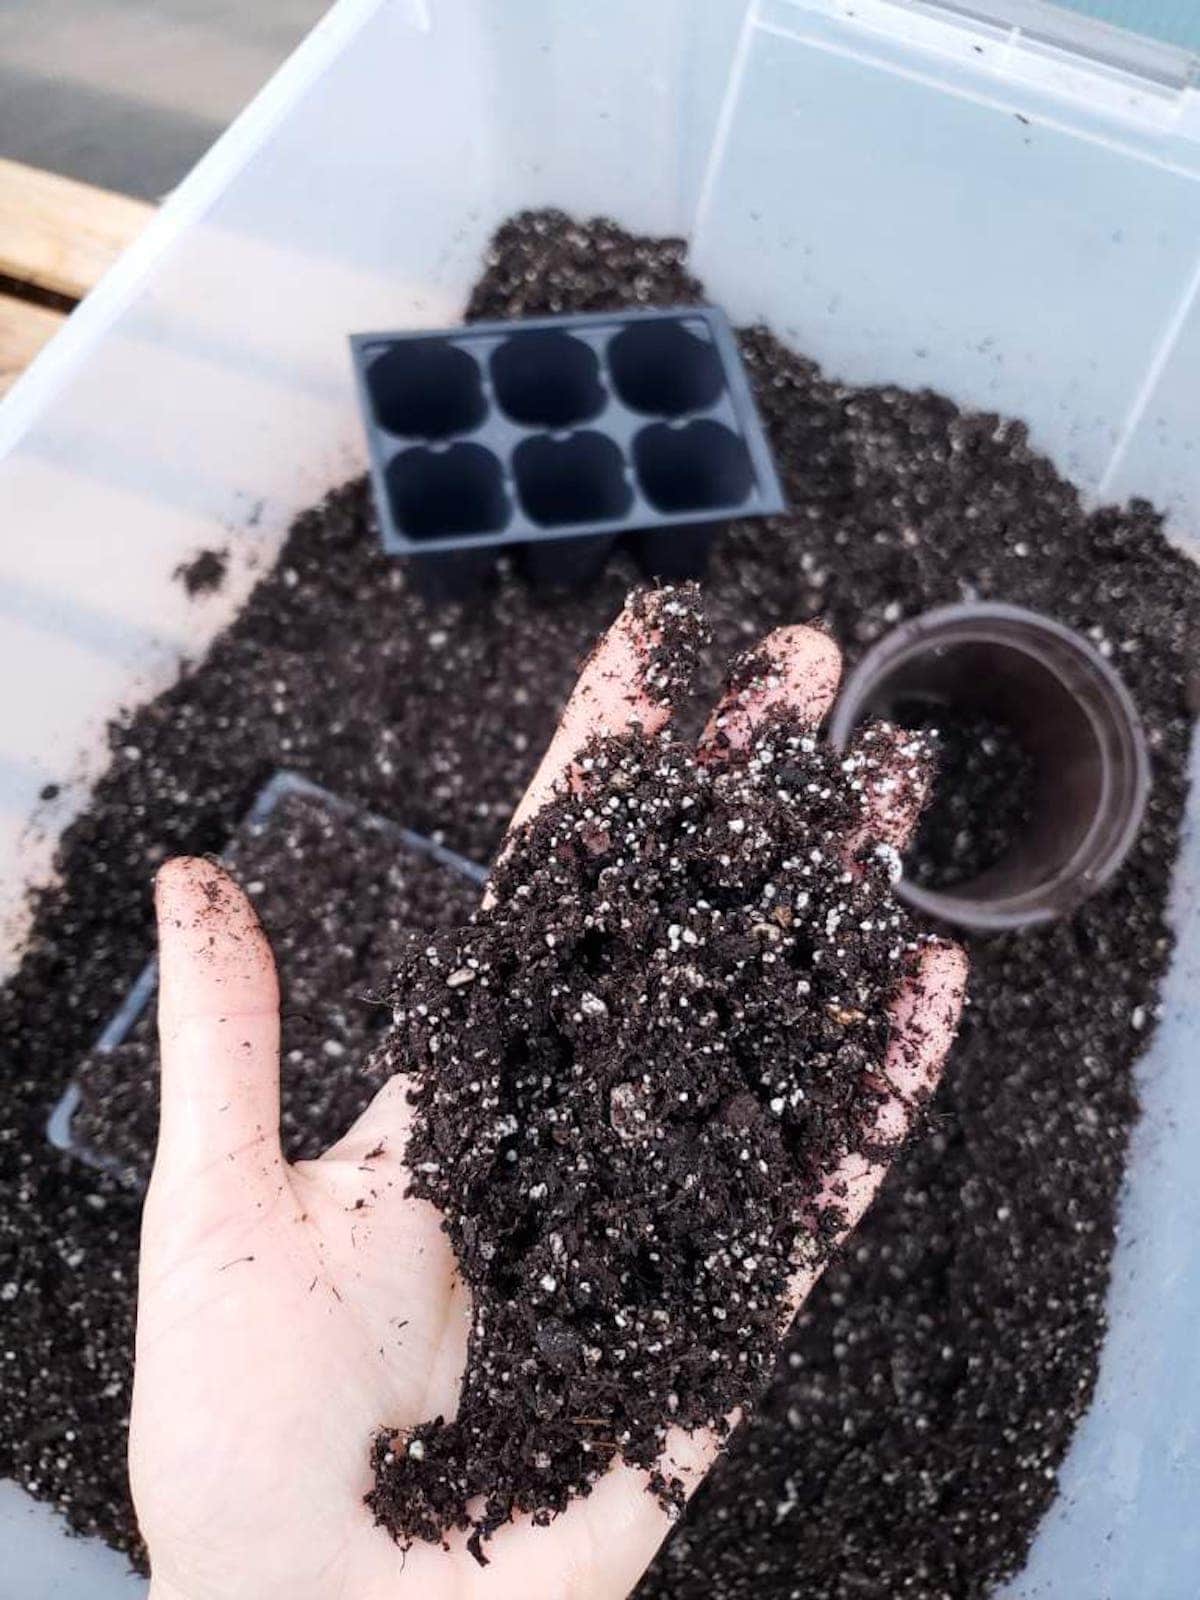
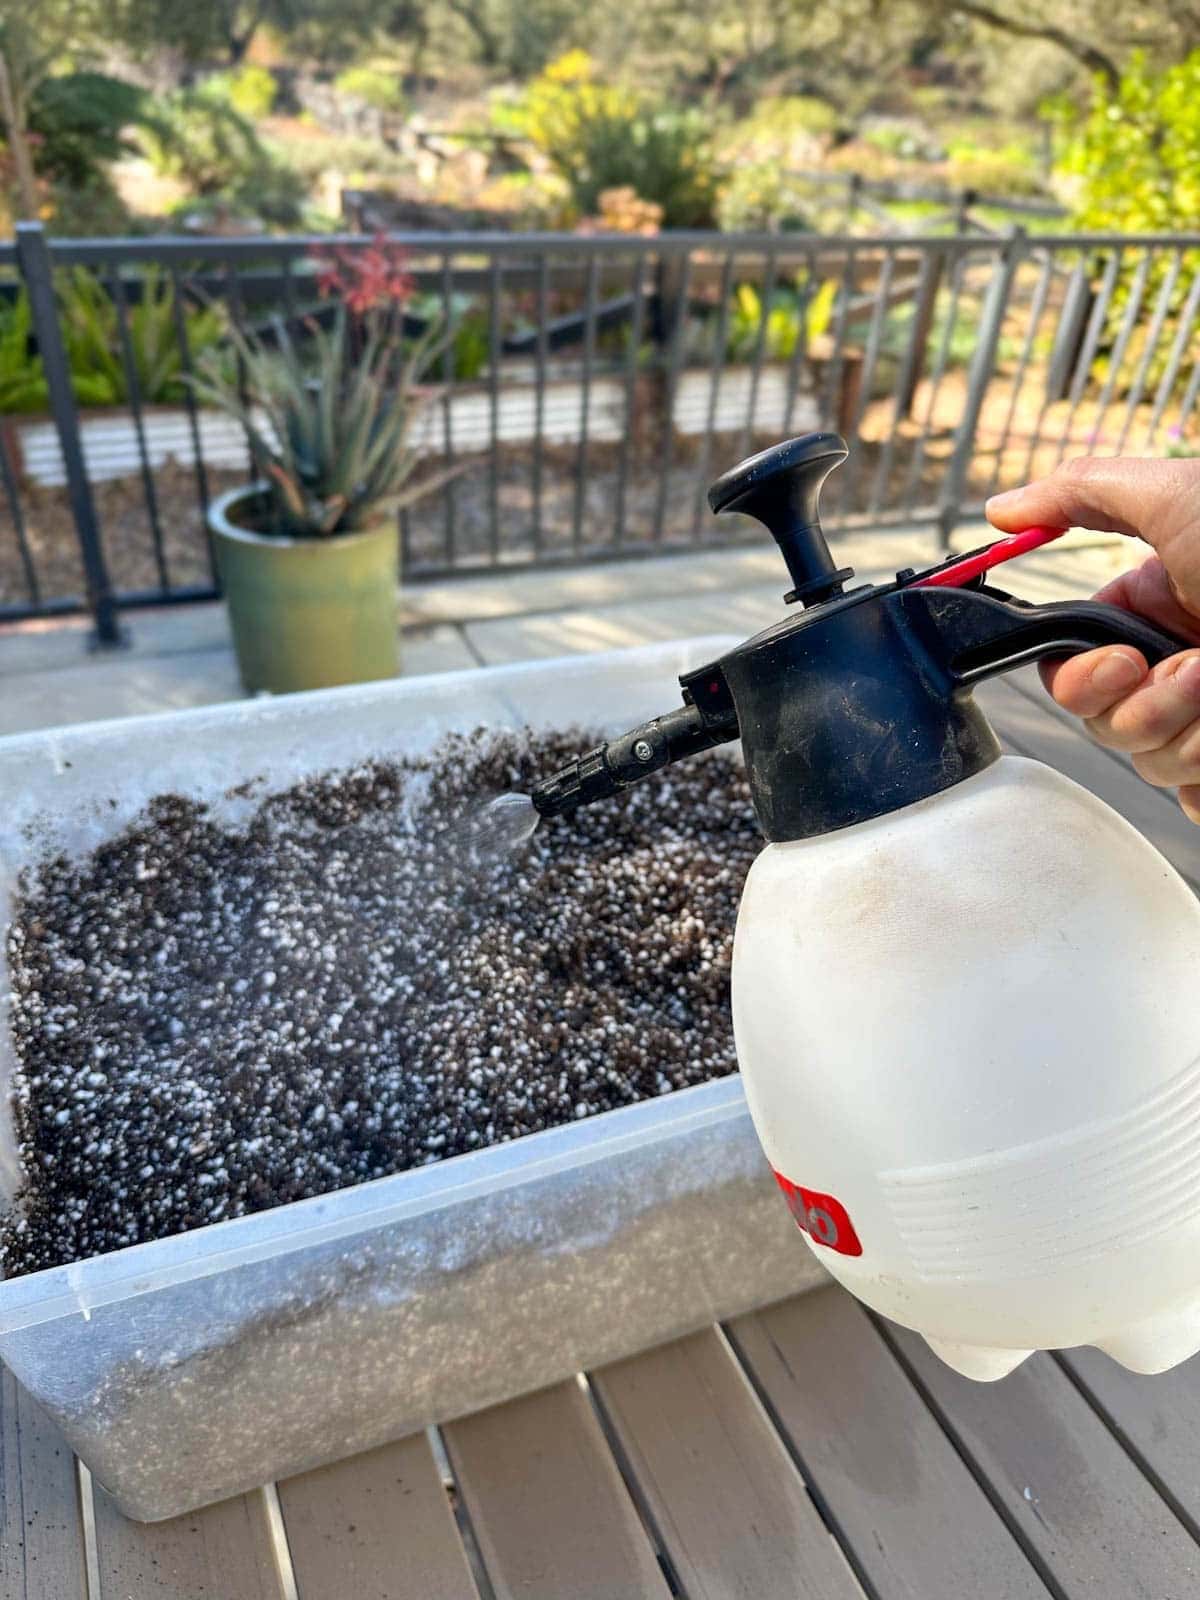
Before combining all the ingredients, it’s best to break up and dampen the peat moss or coco coir slightly. Both peat moss and coco coir are hydrophobic when they’re dry, meaning they naturally repel water. So it’s always a good idea to pre-moisten your seedling mix before use – including before filling seed starting trays or sowing seeds. Otherwise you’ll have a really hard time watering your seeds.
The moisture also helps to reduce dust from the peat, coco and perlite – none of which you want to inhale, and also makes a mess!
Slowly add just enough water to slightly dampen the medium, NOT make it soggy. If it gets too wet, peat and coco tend to get clumpy, and it will be more heavy and difficult to mix evenly with the other ingredients.
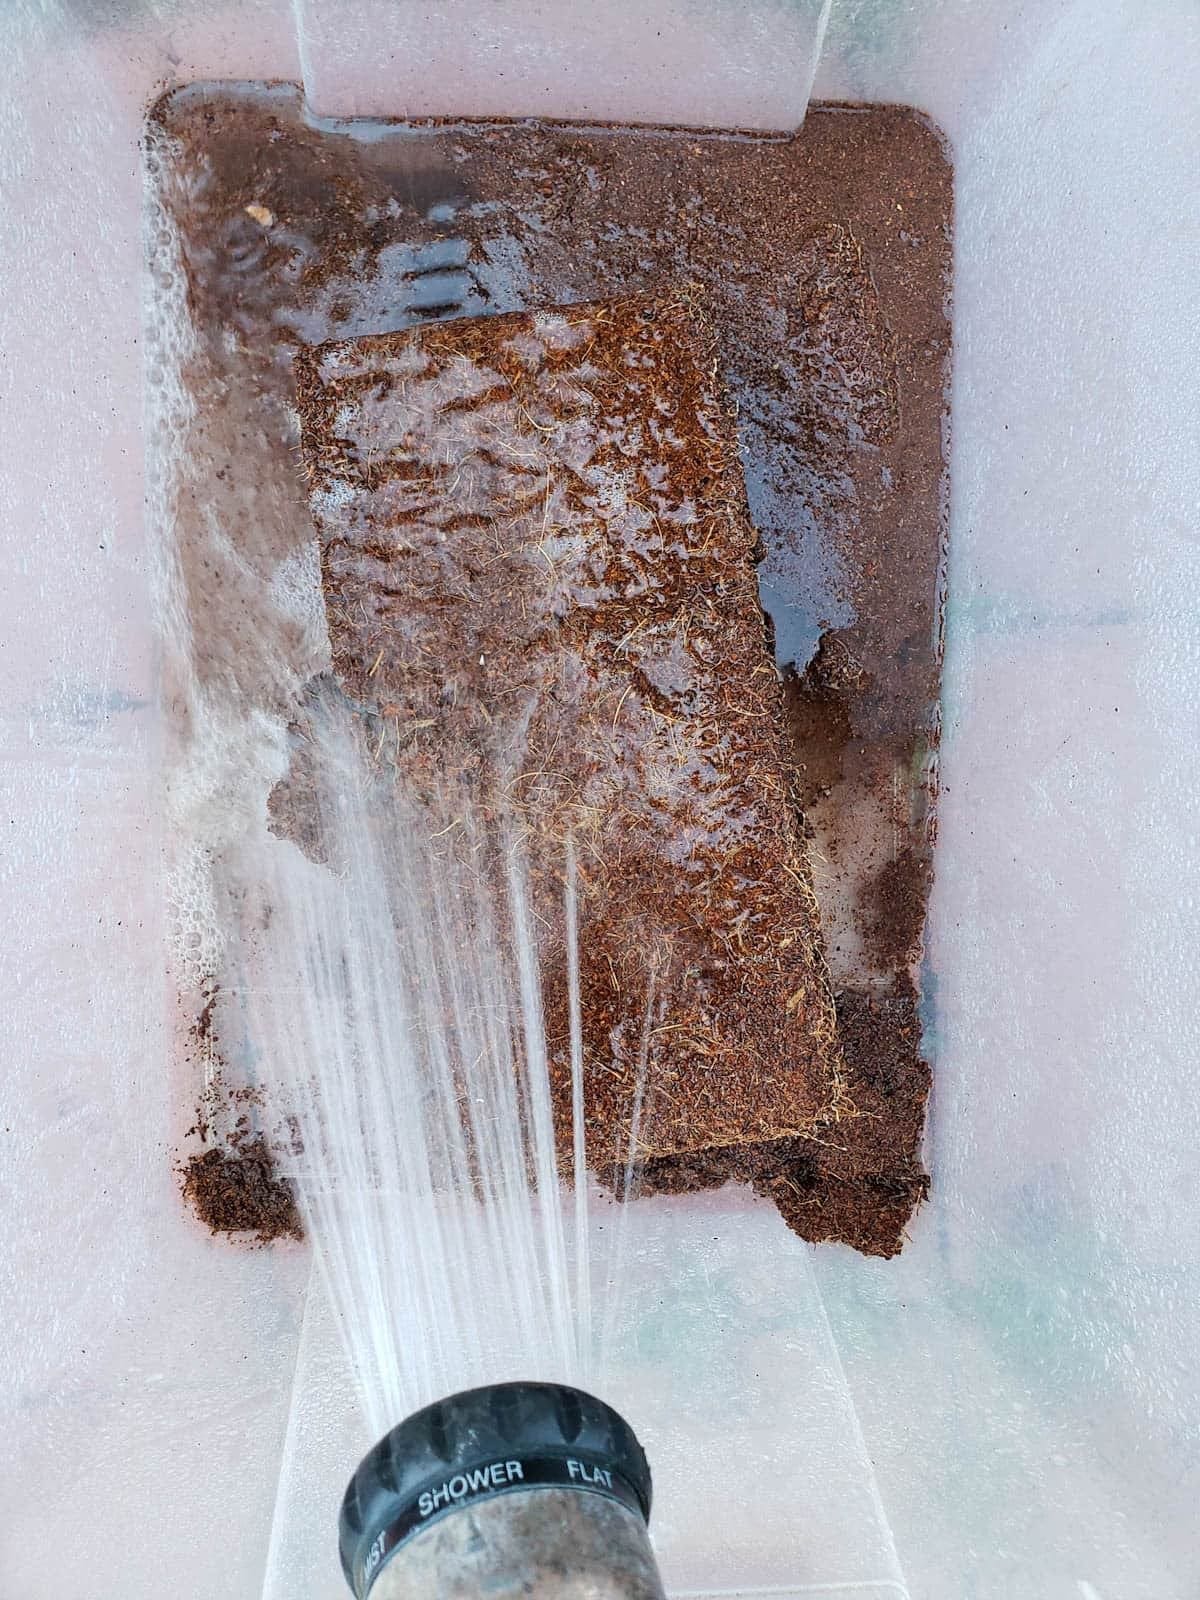
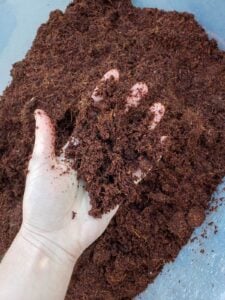
How to Rehydrate Coco Coir
To rehydrate coco coir, add the condensed brick to a large tub or bucket and add a small amount of water at first. (Expect to use about 3 to 4 quarts of water for a 1.5-pound brick of coco coir.) Let it sit for 15 to 20 minutes, see how much absorbs, and then slowly add more water until it easily breaks apart and fluffs up. Remember, you can always add more – but it’s hard to take away excess moisture if you overdo it!

Screening to Reduce Clumps
At the risk of sounding like a broken record, the best seed starting mix is free of large clumps. Just one clump in the wrong place could smother a seed or prevent its roots from growing with ease! Peat moss and homemade compost are especially prone to having a lot of lumps and chunks.
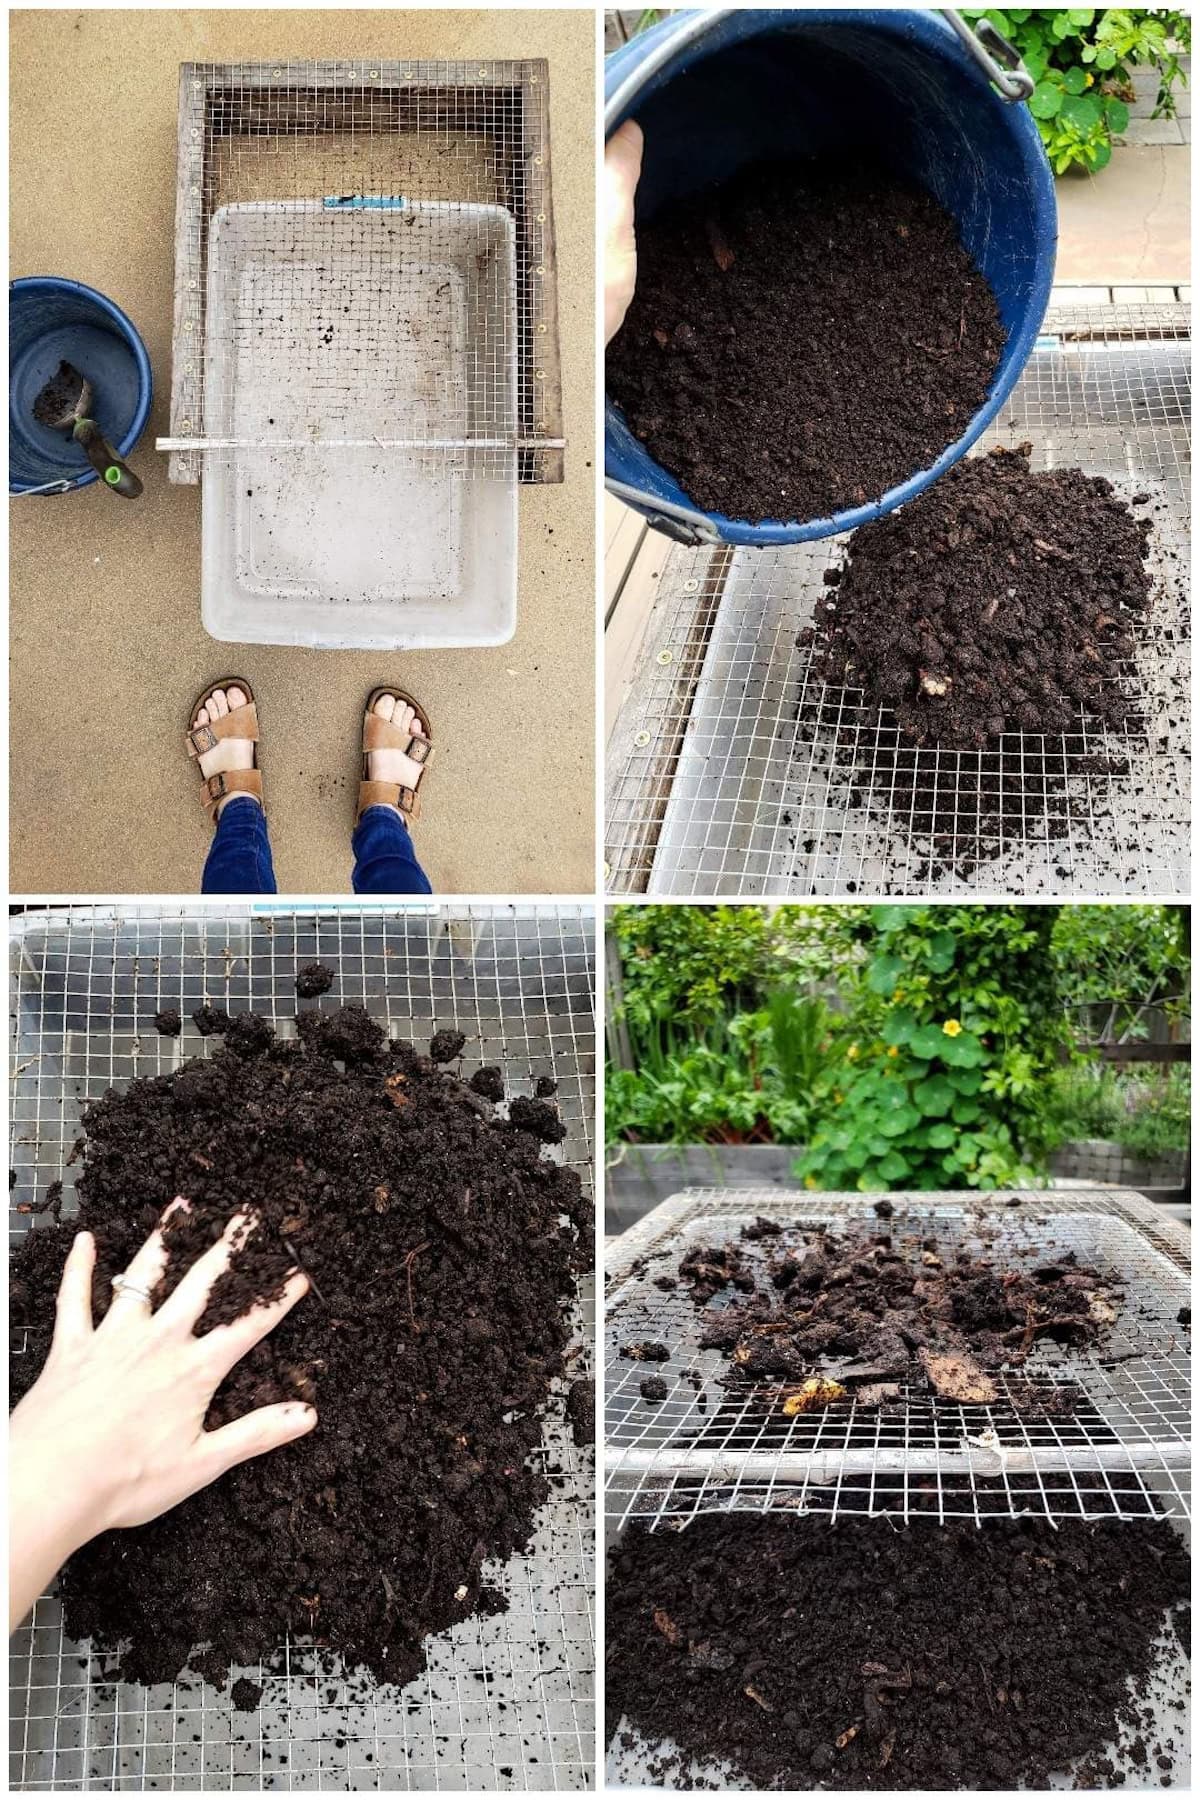
If needed, you can improve the texture of your DIY seed starting mix either by screening the ingredients prior to mixing, or screen the finished mix afterwards.
We use a DIY compost screen that we made to harvest and sift worm castings from our worm bin. It’s simply 1/2″ hardware cloth attached to a wood frame with a catchment tote placed below. Put the contents on top, move it around to sift and work it through the screen, and then remove or break up any large clumps left on top.
Going Forward: Fertilizing Seedlings
Seeds don’t need fertilizer to germinate, and harsh fertilizer can potentially harm very young seedlings. The compost included in this recipe will provide plenty of nutrients for several weeks of healthy growth!
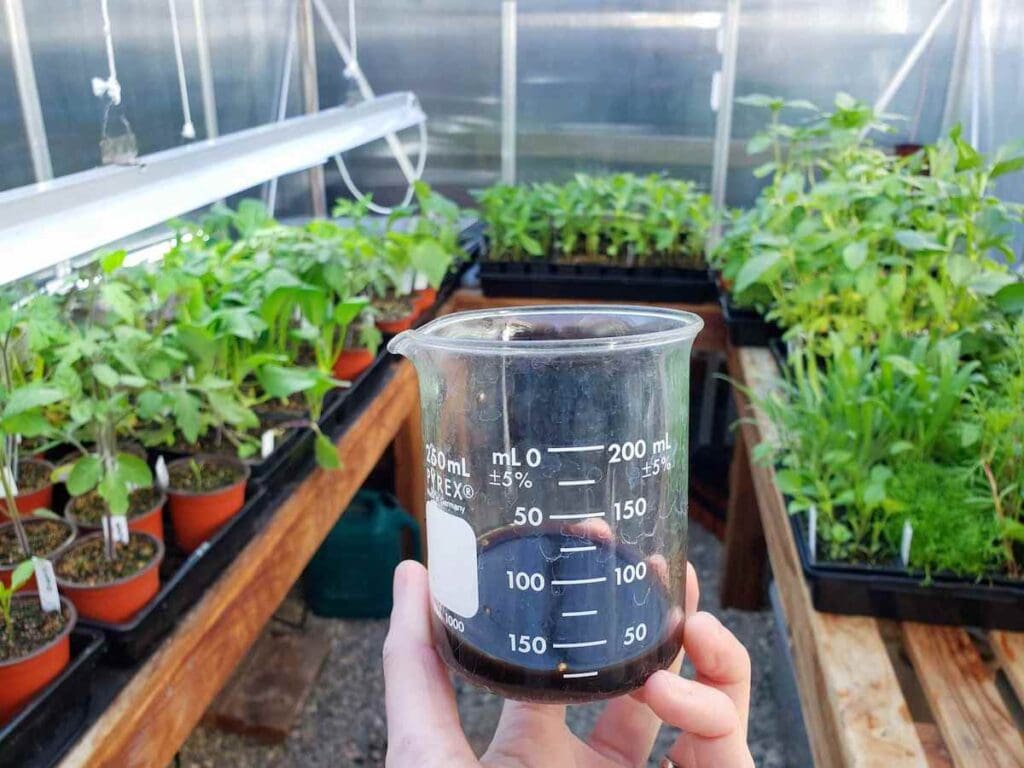
However, older seedlings may benefit from additional nutrients once they’re a few weeks old – after they’ve grown at least two sets of true leaves. At that point, you can either pot them up into a richer potting soil (or half potting soil mixed with seed starting soil) and/or water them with a dilute seaweed extract or fish fertilizer.
That’s all folks!
Pretty simple, eh? Now it’s time to grab your favorite seed starting trays (or soil blocks) and go start some seeds!
I hope you enjoyed this lesson and have wonderful success with your new DIY seed starting mix. If you found this helpful, please leave a review below! Also feel free to ask any questions you have. Best wishes and happy growing!
Don’t miss these related posts:
- How to Start Seeds Indoors: The Ultimate Guide + Seedling Care Tips
- 7 Useful Seed Starting Supplies for Success Indoors
- How Long Do Seeds Last? (Seed Viability Chart)
- When to Start Seeds Indoors: Planting Calendars for Every Zone
- 13 Best Places to Buy Vegetable Seeds: Organic, Heirloom, Non-GMO
Best DIY Seed Starting Mix Recipe
Equipment
- Bucket or tote for mixing
- Hardware cloth screen (optional)
- Spray bottle or water
Ingredients
- 60% (4 parts) peat moss or coco coir – dampened (not sopping wet) and free of chunks
- 30% (2 parts) fine perlite or vermiculite, Grade 1 (1/8" or 3mm) perlite recommended
- 10% (1 part) worm castings or fine screened compost
Instructions
Mixing Ingredients
- To measure by “parts” simply swap parts for the measurement or volume you wish to use, such as: 4 quarts peat moss (or coco coir), 2 quarts perlite, and 1 quart worm castings or compost. Or, 2 gallons peat moss, 1 gallons perlite, and 1/2 gallon worm castings.

- We like to make our seedling starting in a plastic tote, which makes it easy to mix and then neatly store to use later.

- Before combining all the ingredients, it’s best to break up and dampen the peat moss or coco coir slightly – which helps reduce dust and enables the peat/coco absorb water better going forward. See screening tips below.

How to Rehydrate Coco Coir
- Add the condensed brick to a large tub or bucket and add a small amount of water at first. (Expect to use about 3 to 4 quarts of water for a 1.5-pound brick of coco coir.)
- Let it sit for 15 to 20 minutes, see how much absorbs, and then slowly add more water until it easily breaks apart and fluffs up. Moist but not soggy is the goal.

Screening to Reduce Clumps
- The best seed starting mix is free of large clumps. Peat moss and homemade compost are especially prone having a lot of lumps and chunks.
- If needed, you can improve the texture of your mix either by screening the ingredients prior to mixing, or screen the finished mix afterwards.
- We use a DIY compost screen: 1/2″ hardware cloth attached to a wood frame with a catchment tote placed below. Put the contents on top, move it around to sift and work it through the screen, and then remove or break up any large clumps left on top.


Using Homemade Seed Starting Mix
- Now it's time to start some seeds! Use this mix in seed starting trays or for soil blocks. See our Seed Starting 101 Guide for more tips.
- The compost included in this recipe will provide plenty of nutrients for several weeks of healthy growth. However, older seedlings will benefit from additional nutrients once they're a few weeks old – after they've grown at least two sets of true leaves. At that point, you can either pot them up into a richer potting soil (or half potting soil mixed with seed starting soil) and/or water them with a dilute seaweed extract or fish fertilizer.


10 Comments
Phillip Andrews
Works even better than expected. Thanks.
Aaron (Mr. DeannaCat)
Sounds great Phillip, so glad it worked out well for you, have fun growing!
lee
Do you add any dolomite lime to adjust pH or is it not necessary? Have I been making my life needlessly complicated?/
Aaron (Mr. DeannaCat)
Hi Lee, we don’t typically add dolomite lime but if you have it on hand and it seems to work for you, by all means, keep doing it. However, you can likely get by without it as well as the worm castings will help buffer the pH somewhat. Hope that helps and good luck!
Dayana
Hi! I have a question. I just started some seedlings and covered them (I don’t have a humidity dome so I used plastic wrap) but I started to notice small white fuzzy spots appear in the seedling trays. I removed the plastic wrap around 3 days ago. I’m not sure of if I should put the plastic back on because my seeds haven’t germinated yet. Am I doing something wrong if I see specs of fuzzy white stuff?
Aaron (Mr. DeannaCat)
Hi Dayana, using plastic wrap may be too “air tight” for proper seed germination as it wouldn’t allow any air into the trays. If you have a heat mat, you could always place a piece of cardboard on top of your seedling trays to try and keep them moist. The main thing is to not let the seedlings dry out while they are germinating and a humidity dome helps keep the soil moist while also keeping the seedling soil at a warmer temperature which aids in germination. If you want to use plastic wrap, you should poke holes throughout it so it allows for air circulation. Hope that helps and good luck!
Dani
I use a very similar version of this recipe and love making it to kick off my gardening season. It is so nice to get your hands dirty even if the ground is still frozen. I don’t do proper seed starting as I do not have a place for a setup, however, I do start seeds when the weather gets warmer and also have started experimenting with the milk jug method.
Your site is one of my go-to places to find gardening information. I am looking forward to using the worm castings from the link you shared above. Thank you, friends!
Aaron (Mr. DeannaCat)
Hi Dani, so great to hear and we hope spring is right around the corner for you, thanks for sharing and have fun growing!
Suzanne Tharani
Thank you SO much for all your wonderful suggestions and advice and emails which are helping me to prepare raised beds and plant precious seeds in a little village in Oxfordshire in the UK 🥰 ❤️
Aaron (Mr. DeannaCat)
So great to hear Suzanne! You should have an amazing garden space for yourself as well as to share with friends and family before long, have fun growing!